

Learning about the Zone System is important for every serious photographer. When you know the Zone System, you will have a good understanding of tone and its relevance. If you’re content to let your camera set the exposure for you, then this guide will probably not inspire you. However, if you love painting with light and want your photographs to be as expressive as possible, then keep reading.
The Zone System may seem rather dated to many digital photographers. It was produced by two men to help them better expose and process sheet film. That’s the emulsion-covered acetate that captures images in large format cameras. It’s then developed in a completely dark room in a bunch of stinky chemicals. You may well wonder about the relevance when it comes to making better digital photos.
Key Lesson: Just as there are still similarities in driving the latest electric vehicle compared to driving a Model T Ford, unless you’re in auto-mode of course, regardless of what camera (film or digital) you use, understanding how the Zone System works is helpful. It can help you make better choices about how you expose your photos.
Recommended Reading: If you’d like to learn how to create amazing black and white images, grab a copy of Photzy’s best-selling premium guide: Better Black and White.
About the Zone System
The famous American landscape photographer Ansel Adams developed the Zone System with his fellow photographer Fred Archer. They formulated this method to evaluate the range of tones in a black and white photograph. They aimed to come up with the most precise way to calculate exposure and film development time. Their motivation was to produce the best possible negatives so they could then create the most amazing prints.
This was long before it was possible to review an image on the camera’s monitor or to study the histogram. It was also when the dynamic range of film was far more limited than the dynamic range of digital cameras. It was vital to understand the tone range in the scene you were photographing because it might be too broad to be well recorded by the film.

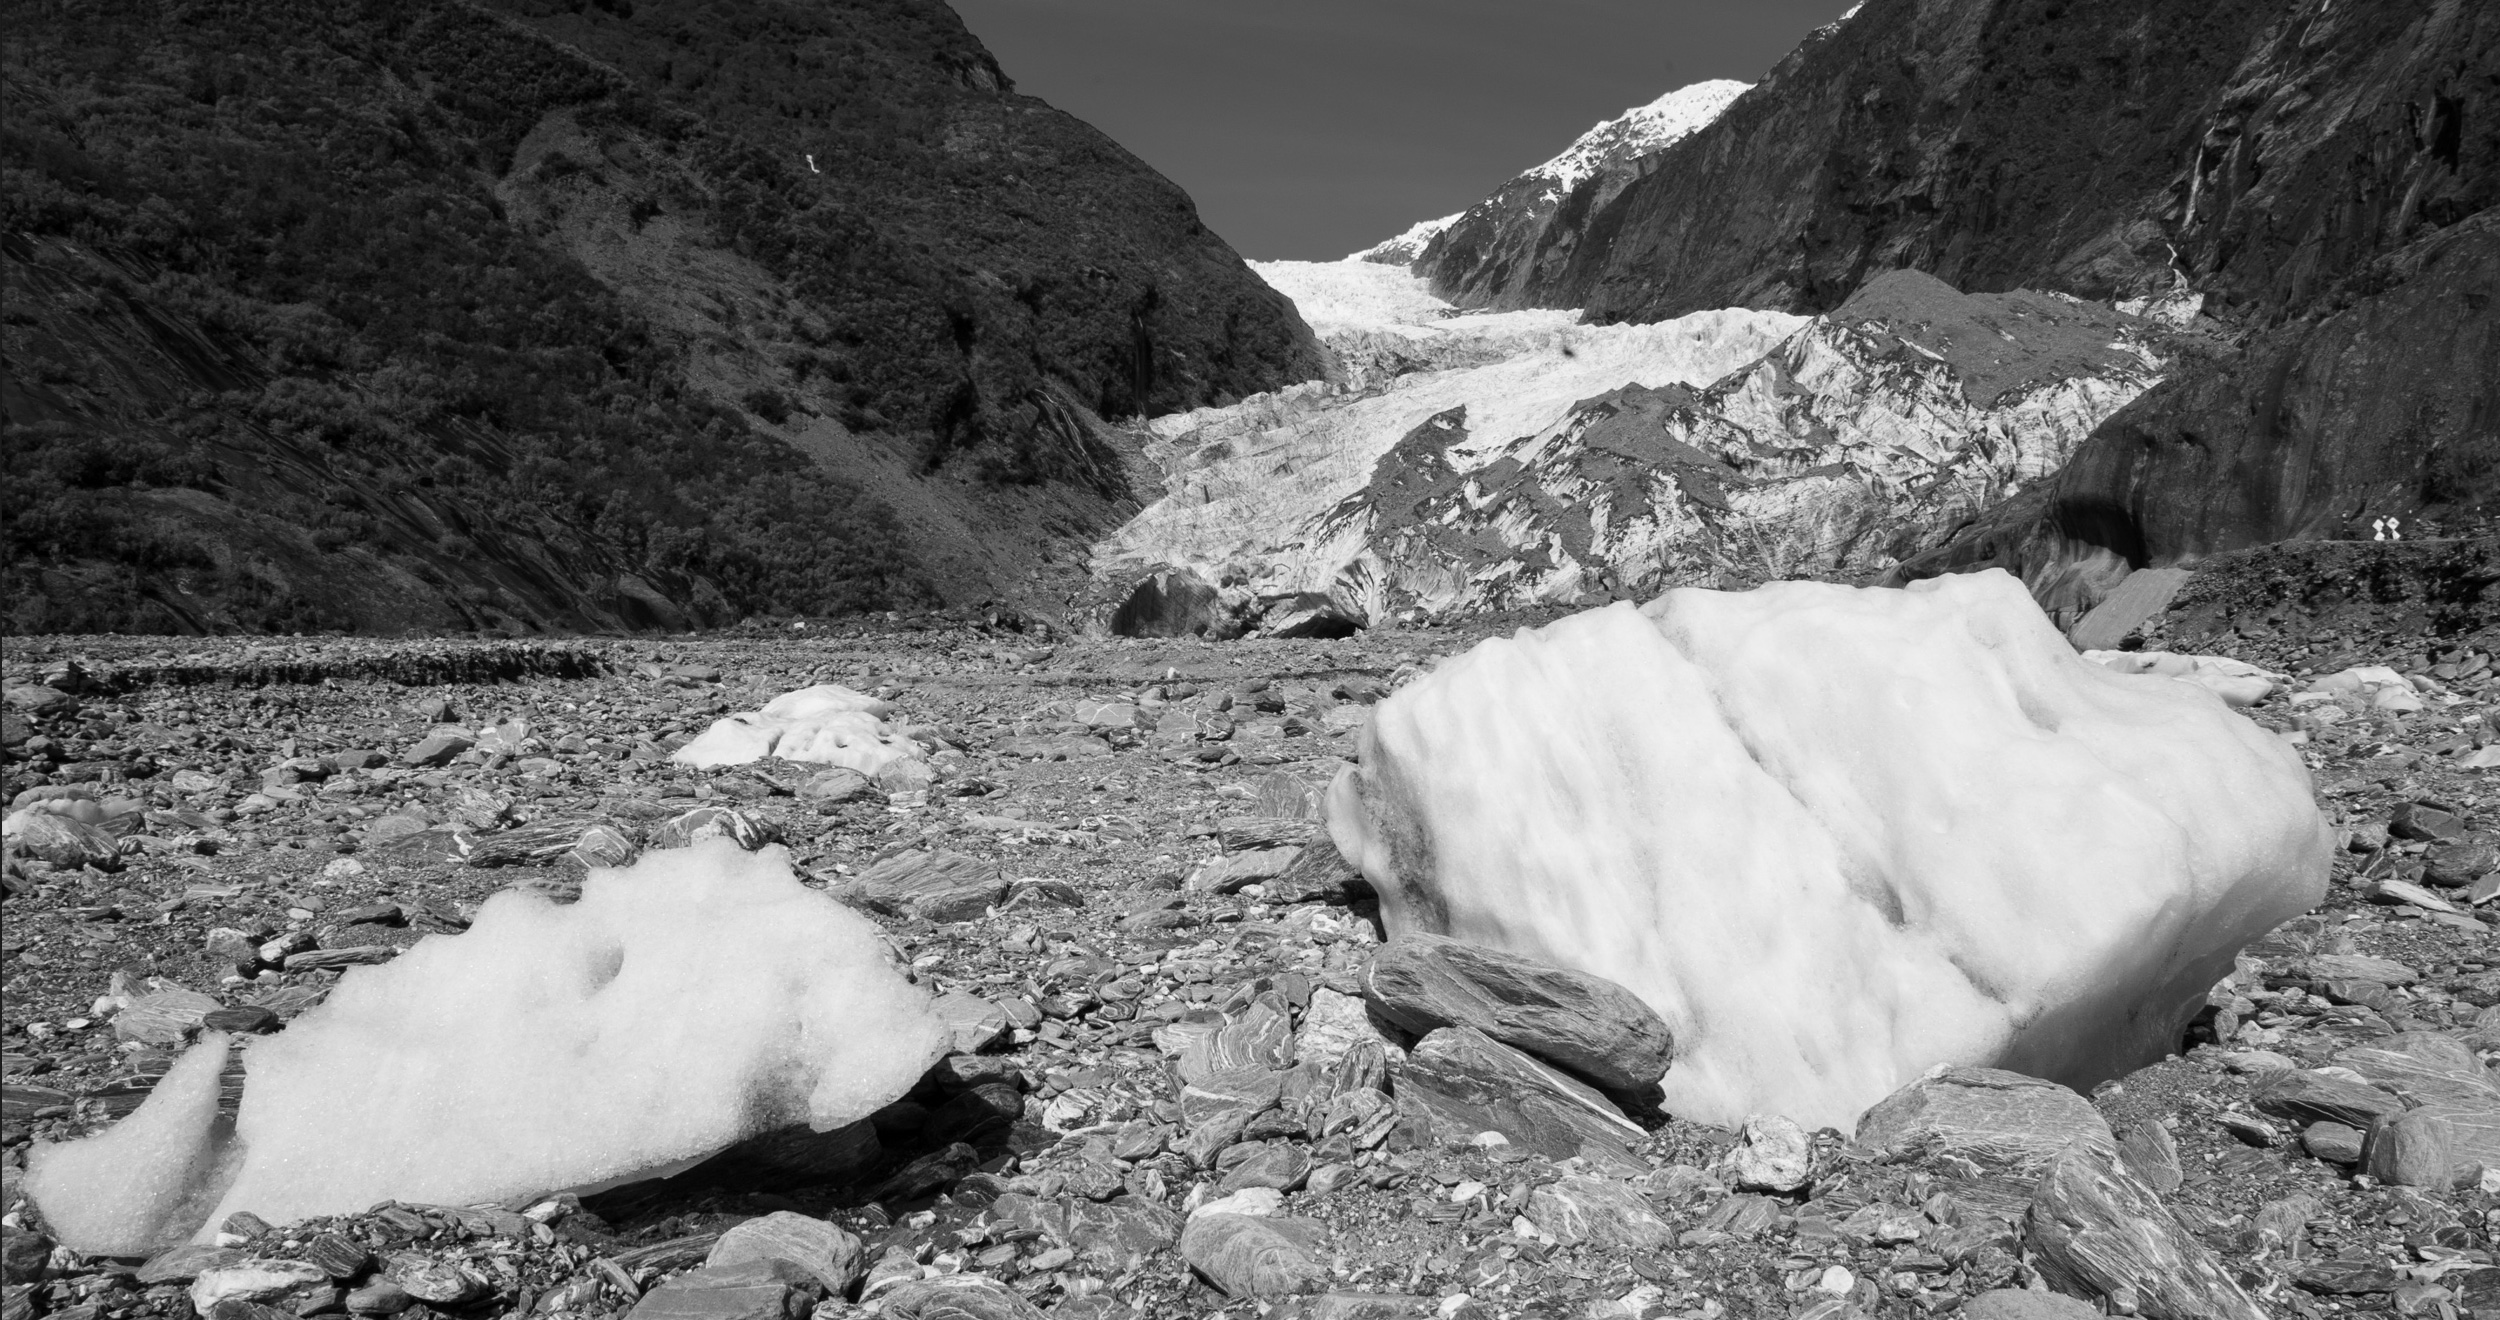
Photograph by Kevin Landwer-Johan
Key Lesson: Now, with modern digital cameras, it’s not so vital. But having a good understanding of how the Zone System works and why it was developed can help you. This enables you to make more informed choices about setting your exposure before you take a photo.
How the Zone System Works
The Zone System divides tones from black to white into eleven segments, with Zone 0 being black and zone X (10) being pure white. Zone V (5) is middle gray, or 18% gray. This is the tone that all exposure meters use to determine what settings are correct. Each zone is plus or minus one photographic stop than the zones on either side of it. When you can look at a scene and discern how many zones you can see, this will help you choose the best exposure settings for the photo you want to make.

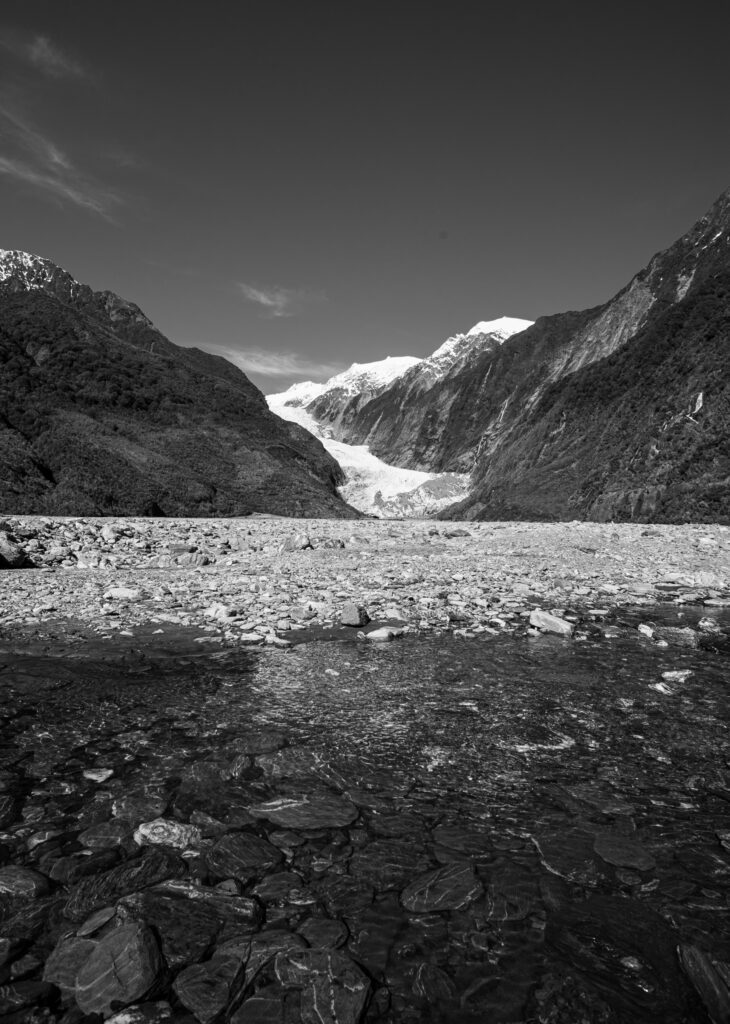
Photograph by Kevin Landwer-Johan
If you take a spot meter reading and set your camera accordingly, the area of the composition you took the reading from will render middle gray, zone V. It will look that tone in your photo regardless of what color or tone it is. This is because all exposure meters are calibrated to read from middle gray.
If you are photographing something white, and you want it to look white, you must expose it well. If you take a spot reading from the white surface and adjust your meter so it reads zero, the white surface will look underexposed. This is because the camera thinks it’s middle gray. To make it look pure white, you need to open up your exposure settings by five stops, or five zones. The same goes for black, but you must close down your exposure settings to get the black thing you’ve taken a spot reading from to look inky black.
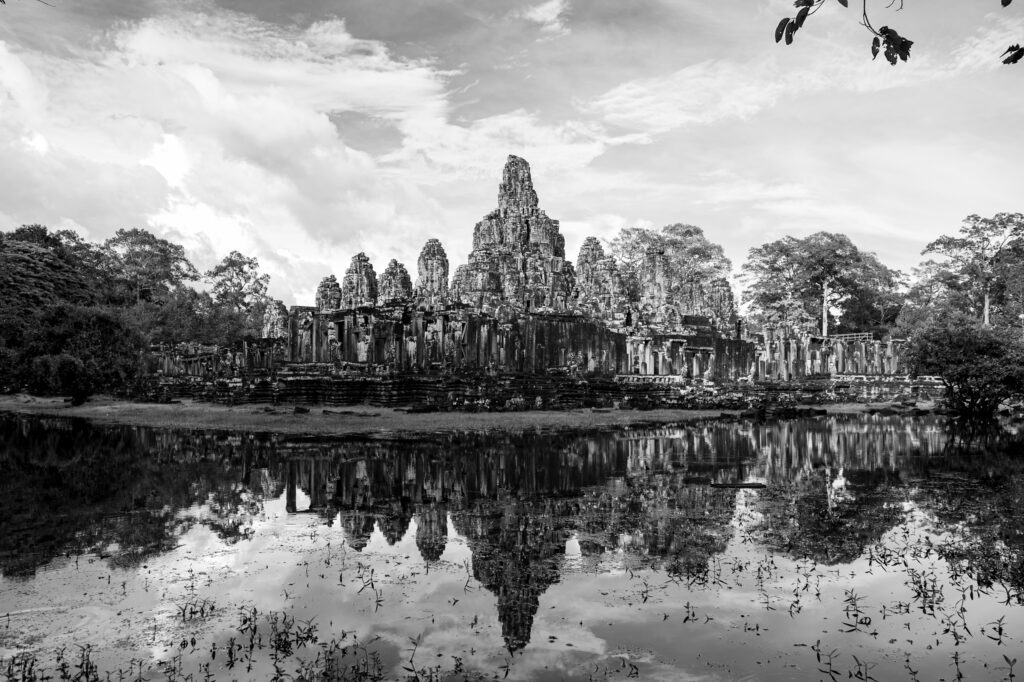
Photograph by Kevin Landwer-Johan
Key Lesson: When you practice setting your exposures like this for a while, you can develop a habit of predicting how many stops of adjustments you need to make. After a while, you will know which zone to place your exposure in to capture the broadest tone range without losing details.
Practical Application of the Zone System
At the time the Zone System was invented, the dynamic range of film was very narrow. It still is compared to our modern digital cameras. Cameras can now record detail in a scene that has very bright whites and also dense shadow areas in the same composition. This is why some photographers consider the system to be obsolete.
Cameras can now record detail in a scene that has very bright whites and also dense shadow areas in the same composition.
Adding to the differences between film and digital photography is the way images are processed after they’ve been captured. We have so much more power to manipulate digital images. This is increasing with every new software update.

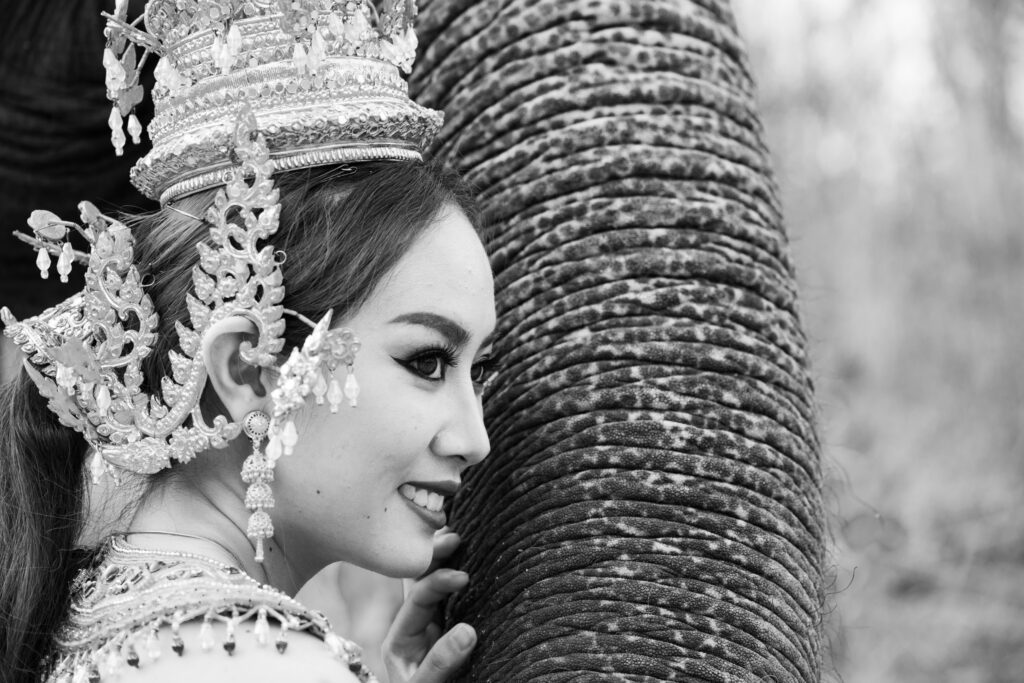
Photograph by Kevin Landwer-Johan
However, some things remain constant. Light is the same. Tones are the same. A well-exposed photograph holds far more potential to be processed to obtain the look you want, whether it’s analog or digital.
A skilled technician can produce much higher quality prints from a negative that’s been well exposed and properly developed. The same is true for digital images. A well-exposed digital photo can be manipulated far more than one that’s poorly exposed, without it losing quality.
Photograph by Kevin Landwer-Johan
Key Lesson: Being able to look at the scene you are about to photograph and discern the number of zones in the tone range helps you pick which zone to set your exposure. This will give you the most useful range of tones to work with when you are post-processing. You can more easily avoid blown-out highlights or dark areas that contain no detail.
The Zone System and High Contrast
Metering and exposing for low contrast scenes is easy enough. When the light is soft and even, taking well-exposed photos is not challenging. Most cameras will return good results in these conditions even when in auto mode.
Hard light and high contrast are more problematic. When the tone range in a scene is very broad, it may not be possible for your camera’s sensor to record every level of gray from black to white. If you set your exposure by taking an averaged light meter reading, detail in the shadows and/or the highlights may not be captured. In soft light and low contrast scenes, this is not a problem. But when the light is harsh, the tone range is more extreme.

Photograph by Kevin Landwer-Johan
When you look at what you want to photograph and discern the tone range, the Zone System can assist you in making good exposure choices. Seeing that the tone range in a high contrast composition is very broad, you need to consider which tone will be middle gray. How you set your exposure based on your choice of where the mid-tone is to be will affect how the tonal extremes also look.
Setting the exposure by taking a spot meter reading from an area that’s lighter than middle gray will help retain details in the brightest areas of the image. Spot metering off an area darker than middle gray means that any black areas in the image will not be completely black.

Photograph by Kevin Landwer-Johan
Use the Zone System With Black and White and Color Photography
The principles of the Zone System can be used to assist in improving both black and white and color photography, but it is more applicable to black and white.
As you look at a scene you want to photograph, you see everything in color. When you’re using black and white film or converting the images during post-processing, the colors are rendered as tones. How you set your exposure influences how colors appear whether you render them as black and white or not.
When you’re using black and white film or converting the images during post-processing, the colors are rendered as tones.
When you understand how the Zone System works and apply it well, you’ll begin to judge shadow density and highlight areas differently. You’ll understand the light value difference by the number of zones.

Photograph by Kevin Landwer-Johan
The more you practice using the Zone System, the faster you will become at adjusting your exposure settings. You will be able to perceive the tonal variations. You will know how many steps to change your aperture, shutter speed, and/or ISO settings to have your exposures appear how you want them to.
You may want the colors in your composition to look more saturated. Underexposing them a little will help achieve this. By being able to see where these colors fit in the overall tone range of your composition, you will be able to set your exposure more precisely.

Photograph by Kevin Landwer-Johan
Key Lesson: When creating monochrome images from a color scene, putting the Zone System into practice will help you decide how different colors will appear as tone values. Knowing that a deep red next to a deep blue will always render a lighter tone when converted to grayscale can help you make more accurate exposure settings.
Recommended Reading: If you’d like to learn how to create amazing black and white images, grab a copy of Photzy’s best-selling premium guide: Better Black and White.
Conclusion
Photograph by Kevin Landwer-Johan
Light is the essence of photography. Understanding it and how it reflects off different surfaces helps you take better photos. Being able to see and judge tone values empowers you to make more attractive compositions.
The Zone System can help you better appreciate the tone range and relationships in your photographs. As a photographer, you have the option to render any tone in a composition however you want to. You simply adjust your exposure to please yourself.
Discern the differences in tone and set your exposure to capture the style of photograph you want.

Photograph by Kevin Landwer-Johan
Self-Check Quiz:
- Can having an understanding of the Zone System and how it works help you improve your digital photography?
- Who developed the Zone System?
- What did they develop it for?
- Will the Zone System help you more when photographing high contrast or low contrast scenes?
- What metering mode is best used when working with the Zone System?
- Which has a higher dynamic range: film or digital?
- What is the essence of photography?
- What will the Zone System help you appreciate?


