

From the first days of photography, we’ve been shooting in black and white. Back in the days of film, a huge range of black and white films were available, each giving subtly different results and allowing photographers to produce stunning, artistic results.
With the advent of digital, black and white photography has become more of a choice. Most people shoot in color and then choose which photos to convert to black and white. In this guide, I’m going to look at how to work with black and white imagery and all that it entails.
Here is what we will cover:
- How to ‘see’ in black and white
- Choosing the right subjects
- Black and white conversion techniques
- Creating mood
Recommended Reading: If you’d like to learn how to create amazing black and white images, grab a copy of Photzy’s best-selling premium guide: Better Black and White.
How to ‘See’ in Black and White
Because we’re used to seeing in color, it takes a little practice to learn to ‘see’ an image in black and white. To get the best results, you need to learn to look beyond the colors in your shot. One thing that’s worth getting familiar with is the famous ‘Zone System,’ developed by Ansel Adams (arguably the greatest black and white landscape photographer of all time). To summarize, Adams worked out a chart that runs from zone 1 to zone 9. Zone 1 is pure black, while zone 9 is pure white. In the middle you have zone 5, which equates to 18% gray (halfway between pure white and pure black). Obviously, the zone system is somewhat more detailed than this, but it gives you an idea of how to ‘see’ in black and white (i.e. in shades of white, gray, and black). Seeing in black and white means practicing and teaching your eyes to see different shades of contrast.

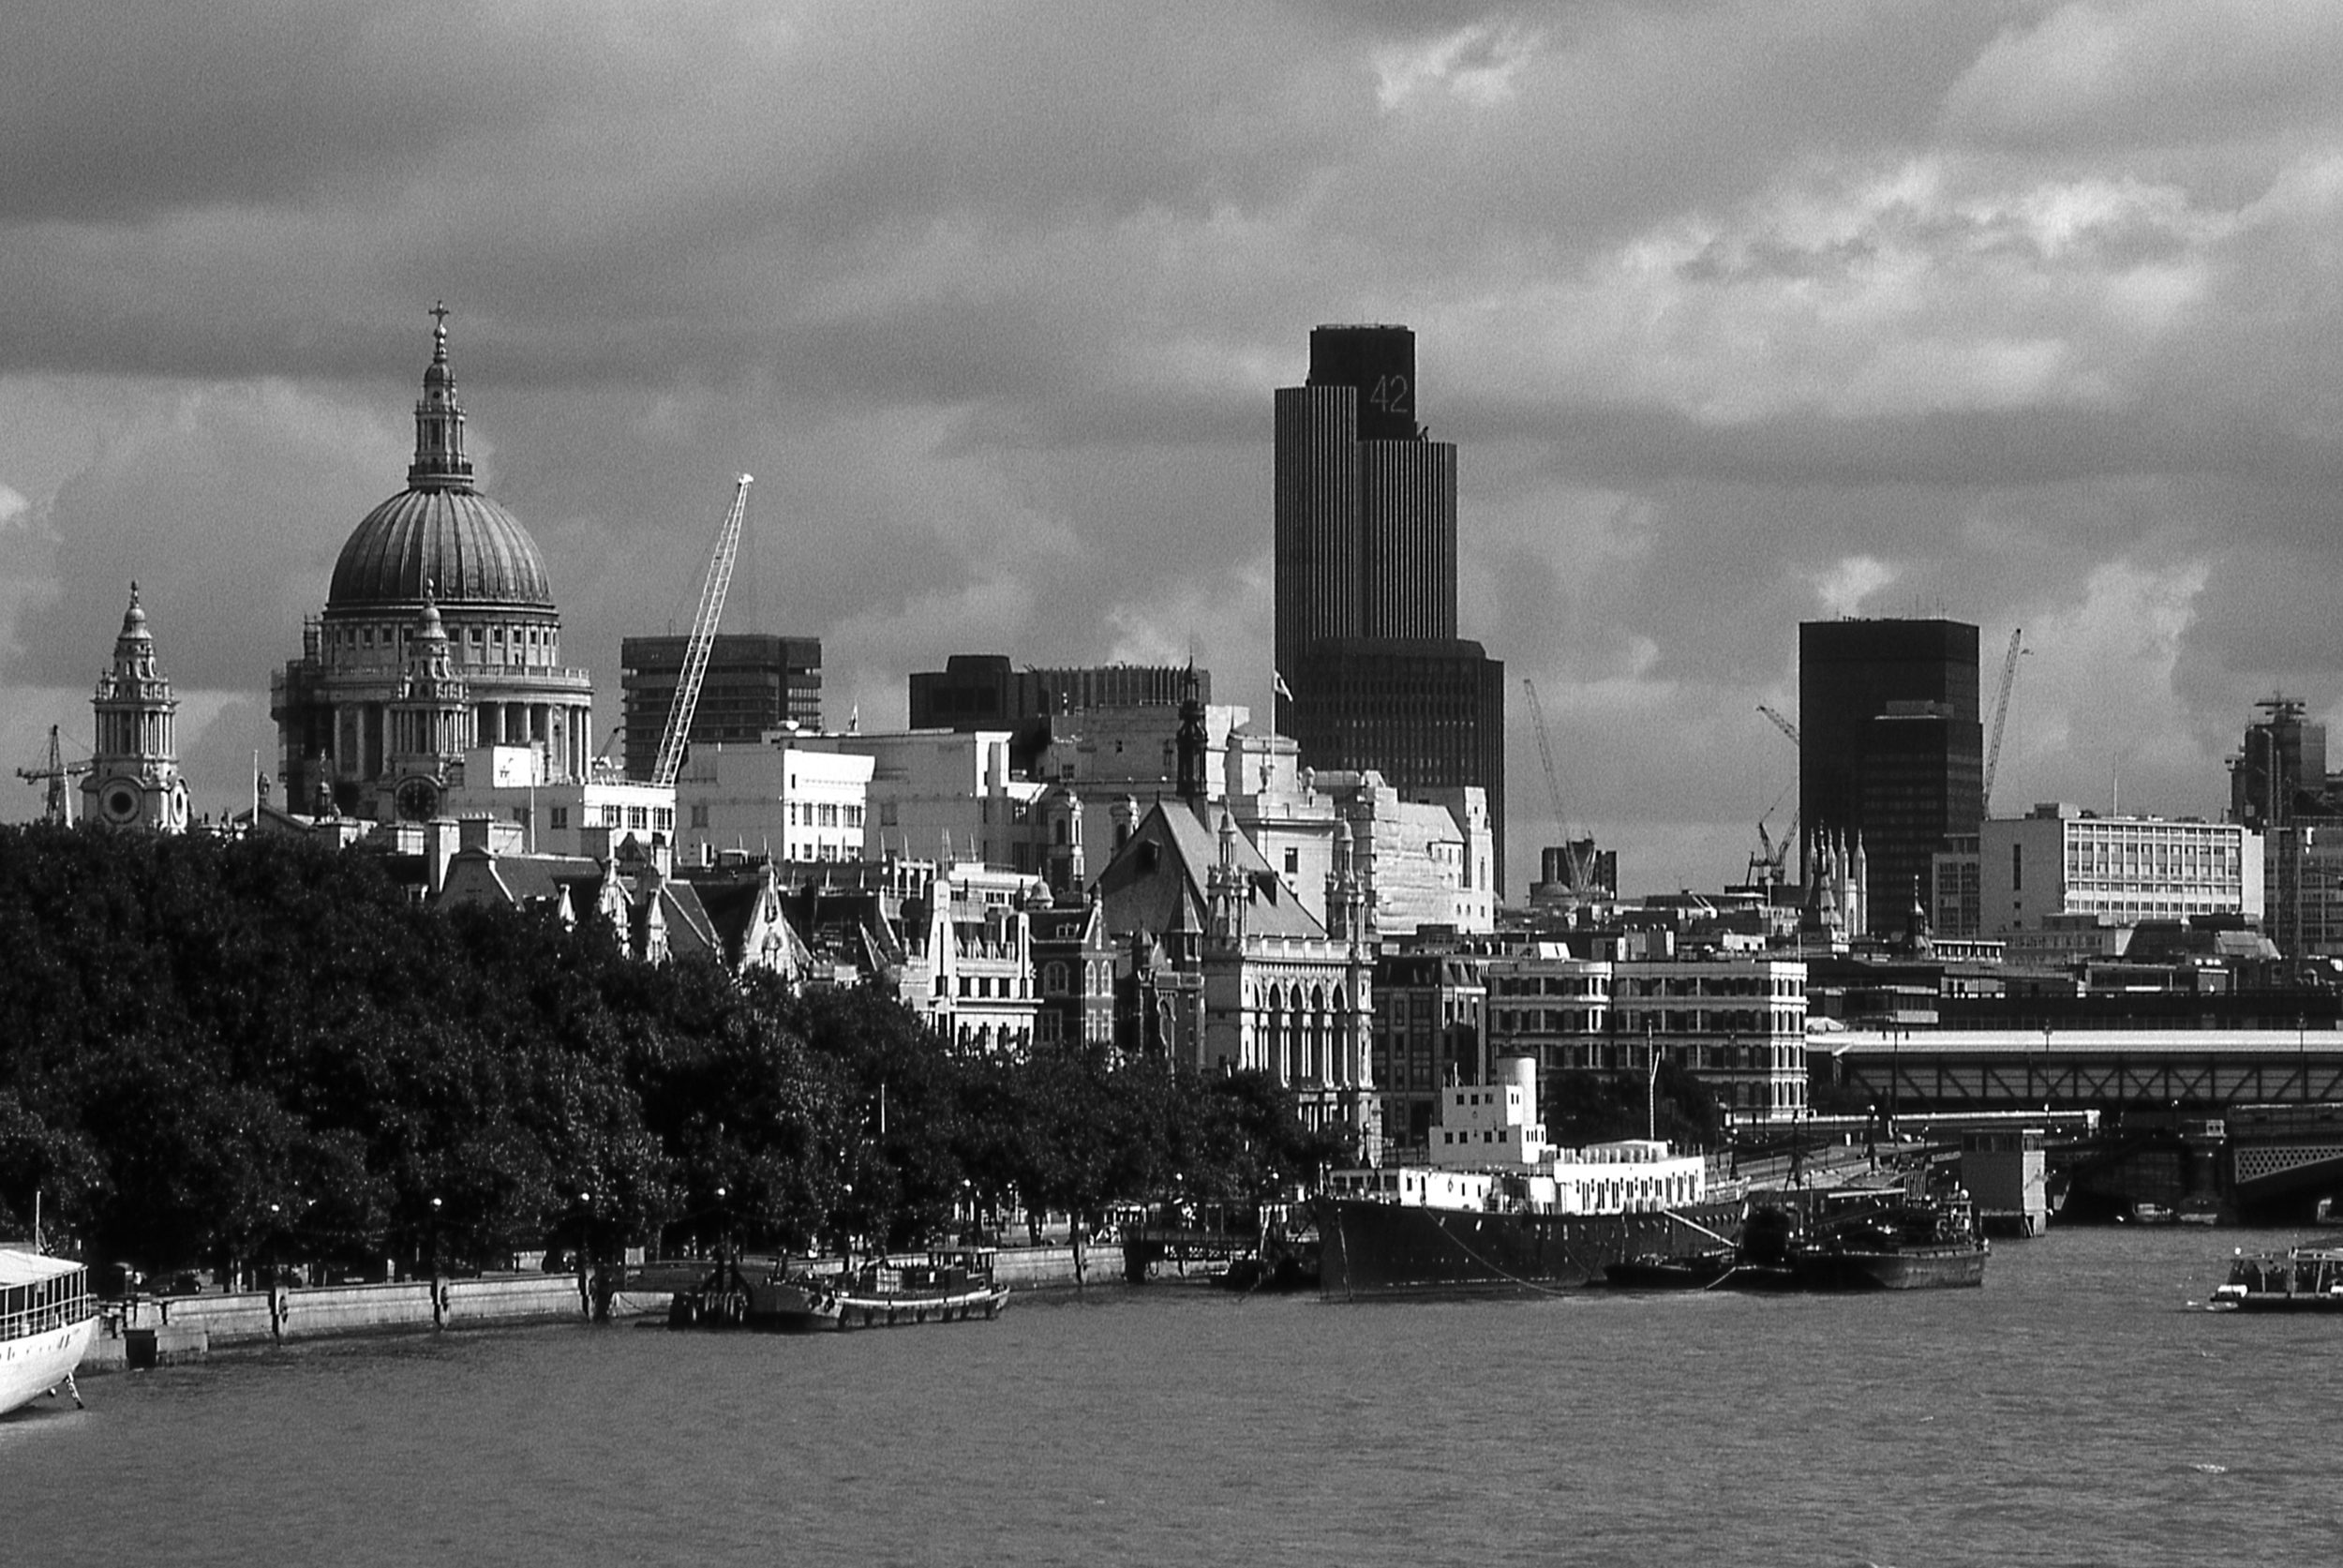
A key part of black and white photography is learning to see a color scene in black and white. Photograph by Jo Plumridge
Choosing the Right Subjects
When you’re looking to enhance the mood of your photography by using black and white, you need to choose the right subjects for your shots. Not everything works in black and white, and the skill is in knowing what makes a strong black and white image. So, let’s have a look at what you should look for.
Contrast
Probably the most important factor in black and white photography is contrast. Contrast is the difference between the lightest white and the darkest black. A high-contrast image is mainly black and white with little gray, whereas a mid-contrast image is an even mix of black, white, and different tones of gray. You’ll find that this works best for black and white imagery.
Key Lesson: You can add to and adjust contrast in postproduction using tools such as dodge and burn’ in Photoshop. However, do remember that you can’t create contrast where there is none, to begin with. This is why it’s very important to get your contrast right in-camera.
Captivating Skies
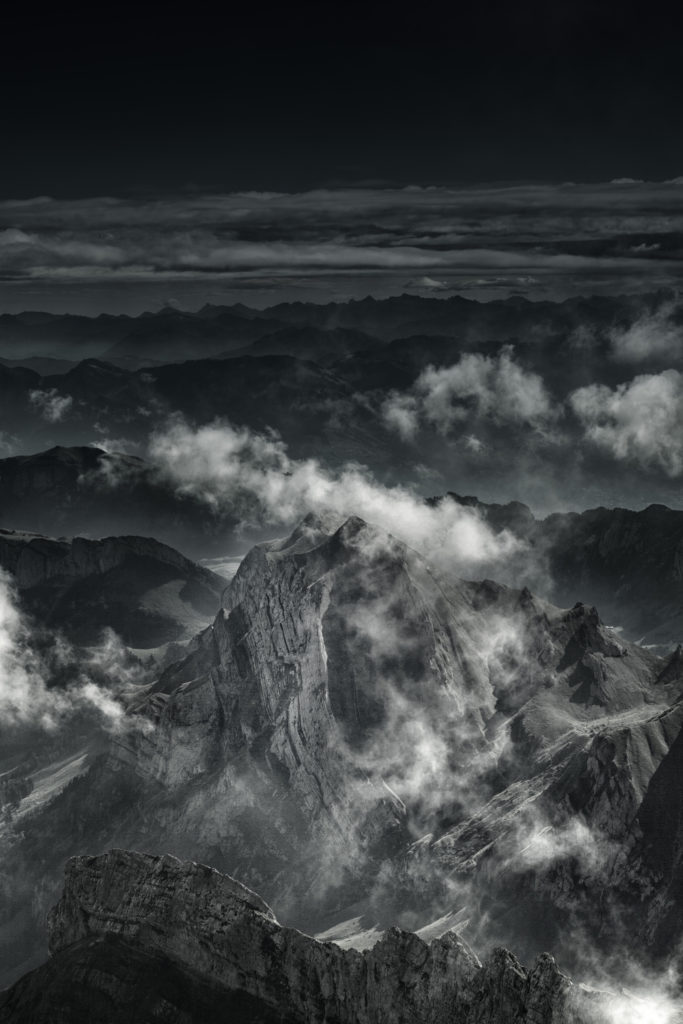
Dramatic contrast between the mountains and sky makes for an ideal black and white shot
If you’re shooting a black and white landscape, you need to pay close attention to the sky. When we take an image in color, we often look for a blue sky. While a pure blue sky can look fantastic in color, it becomes washed out and bland in black and white. So, when you’re working in monochrome, you need to look for a sky with plenty of cloud formations that will add depth and contrast to your shot.
The most important factor in black and white photography is contrast. Contrast is the difference between the lightest white and the darkest black.
Foreground Interest
We see things in 3D, so one of the challenges of photography is shooting in 2D but still making an image ‘pop’ from the page. Different colors make it easy to build up an image, but the danger with black and white imagery is that it can easily look flat. One of the easiest ways to build up a black and white shot is to make sure that you have foreground interest. Objects at the front of your shot, which contrast strongly with the surroundings, will give that ‘pop’ and help to draw a viewer into the photograph.
Leading Lines
This is one of the basic composition tenants and works equally well in color and black and white. Using lines in the landscape or on people’s faces for portraiture helps to create a strong shot and directs your viewer through the image. In black and white, leading lines can also give photos an interesting graphical feel.
Shadows

Converting a shot to black and white can add depth and strength to an image. Photograph by Jo Plumridge
When you’re shooting in color, long shadows aren’t usually your friend, as they can be very overpowering. But in black and white, the textures and patterns formed by said shadows can actually be your friend. They’ll come out as strong black tones that can really add contrast and definition.
Key Lesson: You can use filters to help strengthen your subjects; although, in my opinion, there are only two that are really useful in black and white photography, as you’ll still be shooting in color. A graduated neutral density filter allows you to easily balance differing exposures between the sky and the ground, helping you to avoid ending up with a blown-out sky. A circular polarizer boosts contrast by darkening the skies, which helps lighter objects stand out more clearly. You can also use it for removing reflections.
Recommended Reading: If you’d like to learn how to create amazing black and white images, grab a copy of Photzy’s best-selling premium guide: Better Black and White.
When you’re working in monochrome, you need to look for a sky with plenty of cloud formations that will add depth and contrast to your shot.
Black and White Conversion Techniques
You might wonder why it’s not just simpler to shoot in monochromatic mode straight from the camera. Well, for starters, shooting in black and white means you haven’t got the option of a color photograph at all. Also, the monochrome setting often only gives you the option of shooting in 8-bit Jpeg, meaning you’re losing a lot of detail and dynamic range. To get the best quality images for conversion, shoot in color, RAW mode, and 16-bit. There are lots of ways to convert images to black and white, including many actions you can download to do it automatically. But let’s look at three conversion techniques for Adobe Photoshop, which will provide excellent results and won’t be destructive to your photos.
Black and White
Photoshop has a dedicated black and white adjustment setting, which is a good way to start experimenting with the conversion. Go to Layer> New Adjustment Layer> Black and White and your image will automatically be converted to black and white. You can then make further adjustments by going to the Properties tab. You’ll find a selection of color sliders: reds, yellows, greens, cyans, blues, and magentas. Move the sliders to the right to brighten any tones associated with that color and to the left to darken them. These sliders are designed to emulate the colored lens filters that were used with a black and white film. So, you’ll probably find that the red and yellow filters work best for portraits, while the blue and green filters will be effective for landscapes.

How you choose to convert to a black and white image can make a real difference to the feel of a photograph. Photograph by Jo Plumridge
Channel Mixer
The Channel Mixer gives you a good level of control over black and white conversions. Go to Layer> New Adjustment Layer> Channel Mixer and click the box that says ‘monochrome’ under the Properties tab. You can then fine-tune by adjusting the red, blue, and green sliders; although, you should only make small adjustments or you’ll run the risk of destroying the highlights and shadows in the photo.
Gradient Map
The Gradient Map is the gold standard for black and white conversion, but it is more complicated. This is because it allows you to control every aspect of your image’s tonality. To start with, you’ll need to set your foreground and background colors to black and white on your toolbar (the shortcut for this is ‘D’ on your keyboard). Go to Layer> New Adjustment Layer> Gradient Map and select the black to white gradient in the drop-down box. Converting the image this way will give you a higher contrast look than with other methods.
You can now make further adjustments by double-clicking on the drop-down image of the gradient to open the Gradient Editor. You will see your gradient with a set of sliders to represent black and white. Moving the bottom sliders in will increase the contrast, moving the white slider in brightens your highlights, and moving the black slider in deepens the shadows. Keep an eye on your histogram to ensure that you don’t clip your highlights or shadows.
The Gradient Map is the gold standard for black and white conversion, but it is more complicated.
If you want to brighten your shadows or darken your highlights, you need to change the color of your sliders. If you double click on the slider you want to adjust, you’ll see a Color Picker color palette. This should be primarily red, but if it isn’t, press ‘H’ for Hue. Now click into the far left-hand side of the palette and slide the cursor up and down to get the tone you want. It’s really important to stay on the far left-hand side or you’ll give your image a color tint.
Lastly, you can control the mid-tones of your image by creating a new slider. You can do this by clicking just underneath the gradient bar and dragging slightly to make a new slider. Double-clicking on the new slider will bring the Color Picker back up and you can then select a gray tone from the top left, before sliding the cursor to get the look you want.
Creating Mood
Everything we’ve talked about so far is part of creating and enhancing the mood of your images in black and white. A black and white photograph is incredibly effective at creating drama and mood. Images are punchier because there aren’t colors to distract the eye, and the contrast between the blacks, grays, and whites gives photographs a very strong feel. You’ve also got far more potential to use the light and shadows as part of your shot, rather than worrying about how they’ll affect the colors in your image.

Nothing enhances mood and creates drama like a strong black and white image. Photograph by Isabella Jusková
I believe that the simplicity of black and white often creates a stronger emotion in viewers. I think there’s something about the old-time’ feel of a monochrome image that helps to tell a story and adds intrigue. By choosing the right images and the right conversion as detailed in the previous pages, you can use black and white to enhance the mood of a photograph.

Photograph by Jo Plumridge
Recommended Reading: If you’d like to learn how to create amazing black and white images, grab a copy of Photzy’s best-selling premium guide: Better Black and White.
Conclusion
Black and white photography has a timeless quality that can add mood to carefully chosen images. To enhance the mood with black and white, you need to:
- learn how to start ‘seeing’ things in black and white,
- choose subjects that will work well in black and white and have strong aspects that will provide adequate contrast and interest,
- learn how to convert color images to black and white so that you get a truly accurate black and white image, and
- think about how to create mood and interest in your images.
Self-Check Quiz:
- What is the Zone System?
- What is the most important factor in black and white photography?
- Why do bright blue skies not work in black and white photography?
- What filters can you use to aid black and white photography?
- What is the ultimate conversion technique in Photoshop for black and white?


