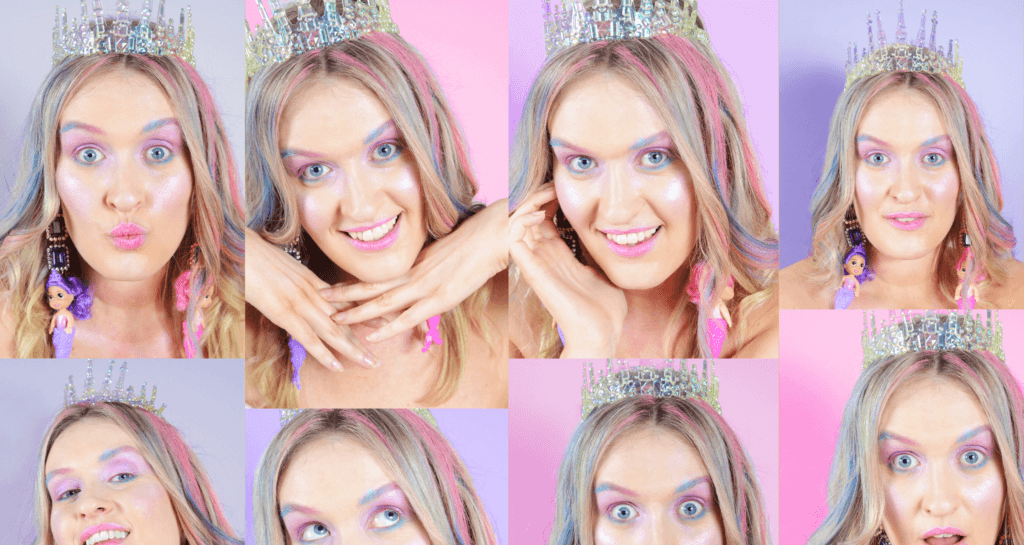

During a photo shoot, it can be easy to take hundreds of photographs, if not thousands. If you’re not the type that carefully sets up and executes just one frame per image on your storyboard, then you’ll walk away with a loaded memory card. How do you get from that to the one single image that you’re going to actually use?
It can be very difficult. Unless you’re creating a deliberate series of images (such as an editorial photoshoot), you only really want to showcase one or a couple of shots from each shoot. Sharing all of your edits can make you appear amateurish and can pad out your portfolio (which social media certainly is) with unnecessary duplicates.
So, how do you make the edit down from all those shots to just one? Here’s a great process that will stand you in good stead every time, from start to finish.
Here is what we will cover:
- Make your first selection pass
- Check for focus and quality
- Keep the purpose in mind
- Make brutal choices one on one
Recommended Reading: Want to learn how to make your photos stand out from everyone else’s? Grab a copy of Photzy’s Effective Storytelling premium guide.
Make Your First Selection Pass
Let’s start with the first selection pass. What this means is that you’re going to go through all of your images and make your first selections, which at this point should narrow it down by at least half of your shots.

Look at your images in your software of choice! Photograph by Domenico Loia
To start, you’ll need to have your images loaded up on a computer, laptop, or tablet which is suitable for the purpose. It should be able to run a piece of software that can help you mark the images with ratings. Lightroom is one of the most obvious choices here. You could also try brand-specific software, such as Nikon’s ViewNX-i.
Additionally, other third-party editing programs on the market also offer selection controls. Use whatever you have access to and works best for you.
Sharing all of your edits can make you appear amateurish and can pad out your portfolio with unnecessary duplicates.
Open the first image up on the full screen. The goal here is to make a quick decision about how it looks. Is it good enough to use at first glance? If yes, set the rating to one (or one star, or whatever particular rating system you can use within your program).
Do this quickly and simply get rid of anything that doesn’t look good enough. Whether they’re too blurry, unflattering, shot at the wrong angle, or whatever it might be, chop out those bad images quickly by not selecting a rating for them. Move on until you’re done.
Key Lesson: Without spending too much time, making quick first-impression decisions will help you to whittle out the worst shots in preparation for the next stage, and rating software is essential to keeping your thoughts in order.
Check for Focus and Quality
You should now have about half your images, or fewer, selected with a rating of one. Now you can filter your view to really streamline the process. Make sure that you can only see images with the rating of one to view your whole selection now.
Starting with the very first image again, open it up to full-screen – and then some. If your software allows you to automatically view the image zoomed in to a certain level, have it set to that. Otherwise, set your fingers on the zoom button ready to quickly cycle through the images. Remember, you don’t want to take all day over this. You want to make your selection as quickly as possible.

This image would be far less effective if the eye was not in focus! Photograph by Drew Graham
With the zoomed-in view turned on, make sure that your viewing window includes the most important aspect of the image. If you’re photographing a person, then that usually means the face, and specifically the eyes. If it’s something else, such as a product, you’ll want to make sure you can see that item.
What you are doing in this round is making sure that the focus is good or at least good enough for the standards you want to uphold. This is a very quick decision-making process that doesn’t require opinion or thoughts about artistic value. Set your lowest bar for focus – which may well mean you only want pin-sharp images – and stick to it.
Quickly blitz through the whole of your one-star-rated photos and mark them as two if the focus is good enough. If it isn’t, just leave the rating how it is and move on.
Key Lesson: Check for focus at a zoomed-in level and leave subjectivity at the door. Set your minimum desired sharpness and be ruthless in cutting out the shots that don’t meet it!
Keep the Purpose in Mind
However many images you have left now’s the time to set them back to the full-screen view and refine your selection to only those rated as two. We’ve reached the stage where you can start viewing your images through a different lens: their purpose.

Here, the watch is more important than the sleeve or the hand. Photograph by Lloyd Dirks
Is this an advertising campaign for a watch brand? A portrait for a senior session? An artistic still life? Whatever it is, you need to keep your purpose firmly in mind for this next round of edits. Does the watch look good and can you see it well in each shot? Is the senior’s portrait flattering? Does the still life carry the artistic weight you’re looking for?
If the answer is yes, then mark the image as a three. If not, leave it and move on.
You can actually do this round a couple of times if you’ve got multiple subjects. Using the example of our watch campaign, if you have a handsome male model wearing the watch, your selection might now only take the watch into account. But since you have a model in there too, you can go ahead and try another pass, looking at the model this time. Just make sure to do the pass for the primary purpose first – you don’t want to lose sight of what the images are for.
Key Lesson: Keep the purpose of your images in mind when making your selection. If the purpose isn’t demonstrated well in a particular image, you can’t let it cut, no matter how much you may personally like it.
Make Brutal Choices One by One
For this last round, you’ll hopefully have a quarter, or preferably far less, of your images left in your current highest-rated selection. Now it’s time to get down to brass tacks and be absolutely brutal about your choices.

A shot that presents the watch and the model in focus is flattering and captures the intended mood. When it ticks all the boxes, you know it’s right! Photograph by Angelo Mercadante
It might seem hard, but it has to be done. If you have two similar images (for example, the model looking in the same direction in the same pose), put them side by side and choose one. Just do it. You don’t need to agonize over every detail. You know they’re both in focus and both suit the purpose. Just go with your gut. Which image feels best?
Remember, people only see the images you put out into the world. They never see the images that you don’t share. No one’s going to be judging the selection you make, because they’ll never know what didn’t make the cut.
Remember, people only see the images you put out into the world. They never see the images that you don’t share
Keep going one by one on these images until you have them down to the maximum you need to select, even if that’s just one. When you’re in doubt, be brutal and pull the plug. The final image you choose should feel right and that makes your heart swell with pride at what a great job you’ve done. Don’t keep anything that doesn’t do that!
Key lesson: When it comes down to the last selection, compare images against one another and be brutal about deciding which is best. Don’t keep anything that doesn’t do the job!
Recommended Reading: Want to learn how to make your photos stand out from everyone else’s? Grab a copy of Photzy’s Effective Storytelling premium guide.
Conclusion
Editing down a group of images to just one best shot can be hard, but it’s easier if you follow this process:
- Make sure that you have software that can set ratings on images
- Make a first impression decision based on seeing the image in full screen
- Don’t take too long on any of your selection rounds
- Check for focus before making further decisions
- Keep your purpose in mind for the next round
- Drop anything that doesn’t work
- Be brutal and go one by one until you have your best image

Photography by Rhiannon D’Averc
Self-Check Quiz:
- What software programs could you use to select your images?
- Should you be looking at full-screen images or thumbnails?
- What should you zoom in on?
- How do you make sure the images you choose will be right for the job?
- How can you get that last selection down to just one?
- Why don’t you need to worry about being judged for your choices?
Learning Assignment:
The best way to try out this technique is, well, to try it! Either with a new shoot or a previously existing one, go through the whole set of images from start to finish until you have just one left. You’ll be amazed at how quickly you can start to make decisions, and how you can cut out shots that you might previously have agonized over.