


Introduction
Product photography is one of the most important parts of the e-commerce business. It is almost unimaginable to run an online business without implementing photography. Photography not just increases sales, but also creates a unique brand identity.
If you’re a product photographer or businessman, you might need to deal with different kinds of products. Glassware is different from other kinds of products. So, knowing how to photograph glassware is essential to create eye-catching images for customers. Your images will bring the customers to your door.
Online shopping has now become a part of daily life for a large number of people. According to one statistic, in 2020, over two billion people purchased goods or services online and e-retail sales surpassed US$4.2 trillion worldwide. That’s a huge number, and this number is increasing every day.
There is no alternative to enhance the skill level. Go through this guide to get directions on how to photograph glassware.
What you’ll learn in this guide
You’ll get a brief introduction and guidelines on how to photograph glass in this guide. Here are the topics we’ll cover:
- Equipment you need to photograph glass objects
- Full setup for glass photography
- How to use and improve light in glass photography
- Post-processing work suggestions
- Ideas and tips to shoot glassware
Recommended Reading: If you’re interested in learning more about light and how you can use it to improve your photography, grab a copy of Photzy’s bestselling premium guide: Understanding Light Book Two.
How to Photograph Glassware
Glassware photography is not as simple as other product shoots. You need to think about the lighting, the composition, and many more. It should be planned before shooting. Before starting, be prepared with all the equipment you’ll need for the shoot. Here is the list:
- Camera
- Tripod
- Background (both white and black)
- Whiteboard or paper
- Softbox
- Glass cleaner
So, let’s begin with the process.
Step 1: Clean the Product
The first thing to do while photographing glassware is to clean the product inside-out. This is important because the smallest dust particle or fingerprint might show up in the image. As glassware is transparent and clear, it’s more prone to show even the tiniest dust.
You can use glass cleaner and soft clothes that are made especially for glass. This will make your product shiny too. The surface of glassware is sensitive, so you need to handle it carefully. Only a clean and clear edge can give the professional look that your products require.
Step 2: Set the Background
Now that your product is ready to photograph, you need to set the background. A proper background will help to display the real shape of your product. Also, this can change the mood of your image. So, you need to choose the background based on your product type.
Using a black background is a good approach to shooting glassware. A black background can create more drama and more texture. The black background creates contrast too. Other than that, a white background can be used as well.
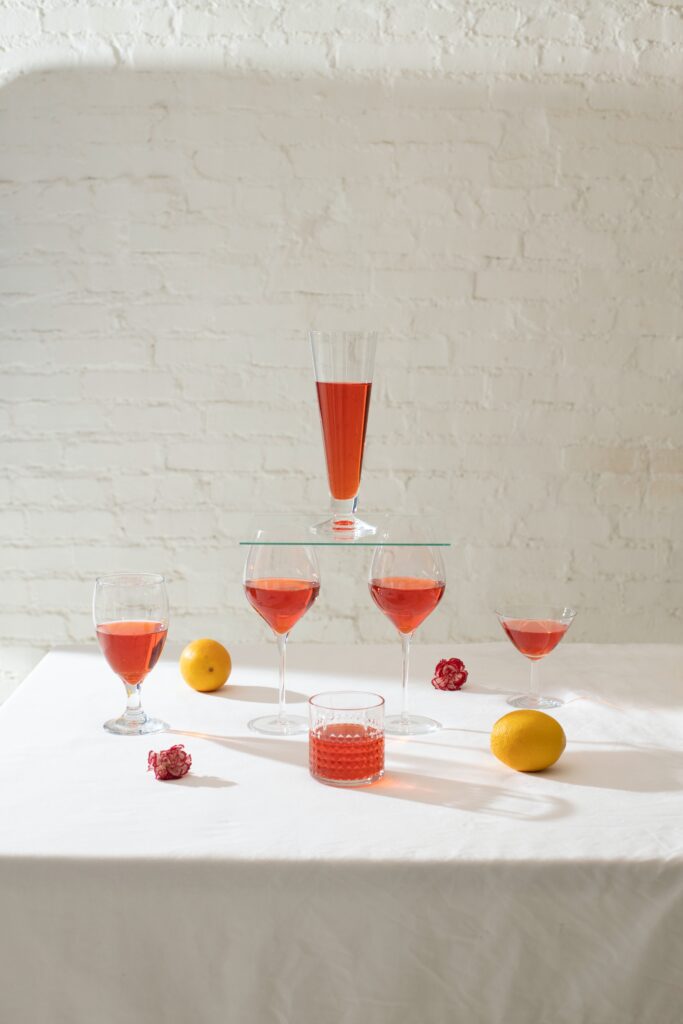
In some cases, a colorful background can be used if it goes with the other materials you use in your image. For example, if you put liquid in the glass or bottle, you can use a colorful background that matches well with the color of your subject.
Step 3: Lighting Setup
This is a vital part of photographing glassware. If you can’t set the lighting properly, all your effort will go in vain. So, you need to be extra careful about the lighting of your image. It’s not that you’ll have to use an expensive lighting setup; you can do it using simple and common lighting tools too.
You can use white paper or plastic to reflect light. Speedlights are essential to do this kind of shoot. Use a diffuser if needed. Using just one backlight might work if your product is transparent, but it’s better if you use at least two light sources.
If you can’t set the lighting properly, all your effort will go in vain.
Using softboxes and backlight is a good choice while shooting glassware. Another thing is, you can use hard light to create more interesting compositions. Hard light reflects on glassware so vividly. If there is liquid in your product, that will create even more artistic or abstract texture.
Step 4: Shoot
Now that you’re all set, it’s time to shoot. So, put your camera on a tripod. You need to use a tripod to avoid blurry images and to fix the frame properly. Then set the camera to manual mode and fix the settings that you want for your image.
While shooting glassware, use a large depth of field. That will make the edges clearer and more defined. You can use a fast shutter speed and it’s a must when you apply effects like splash. A fast shutter speed will freeze the moment and give a dramatic look. Keep the ISO lower to avoid excessive grain.
Finally, check the exposure, white balance, and then click!
Step 5: Post-processing
Even if you shoot with so much care, it’s not unusual to have small spots, smudges, or unnecessary reflection on your product. So, post-processing is a must for glassware photography. Post-processing will help you to get a more professional-looking and clear image.
Another reason why post-processing is important in this case is to keep consistency. If you want to make a brand, you need to maintain consistency so that your images can be recognized easily. This will create a unique style of your own too. You can use a specific background style, cropping, and lighting for all your images.
Again, many e-commerce sites demand special requirements to upload product images. So, for that too, you’ll have to do some post-processing work.
Adobe Lightroom and Photoshop are the two most common software programs that photographers or designers use to edit images. Lightroom is comparatively easier to use, great for organizing photos, and has a lot of photo editing tools. On the other hand, Photoshop requires some practice, but it has the highest level of editing options.
Five Glassware Photography Tips
Here are some glass photography ideas and tips that will help you to produce more professional images.
1. Use Backlight

Using a backlight is a must when shooting glassware. This won’t just look great; it’ll do a lot of work in your image too. Getting unnecessary reflections is one of the vital headaches while photographing glassware. Using a backlight can be a solution in this case.
Even if you’re shooting in natural light, you can still rely on the backlight. With that, use a diffuser and softboxes to get the perfect amount of light you need for your image.
2. Experiment With Light
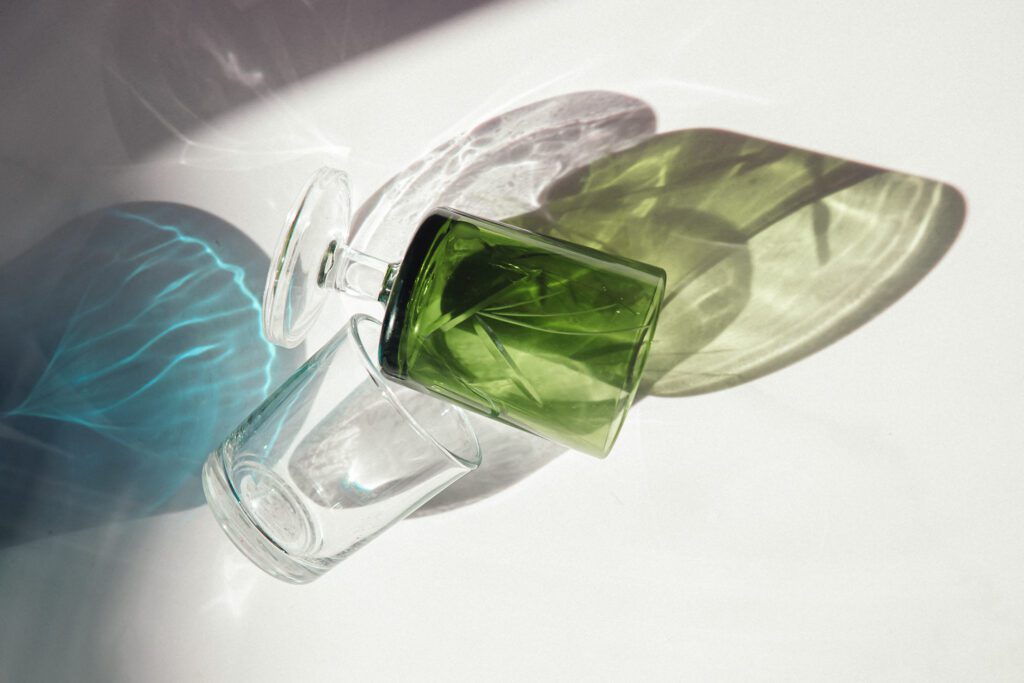
You need to think a lot before photographing glassware. Don’t settle until you get the right kind of photo with perfect light and a satisfactory composition. Keep experimenting with different light settings. There is an option to play with shadows or light. Instead of using flat light, try to make the light more dramatic.
Light is a strong element of photography. It can completely change the mood and emotion of images. Implement it wisely, depending on your product.
3. Use a Black Background
Using a black background while photographing glass objects is a popular idea. A black background gives an elegant look to the image. If this is about glass photography, it’s more useful because of the transparent nature of glass. The black background makes the glass sphere sharper and more visible.
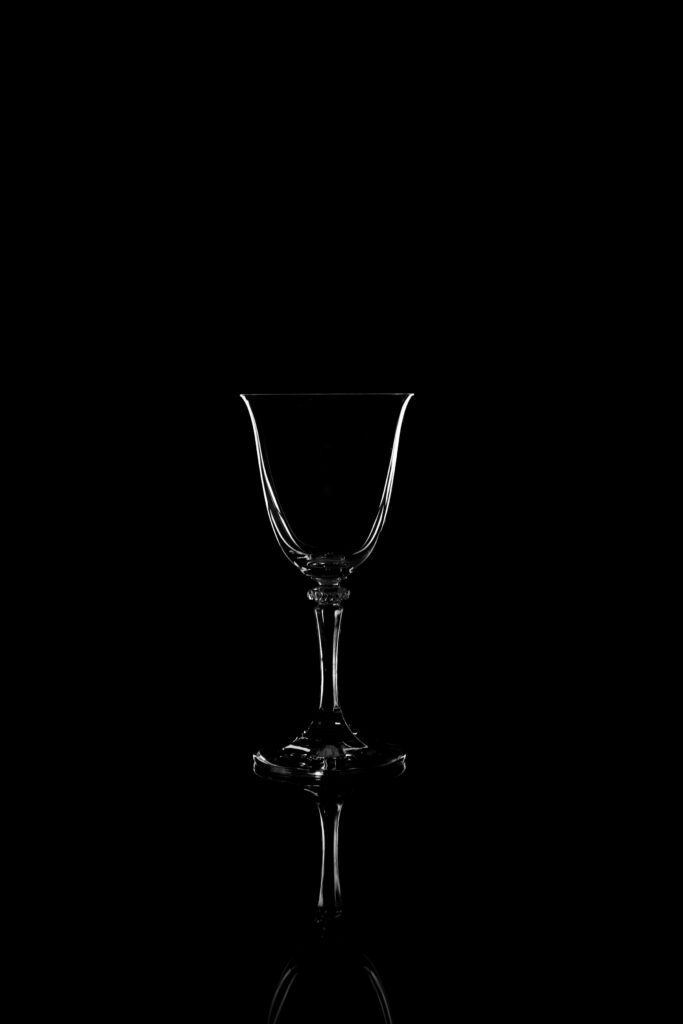
Moreover, it helps to control the light too. Unlike a white background, which reflects light a lot, a black background absorbs light. So, you don’t need to think about the extra light that the white background will produce. It’s a useful way to avoid reflections in glass photography.
4. Add Life and Drama
As photographing glass is still life photography, you need to add some life to your objects so that viewers can connect with your images easily. One important thing about product photography is that it should show the object in such a way that customers can relate the products to their everyday life.
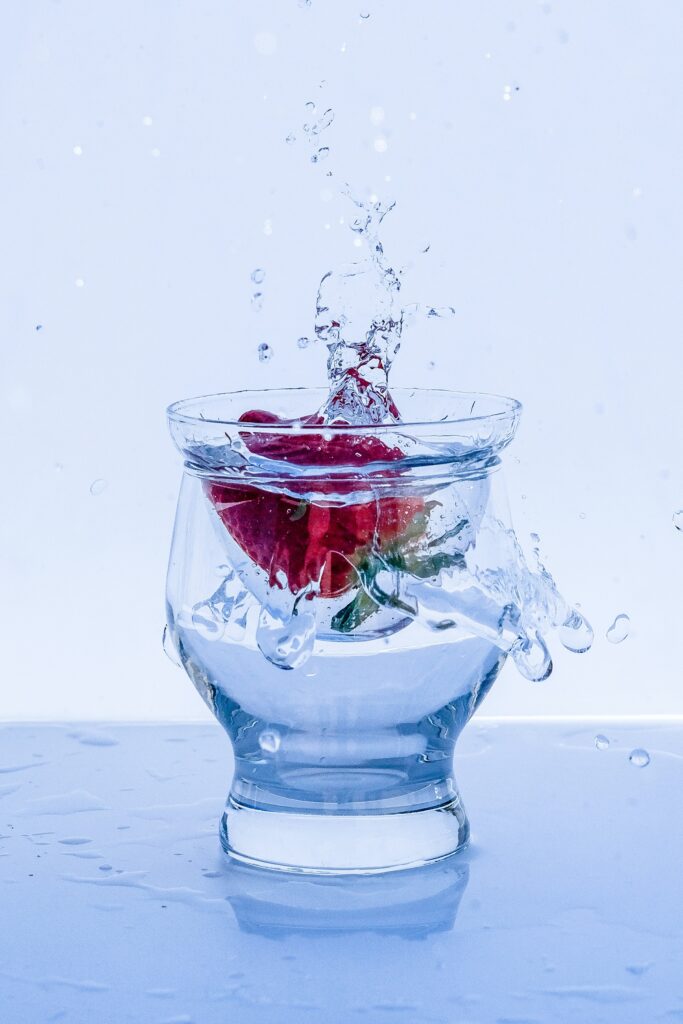
For example, say you’re doing wine glass photography. You can put some liquid in a glass or make a splash with a fast shutter speed. Or keep some ice inside, which will create a water bubble around the glass. This is also applicable while photographing glass bottles or glass plates. Use other elements to give your images life.
5. Composition
We’ve already talked about composition in other sections by talking about light, background, etc. All these are part of the composition. There is no specific rule to get the best composition. You need to try and explore. Try different angles to change the perspective, create a splash, and use interesting backgrounds.

There is scope to play with colors while photographing glass. So, utilize color creatively. You can fill the glass to avoid reflections. Try symmetric composition to give a soothing feeling to your image. Give time and try not to bring a monotonous look to your image.
Recommended Reading: If you’re interested in learning more about light and how you can use it to improve your photography, grab a copy of Photzy’s bestselling premium guide: Understanding Light Book Two.
Final Thoughts
Glass photography techniques are different from other product photography. There is a necessity to use creativity here. One major part of glassware photography is to show the edges or glass sphere clearly along with the actual shape. Keeping that in mind, one needs to focus on how to make the product livelier.
One major part of glassware photography is to show the edges or glass sphere clearly along with the actual shape.
In this growing world of e-commerce business, one needs to be creative and smart to survive the competition. Without being professional, it’s difficult to keep pace. And in this run, there is no alternative to creating top-notch product images. A single image can say a hundred words.
Self-Check Quiz:
- How do you avoid reflections in glass photography?
- Why is it necessary to use a backlight?
- How many lights should you use while photographing glassware?
- Why should you include other elements in glass photography?
- What is the use of a black background?


