

Before computers and digital photography, there was the Spirograph. It was a geometric drawing tool introduced in 1965, which created spiral geometric drawings. Predating the Spirograph, back in 1827 there was the Speiragraph, which was a similar device that created elaborate spiral drawings intended to stop bank note forgery.
People have been fascinated with abstract twirled art for a long time. It’s never been easier than now, in the digital photography era, to create these amazing abstract images.
If you’ve ever wondered how to create these pieces of art, this guide is for you.
This forum of creative artwork is referred to as Twirling. The main process that forms the basis of a twirl is easy, but that’s only the start. There are so many things you can do to customize your twirl that the possibilities are endless. This guide will walk you through the complete process of creating a twirl. It’ll also give you new twists and ideas of how you can take your twirl to the next level. With these ideas and your creativity, you’ll be able to make your twirl art really stand out.
People have been fascinated with abstract twirled art for a long time. It’s never been easier than now, in the digital photography era, to create these amazing abstract images.
When you’ve completed this article…
- You’ll have a thorough understanding of how to create an incredible twirl.
- You’ll know what types of images create great results and how you can manipulate them to achieve even more amazing results.
- You’ll know how to create an automatic work flow that you can manipulate after your twirl is created, allowing you to adjust and fine tune your art work non destructively.
- You’ll have a skill set you can utilize to make your twirls pop.
So before we begin the process of creating your first twirl, let me ask you a question.
Wouldn’t it be great if you could just click a play button and create a twirl automatically?
Of course it would, but how would you personalize or vary your creation if it’s just an automatic action? The process we’re going to create will allow you to do just that.
Choosing an Image
So first let’s talk about what image would be good for a twirl.
The short answer is that you can create a twirl from any image. Are they all going to be fantastic? Possibly not, but you’ll learn which ones are the best by trial and error. I’d suggest starting with an image that has some bright colors.

Photograph by Rob Eyers
The example photo that I’ll be using (above) is a shot of a wild turkey from Mexico.
Crop the Image

Photograph by Rob Eyers
In this image, I’ve cropped the turkey down to just the most colorful part, which will make for a more interesting twirl. So, pick a colorful image of yours and then open it in Photoshop. Crop it down if necessary, and let’s begin.

Photograph by Rob Eyers
The layer panel should look like the image above with your image instead of my turkey.
Creating an Action
Now we’re going to create an action that’ll create the twirl effect.
- Open up the action panel.
- If you don’t see an action panel, got to WINDOW and click on ACTION.
- To start the action, click on the page icon beside the trashcan in the bottom-right corner of the action panel as indicated in the image below.

Photograph by Rob Eyers
Name the action and assign it to an action set.
- Name your action TWIRL.
- Pick an action set to save it in.
- Click RECORD.

Photograph by Rob Eyers
Creating Radial Blur
Everything done from this point on will be recorded in the action. When the action is completed, it can be run to create a twirl of a new image with a single click.

Photograph by Rob Eyers
To prepare the basis of the twirl, create a new layer named RADIAL.
- In the layers panel, right-click the background layer and select “duplicate layer.”
- Enter the name ‘RADIAL’ and press OK.
The RADIAL layer will now require some processing.

Photograph by Rob Eyers
The RADIAL layer will require some lines to work with.
- Select the RADIAL layer.
- Go to Filter / Pixelate / Mezzotint.
- Select Medium Lines and then click OK.
The RADIAL layer has some lines now and looks a bit strange.

Photograph by Rob Eyers
The RADIAL layer lines now require some radial processing.
- Select Filter / Blur / Radial Blur.
- Set the amount to 100.
- Set the Blur Method to Zoom.
- Set the Quality to Draft and then click OK.
This is the first of three Radial Blurs for the RADIAL layer.
For the second Radial Blur:
- repeat the Radial Blur exactly like the previous step.
For the third radial blur:
- select Filter / Blur / Radial Blur,
- set the amount to 100,
- set the Blur Method to Zoom, and
- set the Quality to Best and then click OK.

Photograph by Rob Eyers
By now, your image should look something like the image above. You now have the main foundational layer created for your twirl.
Creating the Twirl Effect
Next we’ll create the first of two twirl layers by duplicating the RADIAL layer.
- Right-click on the RADIAL layer and choose “duplicate layer.”
- Name the new layer ‘TWIRL PLUS.’
- Right-click on the TWIRL PLUS layer and select “Convert To Smart Object.”

Photograph by Rob Eyers
Creating the first twirl is the next step.
- Click on the TWIRL PLUS layer.
- Select Filter / Distort / Twirl.
- Set the Angle to 150 and then click OK.
You can select any angle between 1 and 999, but 150 is a good starting point.

Photograph by Rob Eyers
So now you have your first twirl layer which should look something like the image above.

Photograph by Rob Eyers
The blending mode must now be changed so that the TWIRL PLUS layer blends with other layers.
- Click on the box in the layer panel as indicated by the arrow in the image above.
- The box says Normal and a drop-down list will appear when you click on it.
- From the drop-down list, select Lighten.
You can always go back and try other blend modes later to see if you like something better.
The twirl is beginning to appear, but one more twirl layer is still required.
- Right-click on the TWIRL PLUS layer and select Duplicate Layer.
- Name this layer ‘TWIRL MINUS.’
- Select the TWIRL MINUS layer by clicking on it.

Photograph by Rob Eyers
Your layer panel should now look like the image above.
The twirl of the TWIRL MINUS layer needs to be adjusted:
- Double-click on the word Twirl in the TWIRL MINUS layer.

Photograph by Rob Eyers
The twirl settings dialogue is now open as shown in the image above:
- Adjust the twirl Angle to the same degree used in the TWIRL PLUS layer, only this time make it negative (-150).

Photograph by Rob Eyers
You’ve just created your first twirl!
There is one last thing to do, and it’s very important!

Photograph by Rob Eyers
You have to stop your action recording!
Click the square ‘stop’ button to the left of the red record circle in the Actions panel.
If that square stop button isn’t selected, Photoshop will continue to record everything you do past this point.
Congratulations! You’ve now created your twirl action.
This action will speed up twirl creation and relieve you from all the repetitive steps. The smart object twirl layers are adjustable so further creativity is still possible.
It’s time to test the action that you’ve just created.
- Open another image in Photoshop.
- Select the Twirl action.
- Press play.
It’s as easy as that. Just sit back for a few moments and watch as the next twirl is created.
The background layer can be turned off now. You may also want to see if you prefer the twirl without the RADIAL layer being visible. To turn a layer OFF, or ON, click on the eye to the left of the layer.
You’re not done with your Twirl yet!
In fact, you’ve just started. Next, let’s discuss some of the possibilities in preparing the image before it’s twirled. So far, other than cropping, you’ve used one of your single photos just as it is.
Using Four Copies of an Image
Next, we’re going to create an image to use in a twirl that has four copies of one image in it.

Photograph by Rob Eyers
- Open an image in Photoshop.
- Select Image / Canvas Size to see the Canvas Size dialogue box.
- Enter the settings as you see them in the image below.
- Click OK.

Photograph by Rob Eyers
The image is now like the image above.

Photograph by Rob Eyers
To transform the image as in the image above, do the following:
- Copy the image to a new layer by right-clicking on the layer panel and selecting Duplicate Layer.
- Select the duplicate layer.
- Flip the duplicated layer upside down by selecting Image / Transform / Flip Vertical.
- Select the ‘move’ tool and move the duplicate layer into position under the first image.
- Flatten the layers by pressing Ctrl Shift M.

Photograph by Rob Eyers
Here is how to fill in the other half of the image:
- Duplicate the layer as in the last step.
- Flip the new layer horizontally by going to Image / Transform / Flip Horizontally.
- Select the ‘move’ tool and move the duplicate layer into position beside the first image.
- Flatten the layers by pressing Ctrl Shift M.
Now your canvas should look similar to the image above.
It’s time to run your Twirl Action.

Photograph by Rob Eyers
This results in a completely different effect from the twirl of the single image. There are many more possibilities in preparing an image before you twirl. This is only one of many approaches you could take. Hopefully this has given you an idea of the possibilities when manipulating an image before twirling.
Further Enhancements
Let’s take it to the next level.
Just like any image you bring into Photoshop, you have many tools that you can use to enhance and adjust it. You could turn the Radial layer off, for instance, or perhaps adjust its opacity instead. You could apply color adjustments and/or saturation to selective layers or to the whole image.
Selective sharpening or blurring of the whole twirl or selective layers can add depth. Flipping and/or moving twirl layers can open up another whole area of customizing your twirl. Any of your adjustment layers can have masks added to limit your adjustment to a specific area. You could duplicate a twirl or radial layer and make separate adjustments to it or portions of it.
It’s impossible to go into the details of all the possible adjustments you could make in this quick guide. I will, however, detail one move that will make a huge difference for you.
- Select the TWIRL MINUS layer on the top of your layer stack.
- Hold down Ctrl / Alt / Shift and press E.
This creates a combined layer above all the other visible layers

Photograph by Rob Eyers
This is going to make your twirl pop.
- Go to Filter / Other / High Pass and set the Radius to 10.
This amount of Radius is not a hard-and-fast rule. Different images may work better with other amounts, so try different radius amounts and find out what you like.

Photograph by Rob Eyers
Change the blending mode to Overlay

Photograph by Rob Eyers
To take it even further, add a second layer.
- Select the overlay layer.
- Duplicate the Overlay layer by pressing Ctrl J.
- Change the blending of the new layer to Linear Light.
- Change the opacity to taste and/or apply a layer mask to limit where the effect is visible.
Adjusting the opacity and/or masking of these adjustment layers will fine tune the twirl, so have fun.

Photograph by Rob Eyers
Here is the ‘four-turkey’ image before any additional adjustments.

Photograph by Rob Eyers
And here is the same image after applying a variety of adjustment layers including masking of portions of the RADIAL layer.
Final
Twirling is a lot of fun. Experiment with different adjustment layers/opacity/ sharpening and more. Apply these adjustments to individual layers or all of the layers together. Apply masks to adjustments to isolate them to where you want them. Duplicate and flip twirl layers, or even move them. Play around and see what you can pull out of your twirls; what’s hidden there may just surprise you.
Twirls are great as computer desktop images or as pictures to hang on the wall. They can also be sold for stock imagery or used on business cards. Twirls that are customized to match the color of a room can make fantastic large wall hangings too.
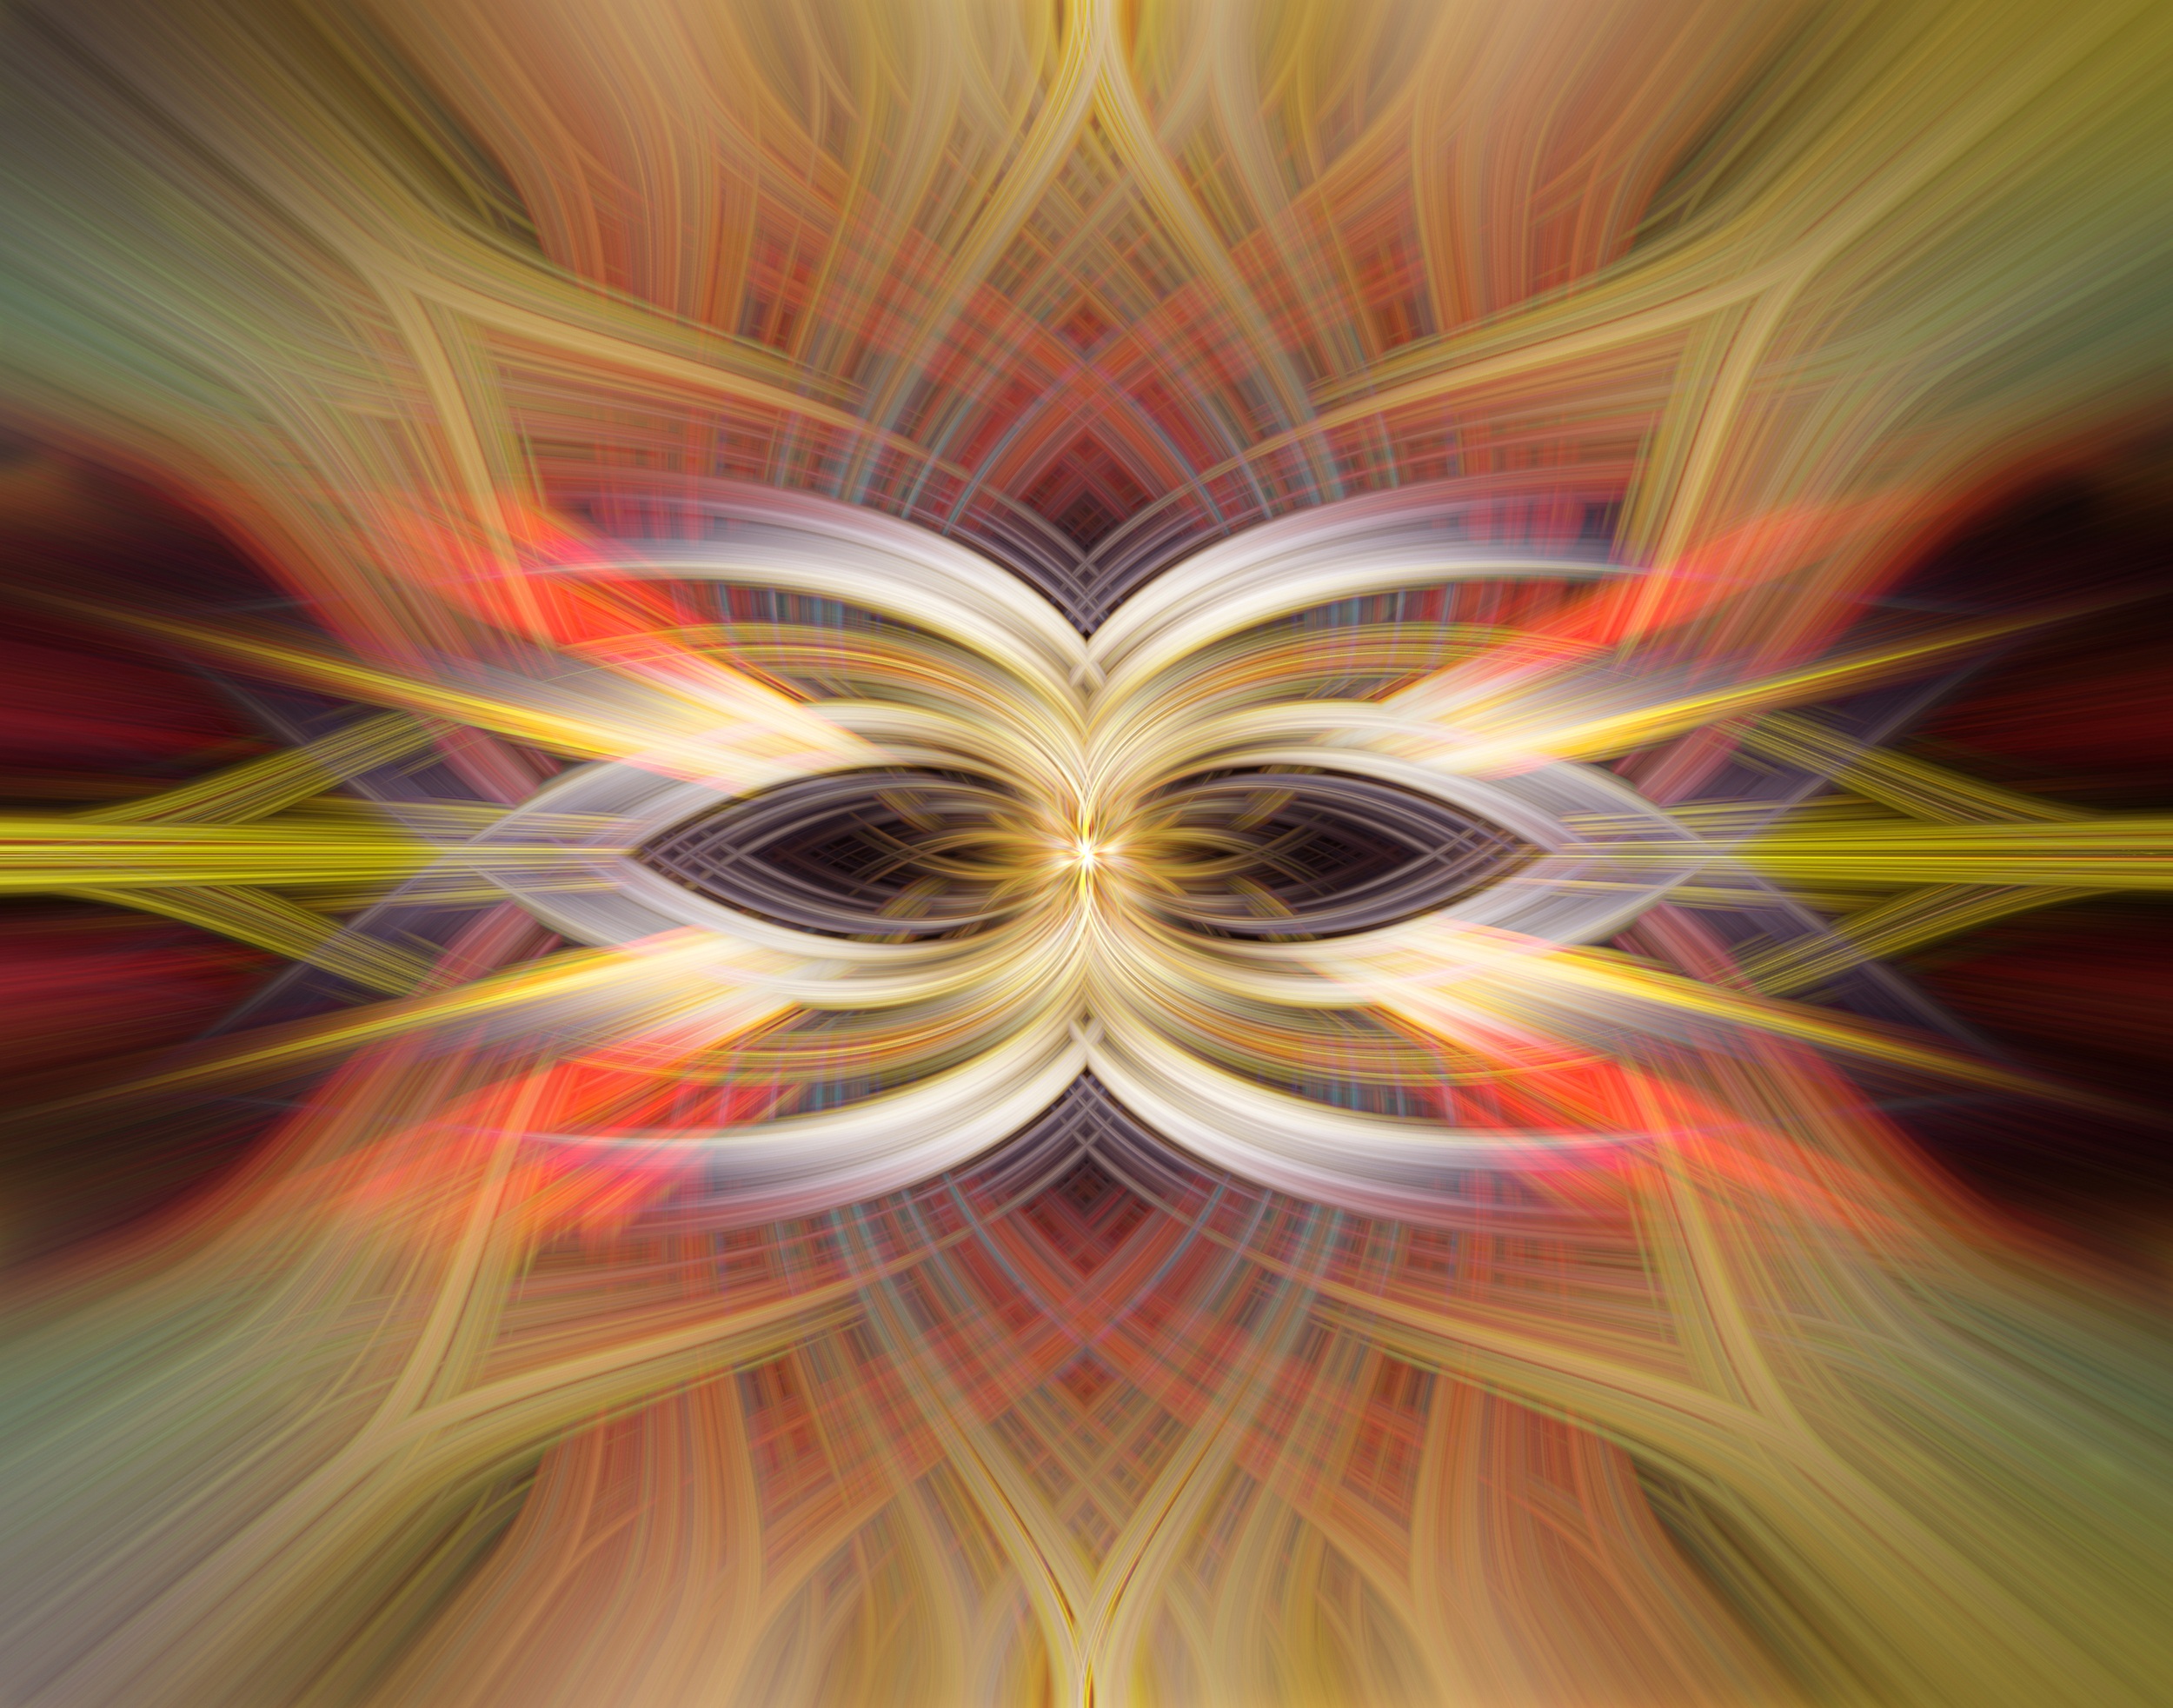
Here are a few more examples.

Photographs by Rob Eyers

Photographs by Rob Eyers

Photograph by Rob Eyers

Photograph by Rob Eyers
Self-Check Quiz:
- What are the three stages of creating a twirl?
- What is the advantage of creating a Photoshop Action?
- What image makes a good twirl?
- How can an image be modified to create twirl variations?
- How can a twirl be improved after the initial twirl?
- Are there any limits to enhancing a twirl with post-processing?


