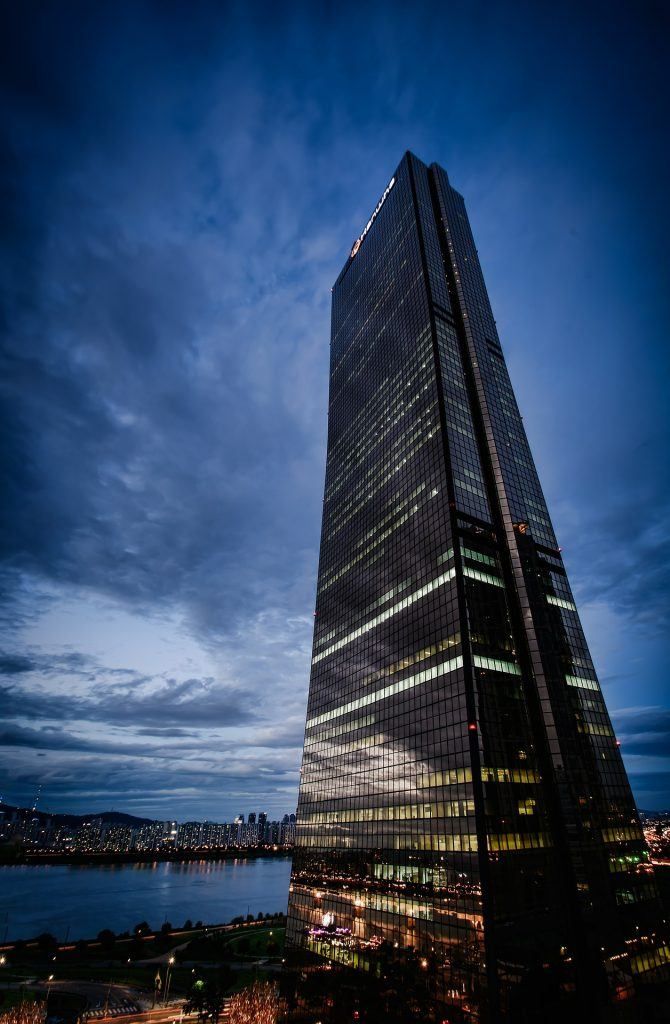
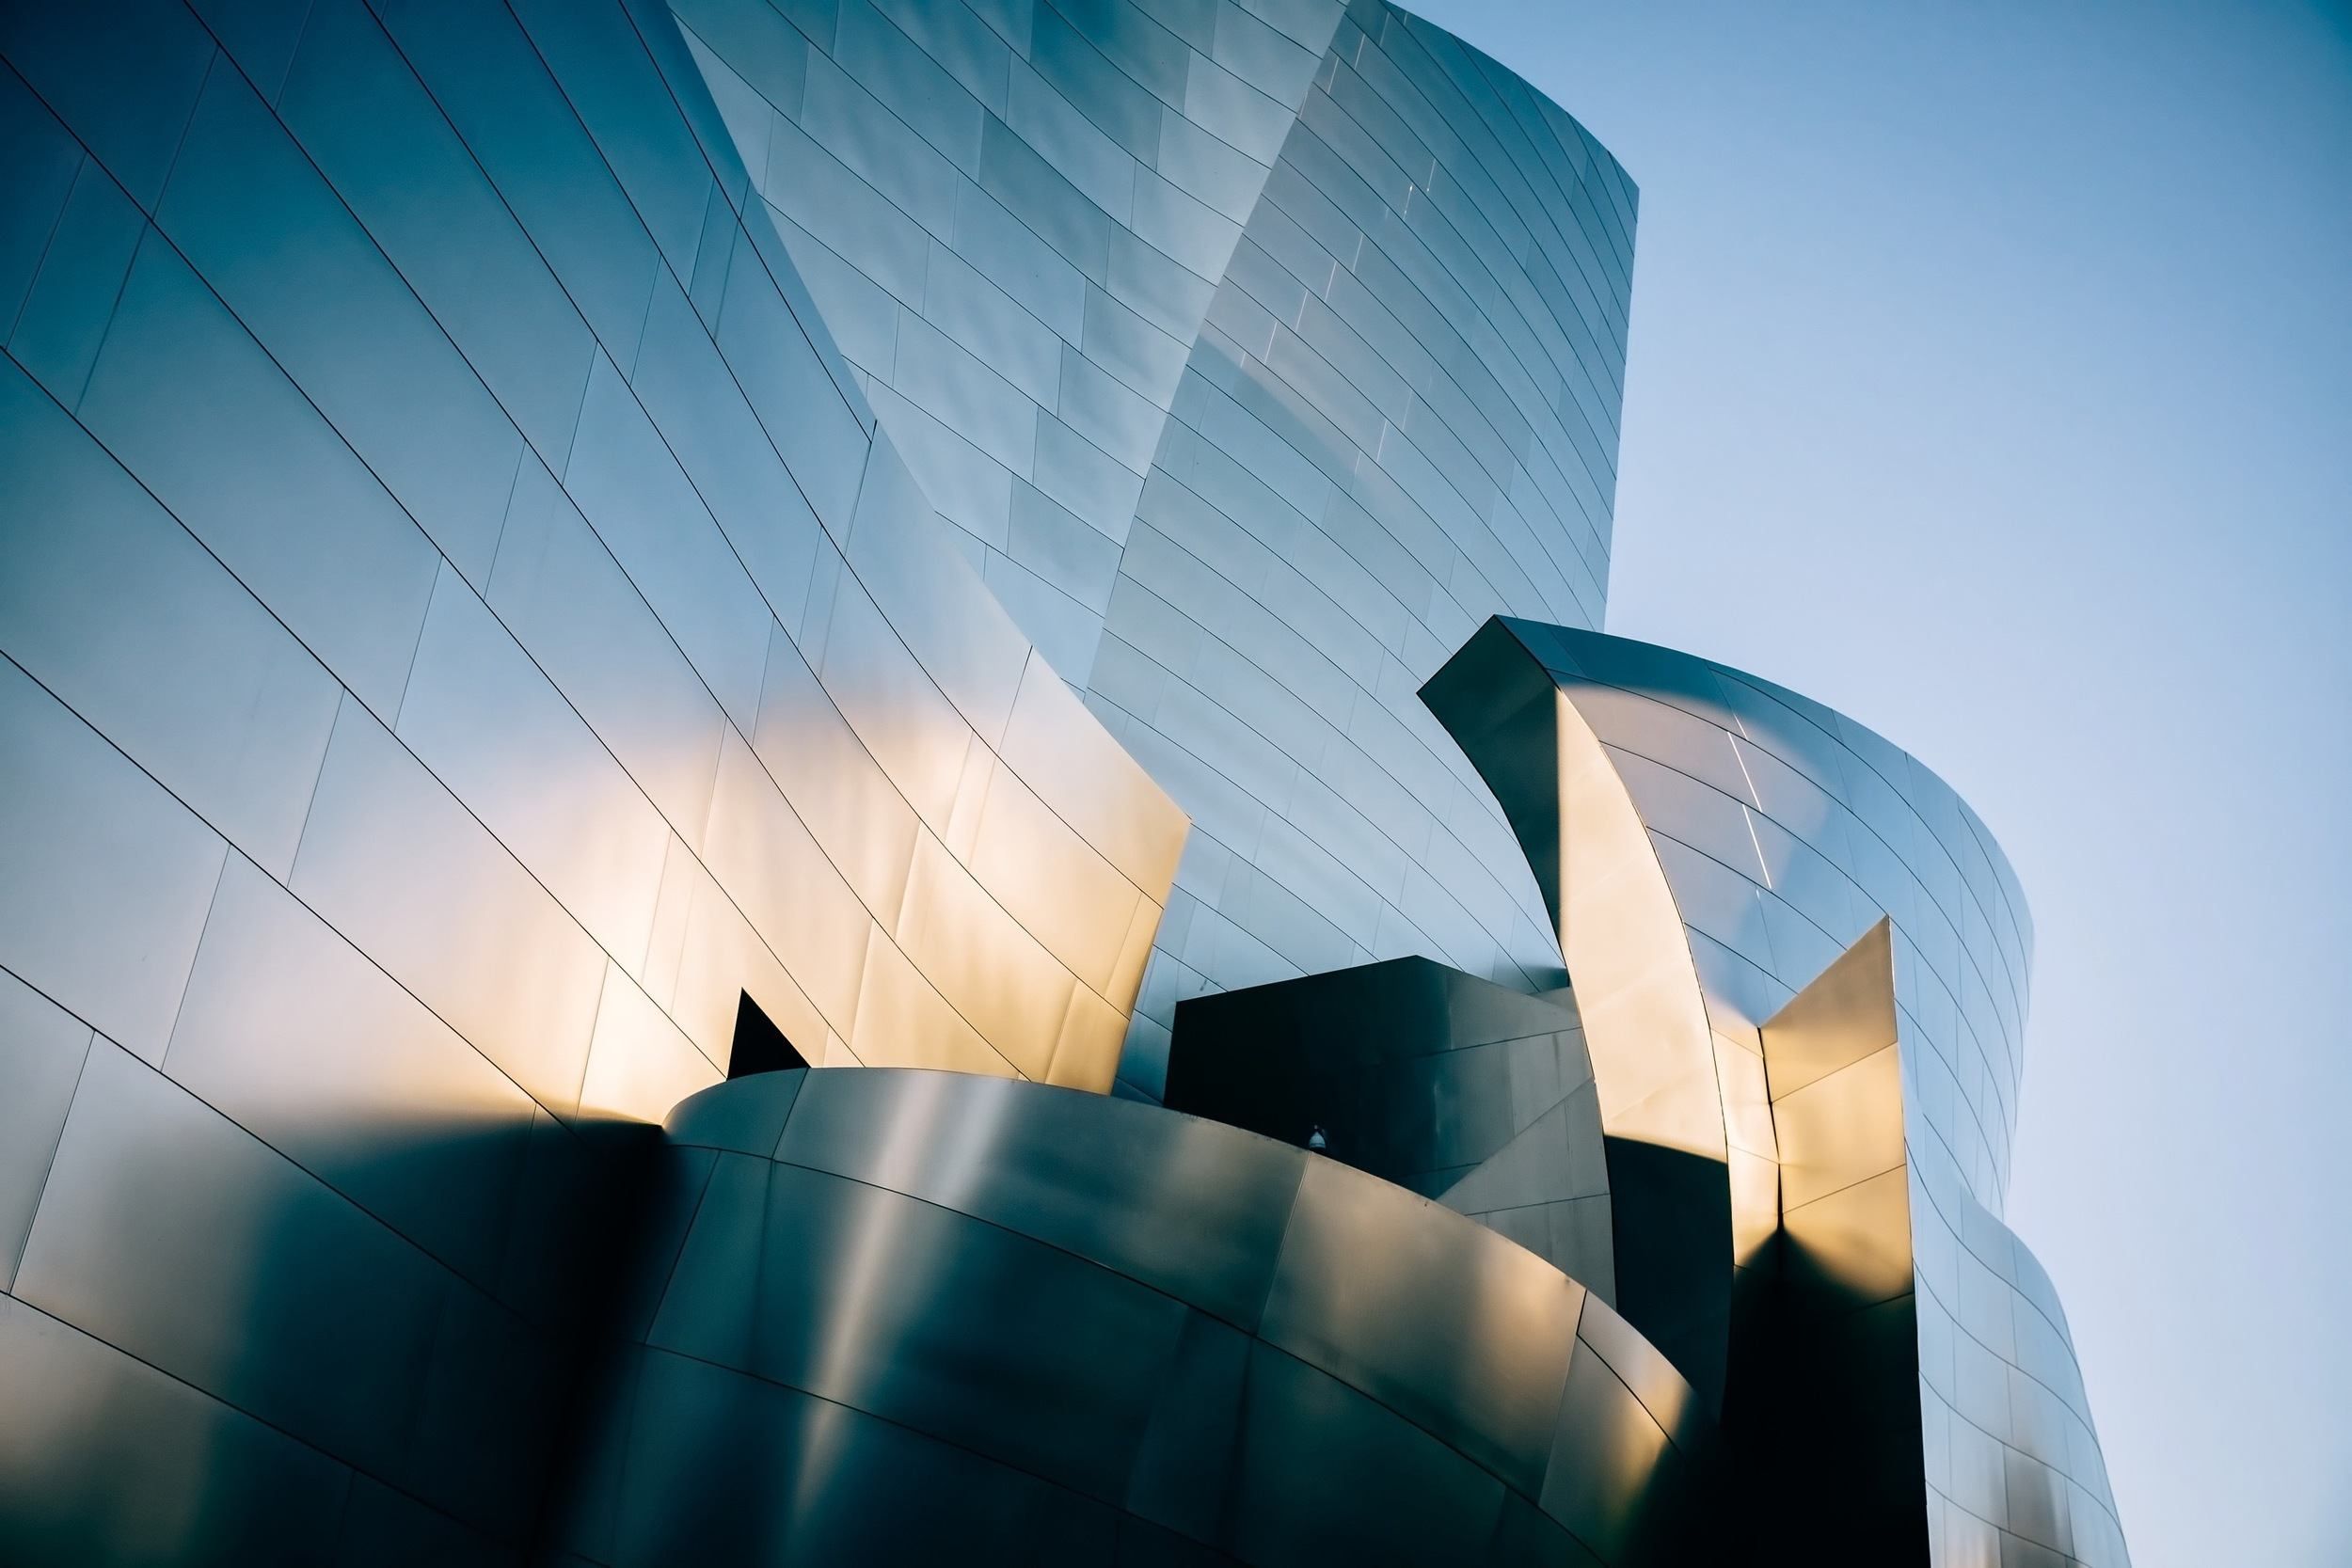
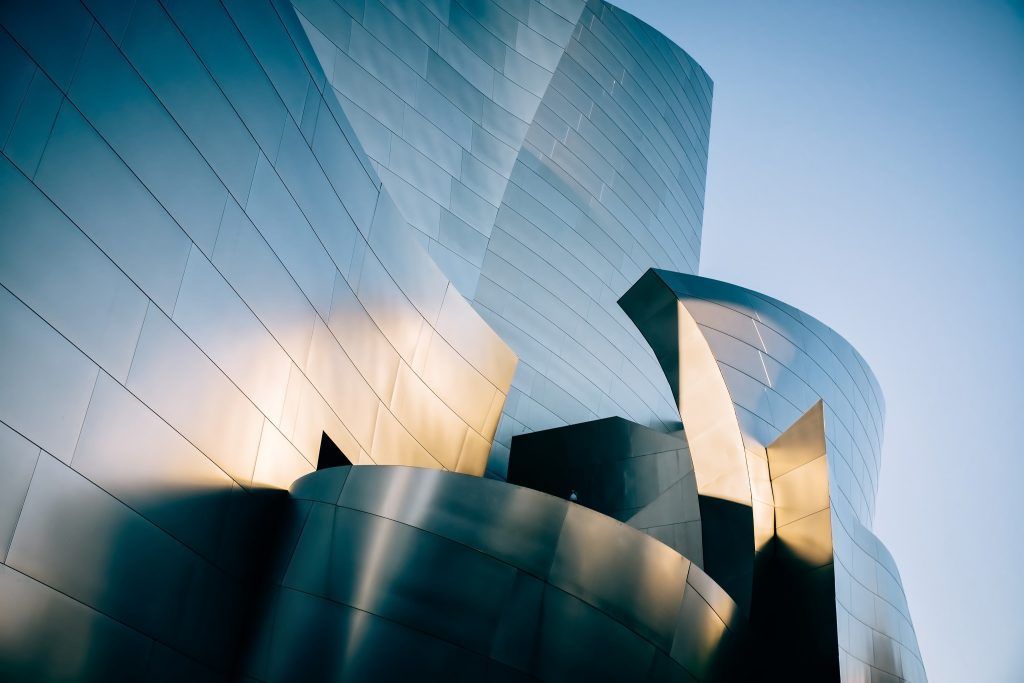
During my brief time working for an architectural firm, I found that besides their impeccable organizational skills and attention to detail, architects, at heart, are truly creative artists. Instead of creating art for the sake of aesthetics, architects create art with beauty, functionality, and sustainability in mind.
When I look at a photograph of any building or city, there is a perplexity about it. Should I be more concerned with the photograph’s composition and message or the building that resides within the photograph?
It’s like looking at a photograph of the Mona Lisa in the Louvre. Almost everyone would agree that the photograph is about the painting, not how the photograph was taken, unless it was a truly poor rendition. There is no conversation about the lighting or the positioning. The conversation is about Da Vinci’s ingenuity.
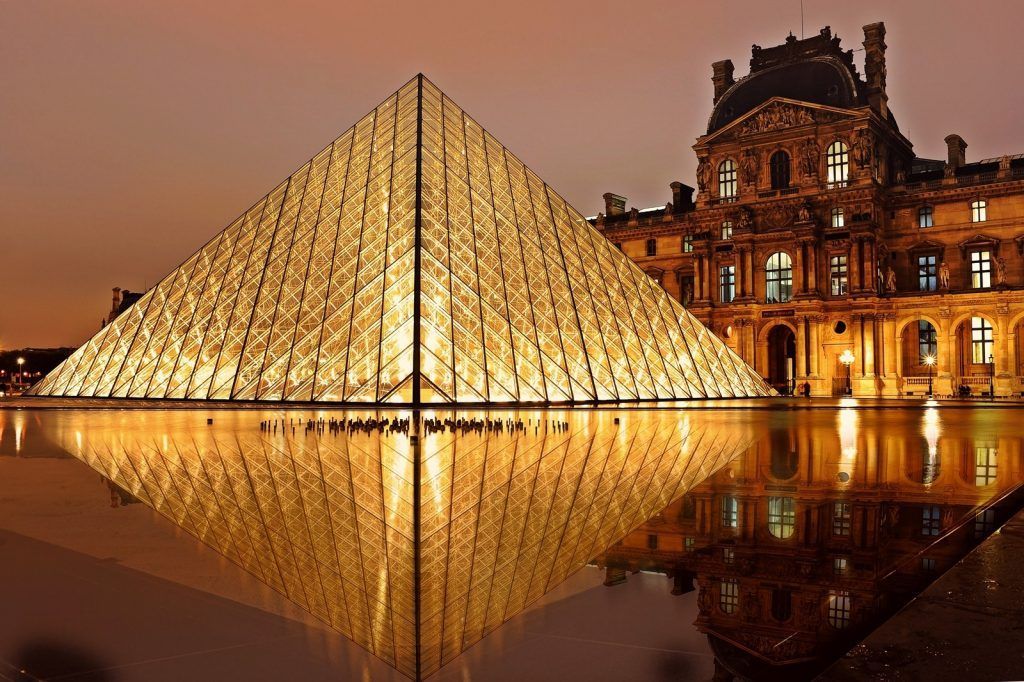
If a building is art as well, why don’t we talk about the building? Sometimes we do. Sometimes it’s obvious that the building’s design is the focal point of an image. But I’ve still been in conversation with architects about a photograph of a building, and their focal point of conversation relates to the beauty of the building during a particular time of day and how the structure fits into its surroundings.
This debate is something that’s been thrown around by art historians and architects for ages. My little knowledge on the subject has prompted me to take photographs of buildings that are more concerned about the principles of composition rather than the structure of the building.
The structure becomes an element that I can wield to create my own masterpiece.
This is my personal preference because I am a photographer, but it’s something to think about.
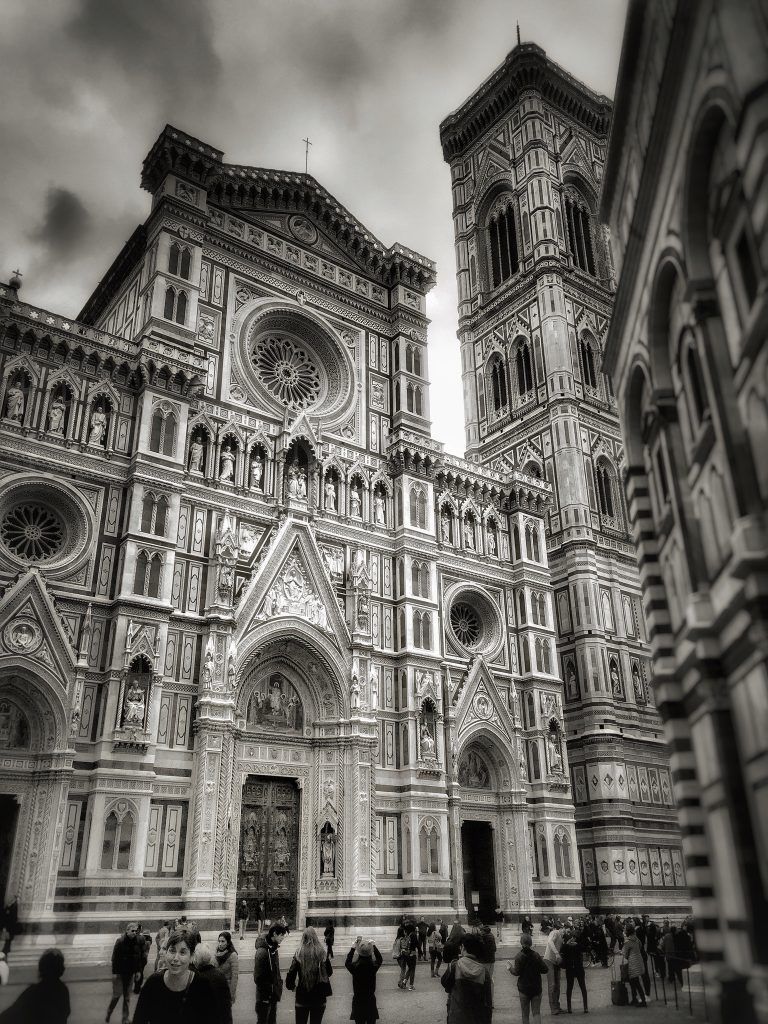
Photo by Kent DuFault
Is a photograph of the Duomo in Florence, Italy beautiful because the building is beautiful or because the photographer’s choices are aesthetically pleasing?
As I have been in conversation with my mentor and architect, he has found that my architectural photographs do go beyond your average everyday building.
He talks about how I find the precise light reflecting off of particular beams, or how I capture the most interesting angles of a room.
These photographic elements happen because of his architectural choices, but are perfected by my photographer’s eye.
What you will gain from this article is how to look at buildings in general, and then how to photograph them so that they stand out in your portfolio.
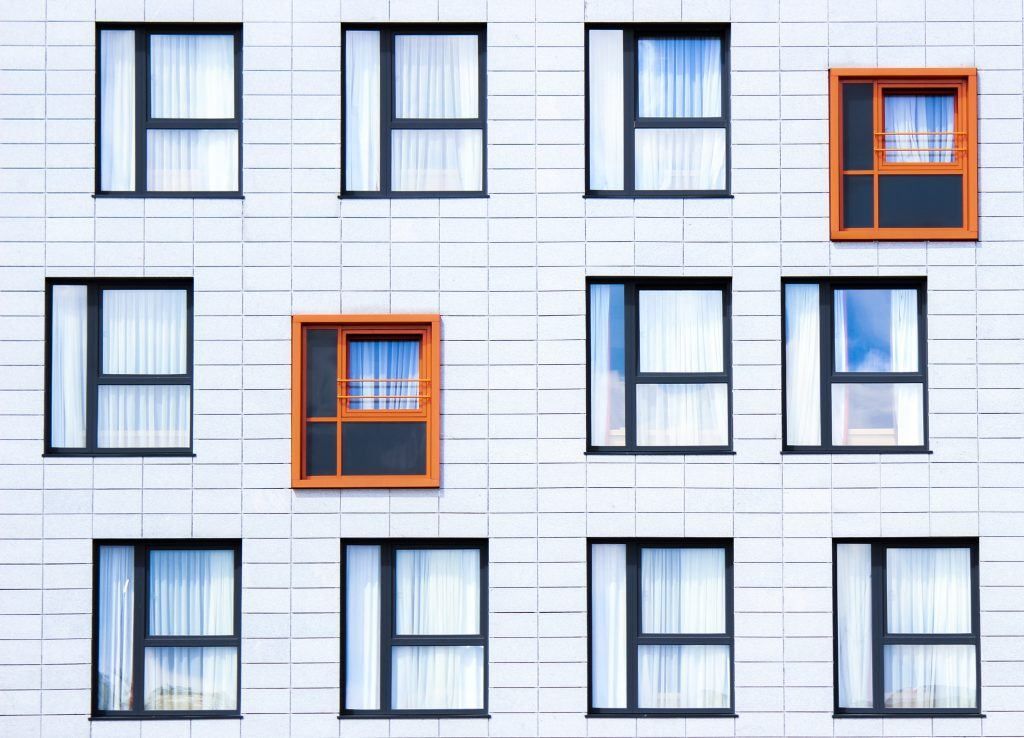
Architectural Vantage Points
The most beautiful buildings and cities are also the most photographed. There are plenty of tricks to capture moments, even of static buildings, that can set your work apart.
Let’s first talk about perspective, or as I like to call it, “the architectural vantage point.”
By this I mean, let’s talk about where your camera is in relation to the building that you’re photographing.
In my opinion, there is no optimal place (or non-optimal place) since literally almost every structure, and its surrounding area, is different.
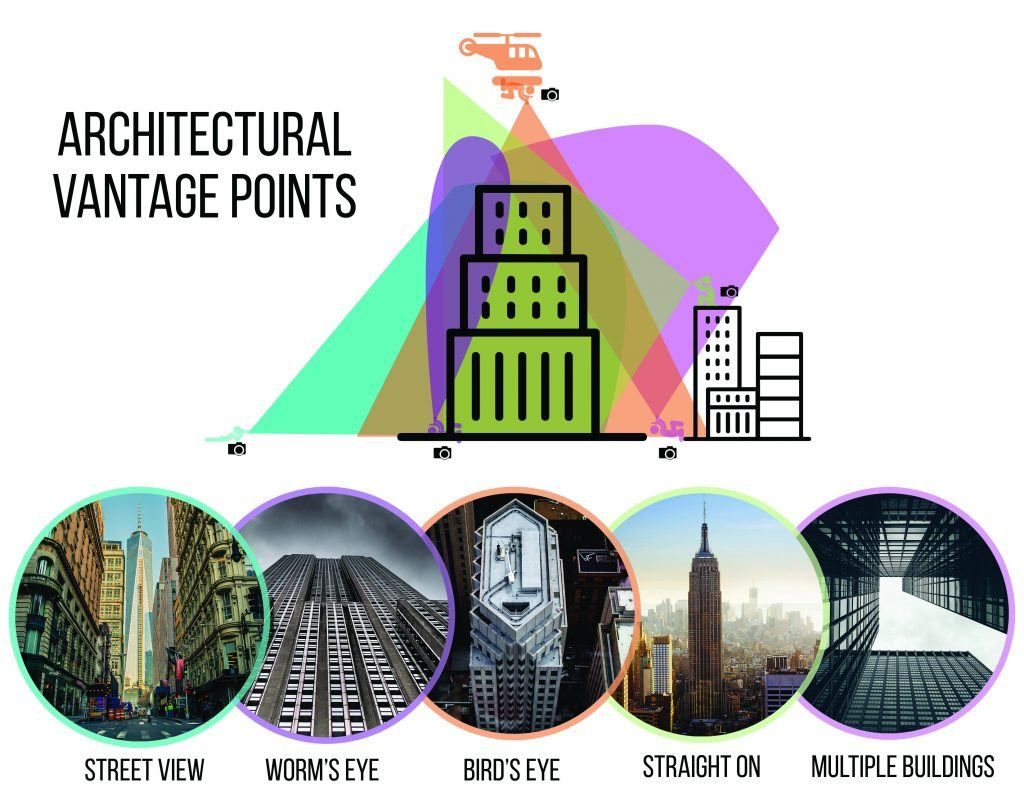
This graphic shows five different vantage points from which you might take a photograph of a building. There is a myriad of places that I didn’t show because as I mentioned, every structure is different.
Graphic by Teddi Tostanoski
Before running through these vantage points, I want you to understand that picking a vantage point is as much about your choice as it isn’t. I’m not trying to
be confusing, so hear me out.
I’m showing five different ways you might photograph a similar looking building. Each of my examples is of a tall skyscraper. You get to pick the photograph that you want to create; you get to pick the vantage point.
Recommended Resources: Being able to choose effective vantage points to create the most powerful photographs is a skill that photographers should continually develop. These Photzy resources can help:
Going back to the architect, their job is to create a building that looks good from either a certain point of view or all points of view.
As a photographer, you’re choosing what point of view to photograph the building out of all the points of view that the architect has provided for you. You’re picking the vantage point.
As a photographer, you’re choosing what point of view to photograph the building out of all the points of view that the architect has provided for you. You’re picking the vantage point.
The five vantage points that I’m highlighting include three street views.
Street View
The first vantage point, labelled as street view and highlighted in teal, is of the building while standing farther back.
Unless you’re using a telephoto or longer zoom lens, this vantage point allows you to take a photograph of the entire building (most likely). You might get more of the city or the area framing the structure than what you’re focusing on.
Worm's Eye View
The second point of view is from the base of the structure looking up, or as I like to call it, the worm’s eye view.
These photographs tend to be epic because you’re losing site of the top of the building. It’s so tall that the structure becomes mysterious.
Architects may not like this view because it distorts the building.
The edges of the building will become slanted inward because the vanishing point is now the sky.
Generally, tall buildings are set parallel to our vantage point’s vanishing point, and so buildings get a bit morphed the closer we get to them while photographing in an upward direction!
Multiple Buildings
The third point of view is another street view (as depicted in pink), and it is similar to the second point of view.
Multiple buildings are now included in the image. This view shows height. The shorter buildings provide a gauge for the photograph’s view so that the viewer can relate to how tall the taller building really is.
Bird's Eye
The fourth vantage point is from above the structure itself.
This point of view is currently trending right now, especially in big cities, as aerial photography has become easier. Photographers have taken to the sky both in helicopters and with drones to capture views of buildings from the top down.
My personal favorite is of Lombard Street in San Francisco because it’s the first time the street is visibly “flat.” (Photo below).
This bird’s eye view, however, shows motion throughout the city because it captures buildings and streets. If you’re handy with a drone (or willing to pay for a helicopter ride), achieving this vantage point will definitely help improve your architectural photography.
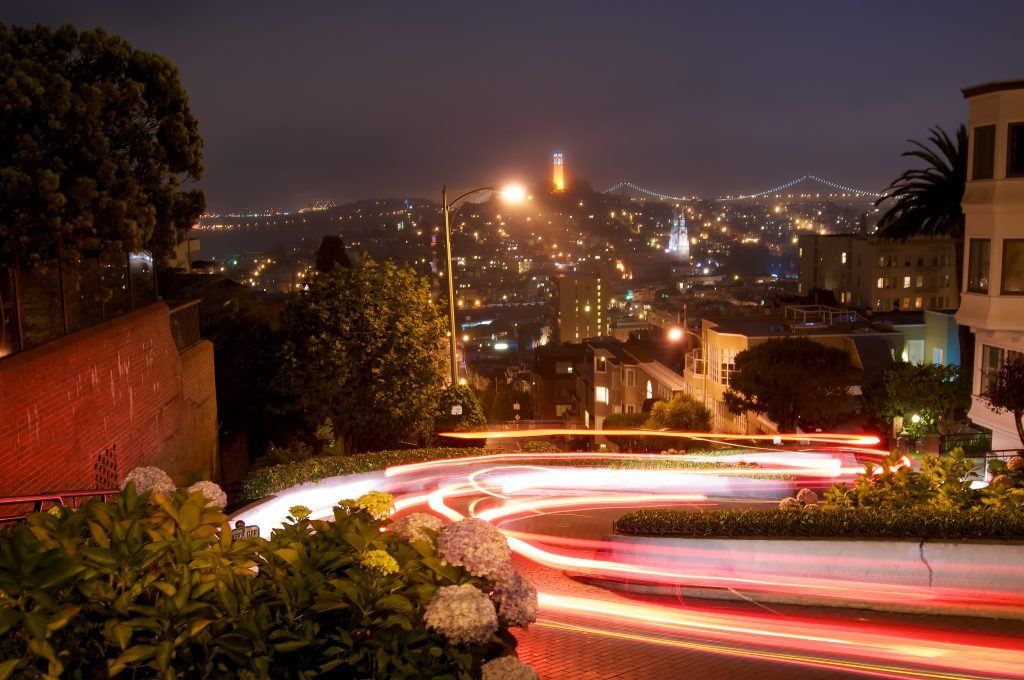
Photo by Nick Harris
Straight On
The fifth vantage point is to photograph one structure from another structure.
This is an important vantage point because it can possibly get you close to the middle of the structure, in the vertical sense. It could allow you to capture the entirety of the building from top to bottom, and depending on how close you are or the lens that you’re using, the space around the building might be included too.
Hopefully, you didn’t forget about my notation that you can choose your vantage point. In other situations, you may not have the chance to! You might be limited by time or accessibility to your “ideal” vantage point.
But that’s okay, because you’re still in charge of so many other aspects of your architectural photograph. I find the perfect spot to create a picture of a structure in the moments that I have. I use my lighting, my camera’s settings, and my photographer’s instinct to help me achieve the best architectural photograph possible.
Shooting Pointers
Here is a list of things to think about as you’re taking artful architecture photographs.
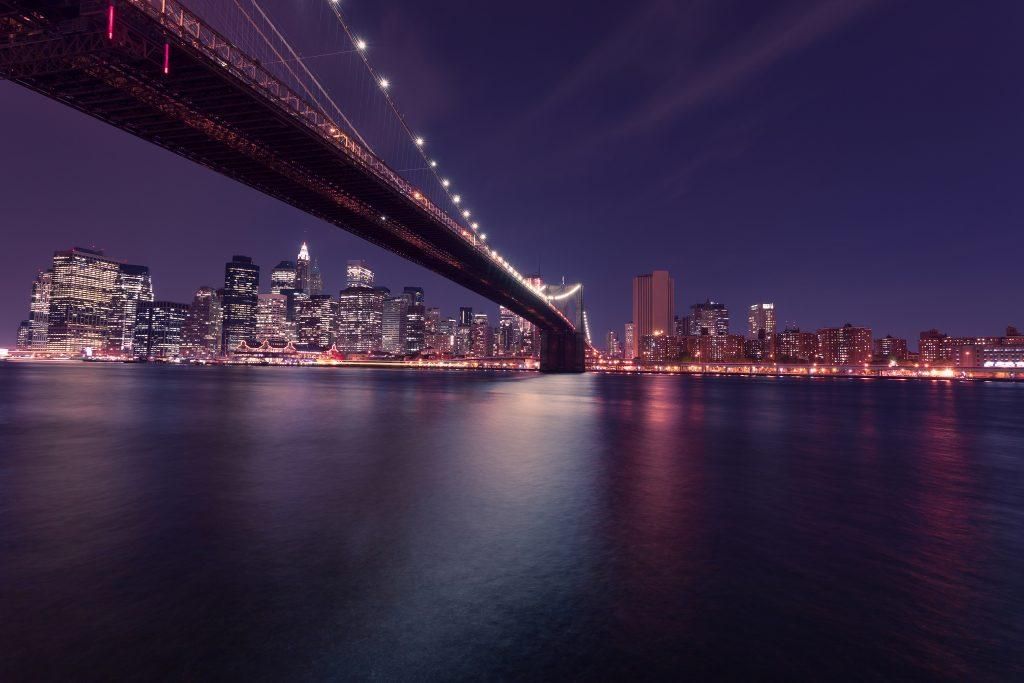
- Play with the lighting. Time of day is one choice that is generally available and can radically alter the look of a structure. Nighttime photographs (like the bridge above) capitalize on the lights and shadows cast onto the building to play up, or downplay, different aspects of any structure.
- Change your shutter speed. Structures don’t move, but the world around them does! Think about photographing the bridge above. The water is smooth because of a long shutter speed. A faster shutter speed would completely alter the image.
- Use the building to your advantage. Reflections (bridge photo) are a great tool to make your images pop!
- Mix up your equipment choices. Most structures are naturally wide or tall, so that means that your choice of the lens is key. A telephoto lens could allow you to be further away from the building. A fixed lens will allow you to take those great long exposures. A super wide lens will allow you to photograph most of the expanse of the structure. As you get closer to using a fish eye lens, say 10mm or 12mm, the straight lines of your structure may start to bend. Choosing alternative tools like tilt-shift lenses and 360-degree cameras can also lend a hand in capturing structures as never seen before
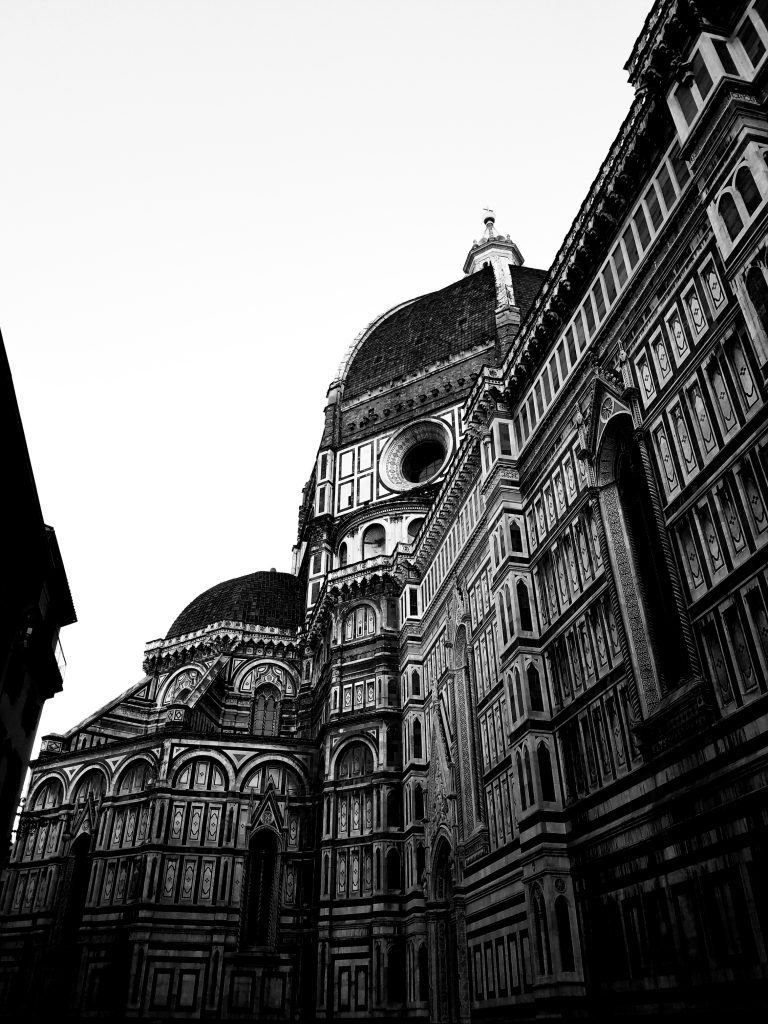
Photo by Teddi Tostanoski
Lighting
If you are only able to photograph a building, such as the Duomo in Florence, Italy from a street or worm’s eye view like I was, something you can control is the lighting (time of day) and the post processing. I waited until sundown to take my image. The Duomo is a massive building that’s a total of 89,340 square feet. It is 502 feet in length, 125 feet wide, and over 300 feet tall. Most photographs, of the Duomo are taken more from a bird’s eye view because the dome is the most iconic aspect of the building.
My photograph was taken standing up against the left side of the building (if you were facing it) and from a worm’s eye view (street view) toward the left side of the dome.
As the sun was setting, the upper part of the dome remained illuminated while a dark gradient set into the lower right part of the wall.
The intricate windows and crevices remained lit near the upper part of the building. I also included part of the building further to the left of the Duomo, which demonstrated the height of the building and helped provide an interesting convergence of points near the bottom-left side of the photograph.
As the wall extended to my right, you get an understanding that my vantage point was close to the ground, giving the building even more height.
My final touch was to post-process the image into black and white, and then bump up the contrast. I still captured the dome in my photograph, like most photographers and tourists do, but my twist on the vantage point, and my lighting, gave me an upper hand over most photographs featuring the Duomo.
Recommended Resources: If you’re interested in learning how to use natural light to create stunning photographs, grab a copy of our Natural Light Video Course by award-winning travel photographer, Mitchell Kanashkevich.
For step-by-step instructions on converting color images into black and white conversions, I recommend Photzy’s Better Black and White premium guide.
Taking Advantage of Architectural Interests
My final touch was to post-process the image into black and white, and then bump up the contrast.
Architect, Mark Tremmel, designed the building below to reflect the Southwest influence in the area and to allow it to fit into the surrounding natural beauty.
I was on a mission to capture those things.
Little did I know that photographing this building, without a ladder and only a 16-50mm lens, was going to be difficult.
So I used the building to my advantage.
I’m not sure that Tremmel would have photographed the back side of his building, but as he included a wall of very reflective windows, I found a use for them.
I decided to stand far enough away and to the left of the building so that my camera caught the reflection of the mountains and the Great Sand Dunes. For me, this choice was a no brainer because the building allowed me to literally, and figuratively, reflect its surroundings.
In post processing, I bumped up the saturation and contrast to highlight the reflections even more.
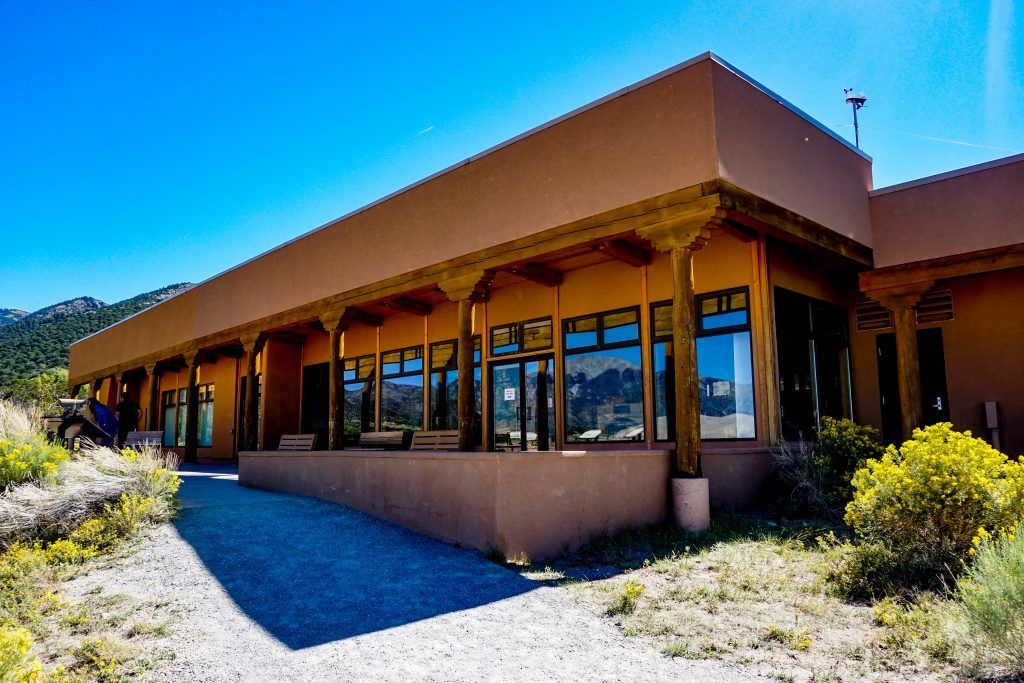
Photo by Teddi Tostanoski
Architectural Interiors
Great architectural photography happens inside structures as often as outside of them.
For the most part, the vantage points we discussed earlier are still viable. Let’s take, for example, this image inside St. Peter’s Basilica in Rome. It’s almost a straight up (worm’s eye) view of the ceiling within the basilica.
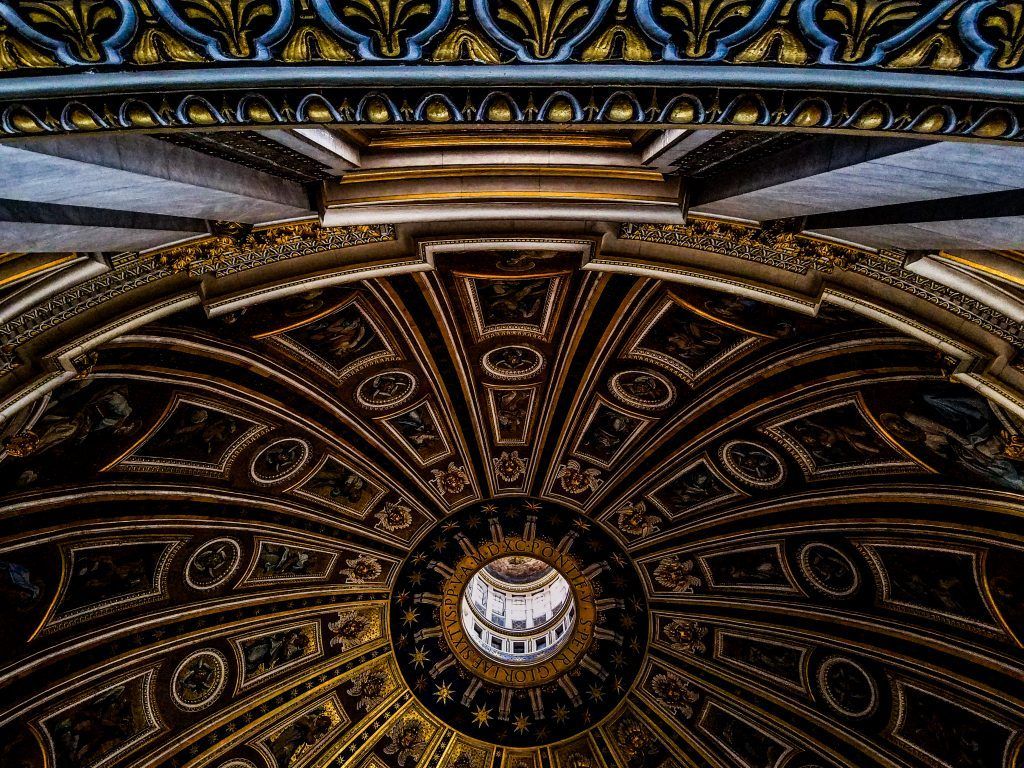
Photo by Teddi Tostanoski
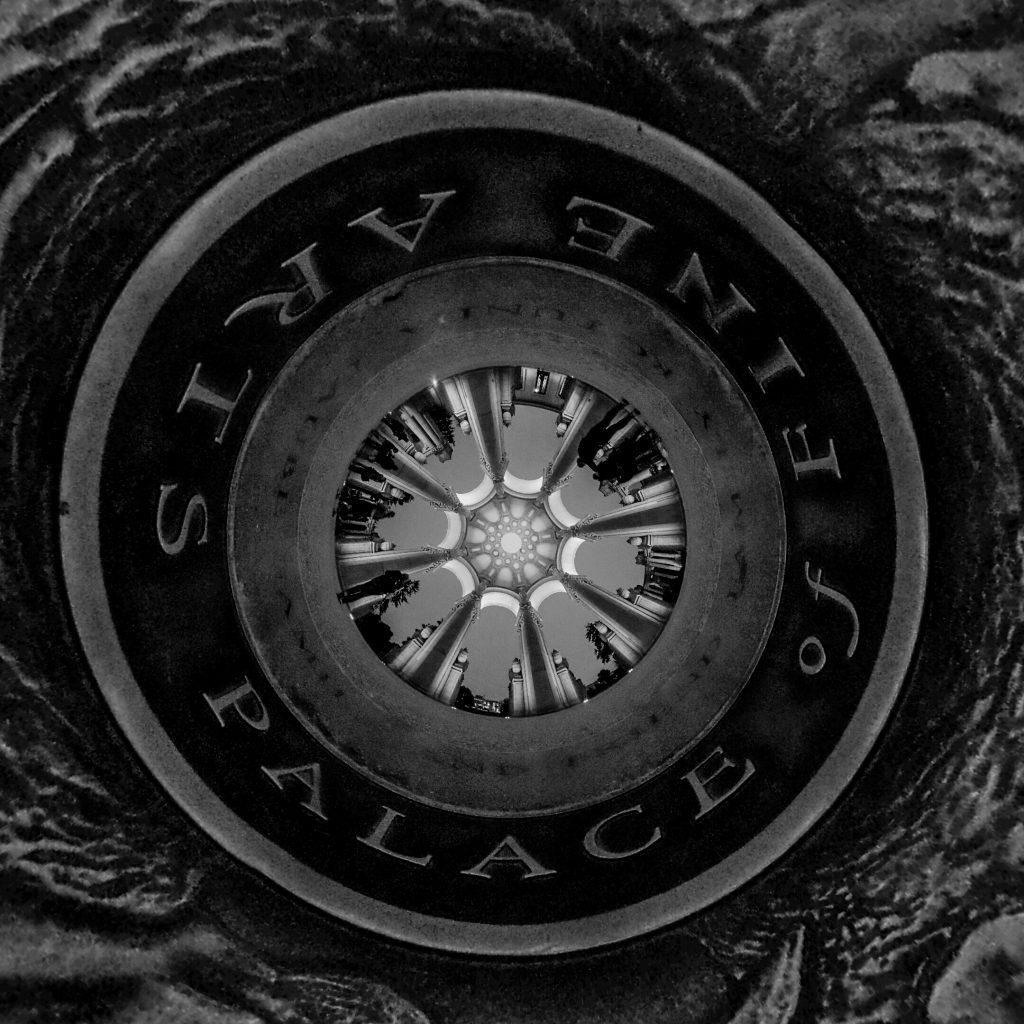
Photo by Teddi Tostanoski
360 - Degree Photographs
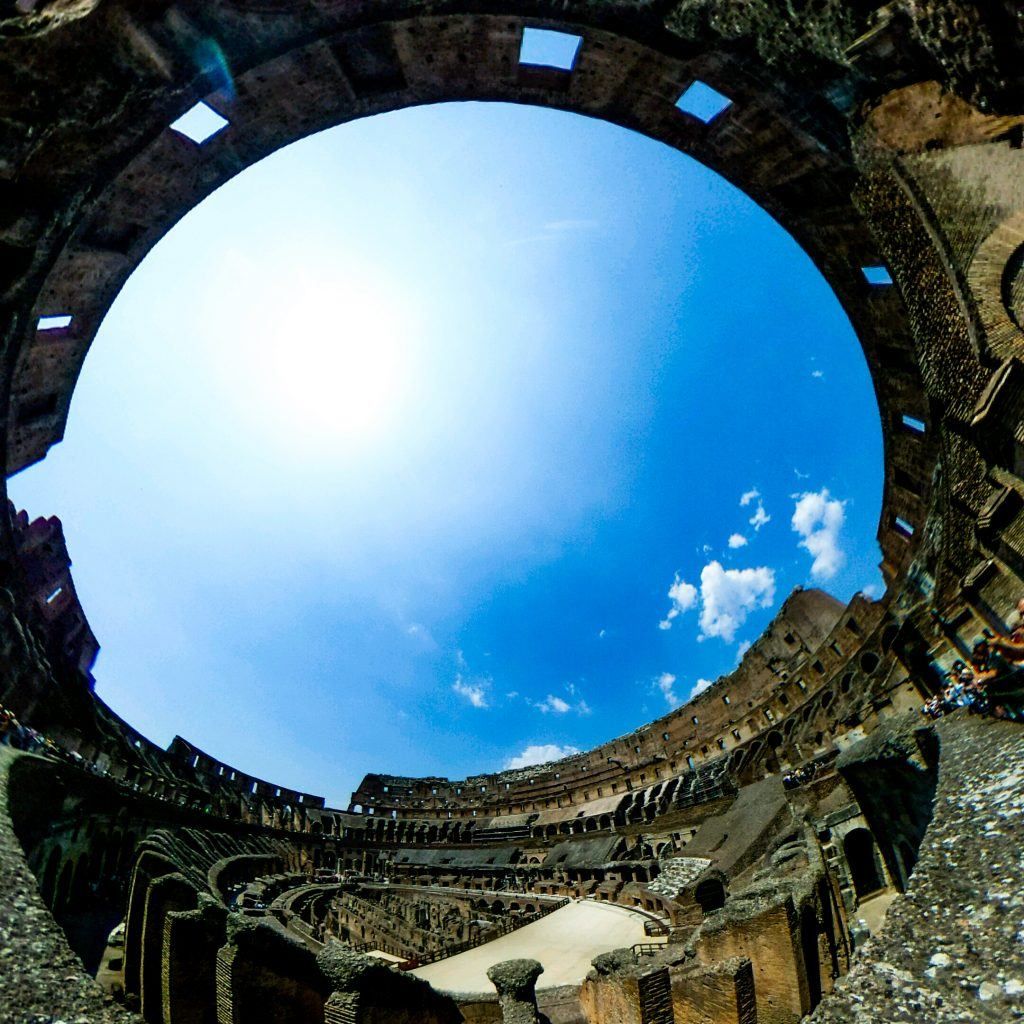
Photo by Teddi Tostanoski
Experiment on special equipment, like a 360-degree camera, to add flair to your architecture shots.
Recommended Reading: If you’re interested in learning the fundamentals of post-processing to improve your images, grab a copy of Photzy’s premium guide – The Ultimate Guide to Fundamental Editing.
Some Pointers for the Shooting Assignment
- To help you accomplish the assignment, here’s a quick review of each vantage point:
- Street View – A ground-level shot that’s more than 10+ feet away from the structure
- Worm’s Eye View – A ground-level shot that’s less than 10 feet away from the side of your structure
- Bird’s Eye View – An overhead shot of the structure, either straight down or from a distance
- Straight On – A shot from a place that allows you to be centered in your structure as vertically as possible
- Multiple Buildings – Street view but with at least two other structures in the image
- Focus on your compositional skills. When you’re taking a photograph of your structure, ask yourself:
- Where is the rule of thirds lining up? Where is the structure in comparison to what I want lined up?
- Are there any leading lines in the image? Where do my eyes flow in this image? Is there a line leading to my structure or is my leading line part of my structure?
- Where is the focal point? In the foreground, middle ground, or background? Where is the structure sitting?
- What’s standing out in the image and why? Is it because of lighting, contrast, positioning, etc.?
- Find additional tools to add flair to your architectural photograph. This could be anything from getting a ladder so you can stand higher, to buying a set of lenses for your smartphone, or purchasing a full blown tilt-shift lens or an inexpensive 360-degree camera. Architecture photography can be a lot of fun, and each of these tools will lend a hand it making your work unique.
