Shooting with long exposures opens up a host of creative photography techniques, one of which is light painting. In this guide, I’m going to teach you all about this technique, from what it is to how to execute it.
Here’s what we’ll cover:
- What is light painting?
- Equipment needed
- Camera settings and how to set up your camera for light painting
- Light sources for light painting
- Tips and techniques
Recommended Reading: If you’d like a comprehensive guide on using ND filters and producing gorgeous long exposures, grab a copy of Photzy’s The Complete Guide to Long Exposure Photography.
What Is Light Painting?
Light painting (sometimes called light drawing or light graffiti) is the photographic technique of using a moving light source (e.g. a flashlight) to add light or light patterns to a long exposure image. Light painting can take several forms, with photographers adding different colors, streaks, or shapes to an image or simply highlighting an object with artificial moving light.

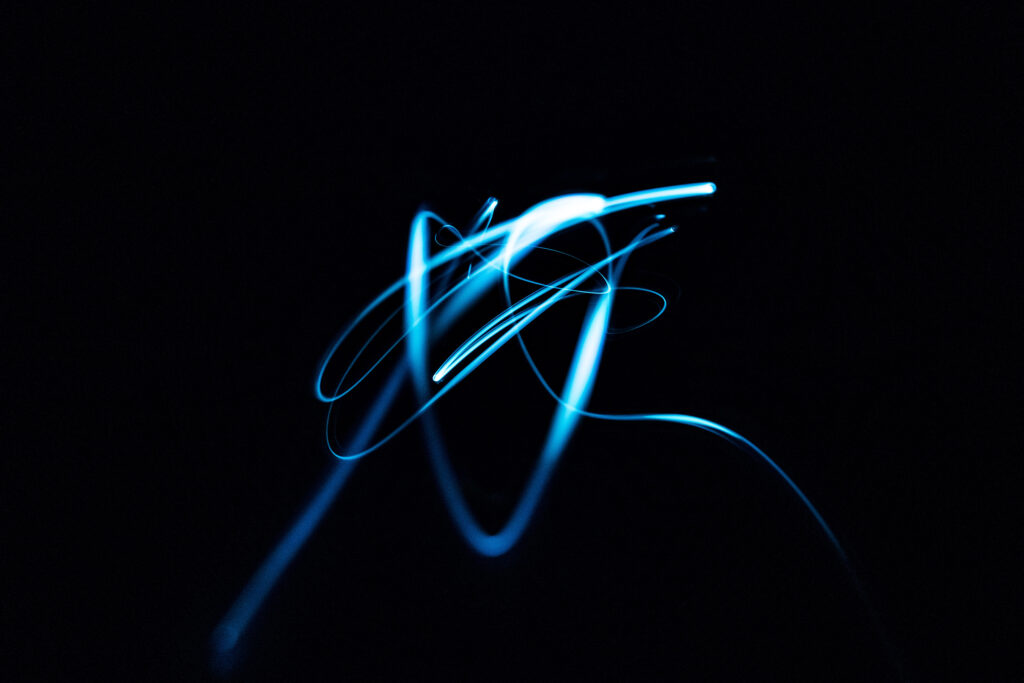
Start experimenting with light painting by just focusing on your light source – you might find this simpler than adding in background details. Photograph by Mukesh Naik
Equipment
Successful light painting does require some specific equipment. Let’s look at what’s needed to get results.
- Camera – You will need a camera that allows you to use manual settings so that you can have complete control over your images. In addition, make sure that it has a Bulb mode that allows you to leave the shutter open for as long as you choose.
- Tripod – Long exposure imagery requires the shutter to be open for a long time, meaning that any movement will lead to a blurred image. A good, sturdy tripod will allow you to avoid any camera shake.
- Lens – The type of lens you use will depend on what you’re photographing, but most light painting shots benefit from a wide-angle lens that gives you room in the shot to play with.
- Remote shutter release – Even with the use of a tripod, simply depressing your shutter button can be enough to cause a slight camera shake. A remote shutter release, a cable release, or even an app that allows you to fire your shutter from your smartphone will avoid any movement and keep your shots pin sharp.
- Stopwatch – If you’re moving light sources yourself, a stopwatch can help by timing your movements and telling you when to stop firing the shutter.
- Light sources – You can use just about anything as a light source, including flashlights, torch lights, lasers, glow sticks, flashes, candles, and LED lights. Some companies make a huge range of specially designed lights for light painting. Different lighting sources will have different color temperatures and will add cooler or warmer tones to your images.
- Color gels – Color gels are transparent and available in different colors. You can fit them over your lighting source or even your camera lens to change the color of your photograph. To save money you could also make your own gels out of colored plastic.
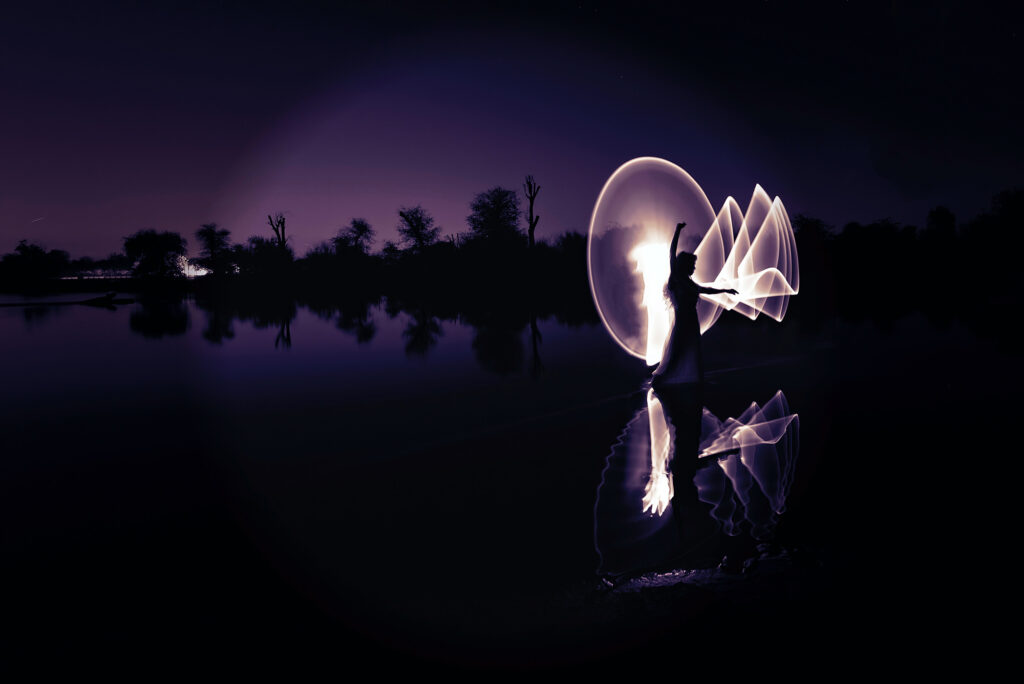
If you’re working with a friend or model, you can make them part of the shot as well as use them to actually carry out your light painting! Photograph by Hassan Pasha
Camera Settings and Setting Your Camera up for Light Painting
- Mode – Shoot in manual mode so that you have full control over your settings.
- Format – Set your camera to shoot in RAW to allow you to capture as much information as possible.
- White balance – If you want to maintain the original colors of your artificial light source, start with Daylight white balance. You might find that either the Tungsten or Fluorescent settings help to balance out your artificial light sources. Avoid using Auto white balance as the camera is likely to struggle with the artificial light you’re adding to the scene.
- Image stabilization – Make sure that this is turned off. When your camera is on a tripod, image stabilization can confuse the sensor and actually cause blurring in your shot.
- Long exposure noise reduction – Make sure this is also turned off, otherwise, your exposure time will double as the camera takes a second black exposure to help remove noise.
- ISO – Use as low an ISO as possible (base ISO is usually 100 or 200 on most cameras).
- Aperture – Start at around f8 – f10 to allow you to get more depth of field.
- Shutter speed – Set your shutter speed to Bulb mode. If your camera doesn’t have Bulb mode, set it to the most extended manual shutter speed, which is typically thirty seconds.
Key Lesson: Your final shutter speed will be determined by the amount of ambient light in your scene. Expect to be using shutter speeds of 30 seconds and longer.
If you’re moving light sources yourself, a stopwatch can help by timing your movements and telling you when to stop firing the shutter.
Once you’ve adjusted your settings, set your camera up for the actual light painting. You will need to start by determining your ‘base’ exposures. This means working out the exposure for the ambient light before you add in any light painting.
Key Lesson: Here’s a little trick to help speed this process up! Set your ISO to six stops higher than the one you intend to use. So, if you are going to be shooting at ISO 100, set your ISO to 6400. With your camera set at ISO 6400, experiment with how many seconds you’ll need to get the correct exposure. Every second of exposure at ISO 6400 is equal to one minute at ISO 100. Now reset your ISO to 100 and dial in the number of minutes you’ll need. This saves a lot of time as you can experiment in seconds rather than minutes!
Next, you’ll need to focus on your image. Of course, this can be difficult when you’re shooting in the dark! The easiest way to achieve the correct focus is to shine a torch (flashlight) at a spot in your scene that you know needs to be in focus and use this spot to autofocus. Then switch your focus to manual or lock focus so that your focus point won’t change.
You’re now ready to start your exposure and start light painting! Remember that the vast majority of cameras will have shutter speeds going down to 30 seconds. If you need a longer shutter speed, you’ll need to switch to Bulb mode.

As you grow more confident with light painting, you can start to create more complex patterns. Photograph by Solen Feyissa
Light Sources for Light Painting
There are various types of light sources for light painting. An on-camera light source means that you will actually step into the image and use a light source to paint. You will need to wear dark clothing so that you don’t show up in the shot. An off-camera light source involves shining a light from outside the frame onto a section of the thing you’re photographing. This is particularly good for highlighting specific objects within a scene. Finally, kinetic light painting involves you moving the camera itself. Flashlights of various sizes are an easy way to start with light painting.
Tips and Techniques
Light painting is a highly subjective art form, but here are some techniques to keep in mind as you start out.
- Wear dark clothing – As I mentioned above briefly, if you’re going to be using an on-camera light source you’ll need to wear dark, non-reflective clothing. Don’t forget to wear a hat, particularly if you’ve got light-colored hair. For the full cover, you could even consider a balaclava! And don’t forget to keep moving!
- Paint from different angles – Don’t just stand behind the camera and shine a light. Try painting surfaces from the sides or above to bring out different textures. If you’re painting the ground, keep your beam low and pan the light along the floor to stop the ground from looking flat. Adding light from different angles in one shot will help add depth to your image and give a 3D effect.
- Watch where you’re standing – Don’t get in between the camera and your light source, or you’ll show up as a silhouetted ghost in the image. Likewise, don’t shine your light source back at the camera or you’ll create a bright spot in your shot.
- Use a red filter for testing – You need to keep your eyes acclimated to the low light, so instead of using a traditional flashlight to check your camera and adjust it, try attaching a red filter to your testing lights. The red light will stop your night vision from being ruined!
- Different surfaces react to light differently – Wood surfaces will need more light than shiny surfaces such as metal or glass. This is because rougher surfaces absorb more light than those that are smooth.
- Experiment with movement speed – How bright your light painting will be will depend on how quickly you move your light source. Holding a light source in one specific spot will give your camera more time to absorb it, meaning that it will appear brighter in your final shot. Experiment with both fast and slow movements. This will create shading effects and add complexity and interest to your shot.
- Don’t expect to get it right the first time – Don’t be disheartened if you don’t get your shot right straight away. It takes time and practice to get good light painting shots. It can take multiple attempts on the night to get a shot you’re happy with. Keep track of how much light you’ve added to each surface so that you can adjust from exposure to exposure.
The easiest way to achieve the correct focus is to shine a torch (flashlight) at a spot in your scene that you know needs to be in focus and use this spot to autofocus.
Recommended Reading: If you’d like a comprehensive guide on using ND filters and producing gorgeous long exposures, grab a copy of Photzy’s The Complete Guide to Long Exposure Photography.
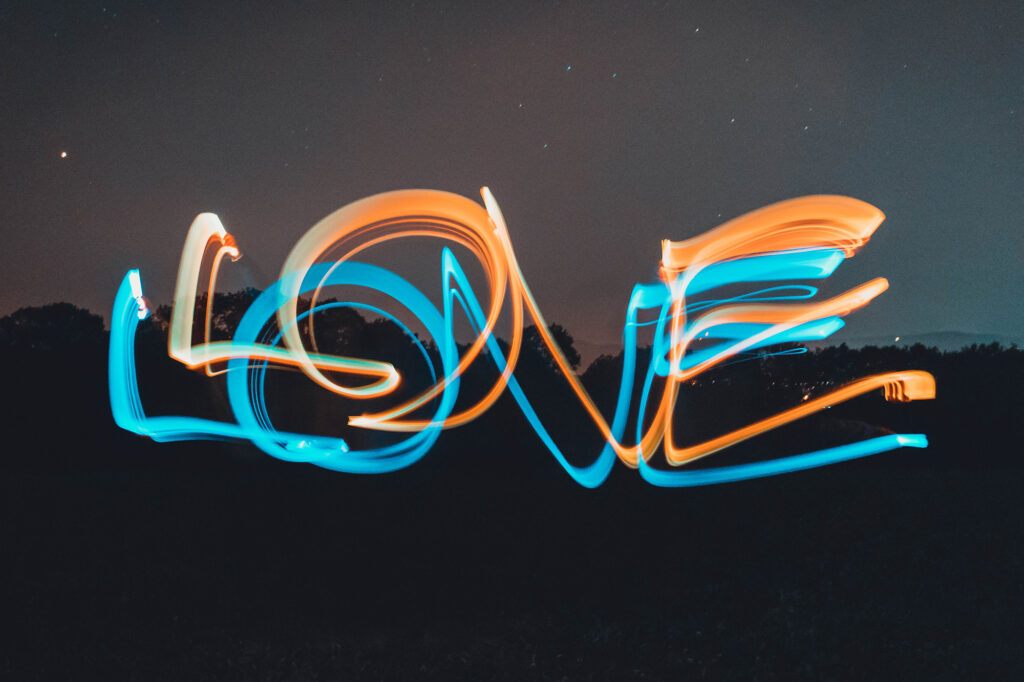
Perhaps the ultimate skill in light painting is creating discernible words or shapes! Photograph by Christian Wiediger
Conclusion
Light painting is a really fun technique to experiment with. There’s no right or wrong way, so enjoy developing your own style. There are lots of great ways to express yourself!

Self-Check Quiz:
- Name three things you can use as a light source.
- What are color gels?
- What aperture range should you start with for light painting?
- How many stops higher should you set your ISO to work out your exposure times?
- What is an on-camera light source?
- Does a wood surface need more or less light than a glass surface?