Our cameras don’t ‘see’ as well as our eyes do, especially in high-contrast and low-light situations. Understanding how your camera responds in bright light and when the shadows are dark will help you appreciate the importance of introducing a fill light.
Adding a fill light enables you to reduce the contrast in a composition by filling in the shadows. You will have more control over how your photograph will look when the tonal range in your image is narrower. This is because camera image sensors are less capable of recording the tone range that we see with our eyes.
Contrast is often problematic in photographs that have a single, small light source. This may be caused by using a flash or by the light of a sunny day outdoors. The sun in a clear sky shines brightly and casts a dark shadow. It is a huge light source, but because it’s so far away, it is effectively a small light source.

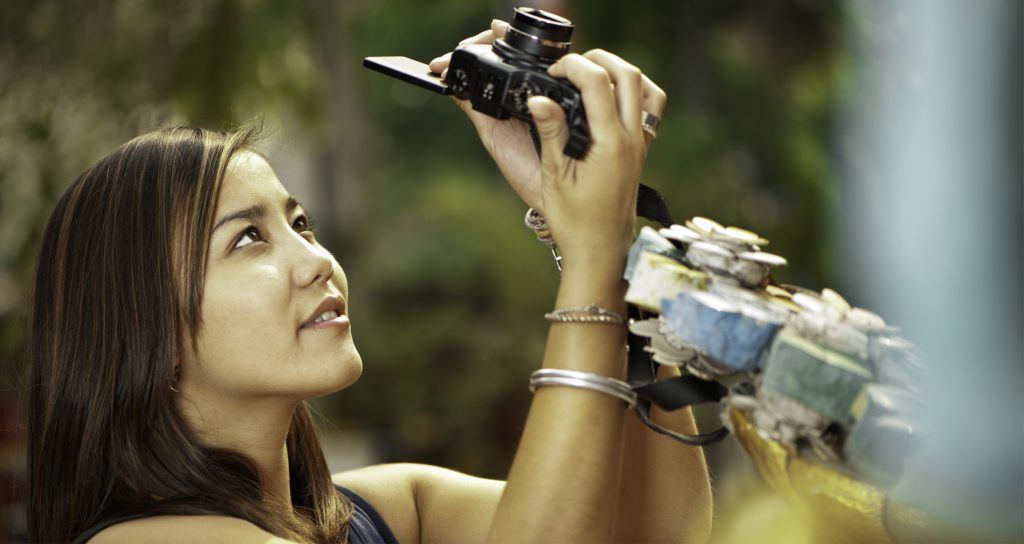
Photograph by Kevin Landwer-Johan
When light is diffused, it scatters and is more even. There’s less contrast, so there’s less shadow. You are not likely to need a fill light.
When light is diffused, it scatters and es even more. There's less contrast , so there's less shadows.
In this article, we will look at:
- when to use a fill light,
- how to set your exposure when using a fill light,
- what to use as a fill light,
- the quality of the light you introduce, and
- when not to use a fill light.
Recommended Reading: After learning about camera settings, improve your photographs by understanding how light works! Grab a copy of Photzy’s premium guide: Understanding Light Book One.
When to Use Fill Light
Whenever there’s a strong shadow cast, it’s good to consider using a fill light to reduce the amount of contrast. Introducing a second light source will help balance the exposure. It brings the light value of the brightest and darkest parts of the composition closer together.
With high-quality modern camera sensors, this issue is not as big of a problem as it used to be. Film has a far lower ability to record a broad dynamic range. The dynamic range is the difference between the darkest and lightest tones in an image. Adding a fill light reduces the amount of contrast and lowers the dynamic range in a composition.
In high contrast, setting your exposure so the brightest areas of the composition are well exposed often means that there is no detail in the shadows. Likewise, when you set your exposure so the shadow areas are well exposed, the bright areas will be overexposed and contain no detail.

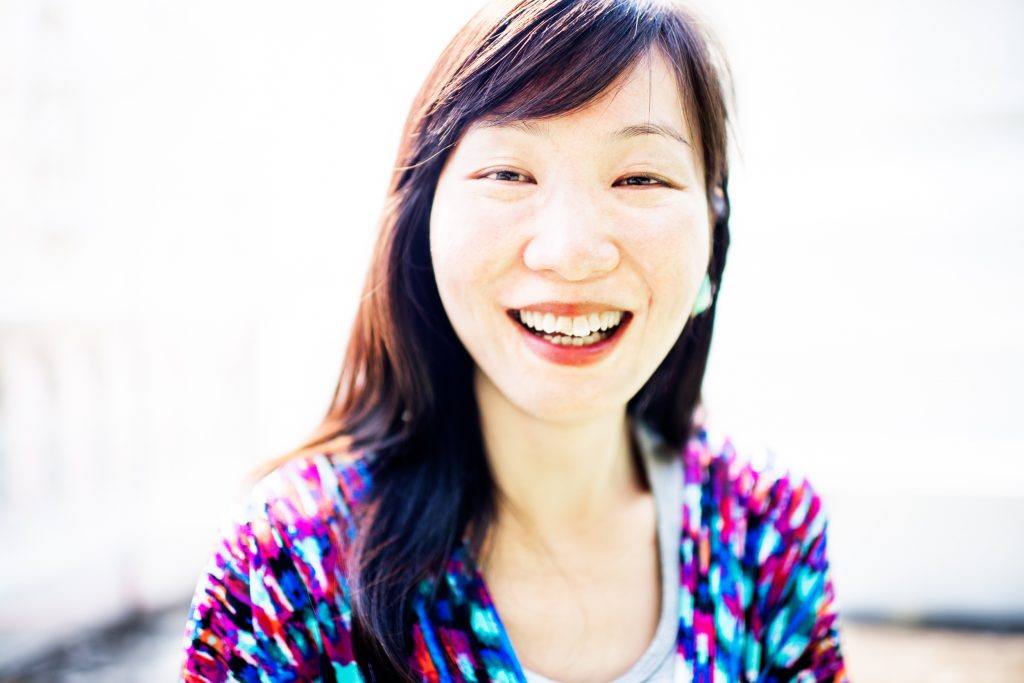
Photograph by Kevin Landwer-Johan
How to Set Your Exposure When Using a Fill Light
When you introduce a fill light, you need to make sure you balance it with the main light and set your exposure well. The ratio between the main light and the fill light must balance in order to achieve the results you desire. You must decide on the amount of shadow you want to retain, or if you prefer to eliminate it altogether.
When you want to use a fill light outdoors on a sunny day, it will need to be very bright to balance with the sun’s light. If your fill light is not bright enough, then shadows will still be visible, but they may not be so dark.
When using a fill light indoors or at night, you may not need such a bright light. If you’re using a flash to fill in shadows at night, then you must be careful. You don’t want to overpower the ambient lighting and your flash to become your main light.

Photograph by Kevin Landwer-Johan
To determine how much fill light you need to introduce, you must take an exposure reading from the brightest area of your subject. Setting your exposure based on this reading will ensure that the detail in the highlights is not lost. Once you have done this, you can introduce as much light as you want in order to bring the level of fill light to your satisfaction.
I typically make this exposure reading with my camera set to Manual mode and use my spot meter. This lets me be precise with the area of my composition from which I take the reading, and I can set my exposure to suit. Using Manual mode ensures that my camera will not override the exposure and try to compensate once the fill light is introduced.
Once I have set my exposure, I then introduce the level of fill light I want. At times, this can be equal to the main light. Using the same amount of fill light that the main light emits reduces the shadows almost completely, depending on your subject. Filling in with less light will lessen the density of the shadow, but not cancel it out altogether.
Finding a satisfactory balance in the light ratio and your exposure will allow you to control how dark the shadow is. Leaving some visible shadow will preserve the appearance of dimension in your subject. This also allows for detail to be retained in the image.
What to Use as a Fill Light

Photograph by Kevin Landwer-Johan
Essentially, there are two methods of introducing a fill light. You can use an electric light source such as a flash, strobe, or continuous light, or you can use a reflector.
Reflectors can be made out of anything you can hold up that will bounce some light back onto your subject. You can use a sheet of newspaper or buy a fold-up photographic reflector. These come with white, silver, and gold surfaces to provide different amounts and styles of reflection. With a DIY object you will not have the same options available. You can also make use of light reflecting off the ground or off the side of a building or a wall.
Reflectors can be made out of anything you can hold up that will bounce some light back onto your subject.
LED lights have become very popular and can be used as a fill light in some situations. The strength of the output will determine when they are practical. Other types of continuous lighting can also be used as a fill light. Being able to see the effect of the light can make it easier to achieve a good balance with the main light.

Photograph by Kevin Landwer-Johan
In a studio environment, strobes are set up so one is the main light and subsequent lights fill in the shadows to the desired levels. In this type of environment, a photographer has the greatest amount of control. You are able to adjust the main light and fill lights separately to create the atmosphere you like. You can also modify the lights to diffuse them and direct them.
For many photographers, a flash is the preferred accessory to use as a fill light. The amount of light that a good flash can produce can act as a fill light even on a sunny day. Being able to control the level of output from a flash is another advantage. The synchronization between flash and camera also make it very practical.
Photograph by Kevin Landwer-Johan
The Quality of Light You Introduce
Both the quantity and quality of light you use as a fill light will influence the outcome of your photographs. Too much or too little light will result in an imbalance. Light that is very harsh or too diffused can also have an undesirable effect.
One drawback of using a flash as a fill light is that it’s a small source. It is best modified so it produces a softer, diffused light.
Both the quantity and quality of light you use as a fill light will influence the outcome of your photographs. Too much or too little light will result in an imbalance.
Using unmodified flash creates a hard light which can still produce dark shadows in some circumstances. Bouncing your flash off a low ceiling or using an accessory to soften the light will help. Using a large reflector will create a softer light than a small flash, but using the silver or gold side of a reflector can tend to produce an unappealing harsh fill light in bright sunshine. When using a multi-sided fold-out reflector, it’s important to experiment to achieve a desirable quality of light.
Remember, the smaller your light source is, the harsher it will be. Using a bigger light source produces a softer light, which can be a better fill light.
Recommended Reading: After learning about camera settings, improve your photographs by understanding how light works! Grab a copy of Photzy’s premium guide: Understanding Light Book One.
When Not to Use a Fill Light

Photograph by Kevin Landwer-Johan
Sometimes you might want to make use of a bright light and the shadows it creates. This will depend very much on your subject and the mood you want to create for your photos.
Naturally, you will see detail in shadowed areas when you are close enough to your subject. Instead of wanting to minimize these shadows, at times you may want to emphasize them for dramatic effect. Knowing how to set your camera’s exposure and what you can achieve with a little post-processing helps.
Take an exposure reading from the brightest areas of a composition (as I outlined earlier). Consider how the shadows will look when you darken them during post-processing. Make sure you frame your subject well and pay attention to the shadow and highlight areas. The results can be much more interesting with the right subject, rather than adding a fill light.

Photograph by Kevin Landwer-Johan
Conclusion
Adding a fill light will reduce the effect of undesirable shadows in a photo. The amount of light you add needs to be carefully balanced with the main light. Using a flash is one of the easiest ways to add a fill light because you can control the output and achieve a balance.
Reflectors are great to use outdoors on sunny days as fill lights. The size and surface of a reflector will influence the quality and quantity of the light that falls on your subject. Experimentation to find the right balance is important when you’re learning to work with fill lighting.
Self-Check Quiz:
- When might you want to use a fill light?
- When is a fill light not likely to be needed?
- How much light output does a fill light need to emit?
- What can be used as a fill light?
- Is the quality of light that a fill light produces important? Why?
- What’s the easiest situation in which to use a fill light?
- What are two methods to use to introduce a fill light?
- Does a larger or smaller light source create harsh light?