


In this guide, I’m going to explore the world of macro photography and help you get started with trying it out.
Here’s what we’ll cover:
- What is macro photography?
- What equipment do you need?
- Magnification and working distance
- Camera settings and depth of field
- Focusing
- Composition
Recommended Reading: If you’d like to master camera settings to create gorgeous, creamy, blurry backgrounds, grab a copy of Photzy’s premium guide: Beautiful Background Blur.
What Is Macro Photography?
Macro photography is defined in a simple sense as close-up photography of small subjects, such as insects or flowers. In the strictest sense, true macro photography only occurs when photographing subjects with a magnification of ‘life size’ or greater (i.e. when the subject is the same size or smaller than your camera sensor). So, if your camera sensor is 1 inch wide, you would be photographing something 1 inch or smaller.
However, you will often see photographers referring to an image as a macro shot when it shows a slightly larger subject. I’ll talk more about this when I explain magnification and working distance.
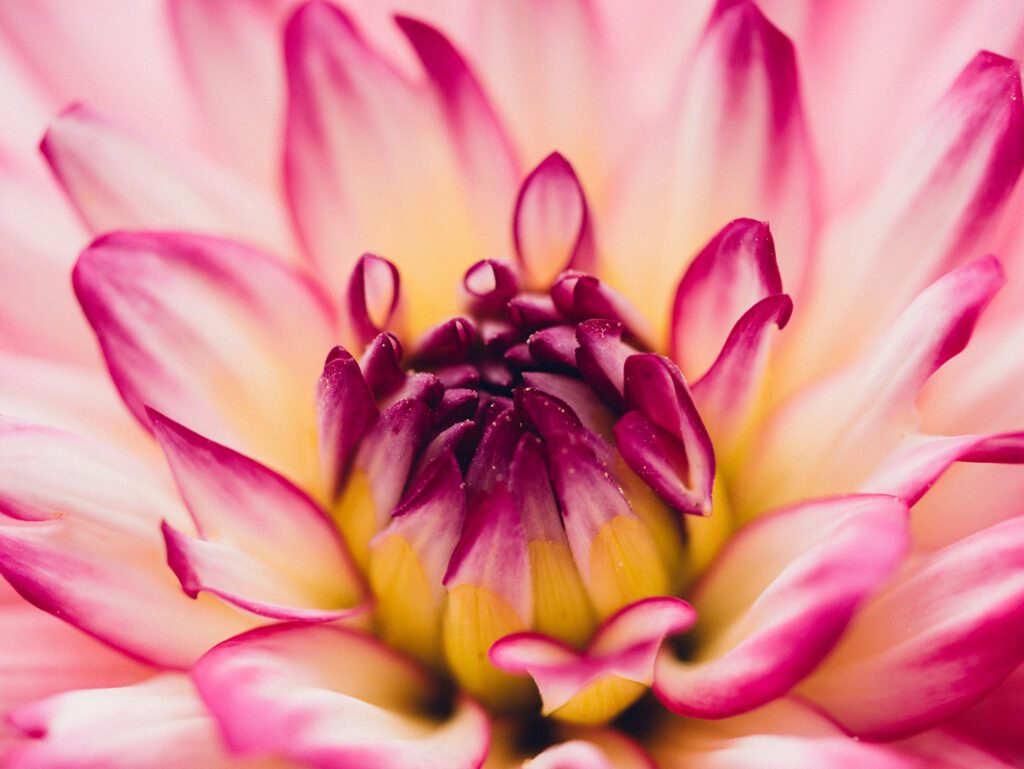
Flowers make a perfect subject to start practicing macro photography with. They’re not going to fly away mid-shot and their details are exquisite! Photograph by Aaron Burden
What Equipment Do You Need?
Key Lesson: If you’re going to get serious about macro photography, you’re going to need a dedicated macro lens. Macro lenses with a longer focal length have a longer minimum focusing distance, which gives you more working distance (more on that in a bit). But they also come with a larger price tag! Macro lenses with a focal length of between 90mm and 105mm (on a full-frame camera) are a good compromise. They provide a decent minimum focusing distance, are in the more affordable range, and are also a manageable size and weight.
Any camera that allows you to use interchangeable lenses will work for macro photography, but if you’re using a mirrorless camera then make sure it’s one with an electronic viewfinder. You don’t want to be trying to compose shots at extreme magnifications with only an LCD screen for company!
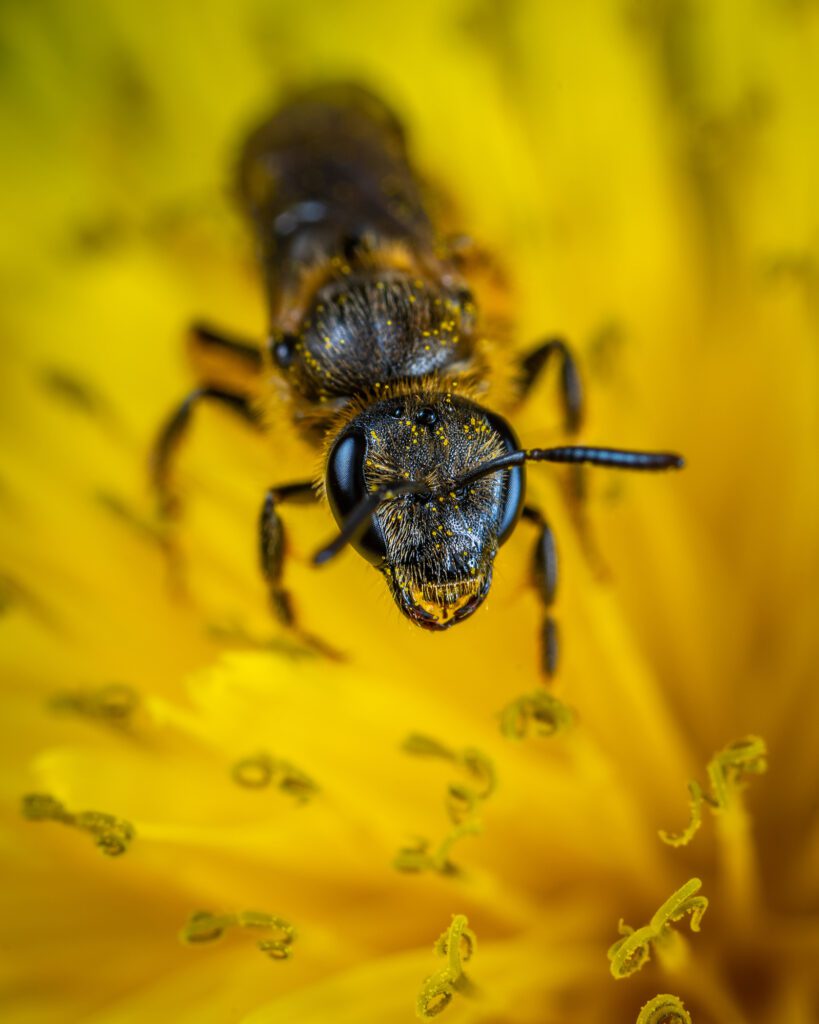
Macro photography is challenging. In this image, we can see how little of this bee is actually in focus. Photograph by Erop Kamelev
Now, if you just want to start experimenting with macro photography, you aren’t going to want to spend a lot of money on a dedicated lens. Most modern cameras (DSLRs, mirrorless, and even compact cameras) will allow you to get fairly close to a subject. You could also invest in some extension tubes, which have no optics or glass elements but create space between your lens and camera sensor. This, in turn, increases magnification. Alternatively, Snap-On Lens Adapter clips to almost any lens to increase magnification. Raynox makes the best-known adapters and is a very reasonably priced way to start experimenting.
Most modern cameras (DSLRs, mirrorless, and even compact cameras) will allow you to get fairly close to a subject.
A tripod keeps your camera steady and prevents camera shake when you’re working with tiny subjects. It also gives you more leeway with your camera settings. A flashgun with a diffuser will allow you to soften the light, whilst a reflector will help to reflect light on your subject and soften any hard shadows.
Magnification and Working Distance
There are a couple of terms that are important to understand before you start shooting macro photography.
Firstly, you need to know how large or small your subject will be on your camera’s sensor. This number, compared to the subject’s size, in reality, gives you a value known as magnification. So, for example, if you photograph something that is 1 inch in length and it is shown as 1 inch on your sensor, then this is at life-size with a ratio of one-to-one. Sensors in cameras are generally between 0.6 and 1.5 inches across. So, a 1-inch subject will appear to be fairly large on your screen!
In general, macro photographers will use terms such as 1:1 magnification and then work down (e.g. half life-size is referred to as 1:2 magnification). If you’re going to invest in a macro lens, you ideally want one that lets you shoot at 1:1 magnification.
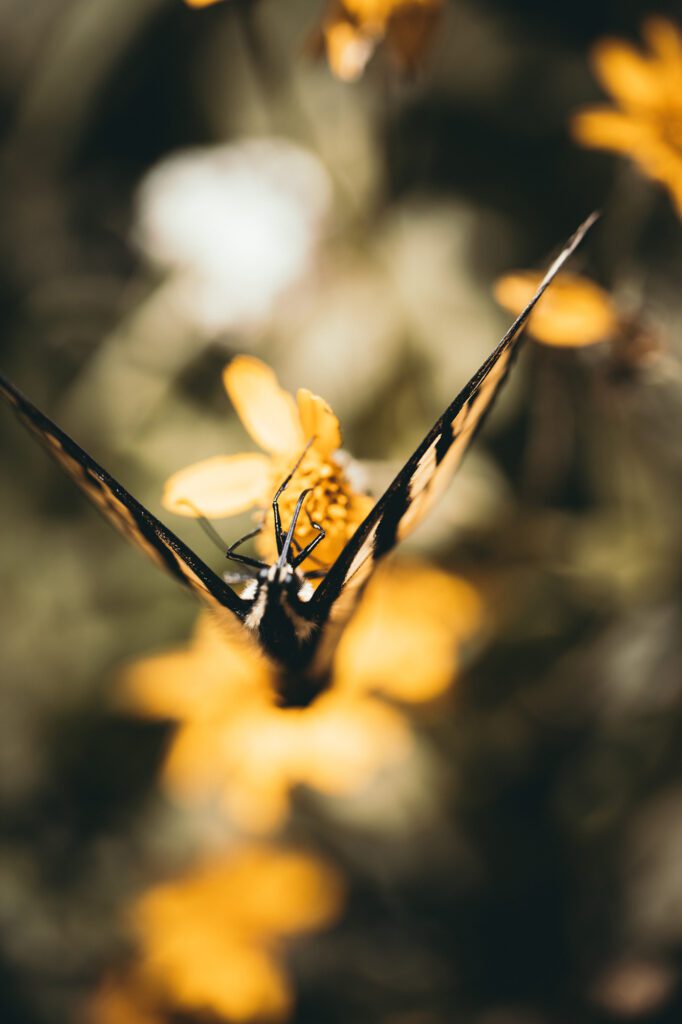
Use your angles and try different perspectives when shooting macro. It can lead to unusual and striking images. Photograph by KAL VISUALS
Working distance simply refers to the distance between the front of your lens and your nearest subject. People often presume that you need to be physically close to your subject for macro photography, but in fact, it’s the lens that should be crossing the distance for you. Get too close and you risk blocking the light or scaring a live subject away. Ideally, you want a working distance of at least 6 inches, although you would want twice that or more.
The working distance of a lens is going to be smallest at 1:1 magnification, as you need to be close to your subject to capture the shot. Also, remember that lenses with a longer focal length will have a larger working distance. The downside of this, as I previously mentioned, is that larger macro telephoto lenses tend to be a lot more expensive!
Camera Settings and Depth of Field
Key Lesson: Macro photography settings can be tricky. Shooting such small subjects up close immediately means that you’ll have very little depth of field to work with. This means it’s hard to get your subjects in focus. In macro photography, you’ll need to use a smaller aperture to get minute objects in focus from front to back. The more magnification you have (e.g. 1:1), the larger the depth of field you’ll need to achieve sharpness. So, you should expect to be working with apertures of around f16-f22.
However, the aperture that you’ll be using for macro work does depend on the kind of camera you’re shooting with and whether you’re working at low magnification (the subject is several inches across) or at high magnification (subject of around 1 inch across). This is a rough guide of the apertures to use:

Using smaller apertures immediately causes another problem: a lack of light. This is compounded by the fact that you’ll need to use faster shutter speeds to counter motion blur from camera motion, which is magnified by macro work. You’ll also want to be working with as low an ISO as possible to avoid digital noise showing up on minute details of your image.
How then do you balance depth of field with capturing enough light? Macro photographers use a variety of methods. For low magnification subjects, as shown in the chart above, you can open up your aperture to let more light in. I would only use this method for subjects in the range of 1:4 to 1:10 magnification, though. You could also increase your ISO. On modern cameras, you should have a lot more leeway to do this before any distortion becomes visible.
A popular method is to stop down to f22 and use a flash. There is the risk of lens diffraction, but your photograph will still look sharper than trying to shoot at f4! Finally, you can focus stack by taking a series of photos at around f8, all with different focus distances. You can then combine the best parts in post-production. However, this is a very time-consuming method that requires decent software and a macro focusing rail for shooting with.
Whichever method you’re using, it’s worth switching to center-weighted metering to concentrate your camera’s exposure metering on the central part of your shot (the subject!) and using your reflector to bounce as much light as possible onto the subject. And always shoot macro in RAW!
Focusing

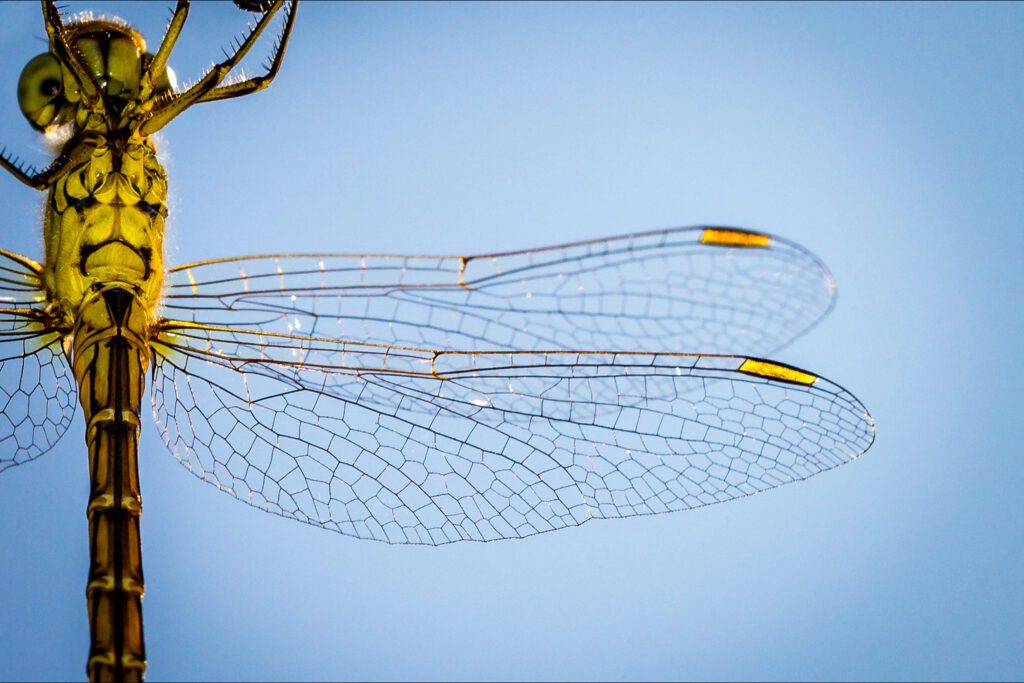
Macro photography can produce fascinating images, allowing photographers to capture tiny details invisible to the naked eye. Photograph by Dominik Lückmann
As we’ve previously discussed, macro photography means that the amount of your subject that will be in focus will be tiny. Working with small subjects means that your focus needs to be extremely precise. If you’re using a tripod, then you will be able to use autofocus without any issues. You should also be fine using autofocus for subjects that are around 4 inches and larger. But if you’re hand-holding your camera and shooting smaller objects, you will need to manually focus your camera.
Working with small subjects means that your focus needs to be extremely precise.
However, whilst you’ll be using manual focus, it’s not as simple as just rotating the focus ring to get a sharp image. Instead, your best option is to set your lens’s focus at a certain magnification and then rock your camera forward and backward in tiny increments until your image is sharp.
Composition
- Pay attention to your background – Your background might be out of focus, but it still needs to work well with and not distract from your subject. Solid colors such as green grass or blue sky work well here, as they provide a clean palette to set your subject on.
- Using flash – If you’re using flash to illuminate your subject and are working at 1:1 or 1:2 magnifications, you’ll find that the background of your image will turn dark or even completely black. This is due to the property of light. As your flash will be very close to your subject, it will be even brighter than the sun, with your background hardly receiving any light at all.
- Know your colors – Certain colors work together and can balance each other out in terms of composition. For example, reds and oranges tend to stand out and draw the viewer’s attention, whereas blues and greens tend to fade more naturally into the background. However, it is worth noting that all colors appear more vivid with macro photography.
- Plane of focus – The angle of your camera can throw things in and out of focus. Basic geometry states that any three points in space can be connected by one plane, no matter where those points are. So, in photography, this means that at least three elements of a photo, even if they are different distances from the camera to start with, can always be brought into the same plane of focus. It’s up to you, as the photographer, to move your camera’s angles around until all the points you want sharp are on the same plane of focus.
- A note on insects – A little sidenote on insects (if that’s what you’re photographing!). Some insects are easier to start practicing macro photography with as they don’t move particularly quickly. These include ladybirds, ants, grasshoppers, and spiders. Bees and butterflies are best photographed whilst they’re feeding on flowers. A good tip is to focus on a flower and wait for a bee or butterfly to approach it. Finally, it’s worth knowing that dragonflies fly away when anything moves directly towards them. Try approaching them while gently rocking from side to side for a few seconds, before stopping and waiting for around ten seconds. This can even make a dragonfly forget you’re there.
Recommended Reading: If you’d like to master camera settings to create gorgeous, creamy, blurry backgrounds, grab a copy of Photzy’s premium guide: Beautiful Background Blur.
Conclusion
Macro photography is not the easiest of things to get right and does require patience and practice. But if you’re prepared to put the time in, it can produce the most stunning of images. It’s fascinating to see the tiny details that the naked eye usually misses!
Self-Check Quiz:
- What is ‘true’ macro magnification?
- What apertures will you mainly be working within macro photography?
- What is the working distance?
- Which metering mode should you use for macro?
- How many elements can be brought into the same plane of focus?
- When is it best to try photographing bees or butterflies?


