

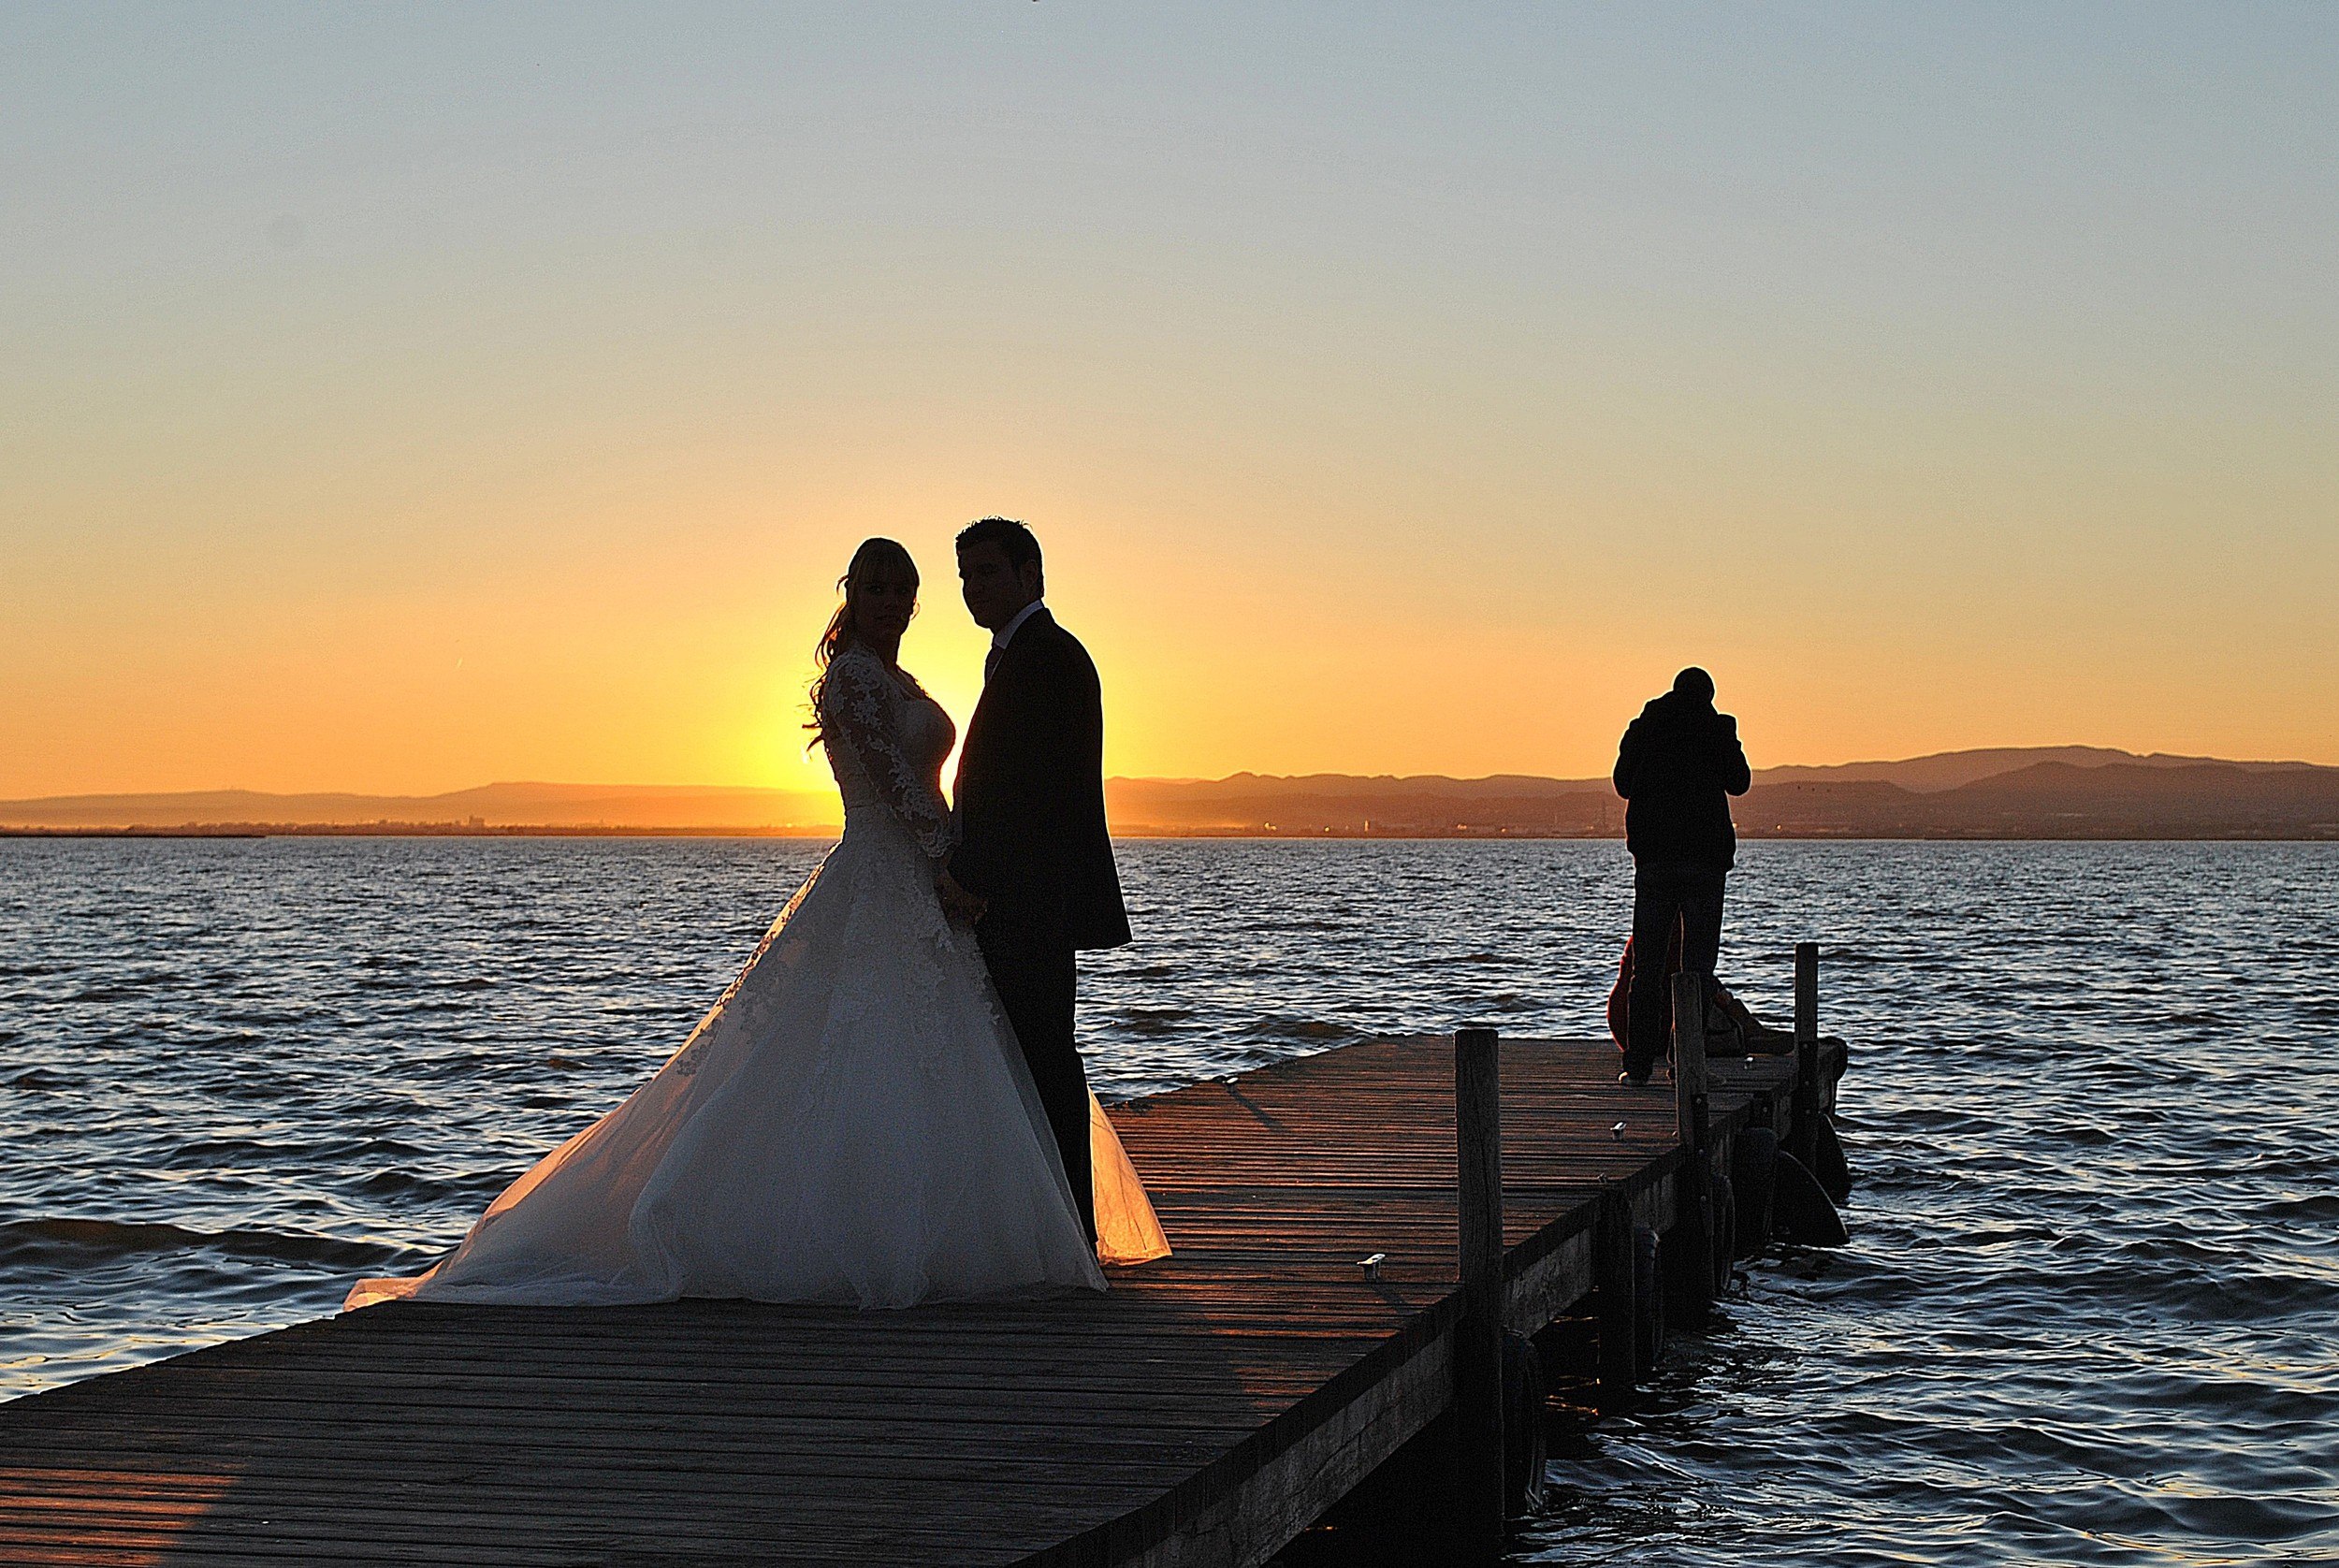
Photo by Marcela Escandell
Just about every photographer, who advances beyond vacation photographs, thinks about shooting weddings at some point.
And why not, weddings are fun, right? Everyone is having a good time. The event is filled with emotion. It’s a perfect moment to capture images you just don’t come across every day.
Each of us has our own purpose for wanting to delve into wedding photography.
At this moment, we’re going to give you the best piece of advice that you’re going to get from this guide –
Don’t start out taking money, and selling yourself as a wedding photographer, until you’ve seriously photographed several weddings as a “secondary” photographer. And better yet, introduce yourself to some established wedding photographers and ask if you can assist them for some period of time.
Shooting as a secondary photographer, or assisting a professional wedding photographer, is essential to getting your feet wet before you become the responsible party. Remember, in weddings, there is no “do-over”.
What do we mean by – you have seriously photographed several weddings?
We mean that your goal at the wedding was to photograph a complete wedding story from beginning to end. What we don’t mean is that you attended a wedding, snapped some pictures, a few of them turned out pretty good, and now you’re ready to be a professional wedding photographer.
Make no mistake about it; wedding photography is one of the most difficult assignments that any photographer, even experienced ones, can take on.
"Wedding photography is one of the most difficult assignments that any photographer, even experienced ones, can take on."
As a wedding photographer, you will be faced with numerous challenges, including (but not limited to):
- Dealing with large groups of people.
- Many of them will be emotionally charged.
- You must handle age groups from toddlers to senior citizens.
- You may have folks who began the party hours before the ceremony.
- People will disappear on you.
- People will demand that you take certain pictures.
- People will be cantankerous and disruptive.
(This is a short list – By the way)
You will also face numerous lighting challenges: low lighting, backlighting, and harsh lighting.
You will probably be in a location that you’ve never seen, so you won’t know what’s coming.
You will need to be upbeat, happy, and motivating: no matter how you personally feel.
Finally, you will need to address all these issues while making sure that your photography is technically perfect, and, you will have to do it in a very short period of time.

Photo by Otto Phokus
Blurry photos, (such as this young girl at a wedding reception), don’t make bridal couples very happy.
If you go back to the bride, and her mother, with numerous images such as the one above, it will not be a good day.
Now, if your intention is to simply take better photographs, for yourself, at the next wedding you attend – then simply read on.
Wedding photography can be really fun! But you need to be prepared.
This should be your equipment inventory.
- A camera (A DSLR is better than a point and shoot. Bringing along a backup camera is better than only
having one.) - Multiple memory cards and batteries. (Bring plenty of backup for both. You don’t want to have to run to a store in the middle of a wedding because one of these items failed.) We suggest that you carry at least double the amount of camera batteries, and flash batteries,
than you think you will need. Bring your battery chargers to the wedding. - A zoom lens that covers from a wide angle to moderate telephoto range (example, 28-135mm); that would be a minimum. With time, you should increase your lens inventory to include everything from a super wide (14mm) lens, to a long telephoto (300mm) lens. When considering purchasing lenses, think prime lenses (fixed focal length – at least one) and fast f/stop (f/2.8 or faster); this will help you deal with low light situations. The reason for considering a prime lens is that they are generally faster (largest aperture opening) than zoom lenses.
- A GOOD external camera flash. You will want a flash that is powerful: has a head that swivels for bouncing light: is TTL, or ETTL, compatible with your camera:
and ideally can be fired remotely so that you can remove it from the camera. If you have one that can be fired remotely, you’ll want a good sturdy light stand as well. - A sturdy tripod with a quick release bracket and a cable release. This will help you take sharp pictures in low light. Many churches do not allow flash photography once the processional has entered the church.
- Some wedding photographers like to use a bracket to move the flash away from the lens, this prevents red- eye.
- A bounce card or diffuse dome for your flash. This helps soften the sharp lighting that direct flash causes.
- Reflectors (either purchased or self-made can come in handy.)
Setting Up Your Camera

Photo by Larissa S.
We don’t recommend using program mode or full auto mode. The best auto mode for a wedding photographer is shutter priority.
The reason for this is that you will be dealing with low light, changing light, and you don’t want your shutter speed to drop down to low (without you noticing) and all your pictures are blurry.
You also want to be able to set your own ISO. The higher the ISO, the more noise you will see in your photographs.
Always use the lowest ISO possible.

Photo by Kris Krüg
Program mode, or full auto mode, will drive up your ISO and drop your shutter speed in low light; this will create noisy photographs that aren’t sharp.
Depending on your situation, you will alternate your metering pattern between matrix (full frame) metering, and spot/center weighted metering.
"The higher the ISO, the more noise you will see in your photographs."
Weddings throw many lighting scenarios at you. Try to keep an eye on the lighting behind your subject. If the lighting behind your subject is bright, or, the background is just bright in general, use the spot/centered weighted metering pattern.
In most other scenarios, you would use the matrix, or full frame, setting.

Photo by Yegg
This portrait above is underexposed due to strong back-lighting.

Photo by Yegg
By adjusting to spot metering, the camera ignores the background, and produces a proper exposure for the couple.
Setting Up Your Flash
Acquiring an external flash can be a daunting experience. (Just page through the manual)
Modern flash units are truly electronic marvels; they can do so much. But, it’s a lot like the remote control for your television; it has many functions but there are only a few that you will use on a daily basis.
There are three functions that you will need to learn about your external flash as you start out in wedding photography.
- How to set it up for TTL or ETTL metering-(ETTL being the preference.) These metering modes instruct your flash to automatically determine how much output of light is necessary. ETTL is better, because it will then “talk” to your camera’s metering system; the two devices will then decide, in tandem, what the output of the flash should be based on exposure readings at the sensor.
- How to turn the power of the flash up and down. Automated metering can be fooled. After you take an exposure, review it on your screen. If the subject looks too dark, or too light, you need to manually adjust the output. Remember this- The flash unit will not return to its normal setting automatically. So, once you finish with that particular setup, you must return it to the normal setting.
- If your flash unit that can be used remotely, (off the camera), learn how to turn that function on and off.
RAW vs JPEG
If your camera allows it, set it to shoot both. Then you can use RAW for high quality processing and JPEG for quick turaround use, such as social media. If not, use RAW if you have the software to post-process the images.
If you don’t own post-production software then choose JPEG images. Shooting both formats, or just RAW, will eat up more of your memory card; make sure you have plenty of memory cards.
Lighting
The subject of lighting really requires a guide of its own. Suffice it to say- Soft light is better. What does this mean? Bounce your flash off walls or ceilings when possible.
Use a diffusion device on your flash such as a bounce card or a diffusion dome. When you’re outdoors place your subjects in the shade.
If that’s not possible, put the sun behind your subject and at a 45 degree angle to their shoulder line. Then, use a fill flash, or reflectors, to lighten their faces.
What Is Wedding Photography Really About?

Photo by Nina Matthews Photography
Wedding photography is about telling a story; the story of the bridal couple’s day. Keep this in mind as you create your pictures. They will want to see the happy faces, the tears of joy, the details of the clothing, flowers, and decorations. They will also want to see the location: the church, the reception hall. It is also wise to include things as the limousine, horse drawn carriage, etc.
Use your creativity, but remember the quality of the photographs is #1!
You’re much better off presenting fewer impeccably perfect photographs, than hundreds of low quality images. Show faces, keep your images sharp, pose subjects effectively, and look for interesting locations and angles.
Always strive for interesting lighting.
This photographer put some thought into a great idea that was simple to execute.
Styles of Wedding Photography
There are two styles of wedding photography: Editorial (candid) – and Traditional (posed).
Some wedding photographers do only one, or the other, most do a combination of both.
Let’s examine each style and discuss what’s involved with executing fabulous wedding photographs in that particular style.
Editorial

Photo by Steve Jurvetson
Editorial, or candid, wedding photography is generally viewed as being easier by those just starting out. But nothing could be further from the truth.
It does somewhat relieve you from the responsibility of handling large groups.
However, it requires skills that take experience: knowing where to be, when to be there, and most importantly- HAVING A GOOD SENSE OF TIMING!
Photographs like this require experience and a great sense of timing.
As an editorial wedding photographer, you will work mostly by “finding” your images rather than setting them up. This requires intuitiveness and speed.
As you see something developing, you need to be in the right place, have your camera settings ready, and snap the shutter as the action occurs- not after it occurs. Nobody likes pictures of the back of someone’s head.
That being said, our equipment recommendations above, will give you the edge you need as you develop your skills.
Let's Look at a Few Editorial (Candid) Photographs and See Why They Worked

Photo by micadew
This pre-ceremony candid presents a strong sense of moment. But… its success hinges on one element: the bride’s expression. If she wasn’t looking to her side (revealing her expression) this photograph would be ho-hum at best.
"Use your creativity, but remember the quality of the photographs is #1!"
This post-ceremony candid (image below) is graphically strong due to the unusual framing. But once again, its success hinges on the photographer’s sense of timing. Even though the group of people is the smallest element in the photograph, your eye is drawn to them because of the unusual body language.
If they had been standing there stiff, and posed perfectly, this would fail. This photograph succeeds on several levels, it indicates the setting, it depicts a group of people who attended the event, and… It’s funny!

Photo by chucka_nc
Editorial wedding photographers “find” photographs, but, they also often do what are called, “set-up candids”. These are tricky. This is where your “people skills” will come into play. In order for a setup candid to be successful, it has to look like it just happened.
Let’s look at a couple of examples.

Photo by Vesna Pukich
In this situation, the photographer most likely noticed the bridesmaid sitting on the couch. They then noticed the light coming through the window. They stepped to the appropriate angle and asked the woman to look up. Bam! A fabulous setup candid.

Photo by Enrique Mendez
Here, the photographer probably wanted to make use of the beautiful archways in the background.
They took the couple to the location, asked them to hold hands, and walk toward the building.
They may have even instructed the groom to look at the bride, which was a smart move, as this would have been much less effective without seeing his face.
Remember, faces, faces, faces!
The above photograph works on several levels as well. It depicts the place. It displays the beauty of the bride’s dress. And, we see the groom’s adoring look.

Photo by Aasen Ryan Family
Here is an example of a setup candid that didn’t work. The couple is placed in an awkward setting; it doesn’t say anything about the location. The couple looks stiff: and despite the fact that they’re kissing, the man’s hand is in his pocket as if he’s posing.
Remember, keep your candid images real!
Traditional
The traditional style of wedding photography is generally about recording what happened, and who was in attendance, from a more stoic perspective.
The photographs are typically done in an easy to see, posed, style: think portraits. A traditional wedding photographer can (and probably should) incorporate some candid work; but that’s not their specialty.
In order to produce top quality traditional wedding photography, you will need to be good with people. This is where herding large groups around becomes a necessity. You need to get folks to do what you want them to do, and you need them to do it quickly and in an organized fashion.
"In order to produce top quality traditional wedding photography, you will need to be good with people."
This will require a great deal of tact on your part. We call this, “The Mother Hen”, part of wedding photography. The best way to handle this when starting out is to have a plan. Make a list of what photographs you want to take and who has to be in them.
Group your shots by affiliation (i.e. bride’s family then groom’s family); don’t jump back and forth. You can save groups of friends ‘till the reception, unless the bridal couple says otherwise.
You will want to study posing: posing for individuals, and posing groups. You will need to learn to balance your lighting.
This type of photograph is often done at the altar of the church, where lighting is low, to nonexistent; you don’t want the background to go black.
Here's a Tip for Handling Low Light
Turn your flash off. Put your camera on a tripod and attach your cable release.
Use the lowest ISO possible to achieve an exposure of f/5.6 at, (no less than), 1/30th of a second.
Take a test shot. If the background is sufficiently exposed, turn your flash back on. Pose your first group portrait.
Perform a second test shot. Adjust your flash up, or down, based on how it is affecting the overall scene; you want the group lit up, but you don’t want the flash to be overpowered, thereby casting a large shadow into the background.
Once you’ve determined these settings, you should be good to go until you change locations, or, if you change the flash to subject distance.
Posing
Posing is an art. There are thousands of books and articles that discuss the subject at length. Here, we’re going to cover a few basics.
- Be aware of your background. That seems simple enough. But many, many, photographs are ruined by cluttered ugly backgrounds. When you’ve posed your subject, and you’re about to squeeze the shutter, stop, take a deep breath, and look beyond them. Do they have stuff behind their head? Is there a garbage can in the corner? Take in what is going on around them.
- Be creative in your posing, but make a judgment call. Where is the eye going to go? Remember, portraits are about faces. Don’t pose your subject in a way that the viewer’s eye will go to their feet or their armpit.
- When posing groups don’t line them up. The photographic format is rectangular. When you line people up, shoulder to shoulder, you are creating a panoramic line. You will be left with unused, and typically ugly, space above their heads and below their feet. Have people in your group kneel, sit, and stand to vary head height. Make use of chairs, stools, steps, etc. As you look at your group, imagine a rectangle drawn around them. Will they fit the space?
- Props are fine for your wedding photographs. Just remember, keep them secondary to the subject. Don’t put the flower girl’s basket in front of her face so that you can barely see her.
- Hand placement is always an issue with posing. Just bare this in mind, keep it natural. Nothing looks more awkward, in a posed photograph, than a hand being held at a strange angle. Look at the hands before you snap the shutter.
Let’s Look at Some Traditional Wedding Photographs

Photo by Annabel Farley
Here is an example of a groom’s portrait that fails do to the background.
The pose is fine, the expression is reasonable (although the face is a little soft), it’s exposed properly, but all those squiggly branches behind his head are extremely distracting. Had the photographer noticed this, the photograph could have been vastly improved by moving the subject just a few feet.

Photo by Roy Montgomery
This bride’s portrait is much better. It has the same feel, and styling, as the previously viewed groom’s portrait.
But, all the foliage has been positioned off to the side; it now adds to the image rather than distracting from it.
The following photographs are two portraits of the same bride. Look at them and ask yourself- Which one works, and which one doesn’t?

Photo by David of Toronto

Photo by David of Toronto
The first portrait is technically proficient. It’s exposed correctly and the background isn’t distracting. It’s the pose that falls short.
The viewer’s eye is drawn directly to the bride’s armpit.
The second portrait is much better. Again, the exposure is fine: the background is pleasing: but, now the pose is also in sync with everything else.
We see the bride’s face, her contemplative expression, her beautiful dress, and her feminine form. Our eyes flow in a pleasing direction.
This is a much better portrait than the first version.

Photo by Peter Massas
This posed group shot was masterfully handled by the photographer. First off, the group is extremely large. It also appears that the photographer didn’t have a lot of room to work with.
The photographer has varied the head placement to fill the rectangular frame which was an excellent choice. The lighting is well balanced and not throwing any harsh shadows. The one thing that the photographer missed was to have the man in the front row pull his hand back, so that it wasn’t partially covering the boy’s face.
Always check the hands before you click the shutter!
"You need to get folks to do what you want them to do, and you need them to do it quickly and in an organized fashion."

Photo by Aasen Ryan Family
Here is an example of a poor group shot. Does it record who was there? Yes. Is it in focus? Yes. Is it interesting? No. The subjects in this photograph appear disconnected. It also doesn’t say anything special about the day; intertwine people, hook arms, hold hands, touch shoulders, indicate that these people are special.
A Few Final Comments
Don’t forget to capture those little details of the wedding: the cake, the invitation, close-up elements of the bride’s attire. These snippets also tell the story.
Now, many photographers tend to let their guard down when doing these photographs. They become more of a “grab shot”. Got to get it quick! Try to resist that temptation.

Photo by Andrew Morrell
Give these images the same attention to focus, lighting and background. If you don’t, they will stand out like a black-eye compared to the rest of your work.

Photo by Ali Nishan
This image above is a great example of an experimental soft-focus image.

Photo by J
An unusual angle creates interesting framing.
Explore new angles, lie on your back, or climb up on a ladder. Show the angle that no one else thinks of!
Wedding photography can be fun and quite rewarding. We hope that you’ll take the information from this guide and develop your skills with time.

Photo by Corey Balazowich


