

The crop tool is one of the most straightforward tools in Photoshop and Lightroom, but it’s also one of the most useful. You’ll find a version of the crop tool in nearly every imaging program. What does it do? Its primary role is to allow you to select an area of a photo and remove or ‘crop’ everything outside that chosen area. In this guide, I’ll show you how to use the crop tool to improve your images.
Here’s what we’ll cover:
- How to use the crop tool
- Cropping for size
- Aspect ratio
- Why we crop
- How to crop portraits
Recommended Reading: If you’d like to improve your composition skills for better images, grab a copy of Photzy’s best-selling premium guide: Understanding Composition.
How to Use the Crop Tool
Cropping allows you to remove portions of your image. But how do you actually use the crop tool? As you might expect, it’s pretty simple. I’ll run you through using it in Photoshop, but the premise is the same or extremely similar in other editing programs. When you select the crop tool from the toolbar, ‘crop’ borders appear on the edges of the photo. Now you can draw a new cropping area or drag the corner and edge handles to specify the crop boundaries you want in your photo. You can now press ‘ok’ or the enter button to finalize the crop.
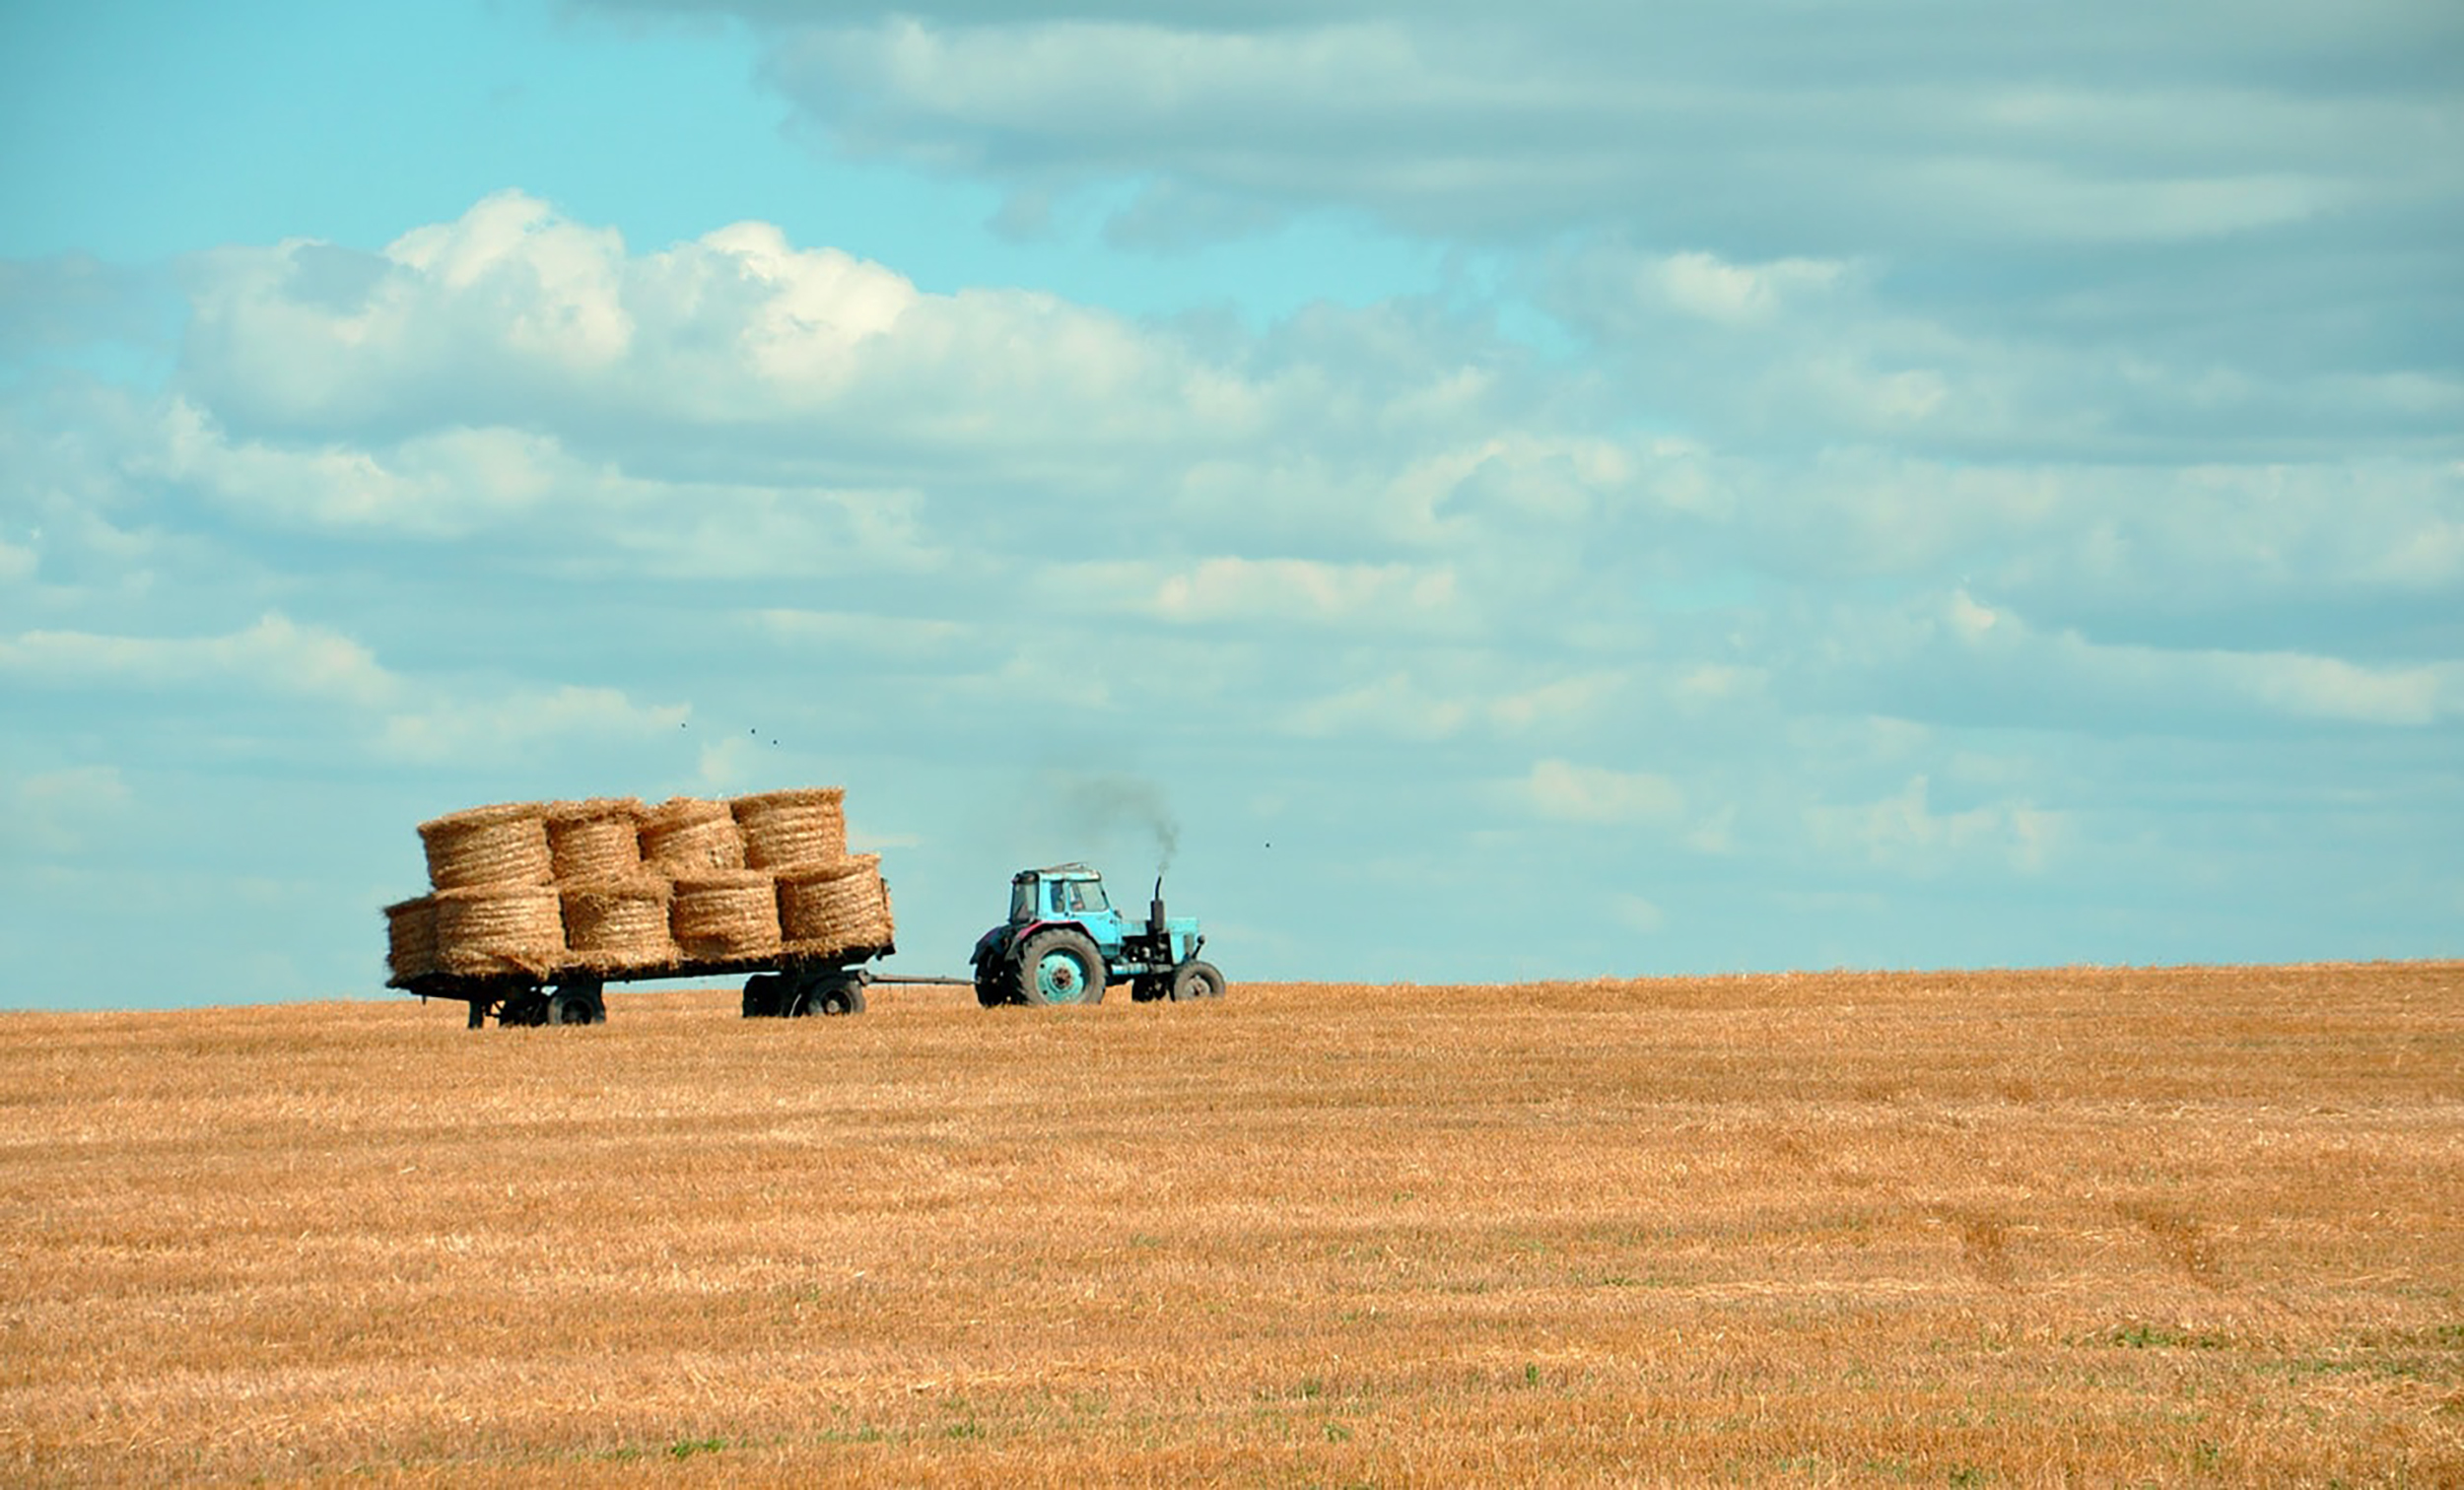
Crop an image to place your subject to one side to help draw your viewer’s eye into the image. Photograph by Roksolana Zasiadko
You can also specify more crop options in the Control bar:
- Size and proportions – Choose a size or ratio for the crop box. You can choose a preset, enter your own, and save your own preset values for later.
- Overlay options – You can also display overlay grids over your crop, such as the Rule of Thirds and the Golden Ratio.
- Auto center preview – Enabling this option places the preview in the center of the canvas.
- Show cropped area – If this option is enabled, the crop tool will display the area that’s cropped. If you disable it, only the final area is previewed.
- Enable crop shield – The crop shield allows you to overlay the cropped areas with a tint. You can specify a color and opacity.
- Delete cropped pixels – Disable this option to apply a non-destructive crop and retain pixels outside the crop boundaries.
Cropping for Size
One of the simplest reasons to crop an image is if you want to make it a certain size, either for printing or to use online in a specific format.
Key Lesson: There are various popular sizes for printing, such as 7×5”, 8×10”, 12×16” etc. Cropping an image also lets you choose the dpi (dots per inch) for your image, and you need to make sure this is adequate for what you’re doing with the image. If you’re going to be printing a shot, I’d recommend a dpi of at least 300. This gives you excellent quality.
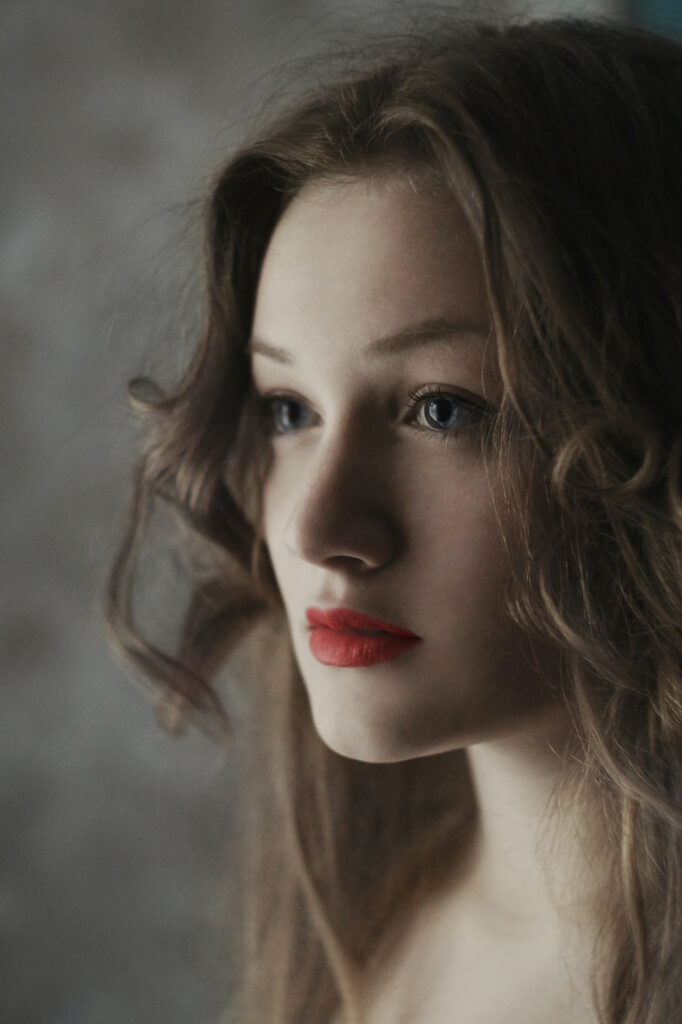
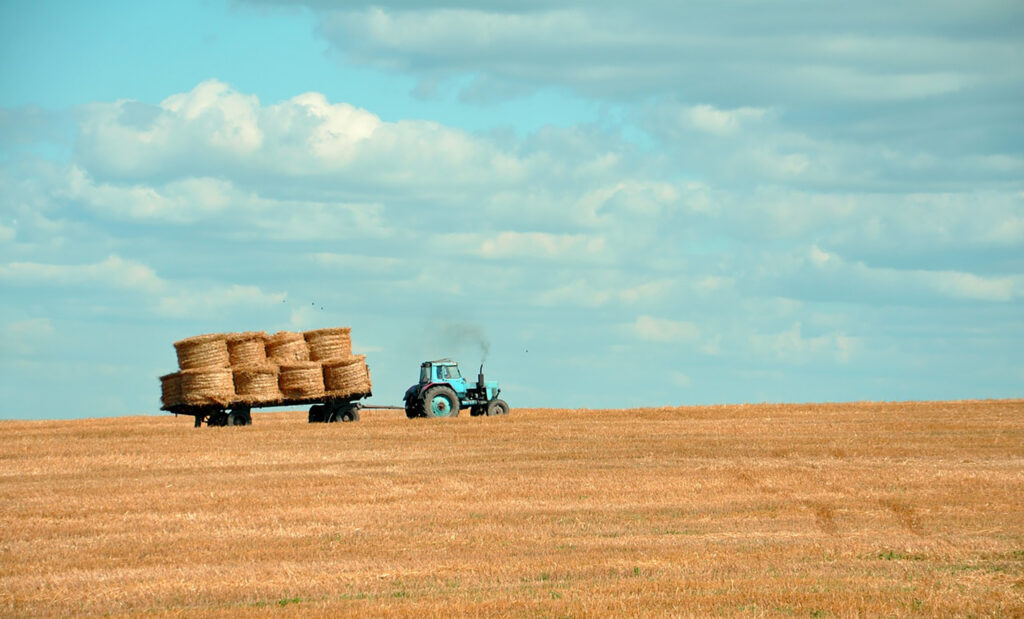
Look beyond the obvious if you choose to crop. A horizontal portrait can look just as strong as a vertical one. Photography by Thought Catalog
When it comes to posting images online, different websites may well have specific requirements when it comes to sizing. But, as a general rule of thumb, keep the maximum dimension to no more than 2048 pixels. A dpi of 72 is more than enough for online requirements.
Aspect Ratio
Aspect Ratio also helps to set the mood of a photograph and is something that can be adjusted very quickly with a preset in the crop tool. The most common photography ratio is 3:2, which is the ratio that was found in old 35mm cameras. The number is a way to describe the ratio between width and height.
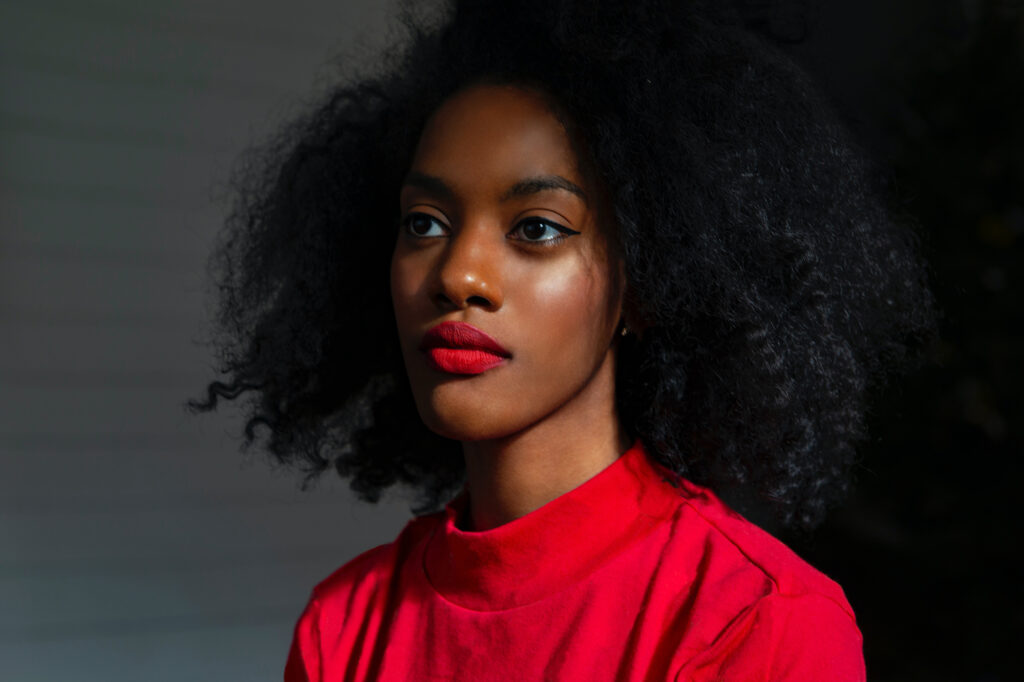
When shooting portraits, you can get away with cropping in tightly and losing some of a subject’s forehead if you keep the rest of the image tightly cropped. Photograph by Alexander Krivitskiy
The 4:3 ratio is a little shorter than 3:2 and works well in portrait-orientated images as it leaves less empty space at the top of the frame. It’s also the most common ratio in computer screens and monitors.
Another popular ratio is 1:1 (square), which is the iconic ratio for Instagram and, before social media and digital technology, was best known as the format that Hasselblad cameras shot in. There’s also 16:9, which is a panoramic ratio. You’ll need to have shot a particular image to suit this style.
Why We Crop
So, why do we crop, apart from resizing an image? Well, there are several creative reasons to crop, all of which are aimed at creating better photographs. Here are some guidelines to help you improve your images.
Crop to Reframe the Subject
When we shoot, we often put our subject in the center of the image, which often results in strong images. But sometimes, when there’s too much space around your subject, they can get lost in the surroundings. Cropping the image to move your subject to one side not only gets rid of the space on one side of your shot but also helps draw a viewer’s eye into the image towards the subject. If your subject is a person or animal, use their eyes and the direction they/the head is facing as an additional way to draw your viewer into the shot.
Cropping the image to move your subject to one side not only gets rid of the space on one side of your shot but also helps draw a viewer’s eye into the image towards the subject.
Crop to Focus On Something Specific
Ideally, I prefer to get the shot right on camera, but it’s not always possible due to space or time. Sometimes you might have accidentally included a distracting element in the frame. Or you could have spotted an interesting detail in a scene, but not had the lens to get close enough to it in camera. Cropping gets rid of distracting elements and draws attention to a specific element in an image.
Crop to Deal With Moving Subjects
Moving subjects are hard enough to photograph without the additional pressure of framing a shot perfectly! If you’ve got your moving subject into the frame and they’re in focus whilst still conveying the feeling of movement, then you’ve done the really hard part. So, cropping in post-production makes perfect sense to get the look and feel you want for a shot.
Crop to Follow a Compositional Technique
Key Lesson: There are lots of compositional techniques that photographers use to improve their images when shooting, but you can also use them when you’re cropping. As I mentioned at the start of this guide, the crop tool has some preset grids available, allowing you to instantly overlay a grid for the Rule of Thirds or the Golden Ratio into your crop. Another strong way to crop is to look for leading lines in an image and crop to emphasize them. Leading lines lead the viewer’s eye from one part of a composition to another. They generally start from the bottom of the frame and guide the eye upwards towards the main subject of your image. Cropping can help to create and strengthen those leading lines in a shot.
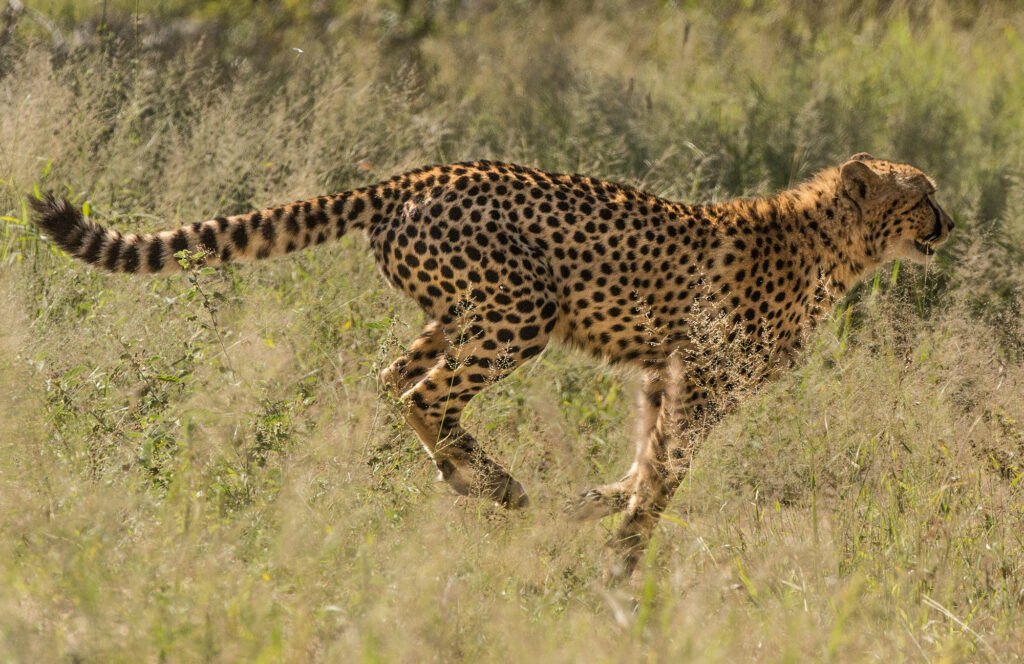
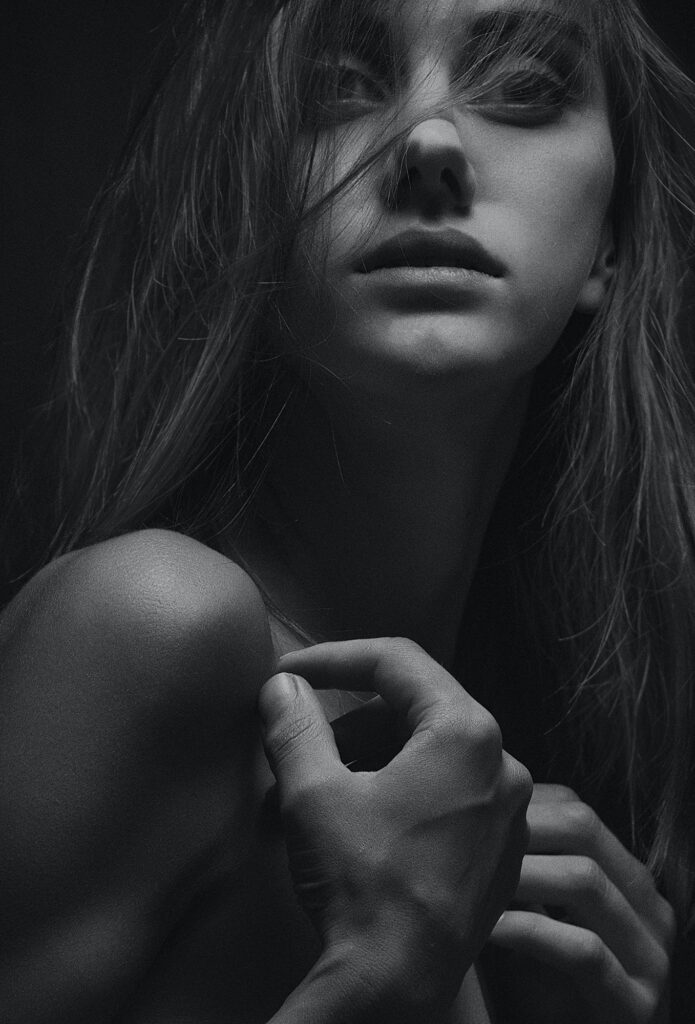
When shooting a fast-moving subject, it’s sometimes just far easier to crop in post-production! Photograph by Chari Durand
How to Crop Portraits
Portraits are one of the most common things to crop, but the skill lies in knowing where to crop. Crop in the wrong place and you’ll end up with an awkward image that just looks wrong.
The first rule of cropping portraits is that you shouldn’t crop on anatomical joints, so this means not cropping on the neck, shoulders, wrists, elbows, knees, and ankles. This can end up looking as if you’re chopping off parts of your subject’s body.
Secondly, you need to know how to crop faces correctly. There are some rules that work well for portraits. Portraits usually look better when the subject’s eyes are in the top third of the frame. This balances out the shot and makes a person look more natural in the image.
Portraits usually look better when the subject’s eyes are in the top third of the frame. This balances out the shot and makes a person look more natural in a shot.
Cropping off the chin is a big no-no. It just looks odd and unnatural. Cropping off the top of the head can work, but only if you’re going in for a very tight crop and don’t have any other space around your subject. I find that cropping off the top of the head generally only works when shooting in portrait mode.
Full-length body portraits can work very well if the background and surroundings add something to your shot. But three-quarter length shots can also work very well. This is where you crop the legs just below the knees. This adds more weight to your subject and helps to draw them out from the background.
Conclusion
The crop tool is an extremely useful feature that can add instant improvement to images. However, I would still suggest that you try and get things right in-camera where you can. Going out and thinking that you’ll just crop in-camera later can make a photographer lazy. If you can get the crop right while you’re out, take the time and use your skills to do this. But know that the crop tool is there to help you if you need it.
Recommended Reading: If you’d like to improve your composition skills for better images, grab a copy of Photzy’s best-selling premium guide: Understanding Composition.
Self-Check Quiz:
- What does the ‘enable crop shield’ setting do?
- Which is the most common aspect ratio?
- Why would you crop to reframe the subject?
- Name a compositional technique that you can use in a crop.
- Which joints should you avoid cropping off in a portrait?


