
Leading lines draw the eye in a specific direction across the photograph. They are an important compositional tool that will allow you to send a message, control the viewer, or create a certain atmosphere within your shot.
Given that this tool is so effective, it’s easy to see how it might come in handy in portraiture. If you want to make sure that your portraits pack more of a punch, this is a fantastic idea to try. In this guide, we’ll go through different types of leading lines and how you can use them for effective portraits.
Here is what we will cover:
- Lead to your subject
- Create compositional arrows
- Leading lines in the body
- Lead with the eyes
- Avoid distracting lines
Lead to Your Subject
The first and most important way you can use leading lines is to point the viewer’s eyes in the direction of your subject. You want to draw their attention down towards where your subject sits or stands, whether this means bringing a line from the horizon down, across the image, or up from the bottom of the frame. You can even use diagonal lines. The important thing is that they point directionally to your model.
The first and most important way you can use leading lines is to point the viewer’s eyes in the direction of your subject.
There are lots of natural ways to make this happen. A horizon line, trees that grow straight or their branches pointing sideways, buildings, signs, the road, and the markings on it – all of these elements and more can create leading lines. Your job as the photographer is to figure out where to place your model in the scene, and how to crop the frame to make those leading lines point to the right place.
Key Lesson: Using lines in the background of your composition to point towards your model will draw the viewer’s eyes towards them, so long as the frame is placed correctly.

The lines of the floor lead us directly to this cute dog, the subject of the portrait. Photograph by Paul Cuoco
Create Compositional Arrows
We can take leading lines a bit further by creating triangular or arrow shapes pointing towards the model, instead of simple lines.
How does this work? We can often use the laws of perspective to make it happen. If you look down a long, straight street, you’ll see that it appears as though the street narrows and the buildings get closer together as you approach the horizon. A diagonal line will cut across your image, from the lower corner up to the central line.
Placing your model on this central line and then adjusting your perspective, so that you can also see the inverted ‘V’ of the sky, can help you to make an arrow pointing at your model. You can also use other lines that may occur around you which naturally create that same ‘v’ shape.
Key Lesson: A V-shape instead of straight lines can also direct the eye, creating an arrow pointing right at your model.

The angle of the furniture creates a V-shape with the lines of the flooring, pointing to the model. Photograph by Karsten Winegeart
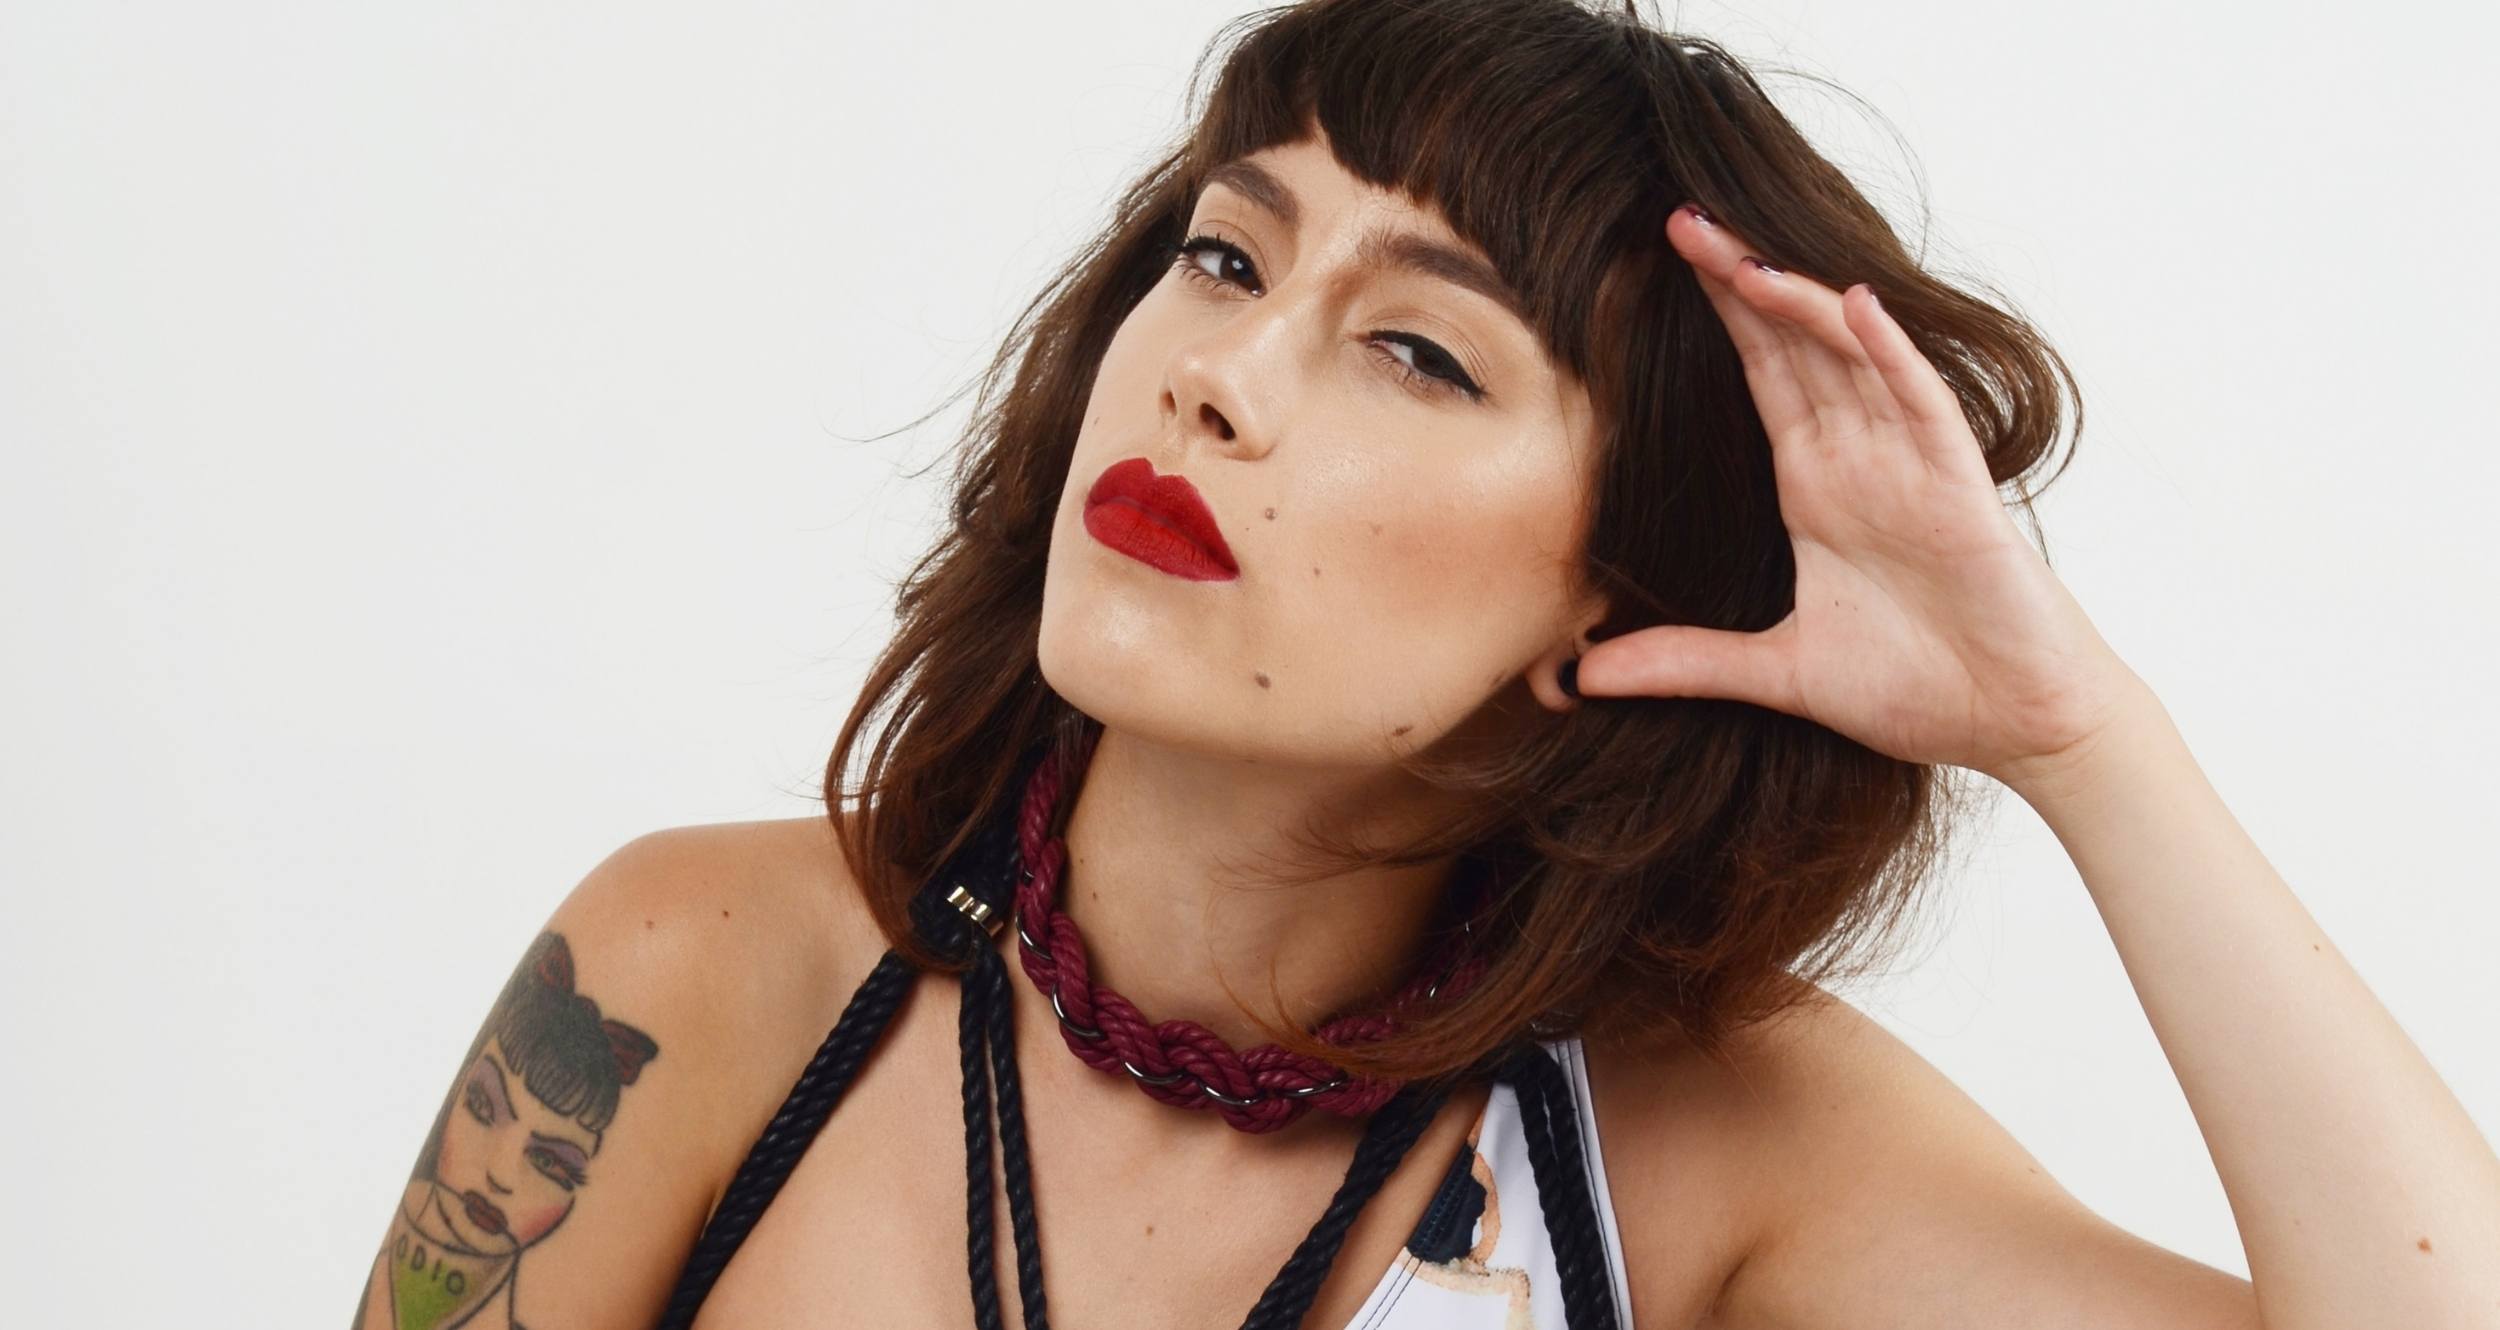
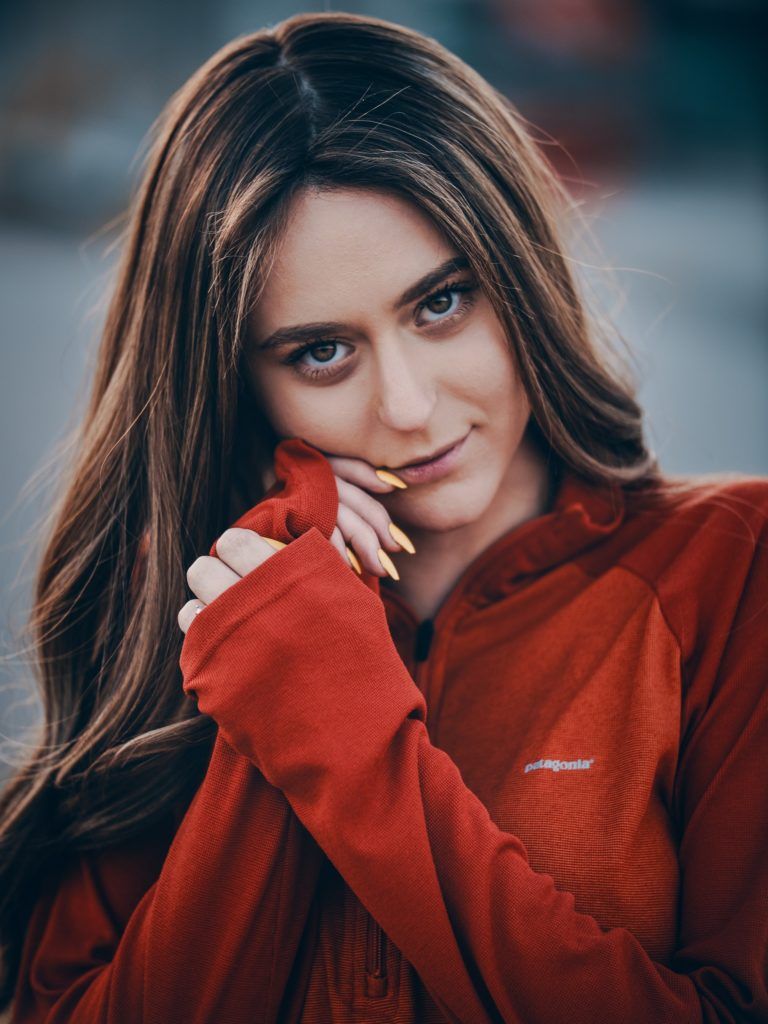
Leading Lines in the Body
Portraits are all about showing a person in a certain light. You might want to capture their beauty or how they were at a certain moment in time, or you might be trying to illustrate something particular about them. Think, for example, of a portrait of a famous musician, where you might want to draw attention to their hands and the weathering they have endured from playing an instrument.
So, how do we draw attention to the part of the subject we want to focus on, be that hands, face, or anything else? We use leading lines. And they don’t have to be in the background. We can actually use the subject’s own body to form these lines. The way they hold their arms, for example, can give you the chance to literally point to your area of focus.
Introducing a way for them to shape their body (for example, a chair that can be used to raise one knee higher than the other and create a sharp angle) will also help with bringing this portrait together.
Key Lesson: Pose your model in deliberate ways so that you can draw the viewer’s eyes to where you want them to look, creating leading lines within the angles of the body itself.
Lead With the Eyes
As humans, we’re hardwired to look at what others are looking at. After all, they might be looking at food – or a nasty predator! Photographers can exploit this evolutionary tic by asking their models to look in a certain direction.
You’ve seen it used hundreds – if not thousands – of times, usually in advertising. Picture a billboard. The young, attractive model is looking sideways at a product, usually smiling, and your eyes are also drawn across to look at that product. This is a clear example of the technique in use, and it gets even stronger if you can combine it with leading lines.
As humans, we’re hardwired to look at what others are looking at.
Our eyes are quite lazy. The brain tends to fill in a lot of details that we don’t really properly take in. If it’s told where to look, it generally will. First impressions are really powerful, especially if your viewer is only seeing your image at a glance such as while driving by a billboard, for example, or scrolling down their social media feed. Giving them that direction makes sure that their attention goes where you want it, with everything you can possibly arrange pointing to that same place.
Key Lesson: Beef up your leading lines by adding a directional glance from your model. The viewer will take both cues and look exactly where you want them to.

Avoid Distracting Lines
Learning to use leading lines also means learning how not to use them.
A strong portrait can be derailed by a leading line in the wrong place, even if you weren’t intending to use leading lines at all. If the lines point to a place away from your model, you might end up losing the viewer’s attention. The lines may even point ‘through’ your model, making the viewer skip over that part of the image and continue.

In this photo, the man is pointing – but at what? Do you feel how your attention frays out in that blank space? Photograph by Louis Smit
It’s important that you are mindful about your composition. It’s hard to view your own work subjectively, but try looking away – preferably at something else, some unrelated image, so that you are distracted – and then back. Where does your eye go first? You might find it hard to give up control of your eyes and stop forcing them to go where you expect them to so that you can learn where they move naturally, but with some practice, you can start looking at your images in this way.
It’s also important to avoid confusing lines. If there are lots of lines in the image going in all different directions, it might have an unpleasant and unsettling effect on the viewer. If your aim with the image is to portray confusion or a disturbed mindset, it can be very effective. But if you’re trying to present a simple portrait, that could end up being very far from what you get!
Key Lesson: Always be aware of leading lines in your image, and make sure that they do not derail your image from its intended subject.
Conclusion
Leading lines are extremely effective when done well. Remember these tips:
- Lines or arrows pointing towards the model draw in the eye
- We’re hardwired to look at what others are looking at
- Combining multiple leading lines techniques will create a more effective image
- Draw attention to one key part of your image to create an effective portrait
- Try to look at your images subjectively and notice where your eyes go
- Be aware of lines that trail off into nowhere
- Too many lines can be too confusing

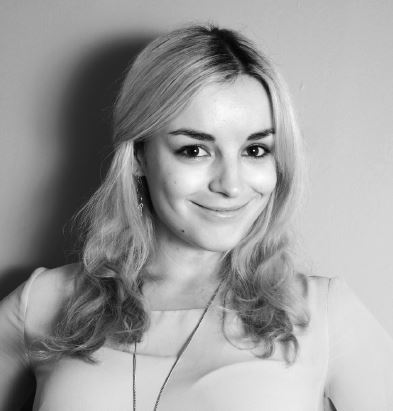
Here the model’s pose creates leading lines pointing the viewer’s eyes to the intended subject — the model’s face. Photograph by Rhiannon D’Averc
Self-Check Quiz:
- What kind of shape is the most effective when drawing in the eye?
- How can you use perspective to create leading lines?
- What is a leading line?
- What technique can you use to create a sense of confusion?
- Where is the one place that leading lines should NOT lead?
- How can you manage to look at your image subjectively and tell whether your leading lines are working?
- Can you think of a pose that a model could try in order to draw attention to their face?
- How can your model’s eyes assist in creating a leading line?
Learning Assignment:
Ask a model to pose for you in the city, or even outside in your own street. Practice moving around and using the composition to draw attention to their face, their body as a whole, an item they are carrying, or so on. Try compositions that use one leading line, that create arrow shapes, or that have as many leading lines as possible.
After several weeks, when you have fully forgotten what the images look like, take a look at them again. This time, try to track where your eyes move when you look at them in those first few moments. Which techniques are the most effective? Which are the least effective?


