
In 2010, I took a nostalgic road trip across country that included stops at some of the western national parks. Three days of the trip were scheduled to visit the Grand Canyon. Since planning a trip is hardly my forte, I was about one year too late to make reservations for lodging at the Grand Canyon. Fortunately, there was a vacancy in the nearest motel, which was 30 miles away.
Day one of the visit went pretty well; actually, it was a total photography score.
I saw, and was able to take a picture of, a pair of California Condors. There are only about 228 of them alive in the wild, so to say I was excited hardly describes the situation.
Day two put the word ‘amateur’ into the description ‘amateur travel photographer.’ I forgot to take my camera on the first trip into the park. When that happens, you just have to believe that the cosmic forces are telling you to take in the beauty without the distraction of a camera.
It does speak to the first rule of being an amateur travel photographer: you must remember to take your camera!
Here is what you will learn in this guide:
- The importance of traveling light
- Why you need a packing checklist
- Choosing the brand of your gear carefully, especially accessories like memory cards
- Memory card tips that could save your precious photos
- Choosing the right camera bag for travel
- How to use your cell phone or tablet to help your photography efforts
- The value of researching online before you leave
- The difference between packing for the entire trip and packing for a day trip
- Traveling alone or in groups and how to manage your time
- The importance of listening to guides or hotel staff
- Don’t forget to put the camera down and enjoy the moment

I am not a professional travel photographer, but I travel a lot, and it is always my hope to take the best photos possible. Over the years, I have learned some things about how to keep both the travel and photography balls in the air at the same time.
For example:
- What do you need to do to get ready?
- How do you balance being a traveler first and a photographer second whilst on your trip?
Note: If you want to learn how to enhance your photos and create better images, grab a copy of Photzy’s Ultimate Guide to Fundamental Editing premium guide.
How To Get Ready
After much trial and error, I have found this modest collection of equipment (photo below), not including the iPhone that was used to take the picture, gives me the best chance of coming home with photos that please me.
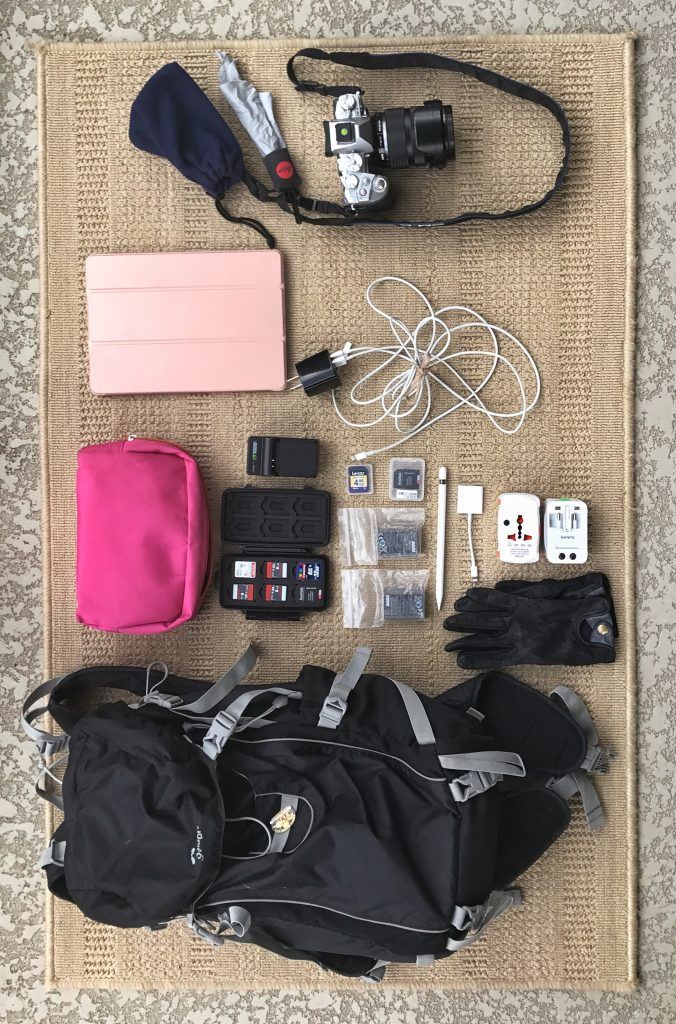
Photo by Diane Wehr
- Travel light. If there is anything you can do to help facilitate getting the pictures that you want on a trip, it is truly paring down both the personal luggage and the photography equipment that you take. Managing stuff takes time that can be better used taking photographs! My learning curve started in India, when I took a 50 lb. suitcase, and realized with horror that a train station porter was going to have to carry it on his head. It peaked on a trip to Africa when my travel company thoughtfully provided the duffel bag we were to use in lieu of luggage. This was to help us meet the 32 lb. maximum allowed weight, including carry-on bags, for a 28-day trip. Suffice it to say, I then understood why someone might use a photography vest, which I now proudly own and occasionally use.
- Have a general pack list that you use as a checklist when you travel. My pack list of electronic and camera equipment that always goes in a carry-on includes: an iPhone, an iPad, a four-thirds mirrorless camera (ready to take photos), one additional lens (maybe), a microfiber cloth (attached to my camera strap), an eyeglass pouch that will hold glasses or an iPhone securely (also attached to my camera strap), a 9”x5”x4” bag that carries a memory card holder with six memory cards in it, two additional memory cards in individual holders, two chargeable camera batteries, a camera battery charger, an iPad charger that will charge two devices at once, two charging cords, two international electrical adapters (one goes in checked luggage), an iPad card reader, and an iPad stylus. All of this fits easily in my small, light backpack with room to spare for a potpourri of other things that I carry on. Sometimes I will take a travel tripod that I pack in a checked suitcase. I have a rule for myself: if the tripod goes, it has to be used at least once. Knowing that rule, for the most part, discourages me from taking it.
. Choose your equipment carefully. I no longer use an off-brand iPad card reader or off-brand camera batteries. If you are out of the country and they fail, which they will do sooner or later, you are plum out of luck.
Both Lexar and SanDisk will help you recover files from a corrupted memory card, so I generally use them. You will have less chance of a problem if you always reformat a memory card rather than just erase it.
As a further precaution, I use 8 GB memory cards because if something happens to the card, less will be lost.
I do carry one 32 GB card for emergency situations.
You will have less chance of a problem if you always reformat a memory card rather than just erase it.
The number of cards that you need depend on how large your photo files are and how many pictures you take. On most trips I take between 1200 and 2000 raw format pictures. The 32 GB card was used only once, and that was in Africa.
The Pelican memory card holder that I use both protects the memory cards and helps me keep track of which ones I have used. The new ones are stored on the left side; the used ones are stored on the right side. Always check what is on the card in playback before you reformat it!
The international electrical adapters are cheap and they have worked in every country I have been to. Take two because there are a lot of things to charge. The hours you have to charge can be limited because the electricity will likely go off when you leave your room with your key, or there are limited hours of electricity.
Finally, find a good camera bag that meets your needs.
This is not at all easy. Since 2010, I have used a LowePro Sport 200 AW, which is a small, light backpack that doubles as a camera bag and an overnight bag. It has a built-in rain cover and straps that can hold a rolled jacket, walking sticks, and even a small tripod. It will also hold a Camelbak Hydration pack. A 9.5” iPad can fit into the front pocket.
It is big enough for a Canon Rebel series DSLR and one or two lenses, but that is about the limit. It can be used to carry everything thing you need for a short excursion, like a two- or three-day hike to Machu Picchu.
This bag has recently been replaced by the LowePro Sport 200 AW II, which does not have the straps. The discontinued backpack is still available on Amazon, and in researching the bag for this article, I decided to buy a new one for the next six years!
Note: Interested in taking beautiful landscape photographs? Grab a copy of Photzy’s Complete Guide to Landscape Photography.
- Know how to use your equipment. That seems self-evident, but I cannot tell you how many trips I have taken, proudly toting a new camera or a new lens that absolutely confounded me. Even an old trusted camera could be difficult to use if you have not used it since the last trip.
Part of the trip preparation is getting acquainted, or reacquainted, with the camera (if that is necessary). It also helps to download the camera manual onto the iPad, just in case a reference source is needed.
- Do a little advanced planning. If nothing else, Google the country you are going to visit to see photographs taken in it. For example, in Africa, do you want pictures of the whole animal or sometimes just their eyes? How important is it to get a sunrise or sunset picture? What kinds of pictures of people do you want to take?
- Finally, the planning is over and you are ready to go out and take photographs. I make it simple for myself. For the most part, five things go with me. They all fit in a tote bag along with everything else I might carry:
- A small, mirrorless camera with a really good 12mm to 40mm zoom lens, which is roughly equivalent to a 24mm to 80mm zoom on a DSLR
- Two individually packed 8 GB memory cards
- Two fully charged batteries
- An iPhone for photos taken in dark settings
Even if I have access to more than one lens, which I rarely do, I choose the lens of the day. When there are going to be opportunities to photograph wildlife, as in Africa, my 70mm to 300mm zoom, equivalent to 140mm to 600mm in a DSLR lens, is the lens of the day. My iPhone is quite enough to take all other photos. Minimizing lenses means less toting, less chance of damage while changing a lens, and less chance of missing the picture you really want to take because the wrong lens is on the camera.

Photo by Diane Wehr
The Balancing Act Of Being A Traveler And Being A Photographer
My kind of travel can most often be described as small group active travel for people aged over 55.
We are the travelers that other travelers sometimes make jokes about.
The active travel part, however, is real. We have places to go and things to see, and taking the time to take a photograph is a footnote for the group.
It is probably not very different from traveling with any group, including family. If you are the one who is most interested in photography, you better find a way to fit it in.
Being the group photographer yields some fun photos and helps establish the value of your photography passion.
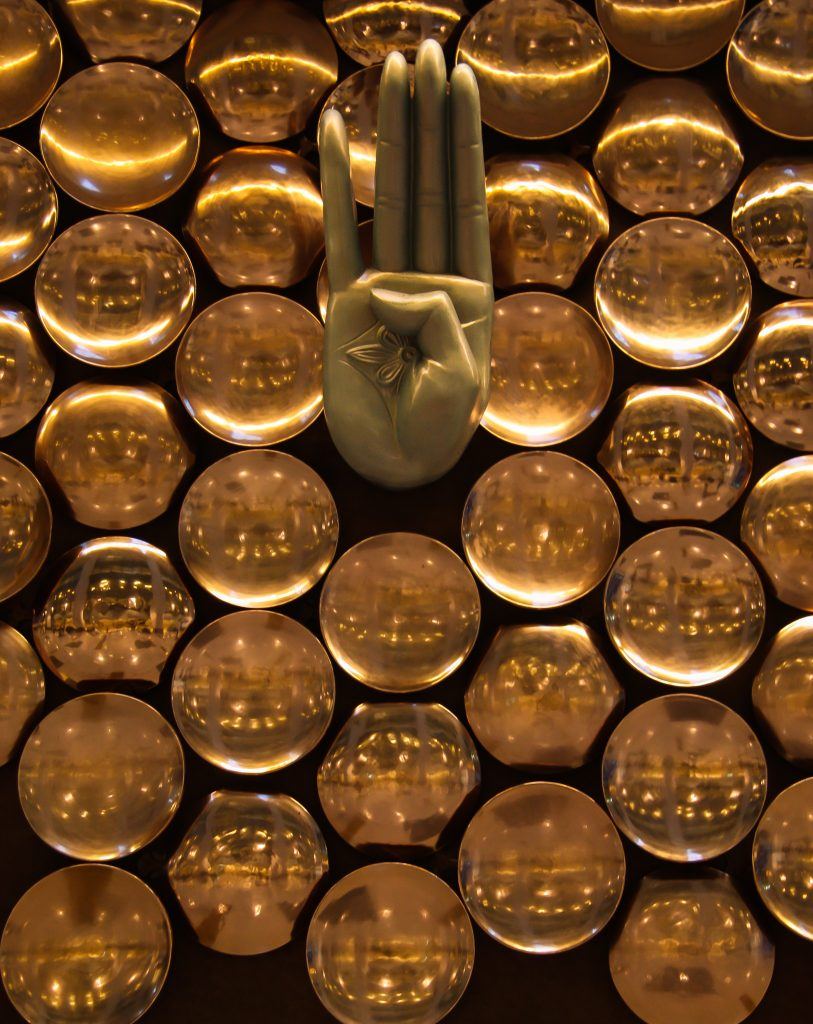
The art can be elegant (New Delhi Airport). Photo by Diane Wehr
- Seize every opportunity! It starts at the airport where there is often waiting time. Many airports have beautiful art that is literally only available to ‘ticket holders.’

People watching is sublime (Charles De Gaulle Airport). Photo by Diane Wehr
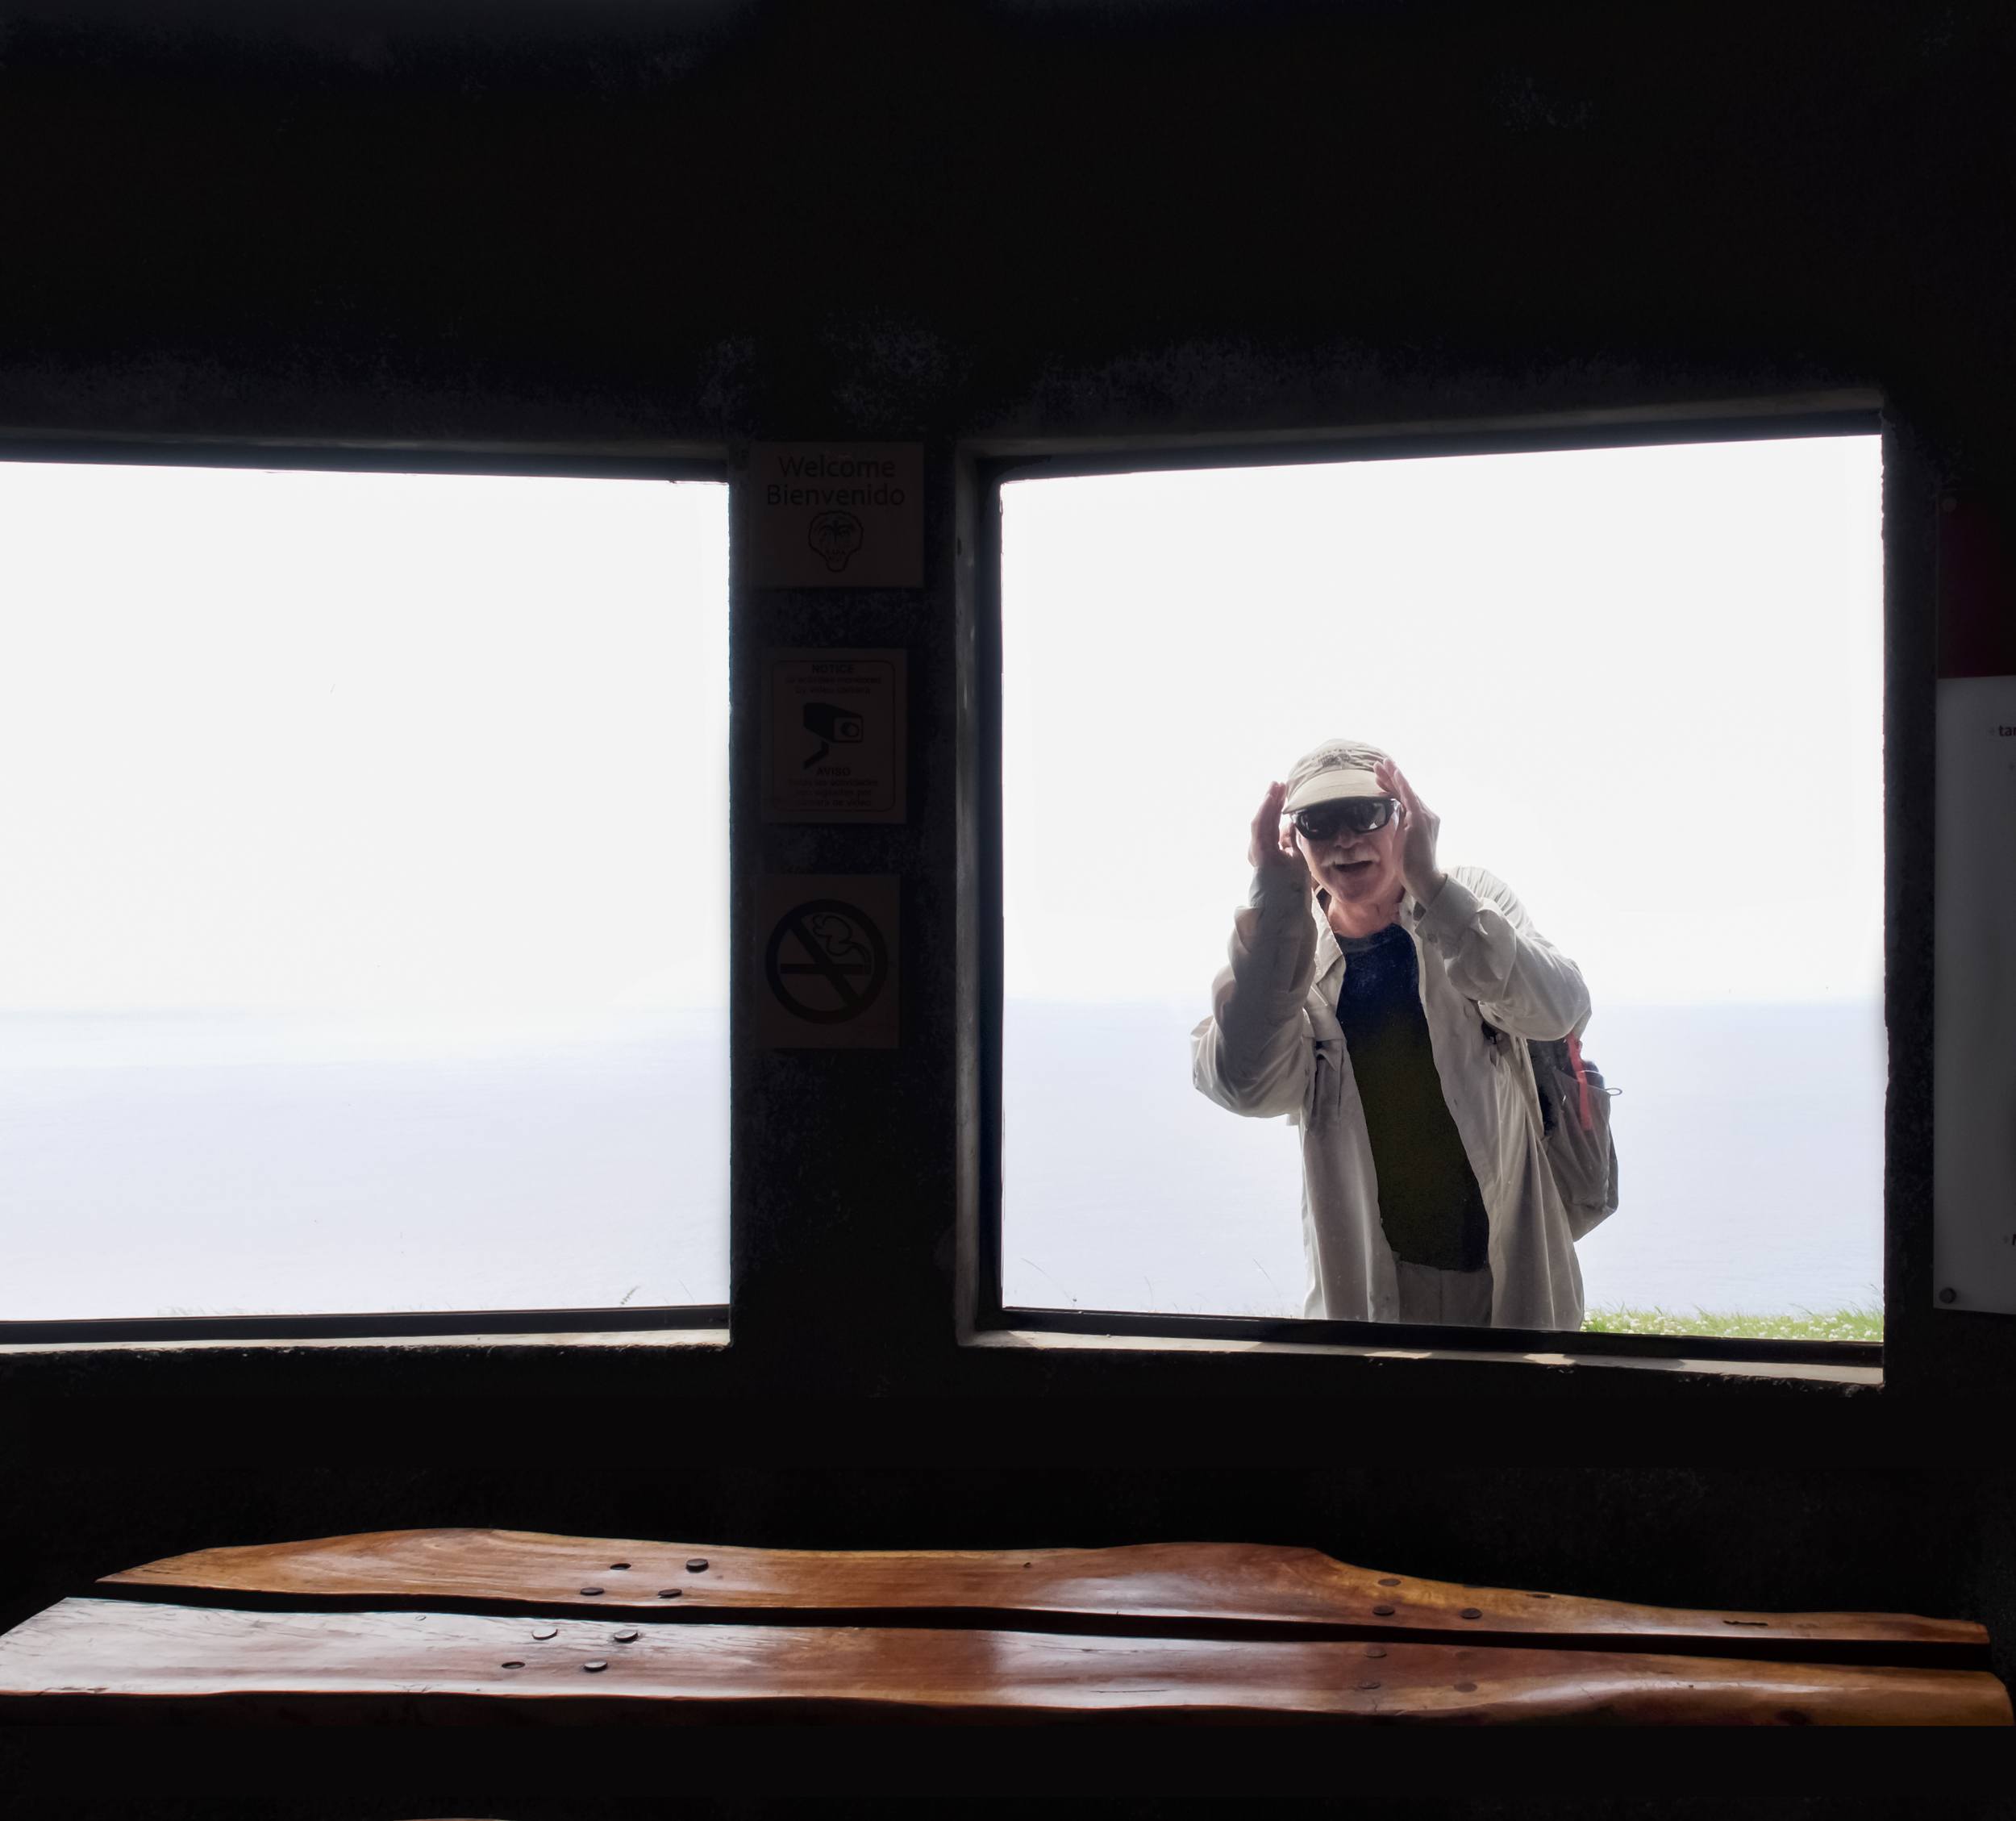
- Use your travel time for photography. Sometimes, long hours can be spent on a bus or train as you travel from place to place. By all means, choose a window seat with a full window and take pictures out of the window. There are many challenges in this kind of photography. First of all, you need to know where the reflections, or the dirt in the window, is the easiest to manage. You might want to use the action or sport scene mode setting on your camera. This setting automatically chooses a fast shutter speed to stop the movement. The slower the bus ride, the better your chance is of getting good photos, which is a silver lining for those rides that seem to drag on forever. In a country where the roads are good, your opportunity might be restricted to traffic stops in the towns or cities.

On our last day in India, our bus slowly made its way through traffic toward New Delhi Airport. Incredible good fortune allowed us to witness this special funeral procession, a celebration only for men who have a surviving son, grandson, and great-grandson. Photo by Diane Wehr
- Use your walking time. You have to keep moving, but you can turn group walks into photo walks. Sometimes that means you will not hear everything the guide is saying. It probably means that you are always toward the end of the group. For the photographer traveling with a spouse, perhaps it means you do not get the perfect street photo because you cannot wait long enough for it to happen, but you can still get a great street photo.
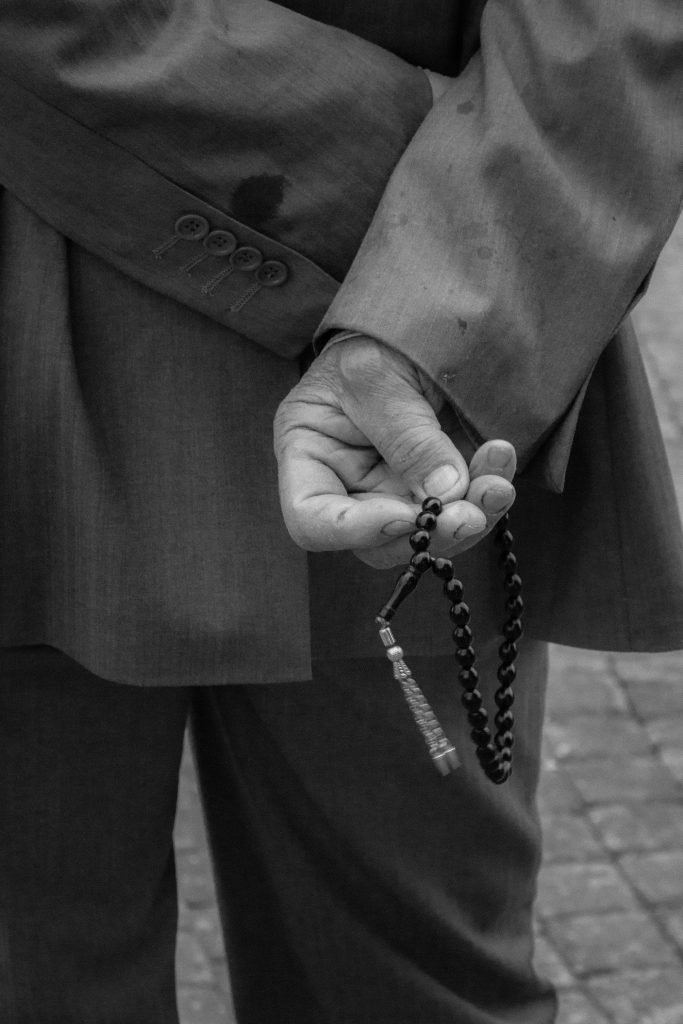
A Turkish man, not rich in material goods, but rich in spirit. Photo by Diane Wehr
- Find some alone time that is dedicated to photography. In group travel, that means using the ‘on your own’ time that is regularly scheduled into the trip. Look for opportunities to get up early to take photographs during the golden hour. When other members of the group use time to shop or peruse, you use it to take photographs. Some great people photos and food photos can be taken in restaurants.

Landscape and architectural photography is not my passion. Therefore, it is particularly gratifying when I get up, and out, before daylight and breakfast in order to take the best photo that I can of a particular site (Sebanci Central Mosque, Adana Turkey). Photo by Diane Wehr

When everyone is shopping, you can take pictures (Edinburgh). Photo by Diane Wehr
- Be safe! Listen to your guide’s suggestions for keeping yourself and your possessions safe. If you have no guide, talk to the hotel staff. Watch your step, especially while you are taking photos. Missing a curb or stumbling on an irregularity in a street can have serious consequences to both you and your equipment. It is not just older travelers who fall.
- The last thought on balancing being a traveler and a photographer is to make sure you don’t miss being a traveler. In the old days of film photography, a photographer took one picture and hoped for the best. Today, we can take hundreds of pictures and spend real time looking at them in preview. Be sure there is plenty of ‘look up’ time so the camera is not always between you and the things you came to see on the trip.
Travel provides a unique opportunity for a wide range of photography. It can help you understand where your photography passion lies. It certainly is a setting where your skills will improve. With some planning, you will have everything you need and the time you need to take the pictures you will enjoy for years to come.
Travel provides a unique opportunity for a wide range of photography.
Self-Check Quiz:
- Can you make a list of the essential photography and electronic equipment you will need to go on a trip?
- How many memory cards will you take and how will you take care of them on a trip?
- What equipment do you need each time you go out to take photos?
- What opportunities will you have to take photographs, even if you are in a group travel situation?
Note: If you want to learn how to enhance your photos and create better images, grab a copy of Photzy’s Ultimate Guide to Fundamental Editing premium guide.


