


Do you struggle to capture stunning portraits because the lighting is not how you’d prefer it to be? Adding a pop of flash to portraits is a great way to control the lighting and the atmosphere of your portraits.
I understand that most photographers who are not yet confident using their flash will find it challenging to use it for portraits. Flash adds another level of complexity that you have to concentrate on. But once you know how to manage your flash, you will surely appreciate the added depth and dynamic that using it adds to a portrait.
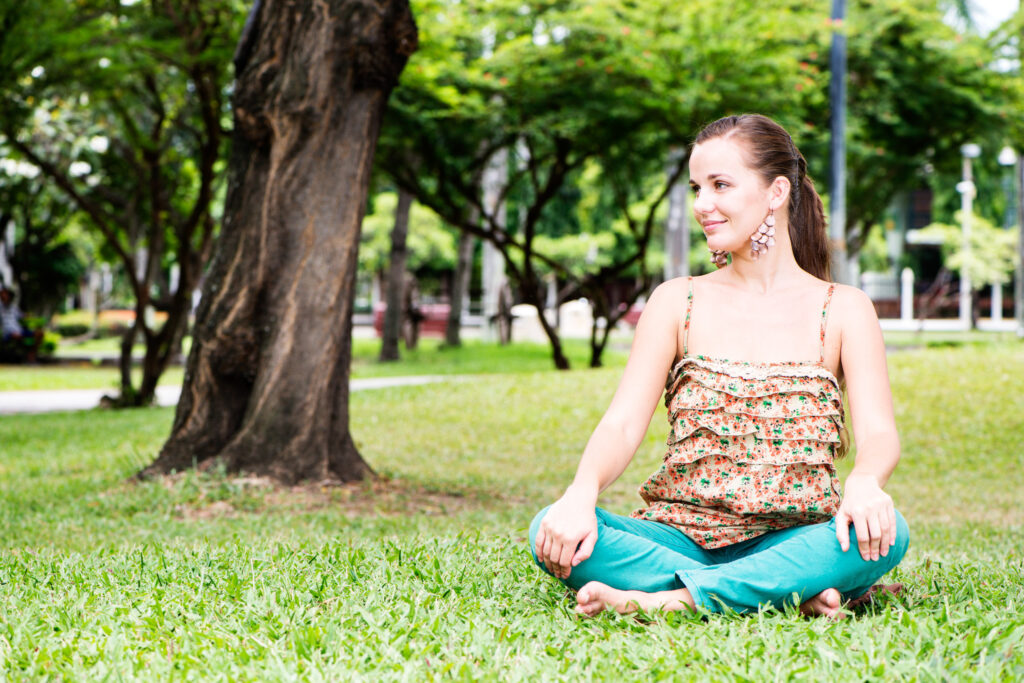
The First Steps for Understanding Flash for Portraits
You can use flash any time you want to make a portrait. Flash does not have to be used only when it’s dark. You can balance flash and ambient light to add a professional look to your portrait photographs. When the light is very strong and casts hard shadows, use flash to soften them. You can also use flash to add depth when the available light is very flat and dull.
I first began using flash for capturing portraits when I worked as a newspaper photographer. Whenever the ambient light was not suitable, I’d add some flash to my subject. I could not return to my editor without a photo. Any excuse that the light was not good enough would not have been tolerated.
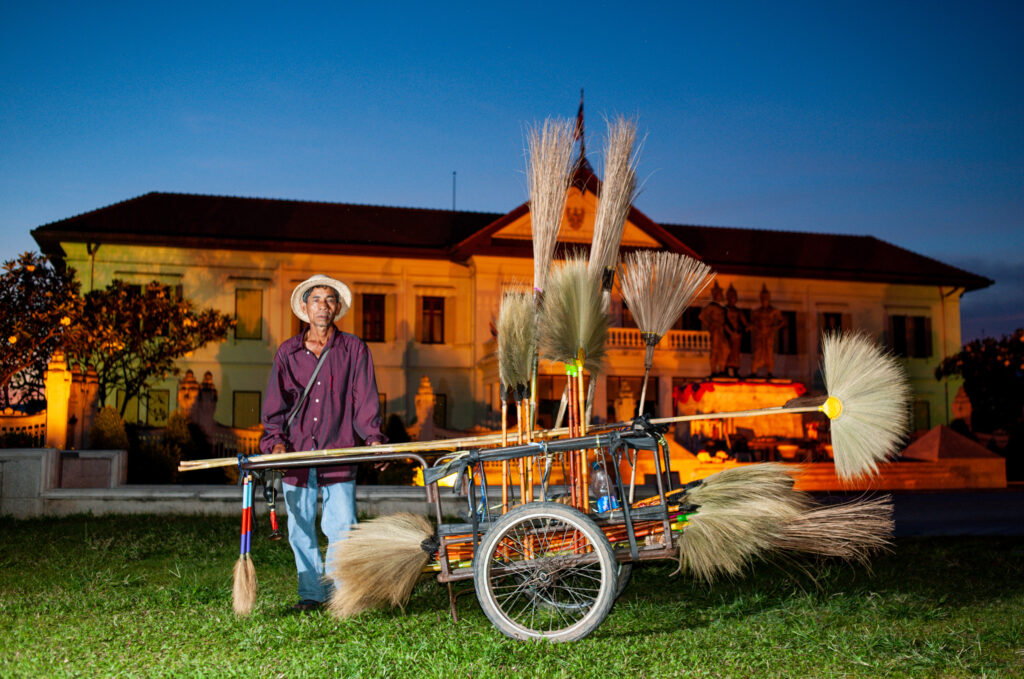
Photograph by Kevin Landwer-Johan
As a photojournalist, I preferred to carry minimal equipment, so this meant only one simple flash rather than a more comprehensive lighting kit. I later began to carry a more complex lighting kit when I started my own photography business. Learning to make portraits using a single, simple flash helped me to better understand how to work with ambient light and balance it with my flash.
Key Lesson: I found that the key to successful flash use for portraits was to control its level compared to the ambient light, adding either a little more power or less power and adjusting my aperture setting to capture the exposure I wanted.
Recommended Reading: If you’d like to learn how to use your flash unit for better photography, grab a copy of Photzy’s Electronic Flash – Parts and Practices premium guide.
Settings for Flash Photography
I manage my exposures manually, including my flash output. I find this allows me the highest level of control. Let me walk you through the process I often use when using flash when taking a portrait photograph.
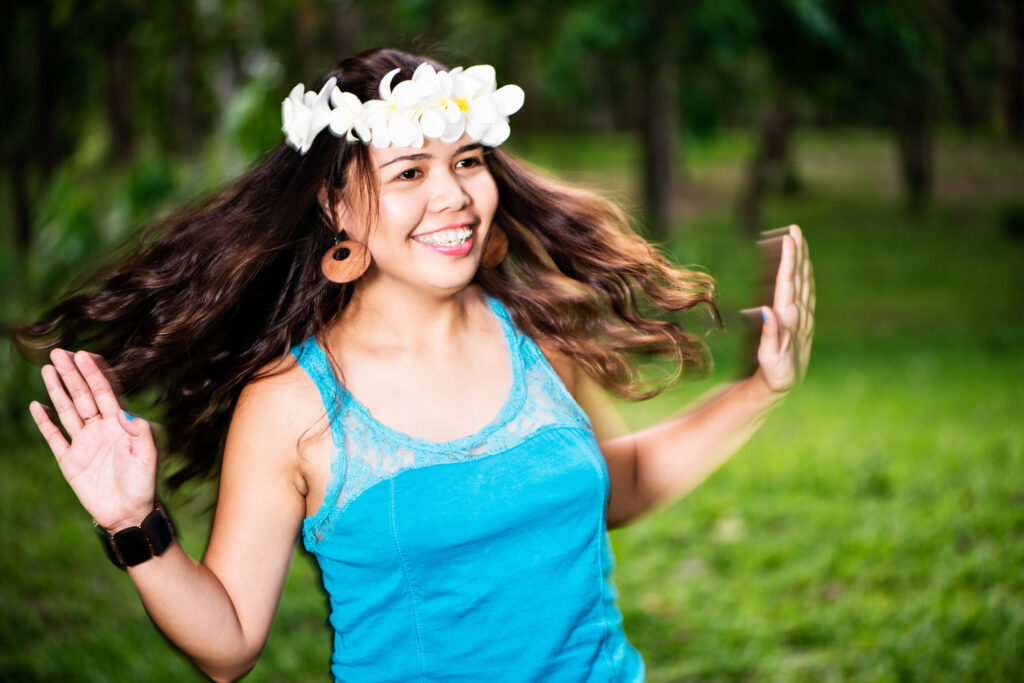
Photograph by Kevin Landwer-Johan
I start by positioning my subject with the desired background and lighting. As I do this, I consider the brightness of the background concerning the amount of light illuminating my subject. I’ll take a spot meter reading from my subject’s face and then another spot reading from the background. Doing this gives me a clear indication of what difference, if any, there is between the light values in those areas of my composition.
Next, I set my flash so it will provide sufficient light on my subject. This may be a little over or under the value of the ambient light. I adjust my camera’s exposure setting to match the output of my flash.
When my flash is set to emit a greater amount of light than the ambient light on the background, that area of the composition will appear darker.

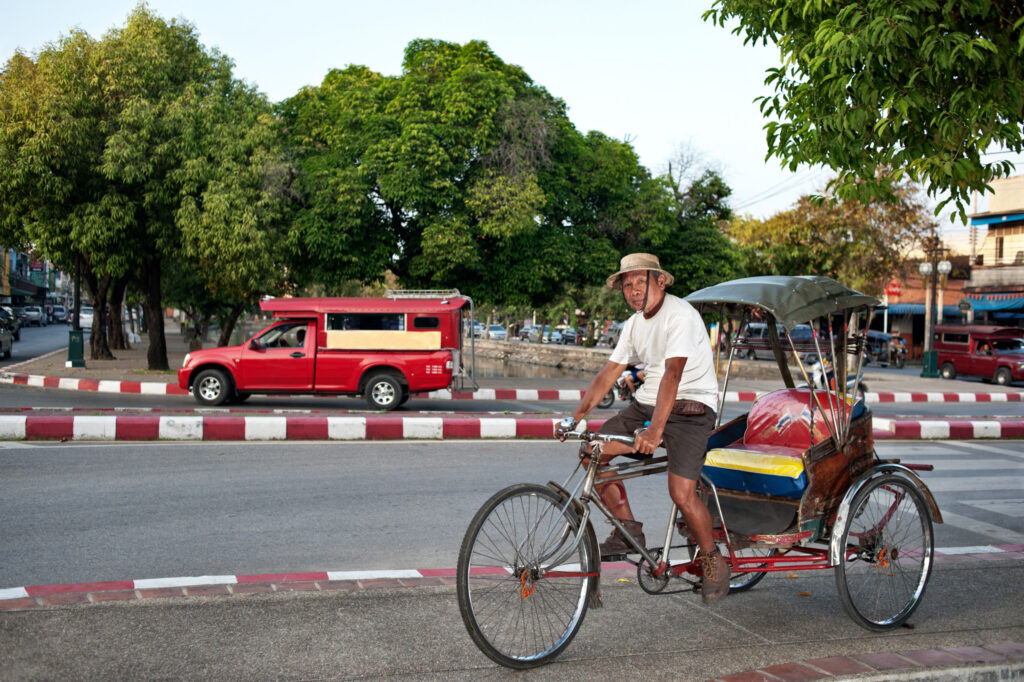
Photograph by Kevin Landwer-Johan
Setting my flash so it outputs less light than what I measure from the background results in the subject being darker than the background.
Photograph by Kevin Landwer-Johan
Balancing the flash output with the ambient light in the background results in a balance of even light on both the subject and the background.
Key Lesson: Controlling your flash manually allows you to be more precise. It allows you to have the same amount of illumination on your subject as the background. It also allows you to make your subject lighter or darker than the background.
Flash Modifiers for Portraits
Unmodified flash produces hard light for portraits. This can cause problems with dark shadows if your flash output is not well-balanced with the ambient light. Even when it is nicely balanced, it’s often best to use some kind of modifier with your flash to soften the light.
There are many ways to scatter and soften the light from a flash. Here are some that I enjoy using the most.
Bounce Card

Photograph by Kevin Landwer-Johan
A bounce card is the simplest flash modifier. It was the only flash modifier I used when I worked at the newspaper because a bounce card is small and flat. It’s easy to tuck into the outside pocket of a camera bag.
It is a piece of white card or plastic, usually about 20cm/8in square with a tab on one side. The tab is used to help hold the card in place on the flash. This is often done with rubber bands or Velcro.
A bounce card is most effective when used in a room with a white or neutral-colored ceiling. The flash head is angled up towards the ceiling and the card is mounted behind the flash head so it pushes the light toward the subject.
A bounce card is most effective when used in a room with a white or neutral-colored ceiling.
Reflector
Fold-out photographer’s reflectors are another handy flash modifier. You can set up a reflector close to your subject so it’s just outside your composition. Angle the flash so it bounces off the reflector and onto your subject. This diffuses and softens the light from the flash.
Using a reflector is much easier if you have someone to hold it at the best angle.
Umbrella
A small photography umbrella is another way to soften the light from your flash. You can use a white umbrella set up so the light from your flash passes through it. Or you can use a silver umbrella and bounce the light off it and onto your subject.
An umbrella is easier to use on a light stand with a bracket designed to hold both your flash and the umbrella.
Softbox
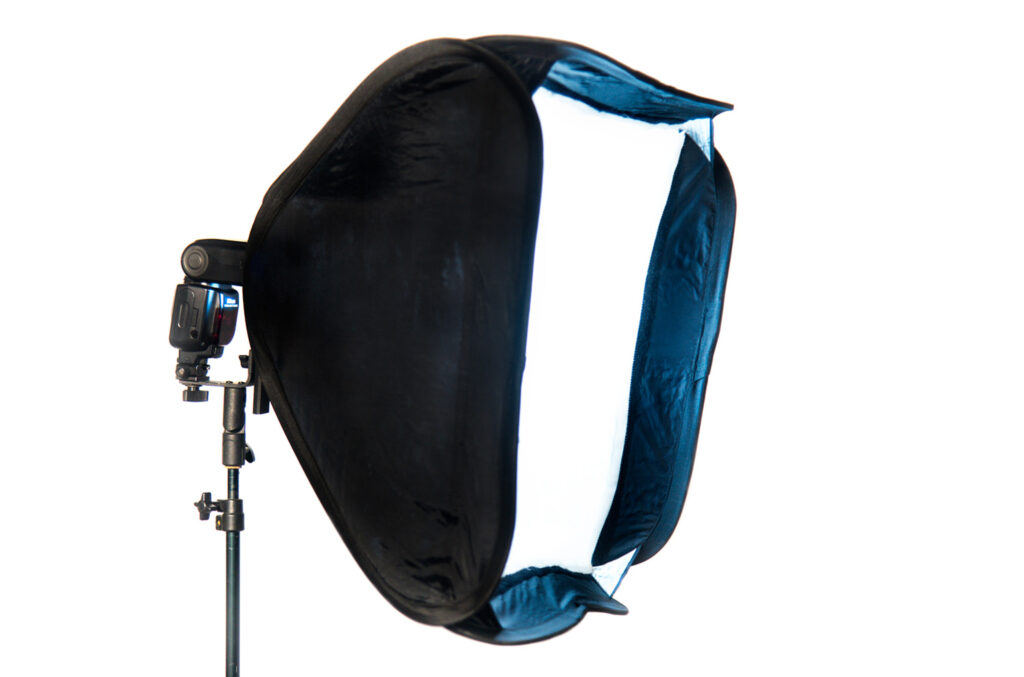
Photograph by Kevin Landwer-Johan
The small softbox I have is my favorite flash modifier. It is about 60cm/24in square. I most often use it mounted on a stand and will sometimes hand-hold it, depending on where I am working.
I prefer using the softbox because it produces the best quality of light diffusion. It is a little more cumbersome and not as easy to use as other flash modifiers but is great once I have it set up.
Gels - For Style and Color Correction
When the ambient light you balance your flash with is electric, it may introduce a color cast. Some electric lights emit warm or cool light. Others are daylight-balanced.
Photograph by Kevin Landwer-Johan
Daylight-balanced light bulbs require no color correction filtering. They emit light of the same color temperature as your flash. If the ambient eclectic light is warm, use the correct orange gel on your flash. This will produce light of the same color temperature as the light fitting. The correct blue or green gel balances light from a cool light source.
You can style the light from your flash using different colored gels for creative effects.
Key Lesson: When the ambient light is soft, it’s also best to soften the light from your flash. Doing this and balancing the flash output with the ambient light helps to produce a more natural-looking portrait.
On-Camera and Off-Camera Flash
Mounting a flash on your camera makes for a convenient way to add more light to your portrait subject. But it’s not going to provide nice natural-looking light.
On camera, flash adds light to a subject as though it’s coming directly from the viewer’s perspective. This is never how we see a person in reality. The light from the flash is likely to cast shadows that look odd because this is not how we naturally see people.

Photograph by Kevin Landwer-Johan
Moving the flash off the camera and positioning it to one side of your subject helps to produce a more normal appearance.
Some camera flash systems allow you to trigger the flash directly from the camera. Other systems require the use of external triggers to operate the flash remotely.
Moving the flash off the camera and positioning it to one side of your subject helps to produce a more normal appearance.
I prefer to use off-camera flash when making portraits. Placing my flash on a light stand, along with the small softbox, allows me to position the light where I want it. Sometimes I’ll hold the flash in my left hand with my arm outstretched if I don’t have a light stand or an assistant.
Using an off-camera flash also gives you more control over where the shadows fall. If your subject is close to the background, you can often position your flash so that the shadow is minimalized.
Key Lesson: Managing off-camera flash adds another level of complexity to a portrait session. Once you’ve practiced using this technique, you will discover that the benefits make it worthwhile.
Recommended Reading: If you’d like to learn how to use your flash unit for better photography, grab a copy of Photzy’s Electronic Flash – Parts and Practices premium guide.
Conclusion
Adding flash to portraits often helps you create more interesting and dynamic portraits. When you’ve learned to control the amount and quality of light, your portraits will take on a whole new look.
Take your time and practice. Work with a friend or a family member who is willing to sit for you patiently. Experiment with different camera and flash setting combinations to discover what works best for you. Then try adding some kind of diffusion to soften the light.

Photograph by Kevin Landwer-Johan
For some photos, have your subject positioned near the background. For others, move them away from the background so that the light from the flash only affects your subject and not the background.
Once you’ve taken a good number of pictures, study them. Look at the balance between the ambient light and light from your flash. Check the quality of light and compare it between portraits with no flash diffusion and those where you did use a diffuser. Then go back and take some more. The more you practice, the more confident you will become in making stunning portraits using flash.

Photograph by Kevin Landwer-Johan
Self-Check Quiz:
- Can you use flash when there is sufficient ambient light to make a portrait?
- Why is balancing flash output with ambient light a good idea?
- What effect on the background does setting your flash to slightly overexpose create?
- Name three modifiers that soften the light from a flash.
- What’s one purpose of using colored gels with flash?
- How can using off-camera flash help improve your portraits?


