As a photographer, you probably know that the photo shoot isn’t just taking pictures. It lasts much longer than just this specific hour. There are a lot of things that need to happen beforehand: countless exchanged emails, planning, organizing, buying props, searching for the perfect location, or less fun things like invoicing. Today, we’ll be talking about what should happen after you come home from a photo shoot.
Today, we’ll cover the following:
- How and why to back up your photographs
- How to select the photographs for editing
- How to keep your files organized
- How to implement a routine for editing and delivering images
- Why is it important to have gear in one place?
Recommended Reading: If you’d like to improve your photography skills and create compelling images, grab a copy of our Powerful Imagery premium guide by award-winning travel photographer Michell Kanashkevich.
Step One: Backing Up Your Photographs
As if photography wasn’t expensive enough, your photography gear isn’t the only thing that should concern you. You should invest in high-quality storage, too. Our job relies on technology so much that we take it for granted, but we shouldn’t.
Most photographers store their personal and business files on external hard drives. I have been doing it since I can remember. When I was younger, I didn’t think of backing up my pictures in two different places, and guess what: the external hard drive broke. It wasn’t the one holding my business shots, it was all my memories, family events, school trips, and the first shots I ever took. I broke down in tears, thinking that there was no way I could get them back. The repair success depends on the malfunction, but in the end, after paying a lot of money, I was able to retrieve all files. It’s responsible to do two backups of the files you find valuable. In my case, it’s personal files, legal files, some jpegs, and RAWs that haven’t been edited and delivered yet.
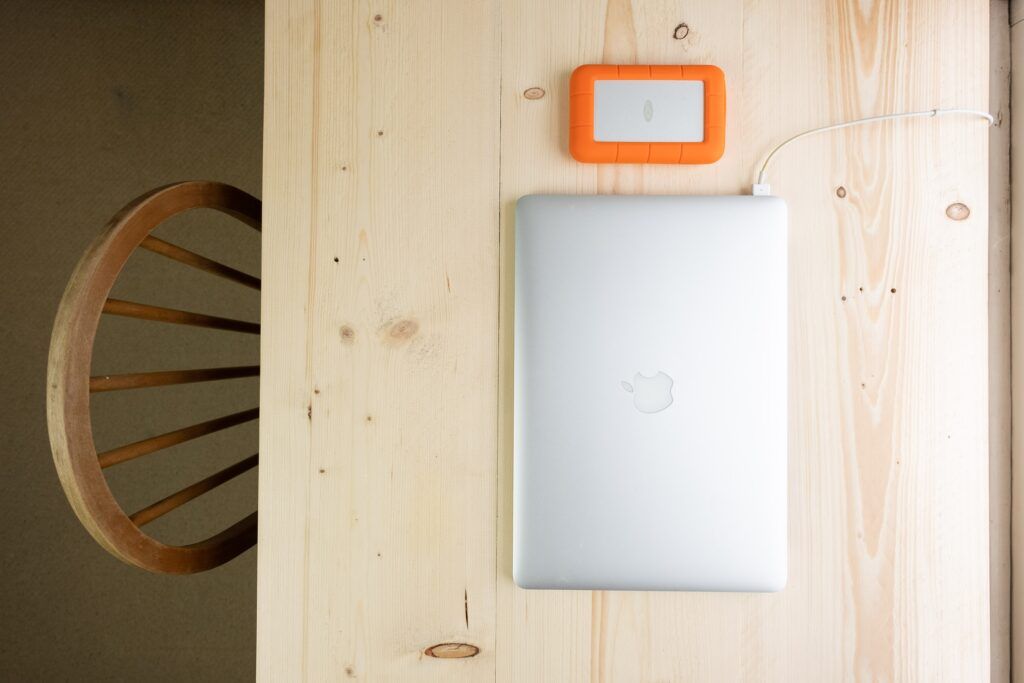
Many methods can be used for backing up files, but the most popular are external hard drives, network-attached storage (NAS), or storing some on the cloud. You should do your research into which method suits you best, both from a practical and financial point of view!
You should invest in high-quality storage, too. Our job relies on technology so much that we take it for granted, but we shouldn’t.
Whenever I come home from my photoshoot, I insert my SD card into my laptop and make two copies of the RAW files on separate external hard drives. It’s necessary to stay organized with your files, that’s why I use a simple naming method which I will talk more about in step three.
Step Two: Selecting Photographs
Once you have all your files backed up, it’s time to select the best ones that will go in for editing. There are two ways how to select them and both have some advantages and disadvantages:
Selecting Photos on Your Own
Screenshot by Ľudmila Borošová
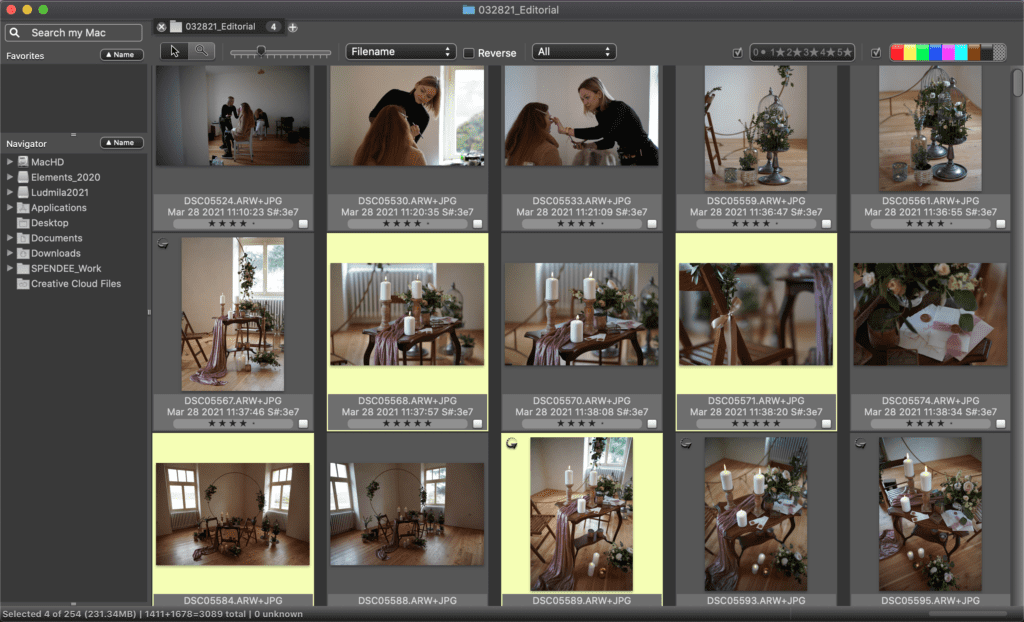
You can have control over what you deliver! This is ideal if you like to start working on your pictures right after coming home from a photo shoot. You already have an eye on what looks best, thus the selection process will be much faster and smoother. Don’t use Lightroom for this work – you will just fill up the space and slow it down! I love using Photo Mechanic (a paid software) to help me select the best photos. You can rate them by stars and select the ones that have the highest rating and just drop them straight to Lightroom.
Let Your Client Do the Work
Screenshot by Ľudmila Borošová
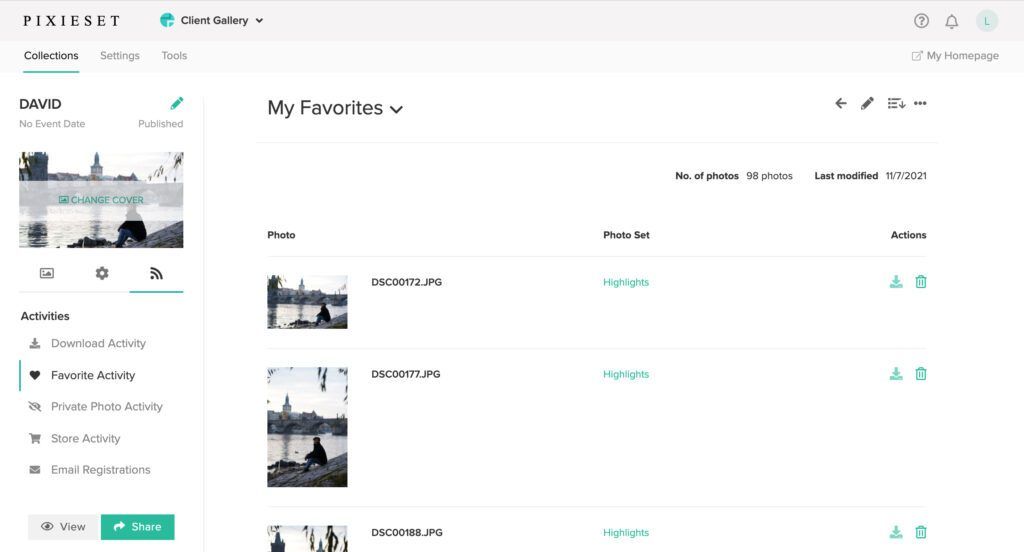
Sometimes, our professional eye isn’t enough. While we might be looking for the sharpest photos with the greatest composition and wonderful bokeh, our clients are looking at themselves and how satisfied they are with their looks. Sometimes, it’s better to let them decide which pictures they like the most. The disadvantage is the delay between shooting and editing time, but if you are indecisive, you will save some time. Another disadvantage is that your clients will see the unedited files. The biggest advantage is the pricing model. Let’s say that you have 10 images included in the price. Once your client sees all of them, it will be difficult to choose the best ones and “get rid” of the others forever. If you set a good price, they will likely purchase some extra images. My recommendation is to use a website called Pixieset, where you upload the JPGs and send the gallery to a client. It enables you to watermark your images and disable downloads, so your photos are safe. The selection process is very intuitive, as the client can create a gallery with their favorites. Their free plan includes 2GB of storage, and if you upload smaller images, it should be enough to start!
Step Three: Organizing Photographs
As mentioned in step one, it’s very important to have a sustainable and easy system for organizing your images. Let me share what works best for me! Always name your folders of the photoshoot starting with a number. This way, you can easily get it in chronological order and find whatever you need quickly. I am using this method: year/month/day_client.
Let’s say that I am photographing a client named Andrea on the 27th of November 2021. The folder will be named: 211127_Andrea. Inside the folder, I create even more folders and subfolders:
Unedited
- RAW – this is where I upload all the RAW files.
- JPG – this is where I upload all the JPGs (I usually shoot RAW and convert them to JPG if needed for selecting the images by the client).
- SELECTED – the RAW files that I will be editing (and that I can potentially keep).
Edited
- FULL SIZE – this is where I upload all the full-size images in the highest quality.
- PSD – this is where I store all .psd files with the layers in case I need to change something in the future.
- Instagram – this is where I store all edited files in Instagram size settings, cropped and edited specifically for this platform.
- Web Size – the smaller size of the JPGs which work great for Facebook and websites.
Whatever system you come up with, it should be logical and work best for your needs. I always try to keep and back up the Edited folder + Selected RAWs (if there aren’t too many). If a few months pass from the photoshoot, I delete the Unedited RAWs and JPGs. Your storage is expensive and precious, so don’t keep something that you will never again use!
Step Four: Editing Your Images
I use Lightroom to do all my color corrections and Photoshop to do all the hard editing afterward (if needed). Everyone should have a good editing ritual, so create one that will help you focus. Do you want to listen to music? Create an editing playlist! Would you rather learn something new during the hours in front of the screen? Listen to a podcast or an e-book! If fairy lights and candles help you create the most productive atmosphere, so be it. Just create the sanctuary that will help you stay sane.

Once you edit for work, you do it all the time. Take care of your health. There are two parts of our bodies that suffer the most: our back and our eyes. Make sure that your sitting position is right and if you can, invest in good seating. The same goes for our poor eyes. Make sure that you have the right glasses for editing and protect them at all costs!
Step Five: Delivering Your Images
Again, create a routine that works best for you and your needs. Delivering images to your client isn’t just clicking “send” on an e-mail. It’s something they are looking forward to, so make sure to make it enjoyable. Create a universal message that you can send out to everyone by tweaking just a few words. Make sure to include all the information about the photos, such as which photos to use where (e.g. social media size) or how to store the photos, or when the download link expires. Have this ready in advance to never forget any important details that you want to share.
Take care of your health. There are two parts of our bodies that suffer the most: our back and our eyes.
Most importantly, create a personal connection. Share a sentence or two that is specific to the client, such as “It was nice meeting you, Andrea. I hope you’ll enjoy your travels in South Africa and good luck with the master’s thesis!”
It’s a nice gesture that shows that you’re a good listener and that you care about your clients for more than just a photo shoot. Don’t forget to include points of touch, like your social media links, or encourage them to leave a review. Make sure that the invoice and other legal documents are attached, too.
Step Six: Taking Care of Your Camera and Gear
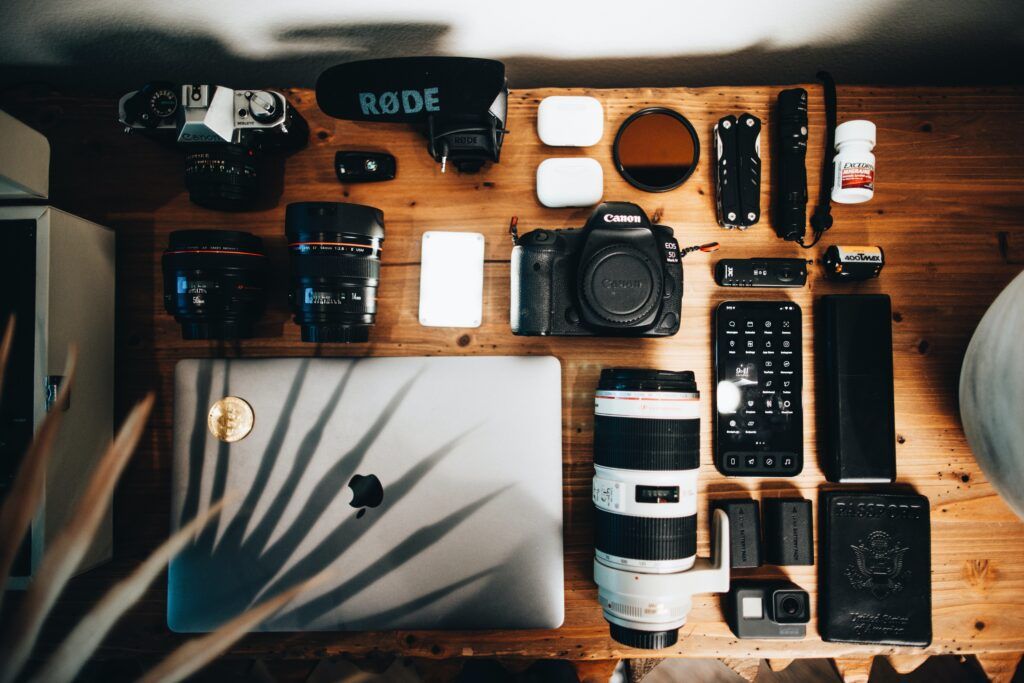
Your camera is your partner in crime, so create a designated spot in your home to store all your gear. This way, you will never be looking for that 128GB SD card ever again. All your camera bodies, lenses, batteries, chargers, SD cards, flashes, reflectors, filters, cleaning products, and bags should be stored in the same place in your house. After the photoshoot, put them into their designated spot. Make sure that your batteries are charged and your SD cards are cleaned or formatted.
Having a good photography routine enables you to enjoy peace of mind. Once you do it a few times, it will only go smoother and smoother. The more things you have under control, the more time is left for you to relax.

Recommended Reading: If you’d like to improve your photography skills and create compelling images, grab a copy of our Powerful Imagery premium guide by award-winning travel photographer Michell Kanashkevich.
Self-Check Quiz:
- What kind of storage options exists? Name at least two.
- Why is it important to do two backups?
- What are two ways of selecting pictures?
- What are their advantages and disadvantages?
- Is there a good way to name your folders? How does it work?
- Should you keep all your RAW files forever?
- What are the biggest health concerns while editing?
- What should you include in an e-mail delivering files?
- How do you create a personal connection?
- How do you show respect to your camera and gear?
Assignment:
- Dedicate one day to going through all your photography folders and files. How can you improve your management system? Start renaming them to best suit your needs and do a backup if needed.
- Think about what kind of editing routine would make you feel most productive. Create your music playlist or write down e-books and playlists you would love to listen to. Next time you’re editing, pick one!
- Create an e-mail template that you’ll use for delivering your images. What is something that your client should know? Write it all down.


