

Adobe Photoshop had been kicking around for a while before its developers introduced layers to version 3 in 1994. And it’s fair to say that layers were something of a game-changer! Learning what layers are and how to use them is crucial to your editing process.
In this article, we’re going to look at layers and why they’re important, as well as give you a basic understanding of how to use them.
Here’s what we’ll cover:
- What are layers?
- Understanding the layers panel
- Different types of layers
- How to start using layers
Recommended Reading: If you’re interested in improving your post-processing workflow, check out Photzy’s Understanding Masking premium guide. It has sections on Lightroom and Photoshop, as well as Snapseed for mobile users too.
What Are Layers?
The easiest way to think of layers is as different images stacked on top of each other. This allows you to use layers for non-destructive editing. You can make changes and adjustments to your original image in different layers without each layer affecting the other. And underneath this, your original image will still be as you shot it.
One of the most useful features of Photoshop is that you can choose to save a Photoshop (PSD) file with all the layers included, meaning you can go back and make adjustments at any time. Also, you can flatten the image down to make one file that can be saved in a variety of formats (e.g. Jpeg, Tiff) for printing and sharing purposes.
Layers allow you to make any alteration to your image without making it final!
Understanding the Layers Panel
Your layers panel displays all the information about the layers in your image and what you can do with them. Let’s take a look at the basic functions that you really need to know about.
First up is layer visibility. By clicking on the eye next to a layer, you’ll make that layer invisible. This is important when you’ve got a lot of layers, as it allows you to preview the effect of each layer.
The easiest way to think of layers is as different images stacked on top of each other.
You will also notice that your background layer (i.e. the original image that you open) is locked. You can easily make a copy of this layer (or any layer) by right-clicking (use Ctrl on a Mac) and selecting Duplicate Layer.
Above the layers is the drop-down menu for blending modes. This gives you a huge choice of blending modes for your layers. You can experiment with these without affecting your original photo. Next to this you’ll find the opacity and fill sliders, which will control how visible your layer effects are in percentage increments.

Hovering over Blending Modes in the Layer Panel allows you to preview the effect they’ll have on your images. Screenshot by Jo Plumridge
Key Lesson: Blending modes are divided into six groups. Normal (Normal, Dissolve) modes are only affected by opacity effects. Darken (Darken, Multiply, Color Burn, Linear Burn, Darker Color) modes darken the image, with white being invisible on the blend layer. Lighten (Lighten, Screen, Color Dodge, Linear Dodge, Lighter Color) modes lighten the image, with black being invisible on the blend layer. Contrast (Overlay, Soft Light, Hard Light, Vivid Light, Linear Light, Pin Light, Hard Mix) modes increase contrast, with 50% gray being invisible on the blend layer. Comparative (Difference, Exclusion, Subtract, Divide) modes make the difference between images apparent. And Color (Hue, Saturation, Color, Luminosity) modes work on different color qualities.
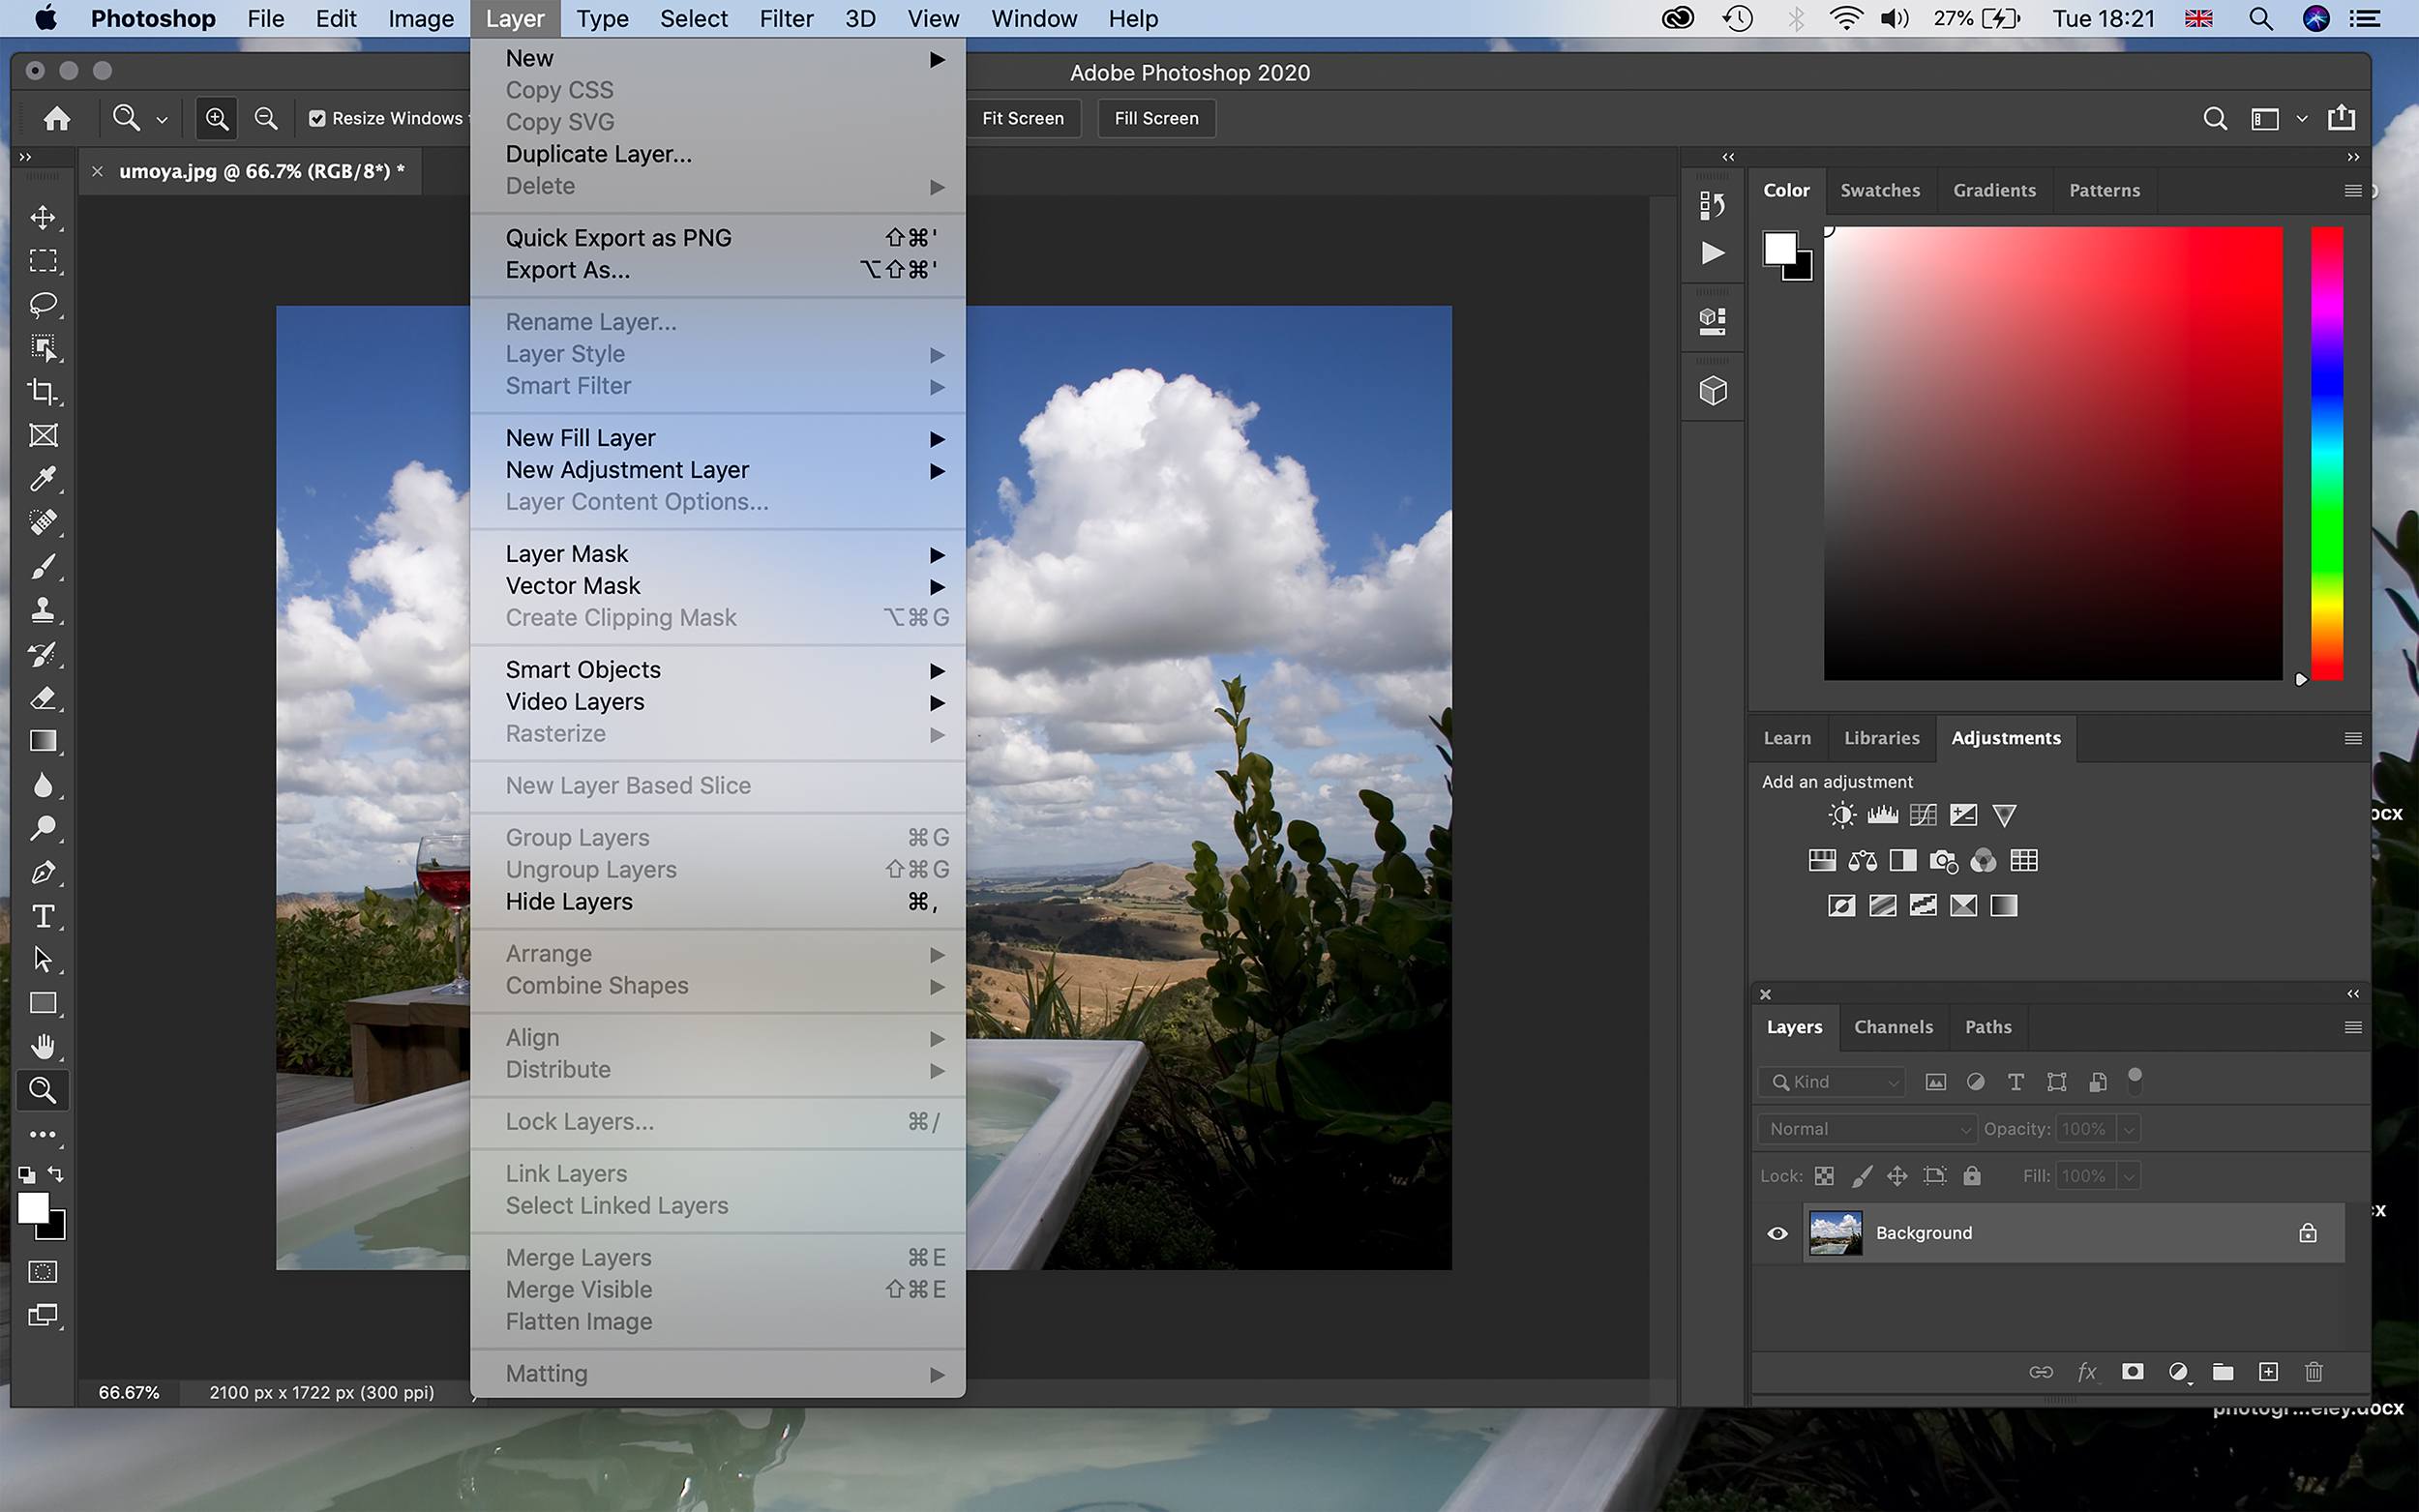
The layers panel also allows you to choose what types of layers to have visible (e.g. you can filter to only have text layers showing). At the bottom of your layers panel are shortcuts to quickly add a layer mask, add a new adjustment layer, create a new group, or create a new layer.
Different Types of Layers
Text Layers
If you want to add text to your image, you simply need to select the text tool in the toolbar and start typing. This will automatically create a new layer. The text tool gives you a range of options to customize your text. You can choose from horizontal or vertical orientation alongside a choice of fonts, font style, and font size. There are also options to justify the text, choose the color, and add a variety of warp effects to it. Text can be easily moved using the move tool in the toolbar.

Selecting the Text Tool on Photoshop’s toolbar will automatically add a new text layer to your image. Screenshot by Jo Plumridge
Adjustment Layers
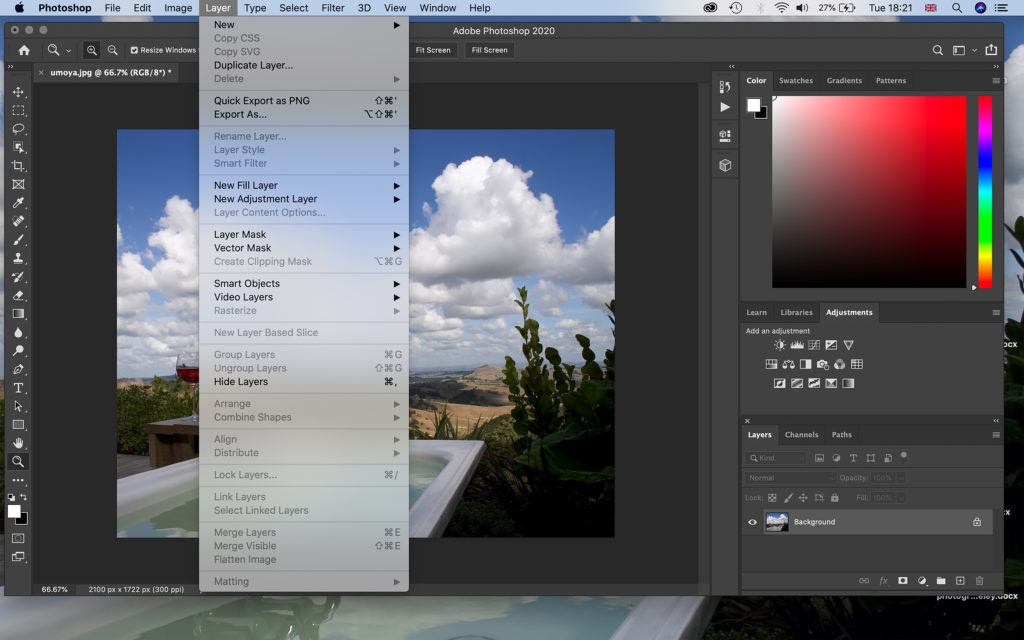
Adjustment layers are a set of extremely useful and easy editing tools. You can either access them through the Layers Menu (Layer > New Adjustment Layer) or via the Layers Panel by clicking on the half black/half white circle at the bottom of the panel.

Adjustment layers allow you to access a set of incredibly useful editing tools that let you make multiple adjustments to your images. Screenshot by Jo Plumridge
Let’s look at the different adjustment layers available:
- Brightness and Contrast: This allows you to make simple adjustments to the brightness and contrast of your image with a simple slider. When you adjust brightness, the overall lightness or darkness of each pixel in your shot is changed. So, to increase the highlights and tonal value of your photo, you would slide the brightness to the right and a + value. Contrast adjusts the difference between the brightness of the elements in your image. So, if you increase contrast, you’ll make the light areas in your image lighter and the dark areas darker.
- Levels: The levels tool adjusts the tonal range and color balance of your image by altering the intensity levels of the shadows, mid-tones, and highlights in your photo.
- Curves: Use curves in conjunction with levels. The curves tool allows you to select a section of the tonal scale (represented by a line) to alter. This means you can make more finite adjustments to small sections of your image.
- Exposure: The correct exposure gives us details in the highlights and shadows of our image. The exposure tool has three sliders: the exposure slider to adjust the highlights of the image, the offset slider for the mid-tones, and the gamma slider for the shadows.
- Vibrance: This tool allows you to adjust the duller colors in your image by focusing on the less saturated areas. It will not affect colors that are already saturated.
- Hue/Saturation: This allows you to change the overall hue (color) of your image. You can choose from the entire image (master) or pick a color from red, yellow, green, cyan, blue, or magenta. You can also choose how saturated the color is.
- Color Balance: This tool is frequently used for color correction, as it allows you to change the overall mixture of colors in an image. You can choose the tonal range you want to change from shadows, mid-tones, or highlights.
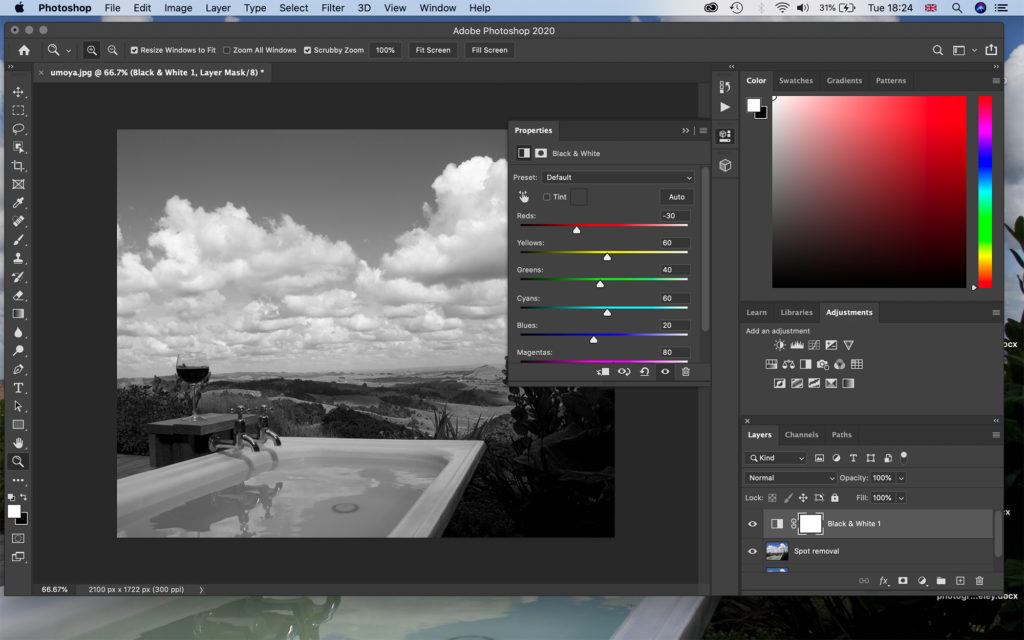
Using a Black & White Adjustment Layer as an example, it’s easy to see how much control Photoshop offers over your images. Screenshot by Jo Plumridge
- Black and White: The black and white adjustment layer allows you to change your color image to grayscale. Because you can darken or lighten specific color ranges, you can make quite detailed and specific changes with this adjustment layer.
- Photo Filter: Photo filters are colored filters that emulate those used on film cameras to balance and alter the color temperature of your images. The most common are those that make your image warm or cool.
- Channel Mixer: This adjustment layer allows you to create black and white images or tint your images to make creative color adjustments.
- Color Lookup: Color lookup uses presets to instantly add a color grade or a different look to your image. The presets are called LUTs.
- Invert: This is pretty self-explanatory as it simply inverts the colors and gives you a negative of your image.
- Posterize: The posterize tool allows you to reduce the number of brightness values available in your image, meaning you can control how much detail your image has.
- Threshold: When you select this adjustment layer, your image will change to black and white. Changing the threshold level value allows you to control the number of pixels that are black or white.
- Gradient Map: The Gradient Map allows you to map different colors to different tones in your image. You’ll find several presets available or you can create your own gradients by changing the slider colors.
- Selective Color: Use the selective color tool to modify specific amounts of a primary color in your image without modifying the other primary colors.
How to Start Using Layers
When you open an image in Photoshop, this will create your first layer, which is always named Background Layer. This ‘layer’ will also always be locked, as it’s the original image you’ve shot. On top of this, you can add as many layers as you want, including Text and Adjustment layers.
Key Lesson: You can organize the layers however you want, but do make sure you name them all so that you know what’s going on in each layer. If you end up adding a lot of layers, you’ll quickly get confused as to what’s happening in each one!
Recommended Reading: If you’re interested in improving your post-processing workflow, check out Photzy’s Understanding Masking premium guide. It has sections on Lightroom and Photoshop, as well as Snapseed for mobile users too.
Screenshot by Jo Plumridge
You will find the layers panel on the right-hand side in Photoshop. If it’s not visible, go to Window > Layers to make it appear. To create a new layer, simply click on this button at the bottom of your layer panel. Make sure to double click on the new layer’s name to rename it to your specification. And that’s it! You’ve created a layer. Make sure to use a new layer for every different adjustment you make (e.g. you could have one layer for using the healing tool and another for using the clone stamp).
Conclusion
Layers are an absolutely crucial part of the editing process in Adobe Photoshop. Learning how to use them correctly opens up a host of options and makes the editing process far easier to control. This guide should help you start to understand the importance of using layers.
Self-Check Quiz:
- What is the reason you should use layers?
- What does clicking the eye next to a layer in the layer panel do?
- What does the Curves tool do?
- Which adjustment layer gives you a negative of your image?
- What is your first layer always known as?


