With optical illusions in photography, you can yield some cool effects. It is better known as “refraction.”
Refraction is the bending of light. It causes it to change direction or to separate when it travels through water.
I became interested in photographing refraction after I saw other photographers using crystal balls. I then started researching different types of refraction.
The effect that refraction produces is very cool, because on one side the color flips to the opposite side of the refracting device.
The challenge that I faced was the lighting. I needed to avoid any light shining on the side of the glass.
I tried to clean up an image with Photoshop when I first started out, and it doesn’t help much.
You really want to be able to produce images with minimal post-processing.

When trying this technique for the first time, it took me a while to produce something that I was happy with.
I would get one step of the process right, and then something else would be off.
For example, my refraction line would be off where the colored background and the white background intersect.
When trying this technique for the first time, it took me a while to produce something that I was happy with.
I also found unappealing reflections of light in the glass.
When setting up your camera, make sure that your lens is head-on and even with the refracting glass object.
This is where you will end up breaking the Rule of Thirds and working more with symmetry.
What you will learn:
- Why is it best to use an odd number of subjects?
- Types of glass to use
- Choosing your background
- The importance of keeping the glass clean
- Choosing a shooting location
- Types of light sources
- Setting up the camera
- Creating the set
- Camera settings
- Post-processing suggestions
Recommended Reading: If you’re interested in learning more about light and how you can use it to improve your photography, grab a copy of Photzy’s bestselling premium guide: Understanding Light Book Two.
Why Use an Odd Number of Subjects?
When doing optical illusions, it is best to use an odd number of refracting objects. For variety, you can add different types and sizes of glass.
Using an odd number of glass objects is more photographically pleasing to the eye due to the Rule of Odds. You can use one piece of glass, three pieces of glass, or five.
When you add more than one, place them in a way that there will be some color shift, even if it is just a little.
The refracting glass objects that you can choose from are endless. They can be anything from a champagne glass to a vase.
The glass objects that you choose can be of different shapes and sizes, giving your photo a unique look. For example, a vase can be slender, or it can be short, tall, or you can add both.
Key Lesson: When choosing your glass objects, make sure they don’t have any writing or graphics on them. This will be a distraction and will not be photographically pleasing to the eye.

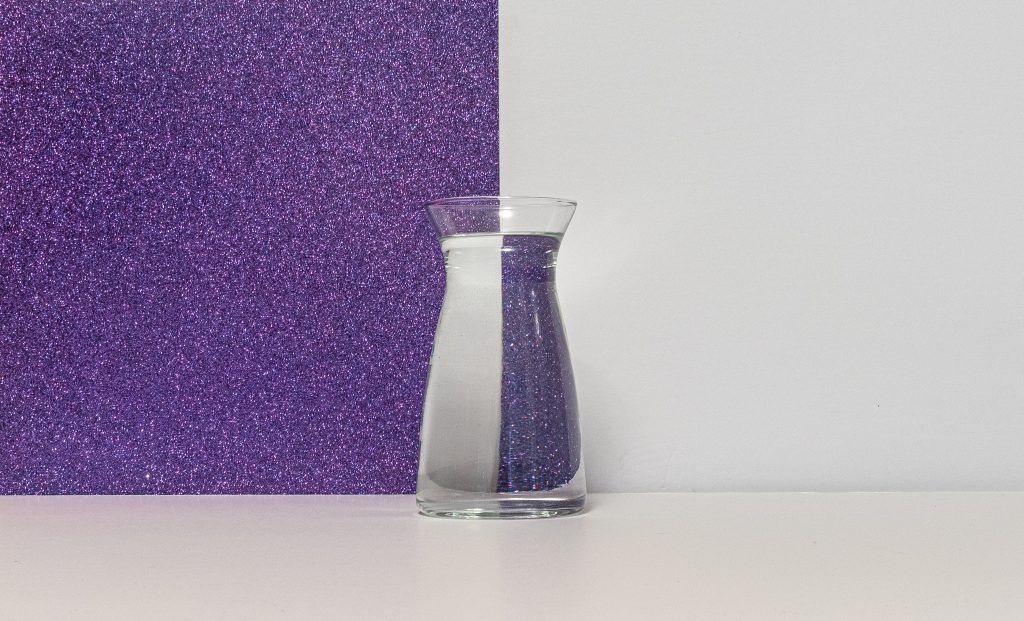
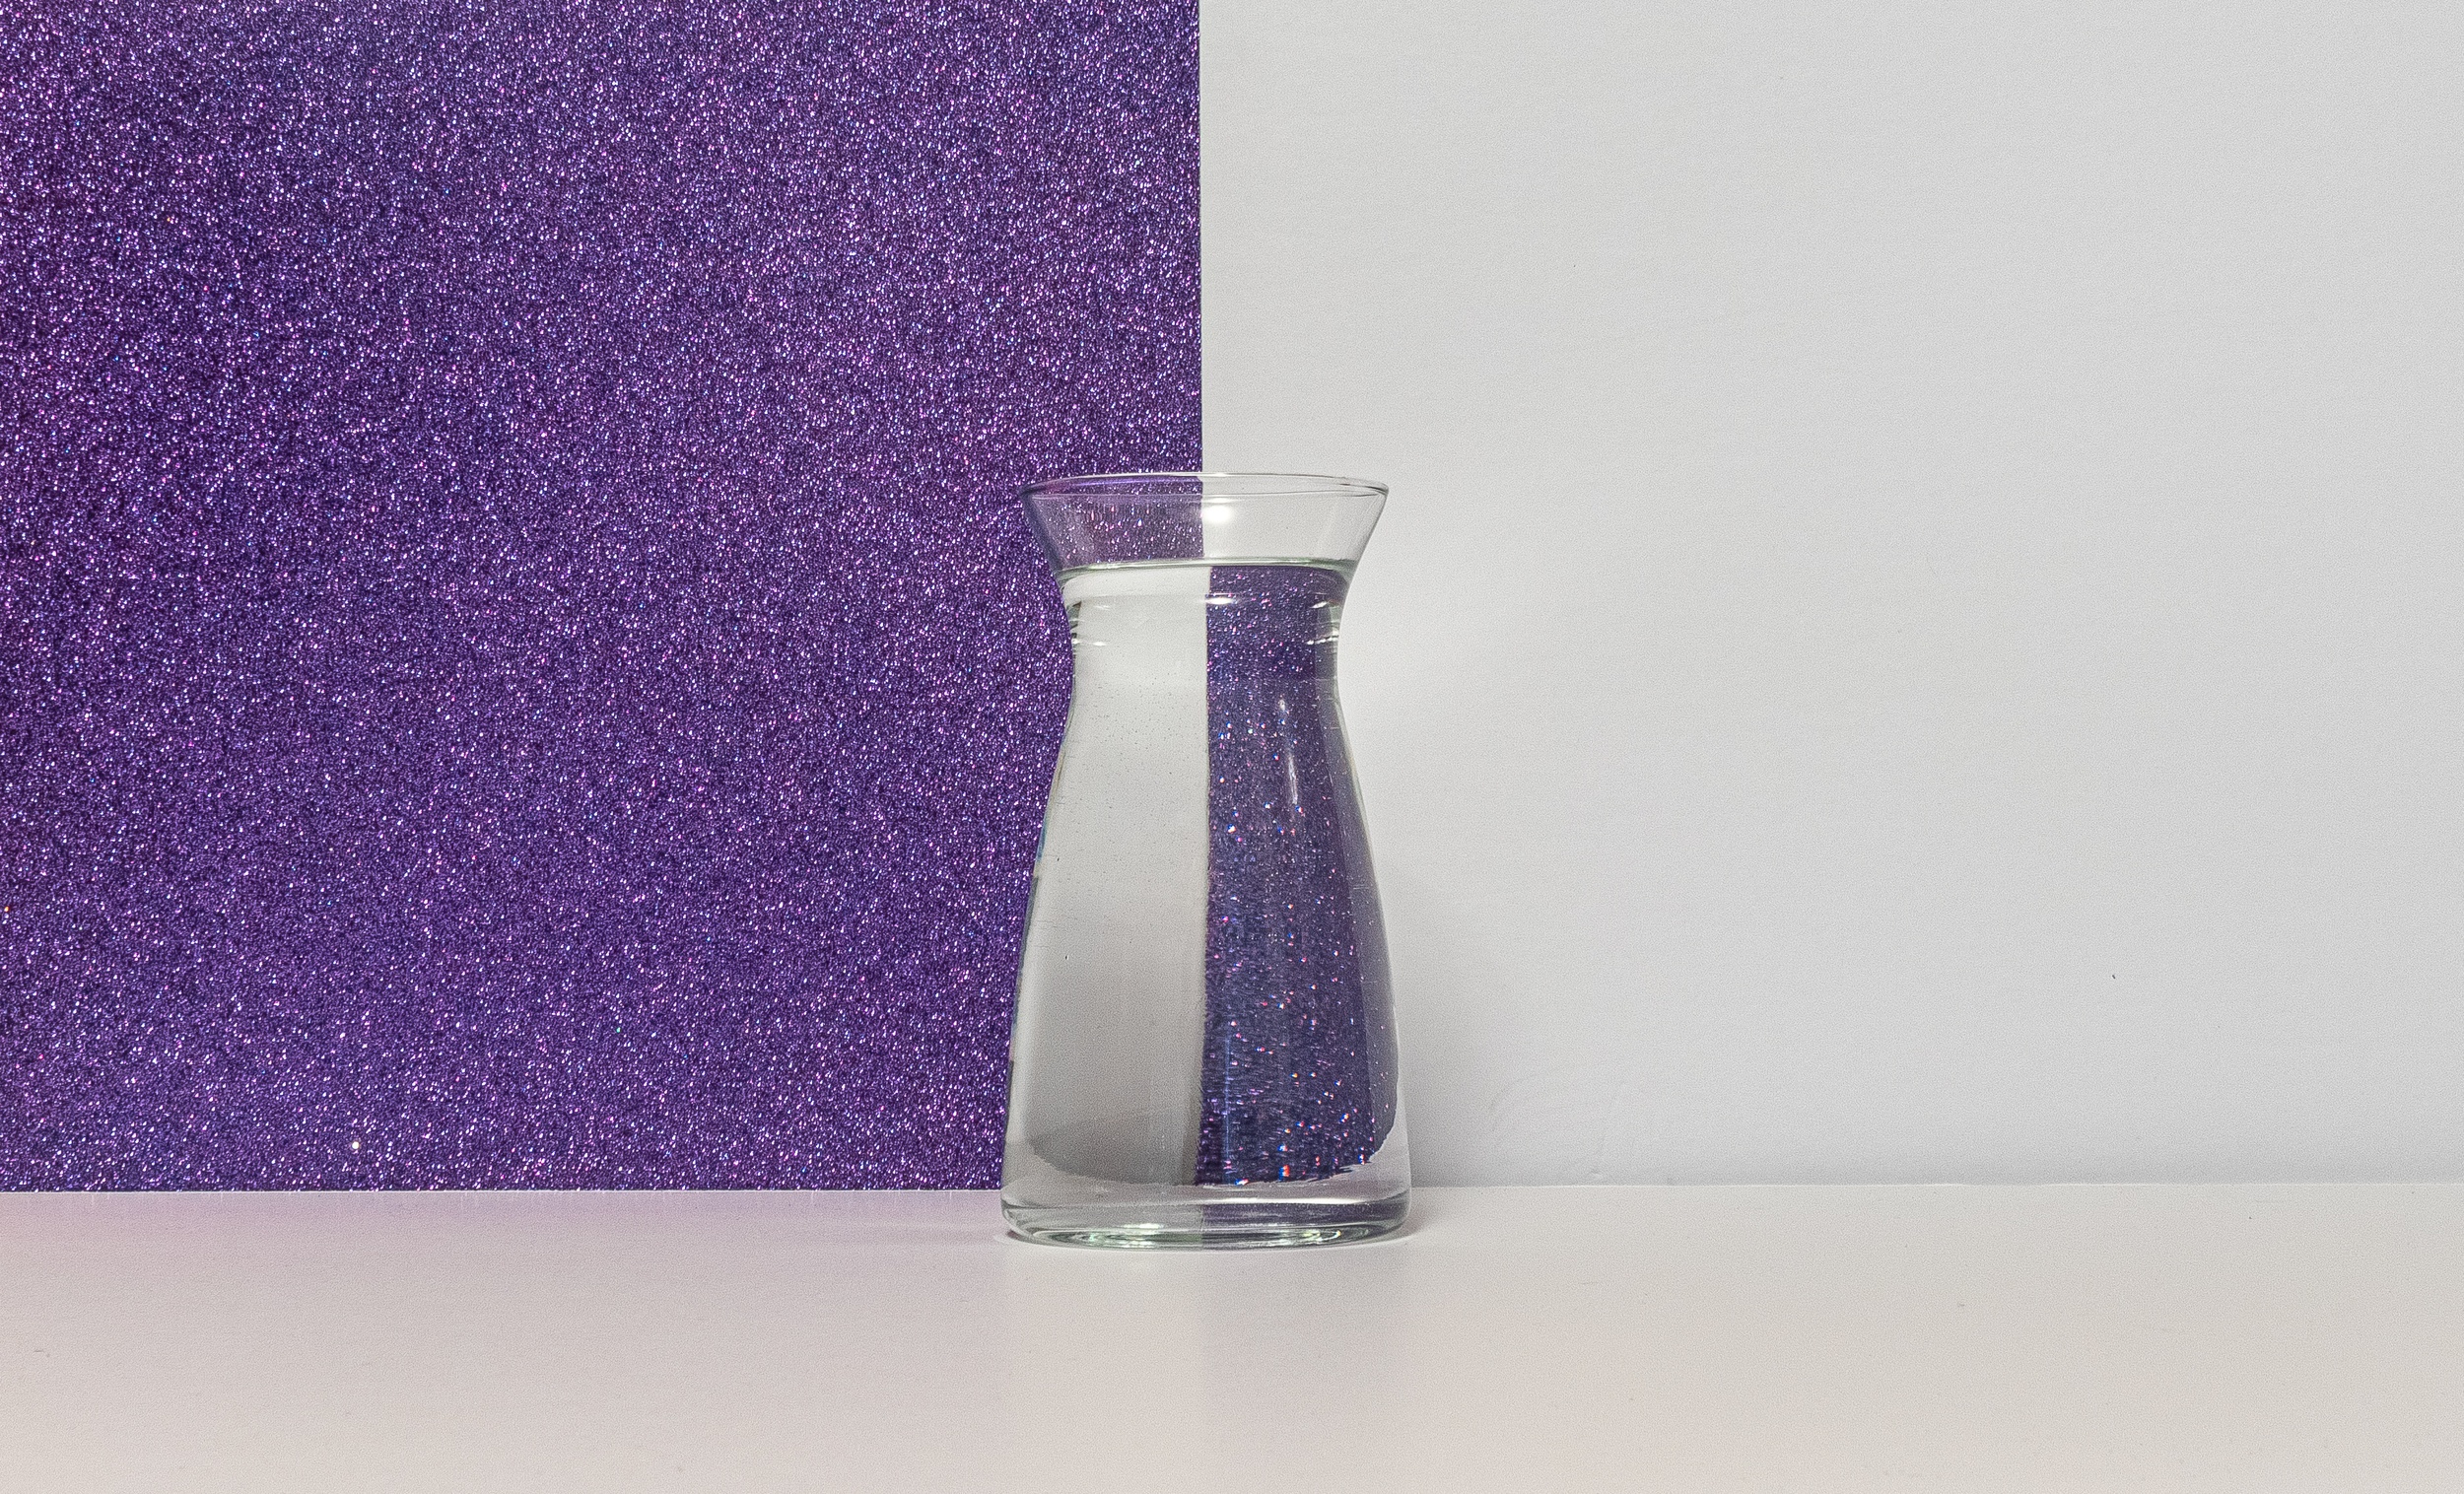
Refraction Illustration Photograph by Michelle Eagan
Your choice of background material can range from two solid colors to stripes or patterns, either in black and white or in multiple colors.
Start out with two solid colors until you understand how refraction works.
If you want to get a little more creative, you can add striped scrapbook paper. This will help give your photograph a 3D look, especially if it is black and white stripes.
Patterns can also alter the look, depending upon the pattern.
It is easiest to start out with a white background and a bold, bright-colored background.
Use sticky tack to mount your paper or cardboard background materials side by side to a large firm surface. I use foam board acquired from an art supply store.
By mounting them this way, you won’t have to worry about them falling over, and you can make sure that there is no gap whatsoever in between them. You want to see where the line of color meets up with the white area.

Key Lesson: I recommend starting out with one piece of refracting glass, as that way you can focus on the elements to create the shot. When you have mastered one piece, then you can add more glass objects and see the different outcomes. You can find a wide variety of glass and scrapbook paper at your local craft store, or maybe you already have these things in your home.
Dealing with glass, you will need to make sure it is free of dust and fingerprints.
I usually start by washing my glassware first and then dry it with a dishcloth, while making sure there aren’t any traces of water left.
If you have a pair of no-lint gloves, use them, as it will make it easier to remove anything that was left behind on the glass with a microfiber cloth.
You can buy a cheap microfiber cloth anywhere from the dollar stores to supermarkets.

This example shows multiple light leaks along the three pieces of glassware. Photo by Michelle Eagan
I have bought numerous sheets of cloth for a dollar, so you can buy several at time. There is no need to buy the expensive ones, as they all do the same thing.
I keep mine stored in a zip-lock baggie to prevent it from collecting household dust and lint. When it starts to look drab, I toss it in the trash.
You won’t need a lot of space to create this type of illusion in your home, but you will need to find a place that is free of uncontrolled lighting that can shine onto your glass and can’t be fixed in post-processing.
You won’t need a lot of space to create this type of illusion in your home, but you will need to find a place that is free of uncontrolled lighting.
This type of photography should be done in a room that is naturally dark, or you must wait until the sun has gone down. If you have mirrors in your room, it’s a good idea to cover them with something dark, like a sheet or a blanket, as this will prevent any accidental light leaks as mirrors are reflective.
Key Lesson: Light leaks that show up on your refracting glass can’t be removed in post-processing; you will end up seeing a bright section thus taking away from the color.
The equipment that I used for setting up the shot is two LED panel lights mounted on light stands above the subject to avoid any light leaks showing up on the glass.
Key Lesson: You need to focus the lighting primarily onto the background and
NOT the refracting glass.
You don’t have to go out and buy light stands, but they can be used if you already have it in your photography gear.
Your lighting doesn’t have to be LED light panels. You can use clamp-on-style lamps or spotlight lamps that you can acquire for a decent price.
Get resourceful.
For example, you could use the stovetop light under the range hood. It could be a good light source because light is shining downward. A white foam board should be used as your base to avoid any dark areas on the bottom of your refracting glass.
Note: Always be extremely careful to prevent a fire!
Key Lesson: When choosing light sources, it can be anything from LED panel lights, to clamp lamps, to spotlight lamps.
When choosing a lamp as your light source, it is best to use a standard LED light bulb. I prefer to work with LED lights, because they don’t get hot like a normal light bulb, and they also produce white light instead of a warm glow.

When it comes to choosing a lens, basically any lens will work depending upon your workspace area.
Given the distance from your subject to your camera, you will need at least a couple of feet in between.
For my example photographs, I chose to use a 24mm lens, since I have a crop sensor camera in a small room.
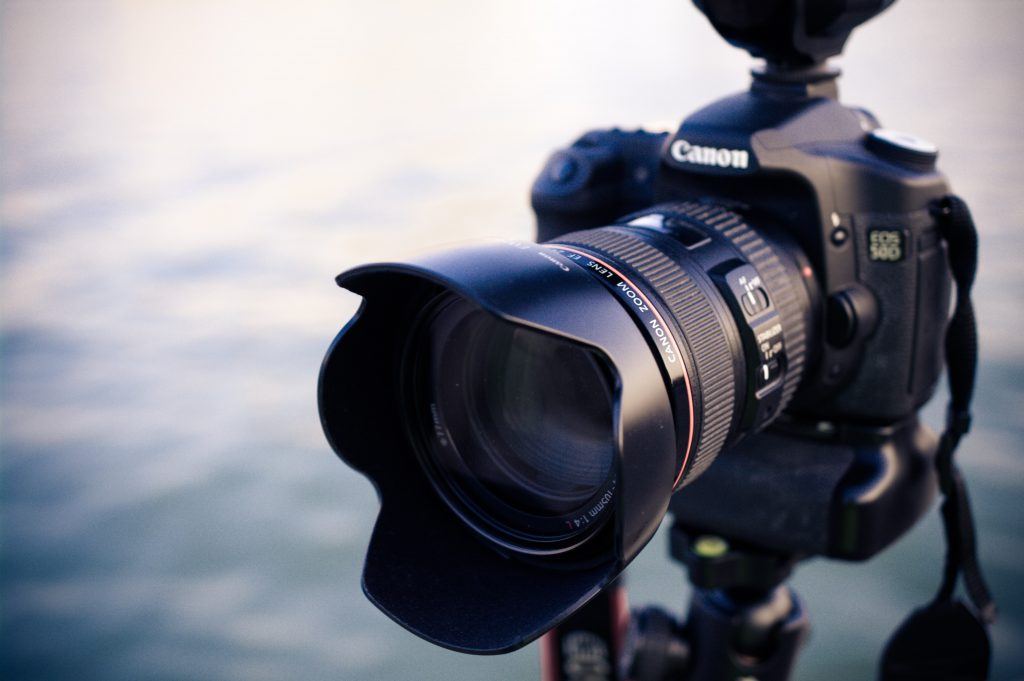
The camera that I use is a Canon 80D.
I would suggest an aperture of f/8 or f/11, because you will need to keep everything in focus with your depth of field.
I use auto focus over manual focusing as it is just easier for me, but if you are comfortable shooting with manual focus, feel free to use it over auto.
Mount your camera on a tripod and move it accordingly to get the right distance from your subject to fill your frame.
If you don’t have a tripod, you can find something steady around your home to place your camera on that is close to the right height that you will need.
The stabilization button is typically found on the side of the lens. Turn this off when your camera is on a tripod, as it can actually introduce motion blur from the activated gyros.
Remember, your lens should be directly in line with the refracting glass object.
I find shooting still life is easier on a tripod, because I like to shoot with a very low ISO. This keeps image noise from showing up in my photos, and that way there is less to edit in post-processing.
You will need to fill your frame with the whole setup – top of the scrapbook paper to both sides, and leave plenty of room at the bottom. That room at the bottom will help you when cropping in post-processing or for printing size 8×10.
Key Lesson: You should stabilize your camera to avoid camera shake, which can result in a blurry photo that is not correctable in post-processing. When using a tripod, turn off the VR for Nikon and IS for Canon.
Recommended Reading: If you’re interested in learning more about light and how you can use it to improve your photography, grab a copy of Photzy’s bestselling premium guide: Understanding Light Book Two.
Let's Begin
Start with a single glass and fill it with water, leaving about an inch of room from the top.
Note: I find that leaving some room at the top with air makes it look more pleasing than filling the glass all the way to the top with water.
Take some foam board (the foam board that I use is 20×30 inches in size). You will need two boards: one board for the background and one board for the base.
Foam board is easier to work unlike poster board, which is just too flimsy.
Sticky tack is a reusable adhesive used for sticking things to poster board without ruining your foam board. Sticky tack and foam boards can be found in the stationary department at your local supermarket or an office supply store.
Now we are ready to start shooting.

Your refraction line should intersect where the water stops at the top of the vase. You should have a straight line where the color flips. Photo by Michelle Eagan
Place your camera where the purple lines meet from top to bottom in the viewfinder (see image above).
The purple line is where refraction happens, causing you to see purple on one side of the glass that is reversed from the background.
Adjust the distance from the background to the glass by moving it until you have a perfect line down the center of the glass. The colors on the left and right side of the glass should be equal.
Choose a single focus point on your camera settings and center it in the middle of the glass.
If you attempt to use multi-focus points, your focus could fall anywhere within the scene, and that could ruin your picture.
I use only one focus point, and then I also use a higher f-stop number to keep everything in focus with the depth of field.
Here are the camera settings that I used for the image above: f/16, 5 sec. ISO – 100, 24mm lens.
Depending upon your light source, your settings may be different, but this is a starting point.
The longer the shutter is open, the more it allows light to shine onto the image sensor.
If you start off using the settings that I used and feel the need to change for exposure reasons, then keep the f/16 setting and the ISO 100 setting. The only setting that I would suggest that you change would be the shutter speed.
It is okay to use a higher ISO setting if you rather hand-hold the camera, but I find it much better, and easier, to use a tripod.
I preferred this method when starting out learning how to shoot still life photography.
I am not a fan of using a high ISO setting, due to the noise that’s created.
It is okay to use a higher ISO setting if you rather hand-hold the camera, but I find it much better, and easier, to use a tripod.
Your lens doesn’t have to be a 24mm lens. I picked the 24mm lens due to the limited space that I have in the room that I was shooting in.
I also have a crop sensor camera, which has a magnification factor over a non-crop sensor.
Shooting at five seconds, or whatever you end up with for a shutter speed, you will need to stabilize your camera.
I chose a smaller aperture (high f/stop number), because then I can keep everything within the photo sharp.
All lenses have higher f/stop numbers. Usually f/8 or f/11 will be the sweet spot on a lens to keep everything tack sharp.
In addition, the distance from the subject to your camera plays an important role.
If you get too close, you might have problems focusing or cutting off some of your subject.
You can check your depth of field using the camera’s DOF button (if it has one), to see what it will look like after you take the shot. The DOF button is kind of a preview.
If you get your settings wrong, you could end up with either a blurry, out-of-focus, or a poorly exposed photo.
If you’re comfortable with it, use manual mode.
I get an idea in my head of how I want my picture to turn out (I pre-visualize it) and then I focus my goal on achieving that look.
Key Lesson: Manual mode helps to control all the elements of your still life shot by slowing you down.
I set the camera to spot metering.
Take your meter reading from the darker color (in this case, the purple side). That will provide a correct exposure compared to the white side.
Set your white balance to auto (this can always be corrected later in post-processing).
I use the ‘white priority’ setting because my camera offers this feature, and it works better in warm lighting situations.
Please shoot in camera raw format so that you will be able to adjust the highlights in a manner where they don’t get clipped. Some adjustment of the saturation slider can make your colors pop.
Recommended Reading: If you’re interested in learning more about light and how you can use it to improve your photography, grab a copy of Photzy’s
bestselling premium guide: Understanding Light Book Two.
Self-Check Quiz:
- Why is it best to work with an odd number of glass props?
- Why should you make sure there are no markings or graphics on the glassware?
- Describe how to clean the glassware properly.
- Why are light leaks bad?
- What are some considerations for choosing a light source?
- Why should you choose a single focus point for this type of photography?
- Why is the use of manual mode important?
Assignment:
- Follow the set-up procedures described in the guide.
- Did you make sure your glass is free of fingerprints, dust, lint, and no graphics or writing?
- Did you check to see if there is any light leak on your glass?
- Did you leave enough room around your subject to be cropped in post-processing?
- Did you remember to change your white balance?
- Did you remember to turn off your image stabilization?
- If you have already tried an optical illusion, did you use an odd number of
glass objects?