

Do you have a junk drawer in your home somewhere? One that’s full of lots of things you didn’t want to throw out because they might be needed later? Full disclosure, I have more than one. Of course, when you go back to look for something later, it can’t be found, or it takes a long time to find it.

Photograph by Rob Eyers
This shouldn’t be the approach you take to your photographs. Finding any photo should be a quick and easy task. Lightroom can provide a solution, but only if it’s approached with an organized plan. Otherwise, it can end up like a junk drawer.
When first installing Lightroom, several organizational questions present themselves. These issues include how to import photos, where to put them, how to organize them, and how to find them at a later date. It can all seem very confusing in the beginning, but making those decisions doesn’t have to be difficult. However, it’ll make a plan that’ll work long term and be easy to apply.
Luckily, the people at Adobe have thought this through. They’ve supplied systems within Lightroom that make it easy to create a workflow that is both logical and straightforward. This workflow is easy to personalize and leaves lots of room for individual choices. It’s important to understand that the decisions made at the very beginning of using Lightroom (LR) will have a huge impact on how easy it is to import, categorize, and find those photos later on.
After reading this article, you will know the following:
- What directory structure works best for storing photographs.
- The ease and importance of backups.
- How to create a Lightroom catalog.
- How to easily import and organize photographs.
- How to easily locate any photo quickly.
Recommended Reading: If you want to learn how to enhance your photos and create better images, grab a copy of Photzy’s premium guide: Ultimate Guide to Fundamental Editing.
One Directory
Storing photographs in multiple directories under multiple topics is a possible approach; however, in my experience, that only results in chaos. With multiple directories, it becomes very difficult to find the photo you’re looking for. Importing photos under multiple directory systems is also difficult because a decision about where to put it needs to be made for each photo on import. It then becomes challenging to remember where any individual image was saved. Instead of saving to multiple locations, I’m suggesting that all photographs be placed in a single directory.
When looking at the many opinions of how to organize photos in Lightroom, the most efficient ones all have the same common approach. That approach is to put all photographs in a single directory. It may seem counterintuitive; however, it does facilitate a more comprehensive searching system which will be discussed further in this guide. First, let’s look at some things to consider when creating that single directory.
Finding any photo should be a quick and easy task. Lightroom can provide a solution, but only if it’s approached with an organized plan.
The single directory should be created on a drive that has a lot of free space. That drive needs to be large for there to be adequate space for your current images as well as those to come. Use a logical name for the directory like “ALL PHOTOGRAPHS” or anything else that makes sense to you.
This main photo directory should not be on a drive that contains your program files. The drive should be a large internal one or an external USB drive. Fortunately, large drives have become very affordable. At the time of this writing, an external 4TB drive can be purchased for just over $100 CAD.
Backups
Talking about drives now would be a good time to think about the backup of your photographs. With only one directory requiring backup, the process will be simple. Putting that backup directory on an external drive is a good idea. Of course, there are other options like storing a backup in the cloud.
Online backups can be good if there’s high-speed internet uploading available. If not, it can be an expensive and time-consuming proposition. In either case, backups need to be stored off-site to protect against fire or theft.
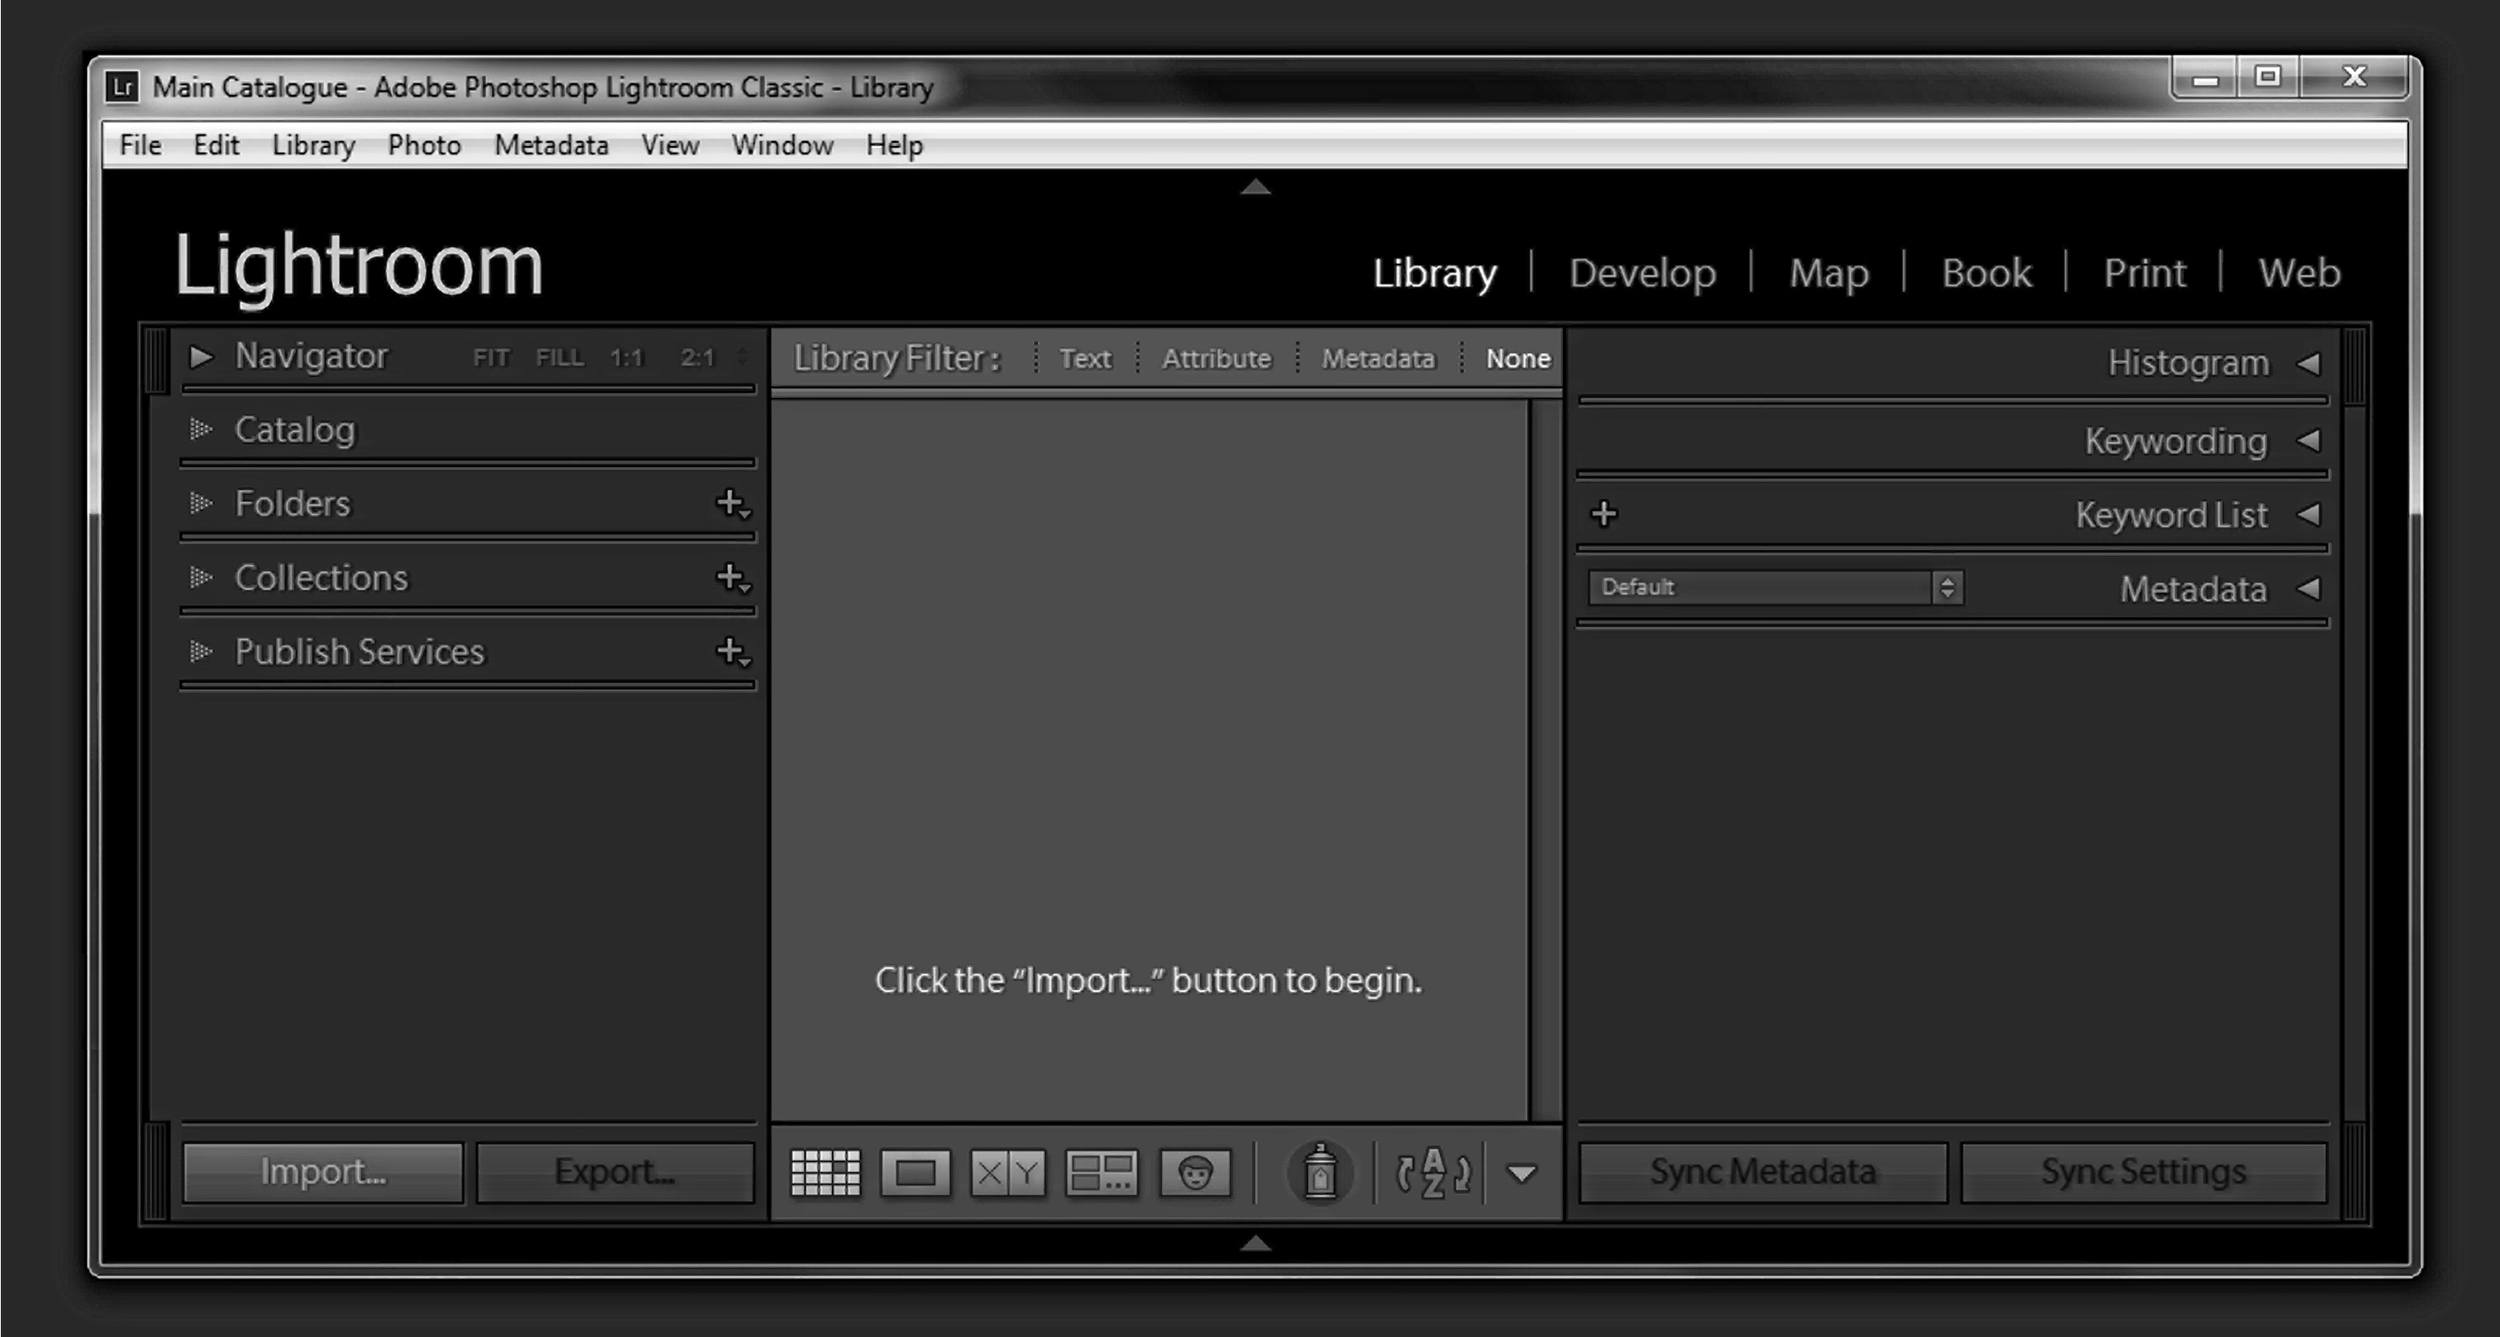
The Catalog
Lightroom knows where photos are kept by the use of a catalog. This catalog holds all the data about the location (on your computer or external drive) of every photograph. To start with a clean slate, a new catalog needs to be created.
To create a new catalog, go to File/New Catalog select a location, and name it something like “My Catalog.” This catalog will be the only one for all your photos.

Screenshot by Rob Eyers
Importing Photographs
With a new catalog and directory created, it’s now time to import some photos. Before that, there are a few things to set up which will streamline the import process.
To avoid duplicates while importing, select ‘Import’ and then on the right side choose ‘File Handling’ and check ‘Don’t Import Suspected Duplicates.’ Lightroom will now prevent any duplicate images from being imported into the ALL PHOTOGRAPHS directory.

Screenshot by Rob Eyers
While importing photos to the main photo directory, it’s a good idea to include some metadata to state who owns them, what the copyrights are, and how to contact you. To do this, click on ‘Import’ and then on the right side choose ‘Apply During Import/Metadata/New’.

Screenshot by Rob Eyers
Name the preset appropriately, enter your information as shown in the next screenshot, and select ‘Create.’ Select your new preset in the ‘Apply During Import’ tab.

Screenshot by Rob Eyers
It’s now time to import any existing photographs into the new ALL PHOTOGRAPHS directory. Select ‘Import’ and in the left panel select the location where they’re stored.

Screenshot by Rob Eyers
In the center top panel, confirm that ‘Copy’ is highlighted.

Screenshot by Rob Eyers
There will now be a ‘Destination’ panel on the right side. This panel is where the location of the new directory is specified as well as how to organize the photos. Now would also be a good time to confirm that your copyright metadata is selected.
Screenshot by Rob Eyers
At the top of the ‘Destination’ tab, select ‘Organize: By Date’ and then choose ‘Date Format: Year/Month/Day.’ All of the photos to be imported have one thing in common, which is that they all have a time stamp. The subject matter or location may be different for each and everyone, but they all have time data.
If the import process is going to be simple and repeatable, there has to be a common denominator. The goal is to eliminate decision-making during import. Since the import settings will remain the same if they’re not changed, all future imports will be quick and easy.

Screenshot by Rob Eyers
Key Lesson: Check your camera’s clock to make sure it’s set correctly because each photo’s date and time is the best way to organize them.
Recommended Reading: If you want to learn how to enhance your photos and create better images, grab a copy of Photzy’s premium guide: Ultimate Guide to Fundamental Editing.
Next, choose the ‘ALL PHOTOGRAPHS’ directory in the ‘Destination’ tab. The ‘ALL PHOTOGRAPHS’ directory will now show the year, month, and day for each image being imported. From this point on, all photos will be imported in the same manner. To finish the procedure, click on ‘Import.’
Continue importing the rest of your photographs. It doesn’t matter if they are scattered over many directories on multiple drives. They will all be imported into the one catalog and saved by the date they were taken. After they’re all imported, they’ll show up under the ‘Folders’ tab on the left side in the ‘ALL PHOTOGRAPHS’ directory.
So, how can a specific image be found if there’s only one directory and catalog?

Screenshot by Rob Eyers
Finding a Photo
When thinking about any particular subject, the 4 Ws (Who, What, Where, When) can pretty much describe it. The 4 Ws can be used to describe photos, too. The When has already been taken care of during import, so that leaves Who, What, and Where.
In thinking about any given photo, it usually contains one main thing that’s significant about it. That might be where it was taken, what it’s about, or who is in it. In some cases, there may be more than one thing that describes an image; however, it can only be imported to one directory.
When thinking about any particular subject, the 4 Ws (Who, What, Where, When) can pretty much describe it.
Photos of a trip would have to be imported into a different directory than ones of a given person. The result would be multiple directories for different locations, people, or events. As a result, importing photos would be an arduous decision-making process. Trying to remember where a given photo was imported at a later date would also be difficult, especially if it contained more than one thing of significance. This scheme would make it difficult to remember where it was imported.
This is where keywords have a major advantage. Any given photo can have several keywords that describe it. An image could have a keyword for its location, and one for the event, or another for who is in it. This versatility is one of the most powerful aspects of the keyword function. Once keywords are assigned, any or all of them can be used to locate a photograph that resides in a single organized directory and catalog.
Key Lesson: Keywords make it easy to locate any photograph in a Catalog.
Setting up Keywords
The general concept of keywords is to create main and subcategories to refine the subject. An example of the keyword “Ice Fields Parkway” could look like this:
WHERE
– North America
– Canada
– Alberta
– The Rockies
– Ice Fields Parkway
In this example, the photo assigned the “Ice Fields Parkway” keyword would also show up in a search for any of the other keywords preceding it, like Alberta or North America.
Let’s say there was a Canadian Goose in the photo too. The photo could also be assigned a keyword under WHAT – Wildlife – Bird – Canadian Goose. There could also be people in the photo and they, too, could be assigned keywords. The possibilities are many and totally your decision.
Key Lesson: Any photo can be assigned one or more keywords.
To begin setting up keywords, my suggestion is to start with three main categories: Who, What, and Where. To create them, click on the plus sign in the ‘Keyword List’ tab, enter the title, clear all the checkmarks as in the image below, and then click on ‘Create.’

Screenshot by Rob Eyers
To create sub-keywords, right-click on the main keyword and choose to ‘Create a Keyword Tag’ inside that specific keyword heading. This time don’t clear the checkmarks. Make as many sub-keywords as required.

Screenshot by Rob Eyers
Assigning Keywords
Once keywords are created, they can be assigned to an image in any of the following ways:
- Select one or more images and then click on the small box that appears to the left of the appropriate keyword when it’s hovered over.
- Select one or more images and drag one of them to the keyword.
- Select one or more images and drag the keyword to one of them.
- Type Ctrl (Cmd on Mac) and the K key to access the keyword entry box. Begin typing the keyword of choice and then select the correct one from the drop-down menu.
Key Lesson: When assigning a keyword, all of the keywords above it are also assigned. For example, assigning the keyword ‘Alberta’ to an image as in the previous example would also assign the keywords WHERE, ‘North America,’ and ‘Canada’ to it as well.
Recommended Reading: If you want to learn how to enhance your photos and create better images, grab a copy of Photzy’s premium guide: Ultimate Guide to Fundamental Editing.
How to Search With Keywords
To search through the catalog, it must first be selected as in the next image.

Screenshot by Rob Eyers
Then select ‘Metadata’ in the center panel at the top.

Screenshot by Rob Eyers
A drop-down menu appears with four search fields. Each of the fields has a drop-down menu with multiple search criteria. Choose ‘Keyword’ as one of the sorting criteria. All of the keywords that have been assigned will be available in the drop-down menu. Choose a keyword and the grid will populate with all of the photos that have that keyword assigned to them.
By choosing additional search criteria in any of the other fields, the search can be refined. However, if the search needs to be narrowed down by more than one keyword, then an additional method must be employed. To do this, select ‘Text’ to the left of ‘Metadata’ and type all of the keywords you want to search in the text field.

Screenshot by Rob Eyers
Key Lesson: A keyword in the drop-down menu can also be used with the Text option. This only works if a keyword is first chosen in the keyword field before selecting the Text option.
Lightroom has one more powerful tool to use for sorting your images, which is called ‘Collections.’ It enables the user to further narrow their search within keywords plus additional criteria. ‘Collections’ can be a very useful tool that I would encourage you to explore.


