

Daytime photography makes perfect sense for most photographers; it’s the time of day when they will go about all their landscape, portraiture, macro, and street photography. But there are plenty of others who refuse to pack up their gear and call it quits just because day has turned to night. In fact, there are photographers who prefer the night. These shadow warriors don’t see the challenges involved with nighttime shooting as a hassle; they enjoy the darkness and revel in the creative opportunities embedded in very low light photography.
If you’ve ever wanted to do a little more than dip your toe in the dark end of the pool, or if you’ve tried night photography but just can’t seem to get it right, what follows will help you take nighttime photos that you can be proud of.
Some people might conclude that night photography is, by default, long exposure photography; this isn’t always the case, but it is often enough to justify our present focus on long exposure photography.
A Brief Refresher on Exposure
Recall what you’ve learned about the elements involved in making a photo: light, aperture, time/shutter speed, sensitivity/ISO. You can’t make a photo without light. You need a certain amount of light to hit the camera’s sensor in order to render a discernible image. So you can imagine how challenging this might be in a mostly dark environment. In short, the challenge is overcome by using large apertures and long shutter speeds so that the sensor can absorb as much light as needed.
The problem is the longer your shutter is open, the more prone the image is to blur; the higher the ISO, the more noise is produced in the image. Let’s take a look at how to solve these problems.
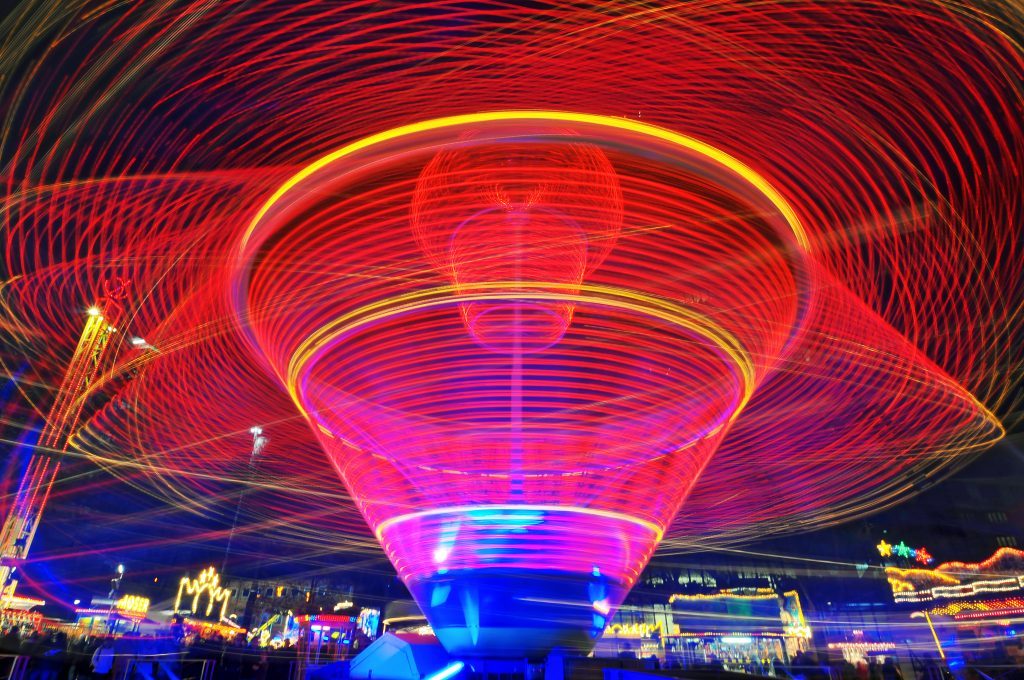
Photo by Tambako The Jaguar
Stabilization
The main culprit of ruined night photos is camera shake, thus the only way to get sharp images while working with long exposures is to stabilize your camera. It is highly recommended you get yourself one or both of the following:
- A tripod. A tripod will unquestionably be your best friend when it comes to keeping your camera still. While tripods represent a burden to some photographers, they don’t have to be. There’s no tripod that is universally accepted as being perfect, but with some diligent research you can make sensible compromises in size, weight, and cost. And if you don’t have or simply refuse to carry a tripod, make use of your surroundings. Look for a ledge or post or some other sturdy structure that can serve as a makeshift tripod.
"The main culprit of ruined night photos is camera shake."
- Remote shutter release. This isn’t necessarily a must-have, but a remote shutter release will help you achieve an added layer of stability by keeping you from having to touch the camera when you go to press the shutter button. But if you don’t have a shutter release device, you can use your camera’s self-timer with equal success. You will, however, probably find the remote shutter release makes setting up and shooting long exposures more convenient.
Camera Settings and Technique

Photo by Oliver Clarke
Even under the umbrella of long exposure photography there are going to be different variables to contend with in different situations. There are, however, a few guidelines that you can easily adopt and adapt to fit your specific circumstance.
- Shoot in Manual Mode (M). Your camera’s auto settings simply aren’t going to cut it in this situation; not even if your camera has a “night scene” mode. Just pretend that mode doesn’t exist on your camera. Letting your camera determine aperture and shutter speed will leave you with shots that are severely underexposed or exhibit some other unwanted properties. The only way you will be successful with long exposures is to take total control of your camera.
- Set Aperture to Optimize Depth of Field. A smaller aperture (f/8 and higher) puts more of a scene into focus and is the way to go for cityscapes, landscapes, and anytime you want to introduce blur effects such as light trails and star trails. If you don’t have a tripod but you are using a fast lens (a lens with a large maximum aperture, f/1.4, for example), you can shoot wide open to let in more light and allow you to use a faster shutter speed. Keep in mind, however, that depending on your subject, a large aperture may not give you the desired effect and will be more challenging to focus (especially in the dark).
- Set Shutter Speed to Make Best Use of Available Light. This could be 3 seconds, it could be 30 seconds. You may even need to use bulb mode (B) in certain situations. If you’re shooting just before sunrise or just after sunset you won’t need as long a shutter speed and might be able to get away with 1/20th of a second. In all cases, you need to be able to interpret the light and set your shutter speed accordingly.

Photo by tdlucas5000
This image above needed an exposure time of just under 4 seconds.
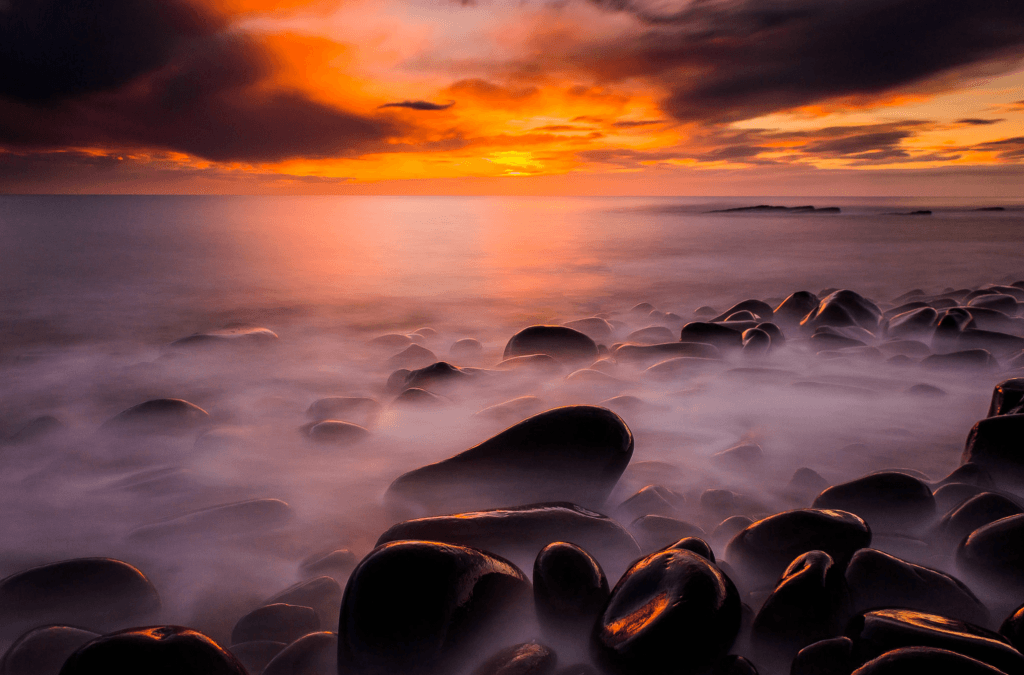
Photo by Jonathan Combe
While this image needed an exposure time of almost 60 seconds.
- Keep ISO as Low as Possible. Always start out at your camera’s lowest ISO setting (usually 100). Given the fact that you’re using a tripod, it’s unlikely that you would ever need to increase ISO. If you do find it necessary to increase your ISO for some reason, you can probably go up to ISO 1600 relatively safely, as many current DSLRs handle low light shooting rather well. But generally, if you need more light, it’s just better to lengthen the shutter speed.
- Use Manual Focus. Trying to autofocus in the dark is going to give you fits. Don’t waste time fiddling with AF; switch to manual focus. If your camera has Live View, by all means use it to achieve precise focus. As alluded to above, using a smaller aperture can give you some wiggle room when it comes to focusing. You might also consider using infinity focus.
- Test. You’re using a digital camera, right? Well, don’t be afraid to take test shots. Take as many as you need and adjust your settings accordingly.
"If you don’t have a tripod but you are using a fast lens, you can shoot wide open to let in more light."
Expanding Ideas
Once you’ve got a grasp of the basics of long exposure photography, you will probably want to start looking for ways to take things to the next level. Here are a few ideas:
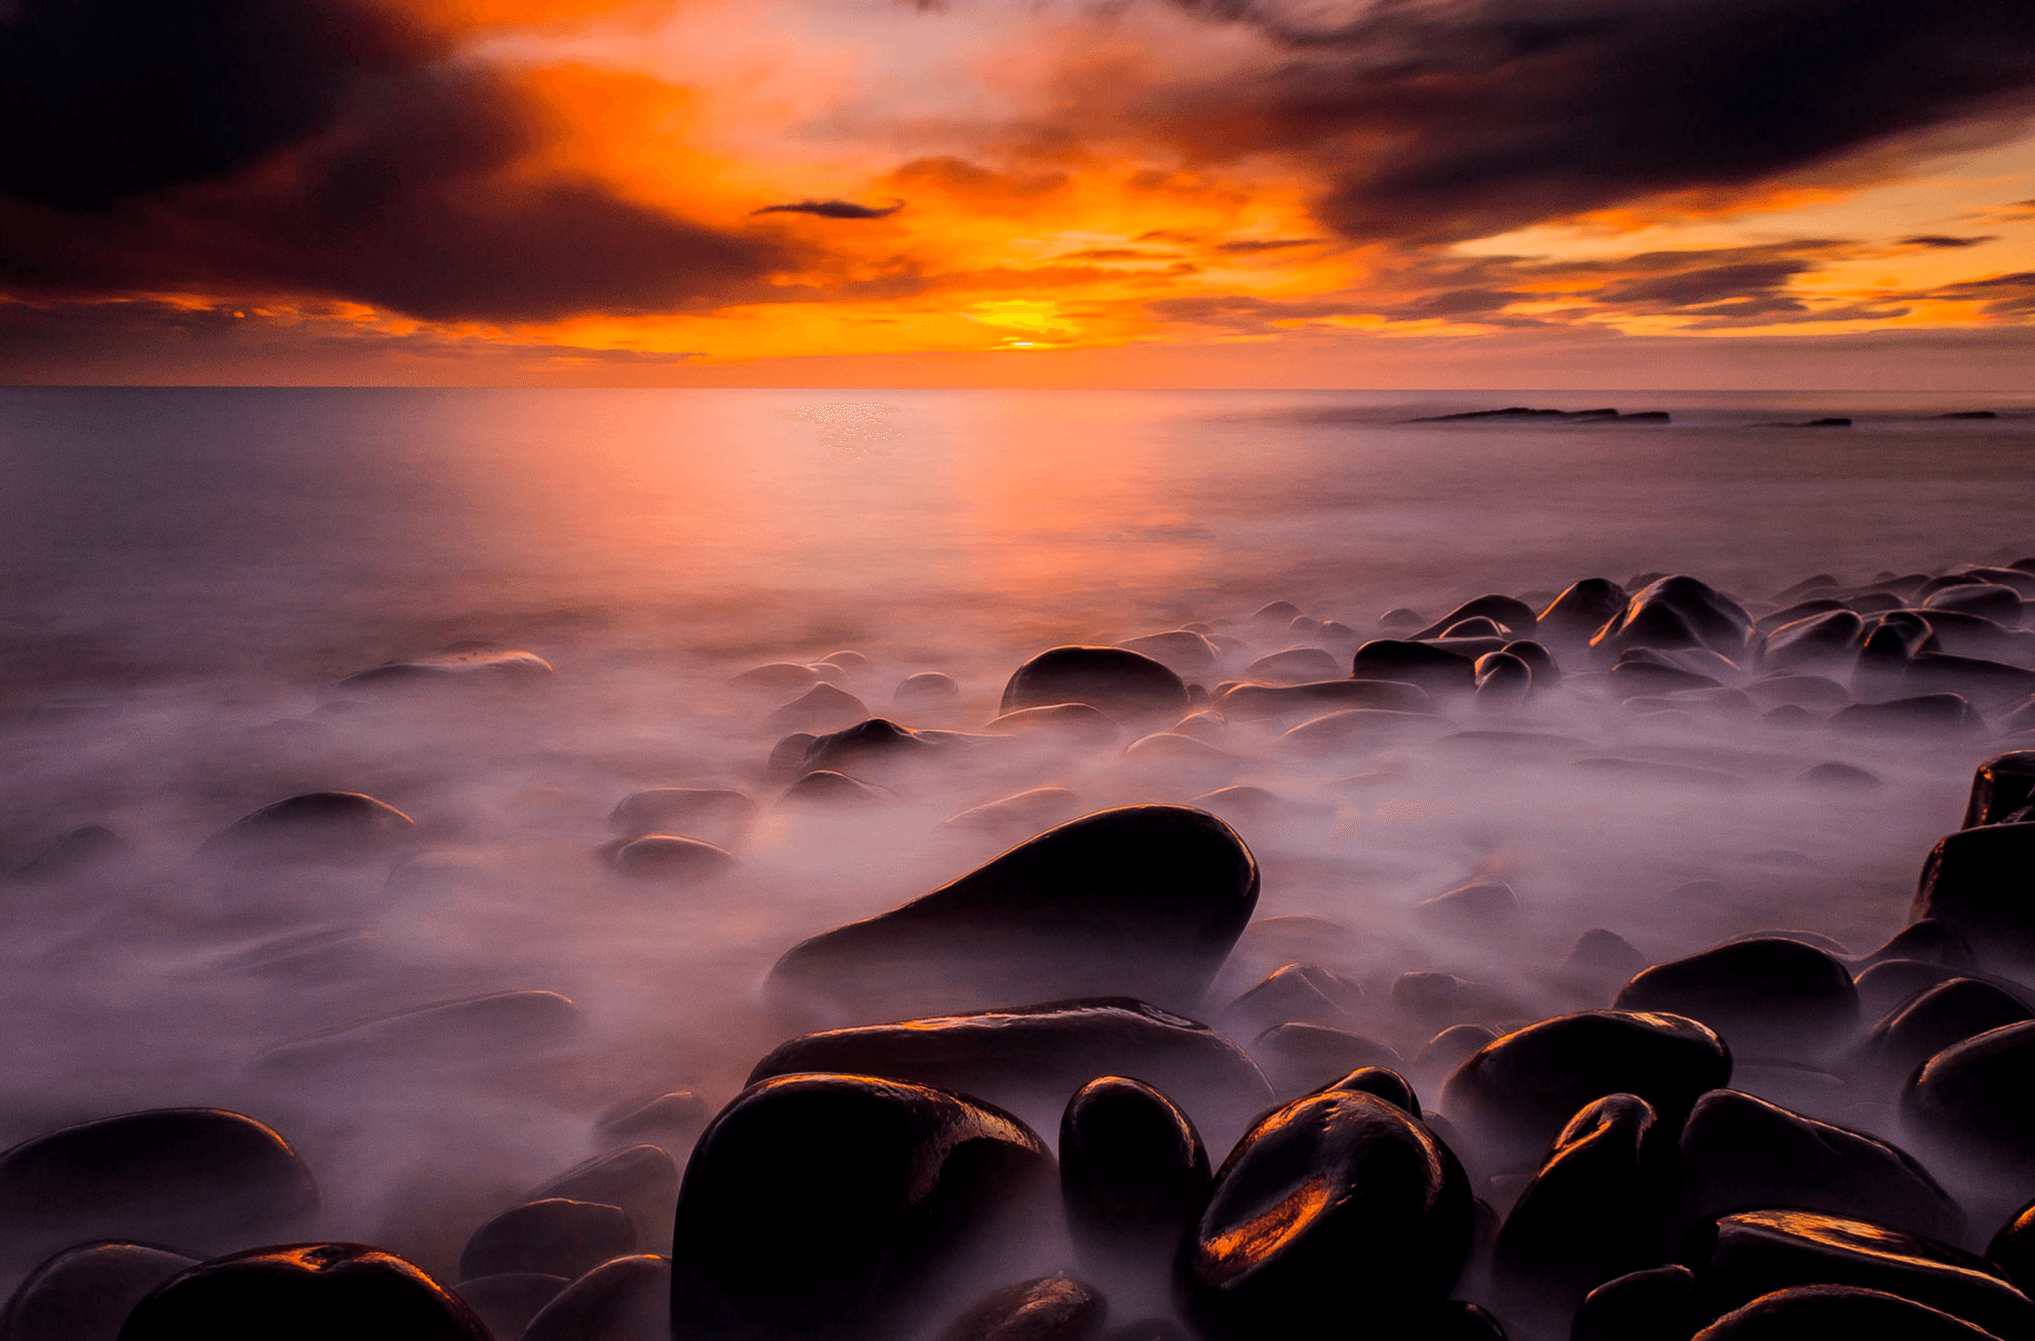
- Use a Neutral Density Filter. A neutral density filter blocks out a certain amount of light entering the camera, allowing for long exposures under brighter conditions. If you wanted to shoot wide open on a sunny day, for example, you would use a ND filter to prevent overexposing your shots. Use of a ND filter is also how you get that beautiful silky effect when photographing moving water.
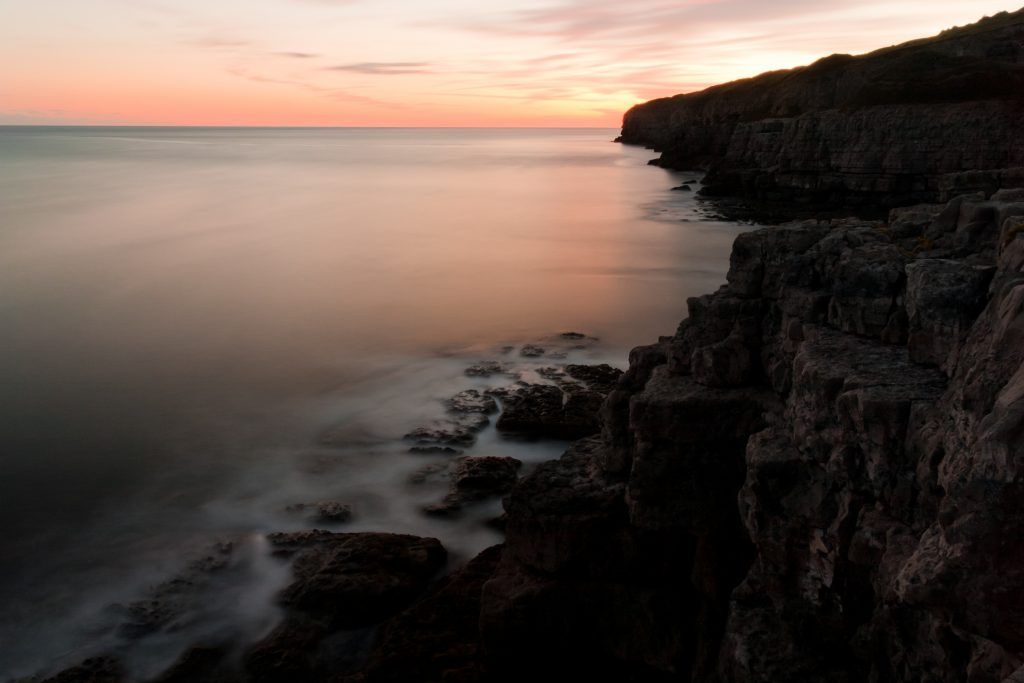
Photo by H Matthew Howarth
- Light Painting. Light painting is a fun technique in which you use a handheld light source such as a flashlight to paint or draw onto thin air.
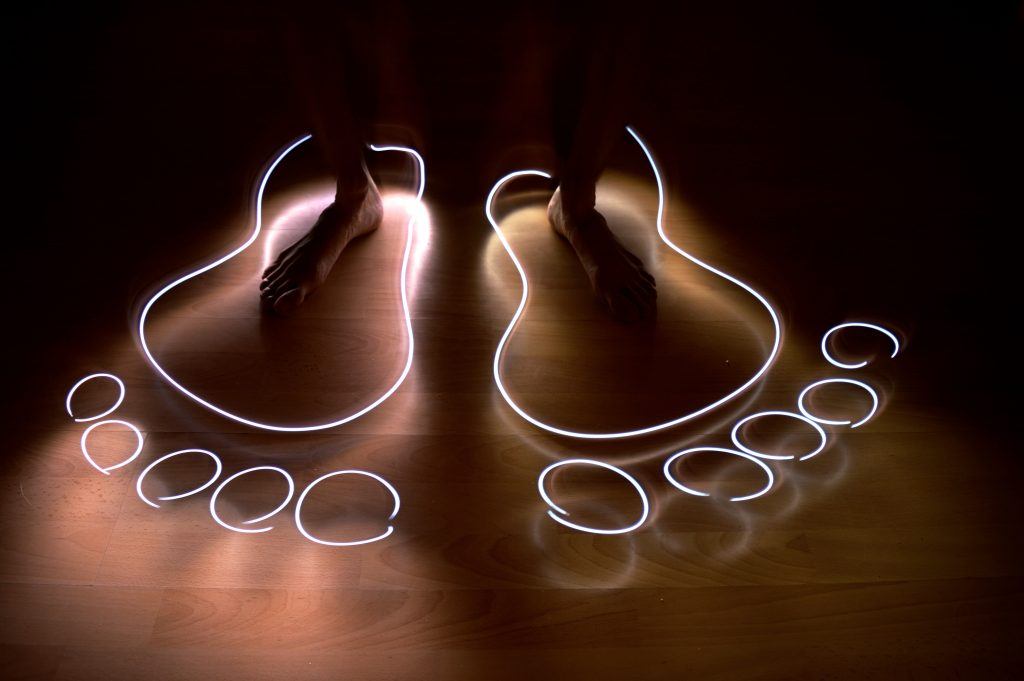
Photo by Silke Remmery
- Light Trails. Using a long exposure to capture light in motion can result in some mesmerizing trail effects.
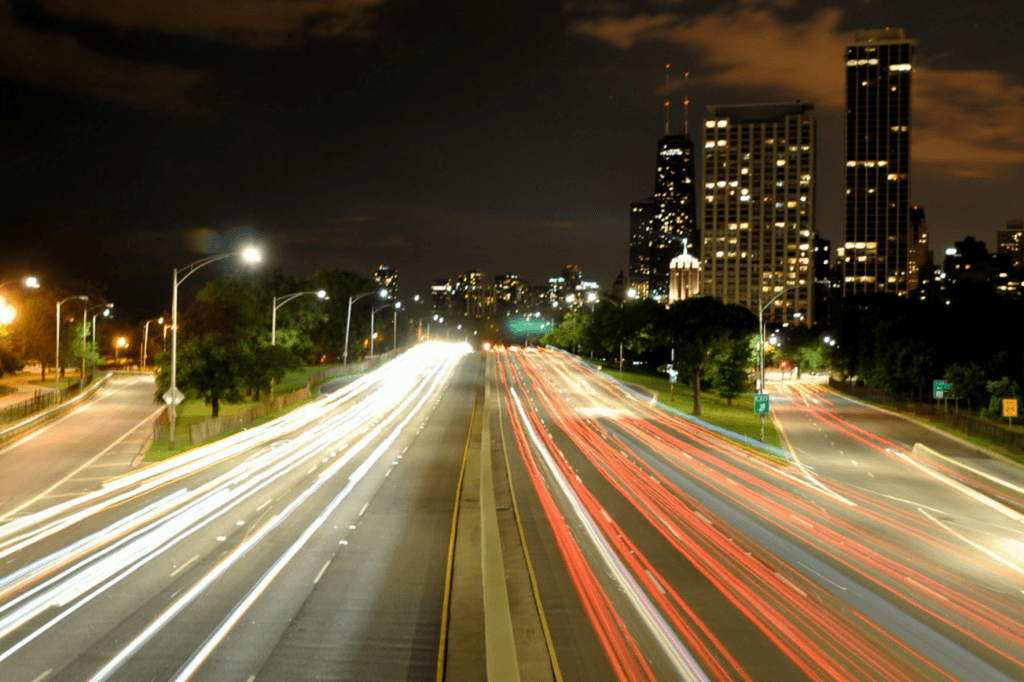
Photo by peddhapati
- Star Trails/Astrophotography. Capturing images of the night sky and all its fantastic adornments will require a long exposure.

Photo by jason jenkins
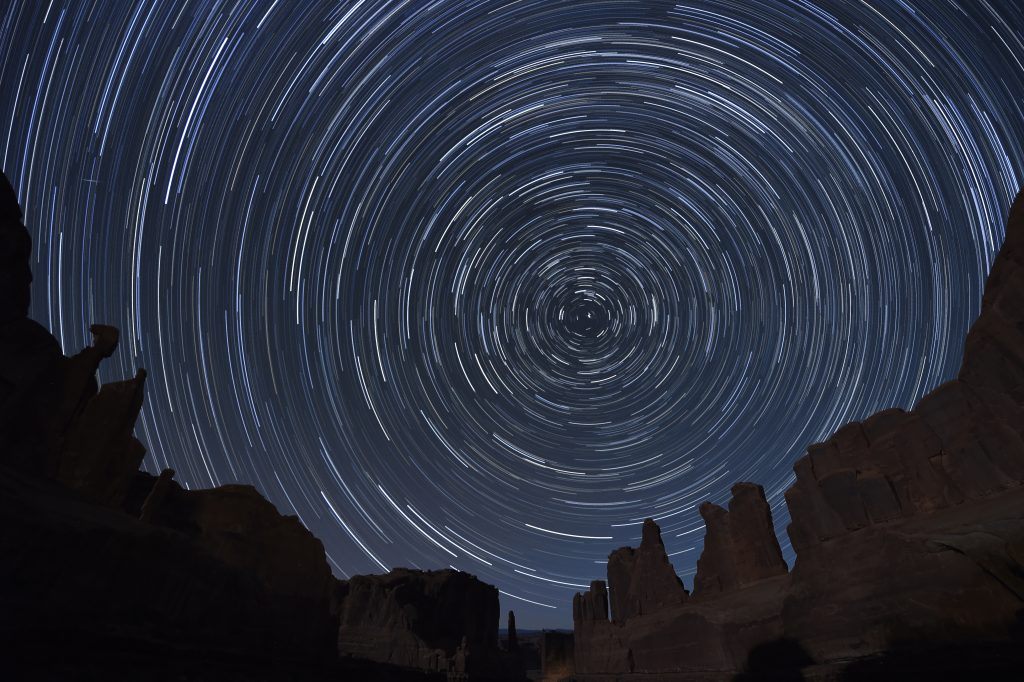
Photo by Diana Robinson


