Editing skin is one of the biggest hurdles that portrait photographers have to learn to leap. It is very easy to do it badly, and it’s also easy not to do it at all, resulting in images that are not as professional looking or flattering as they could be.
One of the biggest criticisms of fashion and beauty advertising and editorial photography in past years has been the tendency to make skin appear almost plastic. While that trend has died off somewhat, it’s still important to know where to draw the line and how to edit skin to look perfect without it looking unrealistic.
Here is what we will cover:
- Remove imperfections
- Smooth wrinkles and tired eyes
- Equalize shadows and light
- Adjust tone and temperature
- Smooth (but not too much)
Recommended Reading: If you want to learn how to enhance your photos and create better images, grab a copy of Photzy’s premium guide: Ultimate Guide to Fundamental Editing.
Remove Imperfections
Imperfections on the skin can ruin a portrait, especially when they are only temporary. Spots, blemishes, and areas of discoloration can come up just for a few days, but if those few days happen to be during the time your model poses for a portrait, then unfortunately those temporary imperfections will be recorded forever.
You may also want to erase some permanent imperfections, such as freckles, moles, or scars, depending on the brief; for example, if the client does not want them in the shot.
Imperfections on the skin can ruin a portrait, especially when they are only temporary.
Either way, the best tool for erasing imperfections is either the healing brush or the clone stamp. Depending on your preferred way of working, these will both attempt to cover over any blemish with a patch of clear skin. The best tip for using these tools is to use a brush precisely the same size as your blemish and click just once. This will avoid bringing in suspicious or obvious-looking aberrations or repeated textures in the skin.
If you are struggling, reduce your brush size and ‘heal’ part of the blemish at a time, working carefully and slowly to avoid introducing new issues. You can also convert the image temporarily to black and white with an adjustment layer in order to see more clearly the distinctions between blemishes and clear skin, which may even include a change in lightness.
Key Lesson: The healing or clone tools will get rid of isolated blemishes, and even some larger areas, so long as you have at least one area of clear skin to work from.

You should think carefully about removing this model’s freckles, as they are a natural part of her skin. Photograph by Ben Scott
Smooth Wrinkles and Tired Eyes
Crow’s eyes, laughter lines, frown lines – these are the things that give our faces personality. But there can be times when we don’t want them to be emphasized so much, particularly in high-contrast lighting, which might make them stand out more, or in beauty shots which require perfect skin.
Dark under-eye circles can also make the subject look older and more tired, which isn’t a desirable look for most portraits (unless you’re making a point). In most cases it wouldn’t be entirely appropriate to remove wrinkles and eye bags completely in a simple portrait, especially if your model is your client, but in other cases you may find the need to do so.
Before making edits to the photo, create a new layer and switch the mode to overlay. Tick the option to fill with overlay – neutral color, which will give you a 50% gray layer.
Now go in close with the dodge tool (a graphics tablet is recommended unless you are very steady with your mouse). Keeping the brush the same size as your wrinkle line, lightly go over each wrinkle one by one. You will see them fading slightly, while still remaining visible. You can do the same with a larger brush for the under-eye area. This technique keeps those imperfections in place, but just reduces their effect. It will allow the viewer to focus more on the portrait as a whole, or the eyes or mouth for example, instead of immediately seeing deep wrinkles and tiredness.
Key Lesson: A light touch can reduce undereye bags and wrinkles without erasing them completely, thereby retaining a natural look while still improving the visual aesthetic.
This model’s face is full of character, but they might prefer a flattering edit where their wrinkles are de emphasized, especially if they are famous in any way. Photograph by Shane
Equalize Shadows and Light
When a portrait is created using uneven lighting, the effect can be very dramatic. But it’s important not to let the effect go too far if it is unintentional. You will almost always find that a portrait is stronger when you can see both sides of the face well, without distracting or ugly shadows.
The easiest way to do this is to work with the dodge and burn tools. Lighten up areas of shadow, making sure to test and adjust both the brush opacity and the target area (shadows, mid-tones, highlights) to maintain realistic tones.
If you are struggling to keep the colors right, then you could also create a copy layer with a connected clipping and layer mask for your shadows (assuming your base layer is optimized for highlights, you could easily do it the other way around). Tweak your curves until you have the right appearance for the shadows and erase the layer mask to allow those optimized highlights through for a photo that is well-balanced.
Key Lesson: When dodge and burn let you down, a new layer will give you better results. Blend your layers well to avoid a patchwork effect, and try to equalize out the lighting on both sides of the face for flattering results.
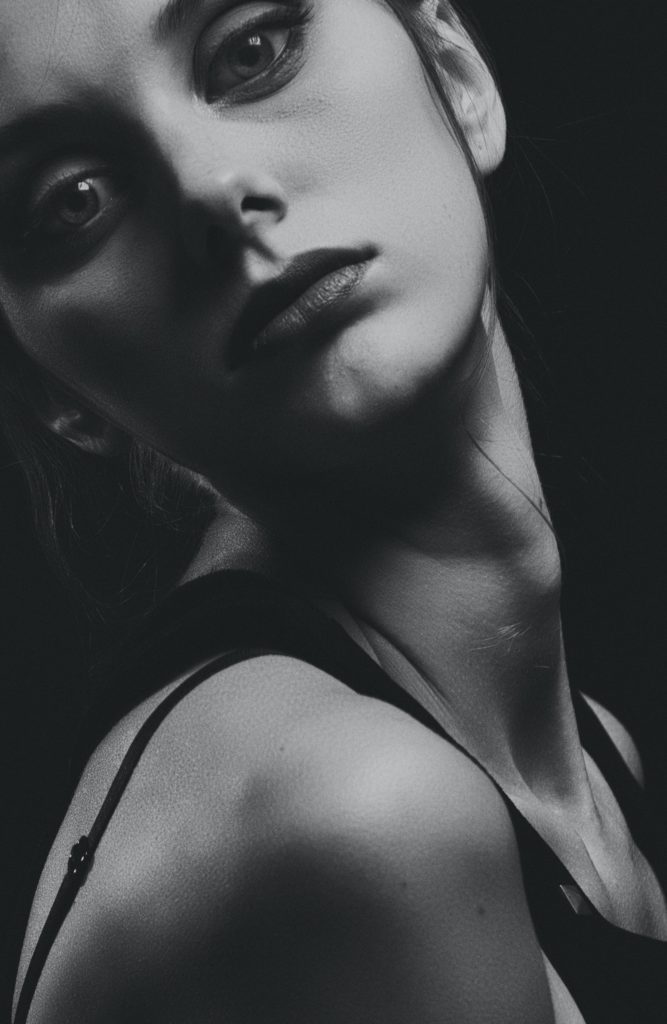
Shadows can be flattering when done right, and unflattering when there is the wrong amount of contrast and detail. Photograph by Alexander Krivitsky
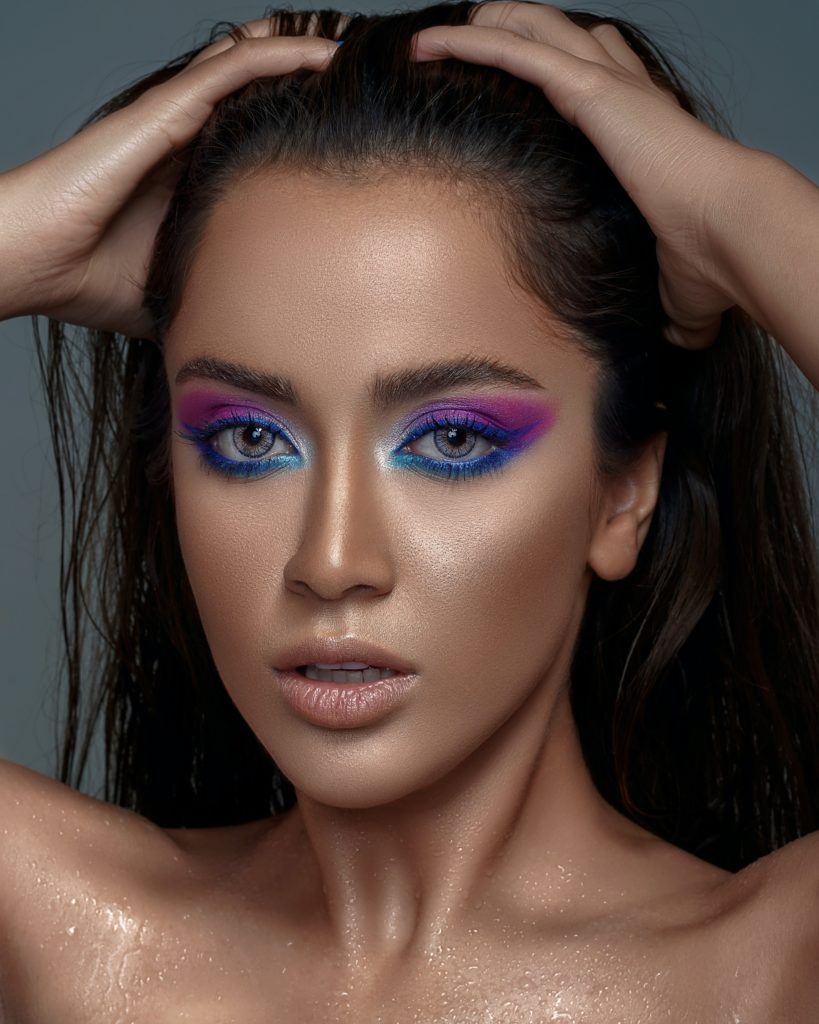
Adjust Tone and Temperature
All of this editing, as well as the model’s skin itself and the lighting used, can create blotches or patches of uneven skin tone. It can even be caused by reflected light, like a bright yellow sweater leaving a yellow pall on the model’s chin. Again, this is something you can easily fix.
First, select the problem area as closely as possible, using a feathered selection. Opening up your Hue/Saturation tool, isolate the channel you need to adjust and move the slider along. Often, this will fix the problem right away: yellow can slide right along into more golden or pinkish tones for white skin, for example. Play around with it until you get the desired effect.
When working with skin tone, it is essential that you are respectful of tones that are not your own or those with which you may not be used to working. Try to bear in mind how the skin looked in person. It’s no longer acceptable to lighten dark skin for a better photograph; dark skin can be just as beautiful as any other type. While mainstream beauty standards of the nineties and noughties may have suggested otherwise, it is not ethical to adjust the darkness or temperature of a model’s skin except to correct blemishes or mistakes that were brought in during the shooting and editing process.
Key Lesson: Preserve reality by fixing problems with skin tone – not changing it arbitrarily – with the Hue/Saturation tool.
Recommended Reading: If you want to learn how to enhance your photos and create better images, grab a copy of Photzy’s premium guide: Ultimate Guide to Fundamental Editing.

Though some of this discoloration may be intentional, the orange patch on the model’s temple should be fixed to match the rest of her skin. Photograph by Kate M
Smooth (but Not Too Much)
With all of your other edits completed, you can now smooth the skin if it seems
necessary. However, bear in mind that you don’t want to go too far and end up plastic!
When working with skin tone, it is essential that you are respectful of tones that are not your own or those with which you may not be used to working.
A blur filter layer is a good place to start. Begin small and build it up slightly if you feel it needs more oomph. Make sure to adjust the opacity of the layer to allow the original to shine through (you don’t want the Barbie effect), and use a layer mask to erase blur from non-skin areas such as the eyes and mouth.
You can also do localized blurring with the blur tool, though it’s easy to get heavyhanded this way.
Key Lesson: Where blurring is concerned, less is more. Smoothing out the skin shouldn’t mean removing texture entirely.
This skin retains texture while still looking realistic, and you can even go less far than this for a non-beauty photograph. Photograph by Amir Seilsepour
Conclusion
When editing skin, remember these steps:
- Heal or clone temporary models
- Respect your model’s natural features, and don’t erase imperfections that are their own unless directed to do so
- An overlay layer can help to reduce wrinkles and eye bags
- Get rid of unflattering shadows with the dodge tool
- The curves tool on a localized area can relieve tricky shadows
- Smooth out uneven tone with the Hue/ Saturation tool
- Smooth with blur, but don’t go too far

Photography by Rhiannon D’Averc
Self-Check Quiz:
- What is the best tool for removing blemishes?
- How big should your brush be when removing spots?
- What kind of imperfections should you leave as they are, if not requested to remove them?
- What percentage of gray should your overlay layer be?
- What brush tool should you use to reduce wrinkles?
- When should you lighten shadows on the face
- What should you never do with changing facial tones?
- Which blur tool is the easiest to get carried away with?
Learning Assignment:
Go through each of these editing steps with a model. Make sure to save your image as a new file after each stage. Now compare each of the images in turn. Which looks most flattering to the model? Which one do they personally prefer?