

One of the most challenging types of portraiture is the group photo. You’ve got to make sure that each individual looks good, while also maintaining a sense of cohesion and a group dynamic. And whether you work with families, at weddings or events, or in the corporate world, it’s pretty much guaranteed that you will need to take group photographs at some stage.
It’s no wonder that even the most experienced photographers find group portraits intimidating! But as with every type of photography, a little know-how will help you to gain confidence and ensure that you learn how to take and pose fantastic group portraits.
In this article, I’ll give you all the tips and tricks you need to pose and take group photographs. Here’s what we will cover:
- What equipment do you need, and what settings should you use?
- Preparation and location
- Composition tips
- What should your subjects wear, and how should you pose them?
Recommended Reading: If you’d like to learn how to create amazing portraits, grab a copy of Photzy’s premium guide: The Art of Portrait Photography.
What Equipment Do You Need and What Settings Should You Use?
Aside from the obvious need for a camera body(!), you will need a wide-angle lens. A zoom lens will give you more flexibility in your shots and allow you to capture different shots without having to move backward and forwards. Ideally, you’ll want a zoom lens with a fixed aperture throughout (for example, Canon’s 24-70mm f4 lens). If you’re shooting with a full-frame camera, a 24-70mm or 16-35mm lens is ideal. For a crop-frame camera, look at ranges around 10-22mm.
Key Lesson: The key setting you need to be aware of when shooting group portraits is your aperture. Although a wide-angle lens doesn’t have as pronounced a depth of field as a telephoto lens, you need to make sure that everyone in your group is sharp and in focus. For smaller groups, use an aperture of at least f11, and f16 for larger groups. This will give you the large depth of field you need, but you’ll obviously have a smaller aperture and therefore less light coming through the iris of your lens. You’ll need a shutter speed of at least 1/60th if you’re hand-holding your camera, meaning that you may need to either raise your ISO or use an external light source such as a flashgun to get enough light into your shot.
A lot of group photography takes place outside, so you’ll need to think about your lighting. Whatever you do, try and avoid shooting around midday when the sun is at its highest and casting harsh shadows. You’ll get the most flattering light in the late afternoon as you approach the Golden Hour, but it’s obviously not always possible to shoot then. It’s entirely possible to take a great group photo using natural light as long as you take a little care and attention. As I’ve already stated, you can shoot in the more flattering light of the late afternoon. If that’s not feasible, you can shoot with all your subjects in shade. However, this does run the risk of your subjects looking a little flat.
A zoom lens will give you more flexibility in your shots and allow you to capture different shots without having to move backward and forwards.
You can also shoot with the sun behind your subjects. This will ensure that no one is squinting at the sun, but it will blow out the background (which can be useful if it’s not very pleasant!). The trick here is to make sure that your meter and expose for your subjects’ faces.
Using flash in group portraits opens up a world of creative possibilities. Photograph by Jo Plumridge
To give you the widest range of options, though, you’ll really want to make sure you have a flashgun. Make sure you use a diffuser, or the light will be too harsh. A single flash will bring your subjects’ faces out of the shade and add a catch light to their eyes. For maximum benefit, you should use your flashgun off-camera. This will give you more directional lighting and allow you to create interesting shadows.
Don’t use a flashgun on full power! Start at around ¼ power and adjust up and down from there as needed to light the entire group.
For larger groups, you’re either going to need two flashguns or studio lights to light each person within the group. The simplest way to light a bigger group is to put a flashgun (or studio light) at each end of the group, pointing at a 45-degree angle towards the center. I prefer to set the second light on lower power than the main light, using it to fill in any shadows created by the first light.
The further away the flashes are from your subjects, the wider your coverage will be as there’s less fall off. Obviously, you need to balance this with not being so far away that the flashlight won’t be bright enough! Take care to ensure that no shadows are falling across your subjects’ faces.
Preparation and Location
A lot of group photography takes place at events and weddings, either indoors or outdoors. One of the key things that will assist you in getting a great group photo is having a good location, so it’s worth taking some time to scout out your location (if that’s possible) and finding the best spots to take your shots.
It’s important to try and give your images context. If you’re photographing a group at a wedding, for example, try and get some of the church or reception building in the shot and include personal touches such as flowers. Or if you’re photographing a sports team, it makes more sense to photograph them at their playing field than in the middle of nowhere!
Choosing the right background can make or break a group portrait. Photograph by Tim Mossholder
Key Lesson: When you’re actually ready to shoot, make sure that you’ve gathered your group in one place. You don’t want to be waiting around for stragglers to turn up! It’s also important that you think about your composition in advance, so you can take photos quickly and seamlessly.
Composition Tips
Posing a successful group photograph doesn’t start with the people in the shot; it starts with the location. You need a space that’s large enough to accommodate all the people in your shot, without distracting from the people you’re trying to photograph.
Posing a successful group photograph doesn’t start with the people in the shot; it starts with the location.
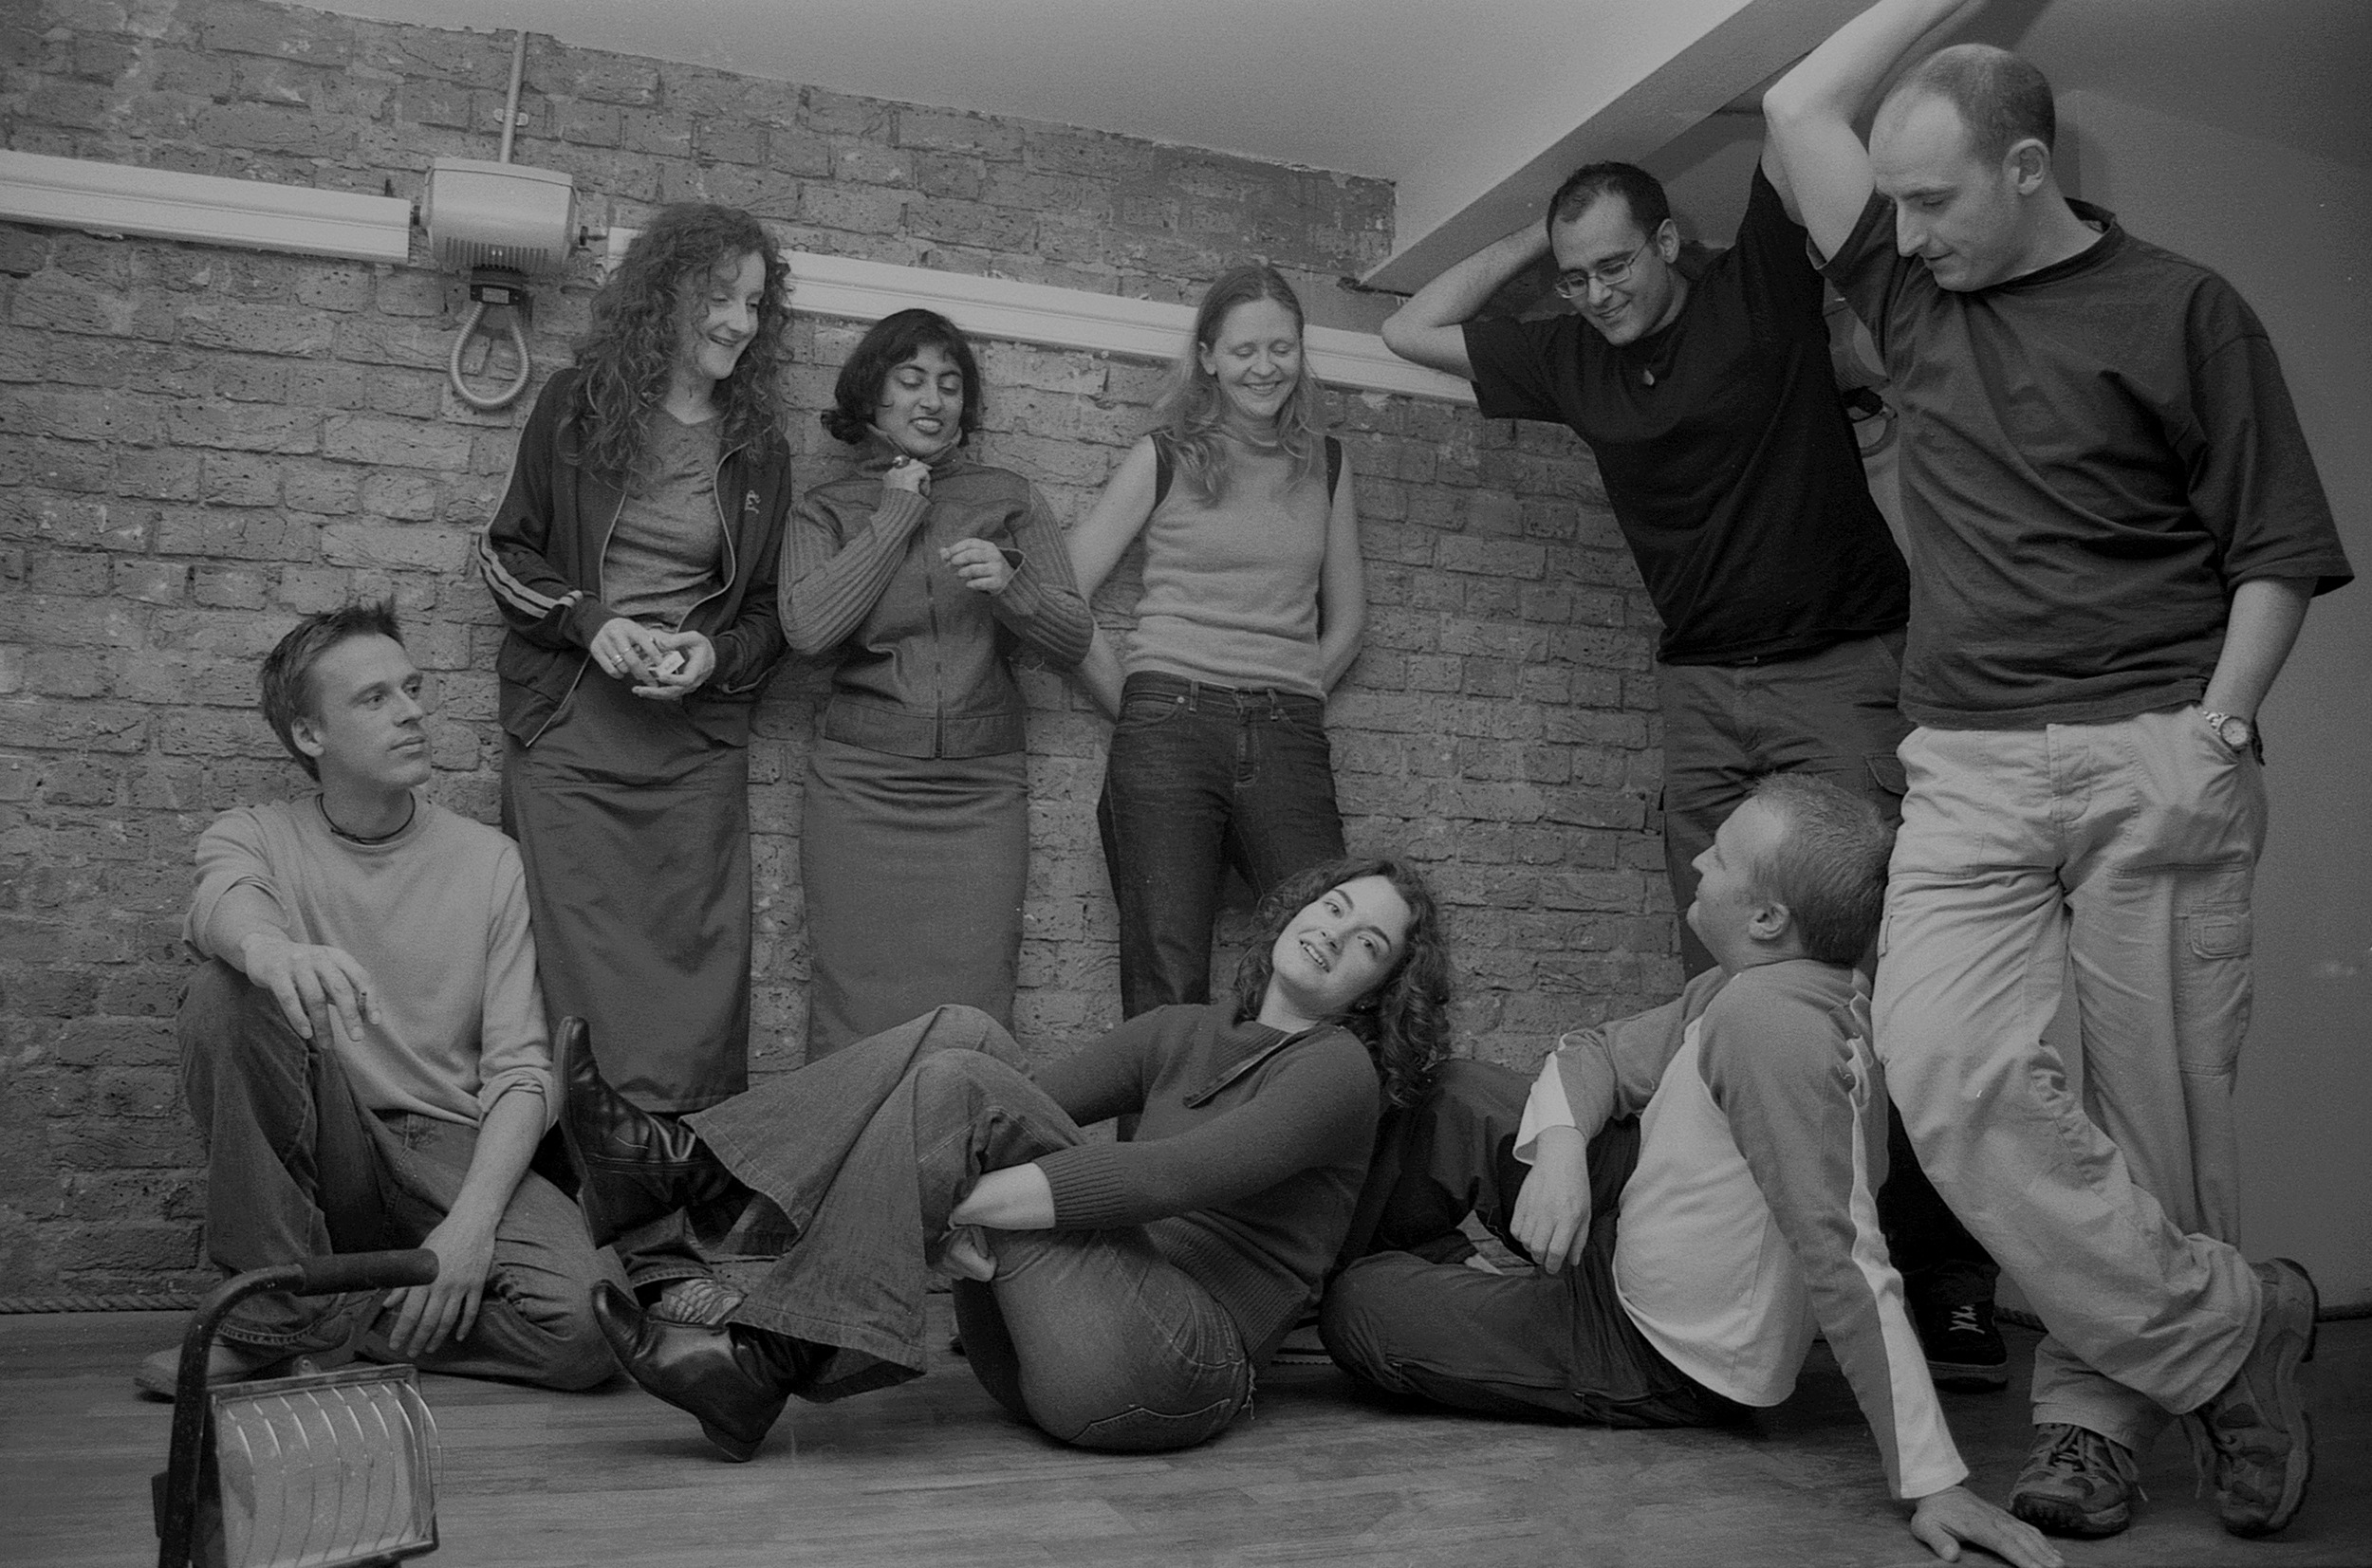
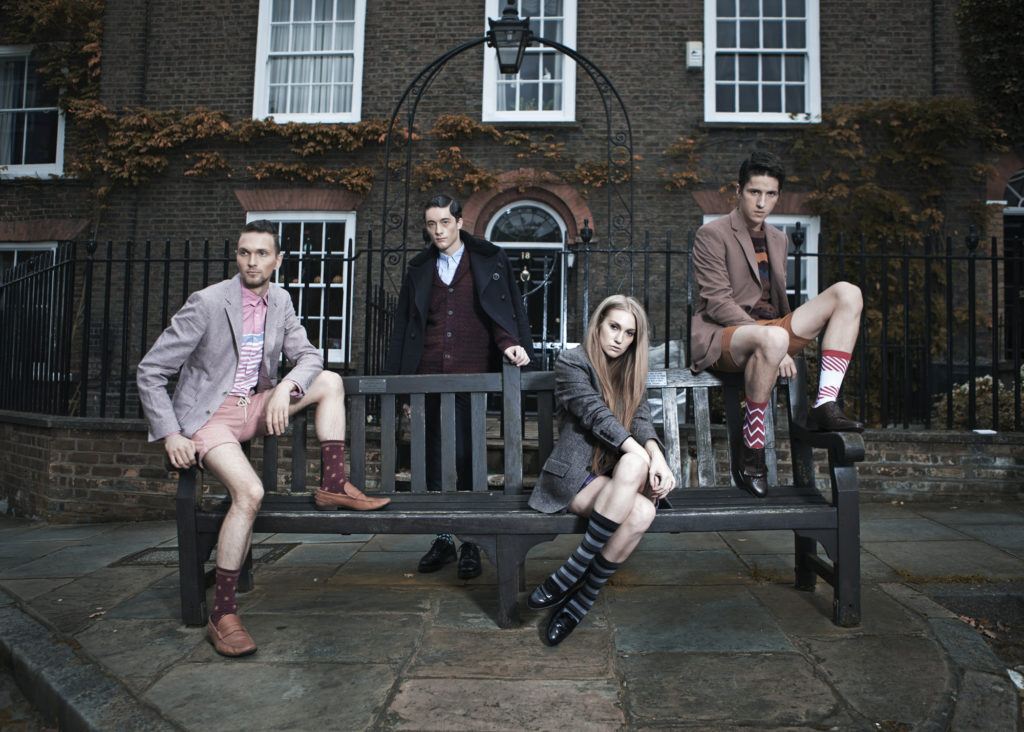
It’s good to look for locations that allow you to put your group on different levels; otherwise, you run the risk of a group photograph looking a little like a line-up! Stairs, benches, walls, or even large boulders allow you to stagger the height of your subjects and add interest and depth to an image.
Don’t be afraid to try different compositions when posing your group. Photograph by 俊逸余
Think about your background. You want it to complement your image without distracting from the group you’re photographing. Busy backgrounds are going to be a distraction, particularly as you’ll be shooting with a large depth of field that means it will be in focus. Space is very useful in group photography, but if you can’t find this, look for leading lines in the background that you can use to draw a viewer’s eyes towards your subject.
One final tip is to consider shooting at a height above your group. This makes it easier to fit a large group into a frame while creating more space around them. It also makes it easier to avoid background distractions.
What Should Your Subjects Wear and How Should You Pose Them?
Although it’s not always possible to dictate what your subjects are wearing, if you have the opportunity, ask them to wear solid colors that coordinate. And ask them to avoid clothing with big logos or loud and large prints, as they will distract the viewers’ eyes away from the subjects’ faces.
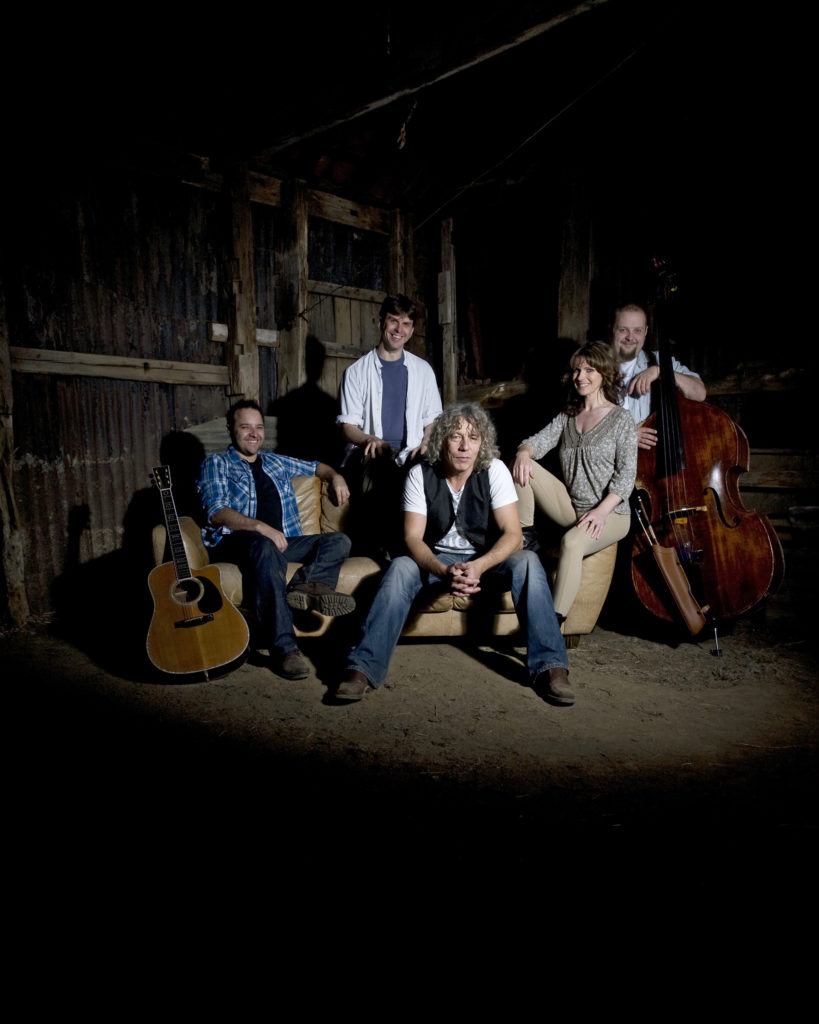
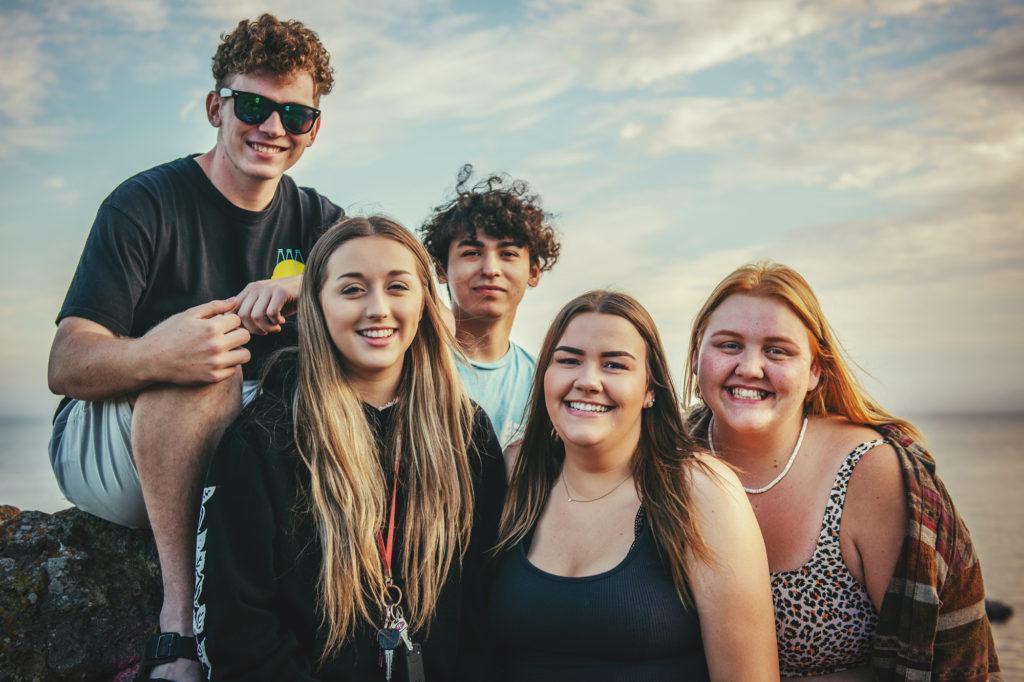
To pose a group successfully, you first need to understand how to pose a single person. Unless you’re photographing a group of models, you’ll usually find that most people look better when they’re standing or sitting at an angle. Photographing people straight on makes them look bigger than they are. For women, help them to emphasize curves by turning them at an angle and then getting them to turn their upper body slightly back towards the camera. This creates a far stronger and more flattering image. With men, try to avoid them crossing their hands in front and instead get them to put their hands in their pockets or by their sides. For family and friends groups, it’s nicer to get people to put their arms around each other or hold hands.
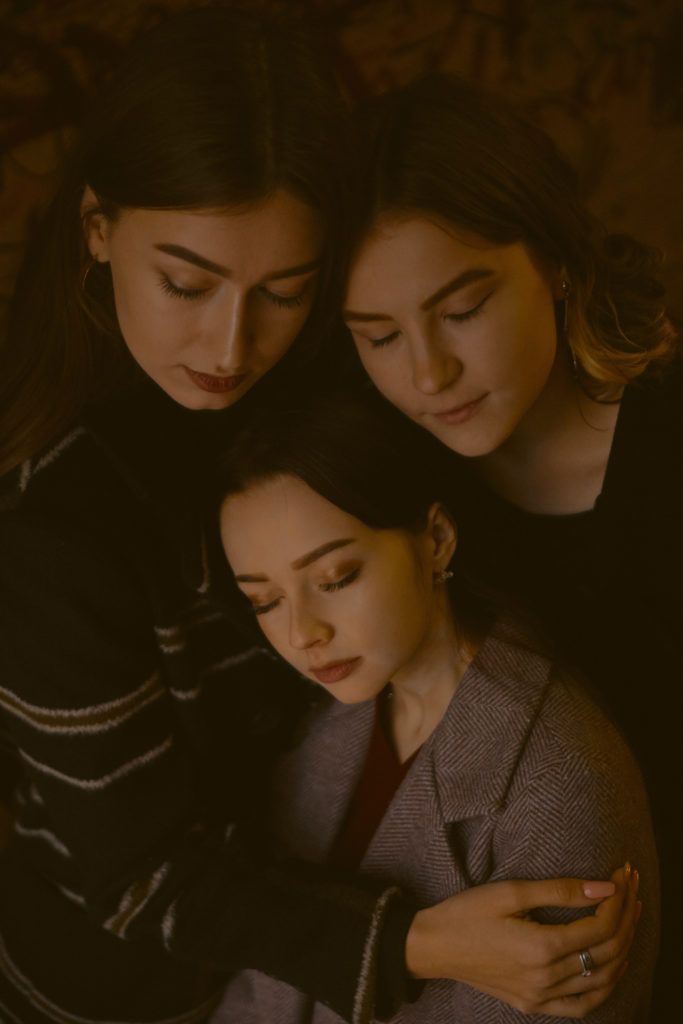
Make sure you pose your subjects with flattering angles. Photograph by Maxim Titov
In some situations, you’ll have a limited time frame to get your shots, so it’s easiest to use just one pose for the entire group. If you have more time, you can get everyone in the group to pose slightly differently in a way that allows the group to appear as a cohesive whole.
Although it’s by no means obligatory, one of the easiest ways to create a strong group photograph is to arrange people into a triangular shape (or an inverted triangle). Triangles help to lead the eye through the image and create a strong pose. Even if you’re working with a large group for a limited time, you can still create a slight triangle by placing the tallest members of the group at the back and in the center.
Don’t forget to think about the relationships in your group. If you’re photographing extended families, try and keep husbands and wives together and children with their parents.

Photograph by Jo Plumridge
A few final pointers. As well as watching hand placement, as I’ve already mentioned, keep an eye on people’s feet. One foot facing forward with the other slightly pointing outlooks neat and tidy. Don’t forget to check everyone’s faces as well. Make sure there are no shadows and that no one’s face is covered up by another member of the group. I always use the mantra, ‘If you can’t see me, I can’t see you!’
Key Lesson: Your last step before releasing the shutter should be to scan the viewfinder. Make sure you can see everyone’s faces!
Recommended Reading: If you’d like to learn how to create amazing portraits, grab a copy of Photzy’s premium guide: The Art of Portrait Photography.
Conclusion
Photographing groups needn’t be a daunting task if you follow these simple tips. To take great group images you need to do the following:
- Use the right equipment and the right settings
- Think about where and when you take your photographs
- Make sure you understand the composition of group shots
- Know how to pose people for successful images
- Check the viewfinder and make sure you can see everyone’s faces
- Why is a large depth of field essential for group imagery?
- Does a small aperture mean a large or small depth of field?
- What sort of background is ideal for group photos?
- What advantages does shooting from a height have?
- What kind of clothes work well for group photos?
- What shape should you try and create with your group of people?


