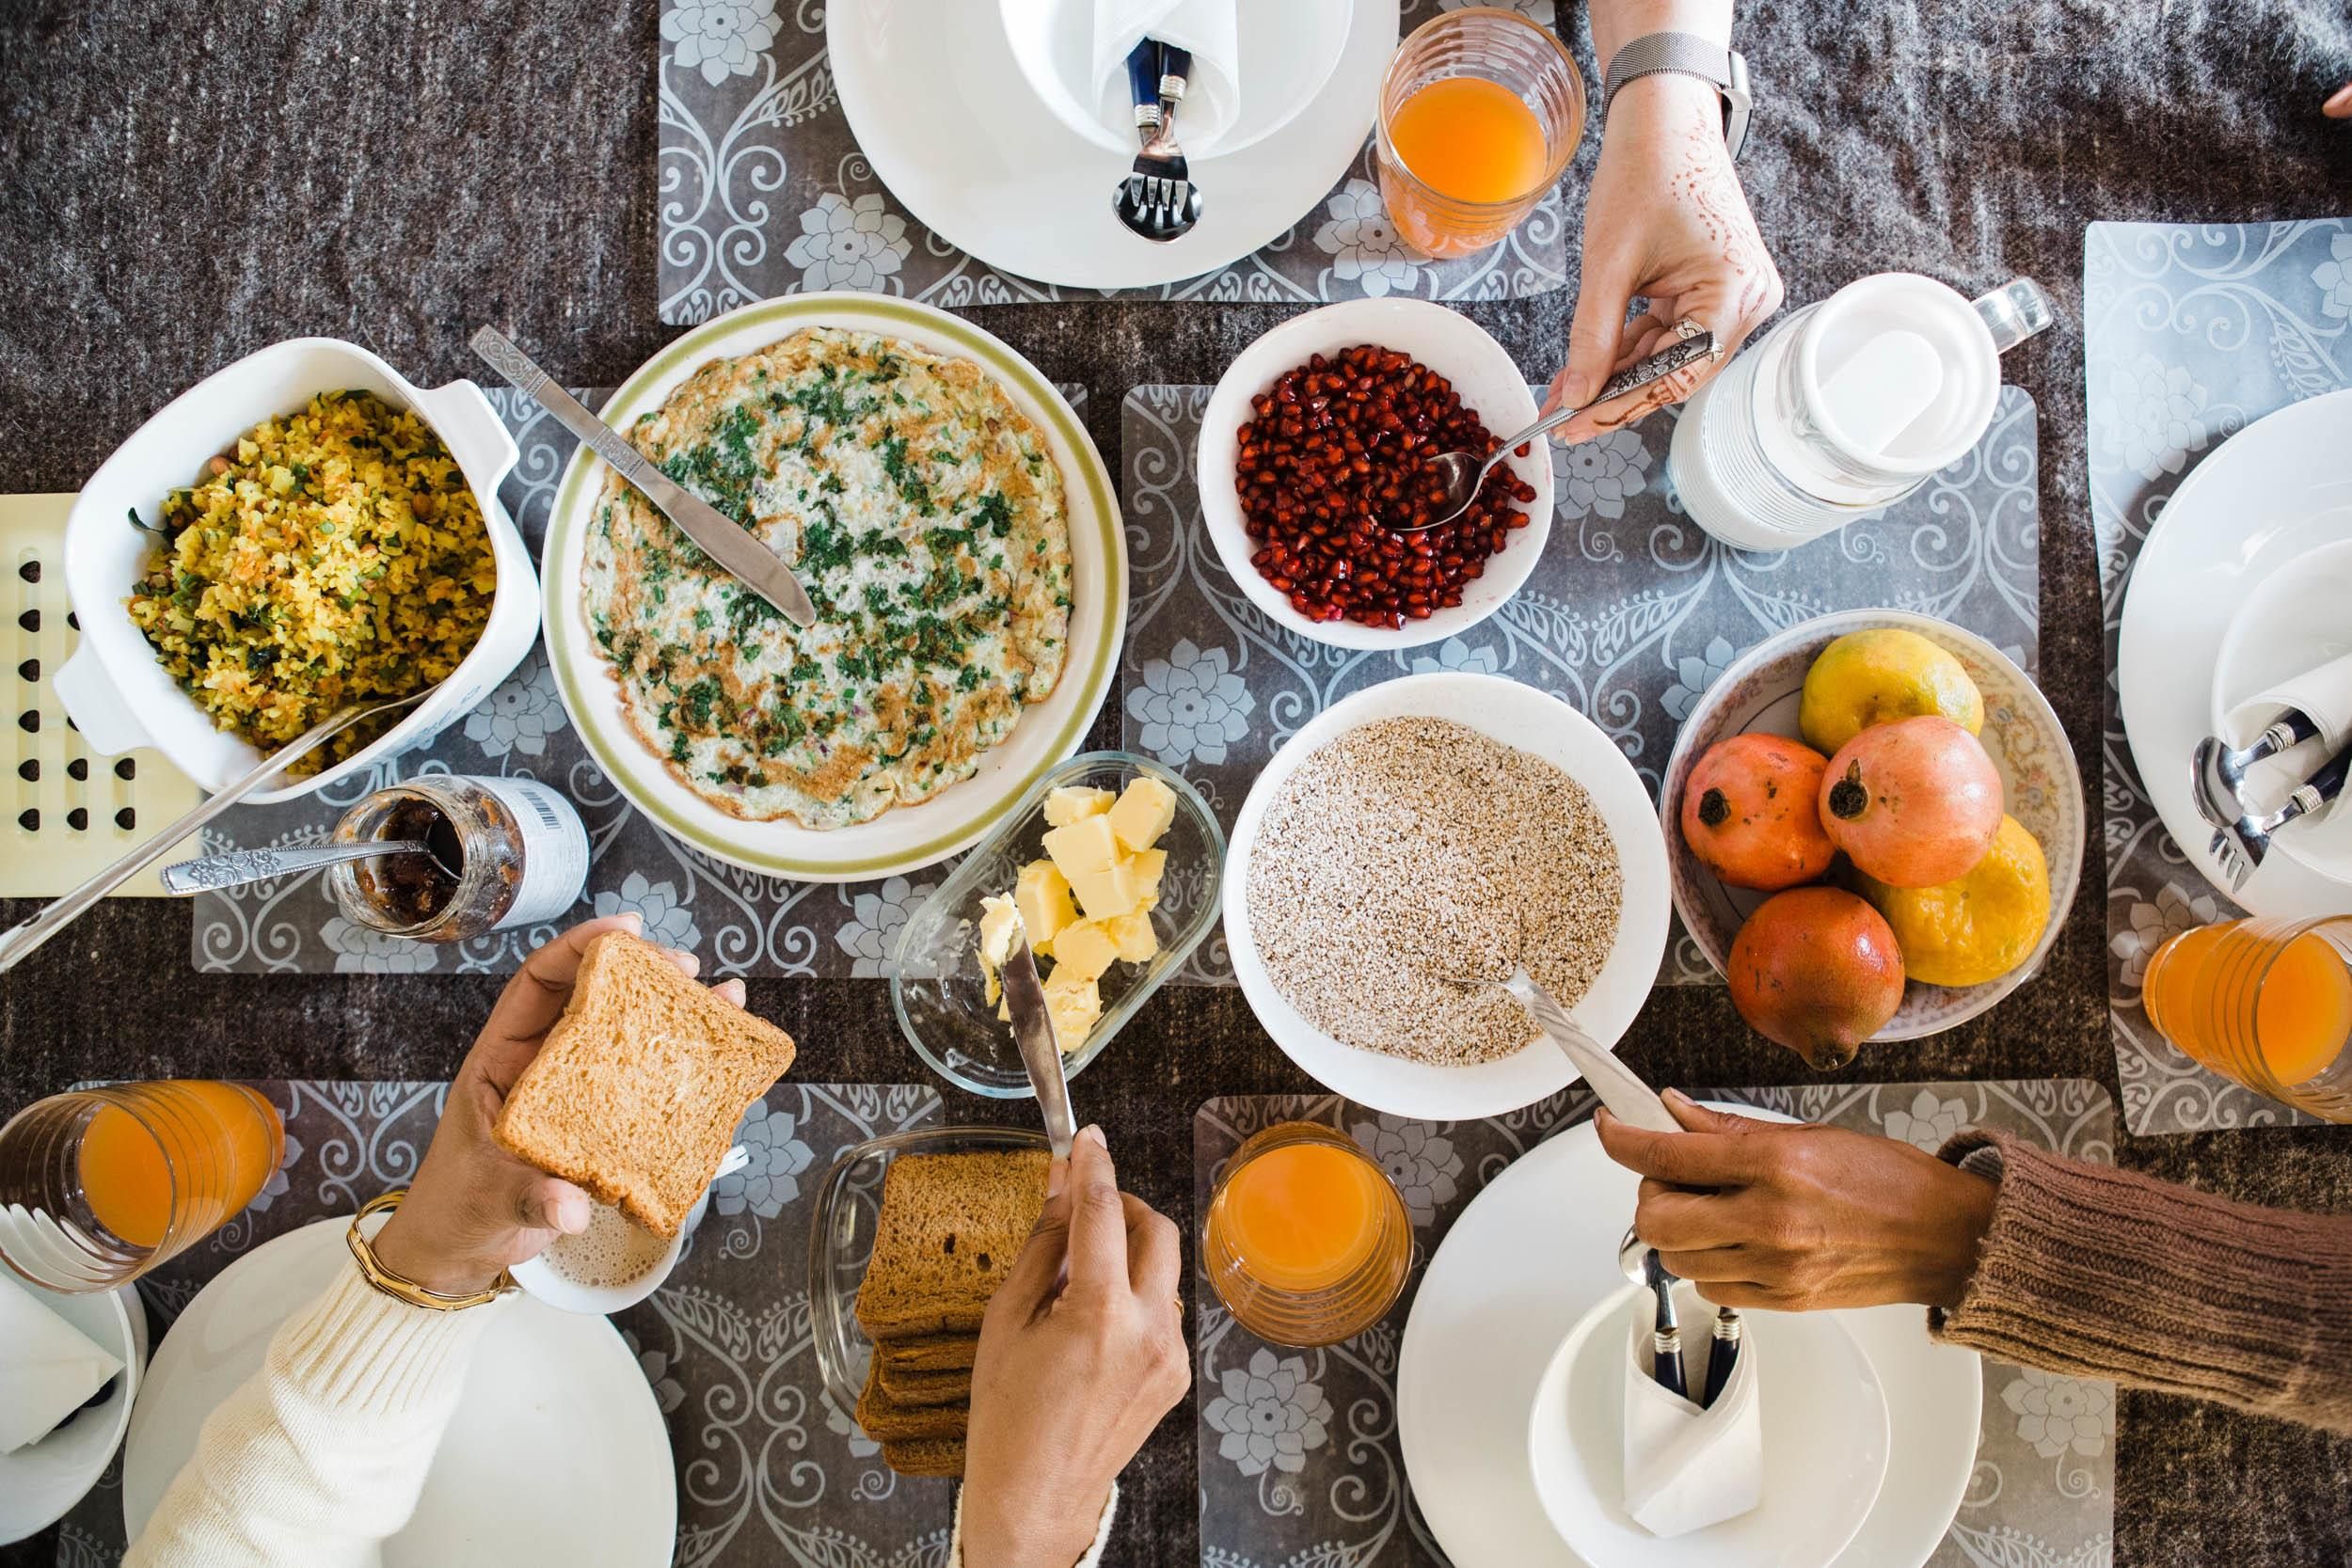
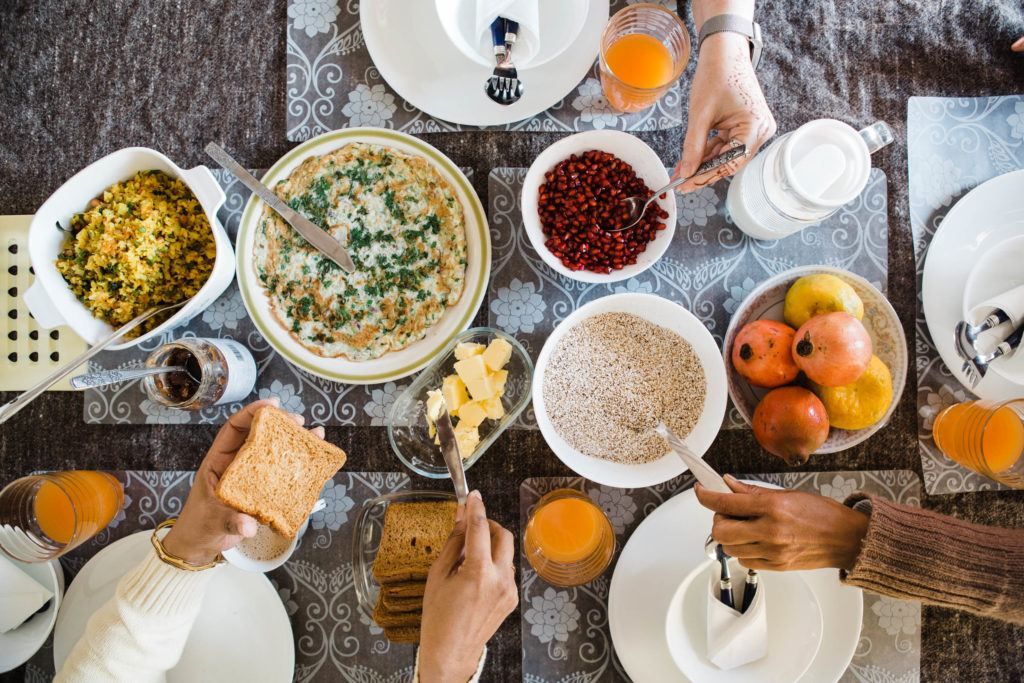
Doesn’t it feel like life has completely shifted 360 degrees over the past few months? No part of our lives has remained the same. From work, to play, to creativity and everything else in between, we are all living in very uncharted territory right now.
Things that we used to do and take for granted are no longer accessible.
While everyone is impacted in some way or the other, we photographers and creative artists seem to be taking a harder hit right now.
While going outdoors, exploring nature, and meeting clients might not seem possible, there are still lots of ways we can explore creativity and get to do what we all love to do: take photographs.
One of the simple ways to explore your creativity and yet challenge yourself to improve your imagery is by way of photographing food.
The best part of this is that food is readily available. We all do need to eat every day!
A bonus is that we don’t really need to step outside and can make do with what we already have at home and on hand, thus ensuring the mandates of the shelter in place orders that are so prevalent these days.
One of the simple ways to explore your creativity and yet challenge yourself to improve your imagery is by way of photographing food.
Here is what we will discuss in this guide:
- Planning a food shoot
- Taking into consideration colors and shapes
- Using everyday household items to add a story element
- Setting up the scene
- Creating emotion
- Watching out for details
- Using color and tonal contrast
- Including the human element
Recommended Reading: If you’d like to improve your composition skills for better images, grab a copy of Photzy’s best-selling premium guide: Understanding Composition.
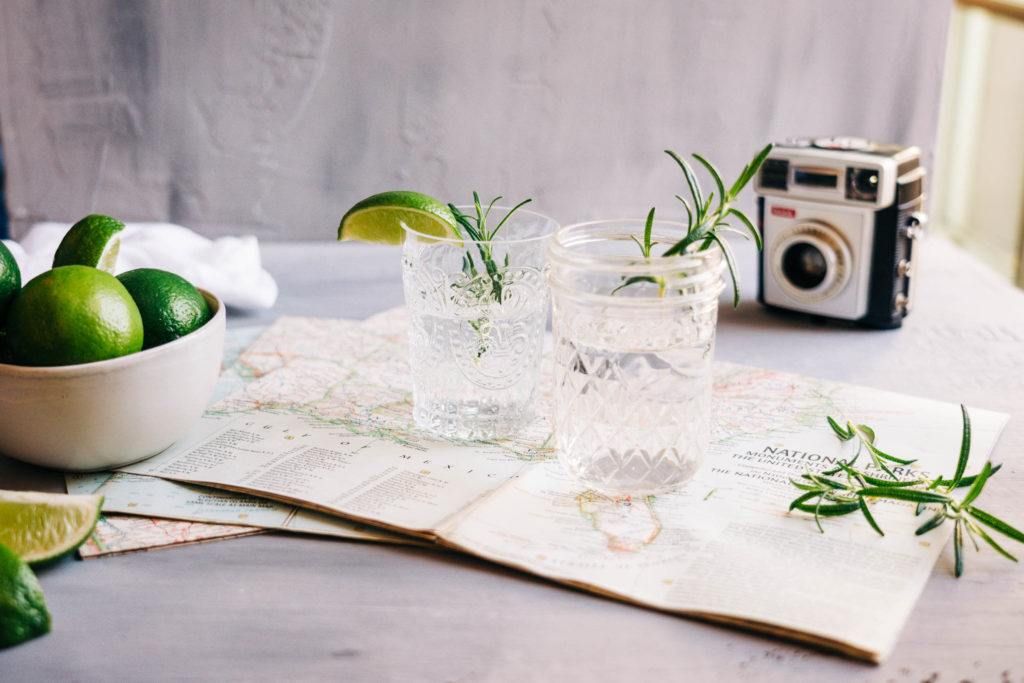
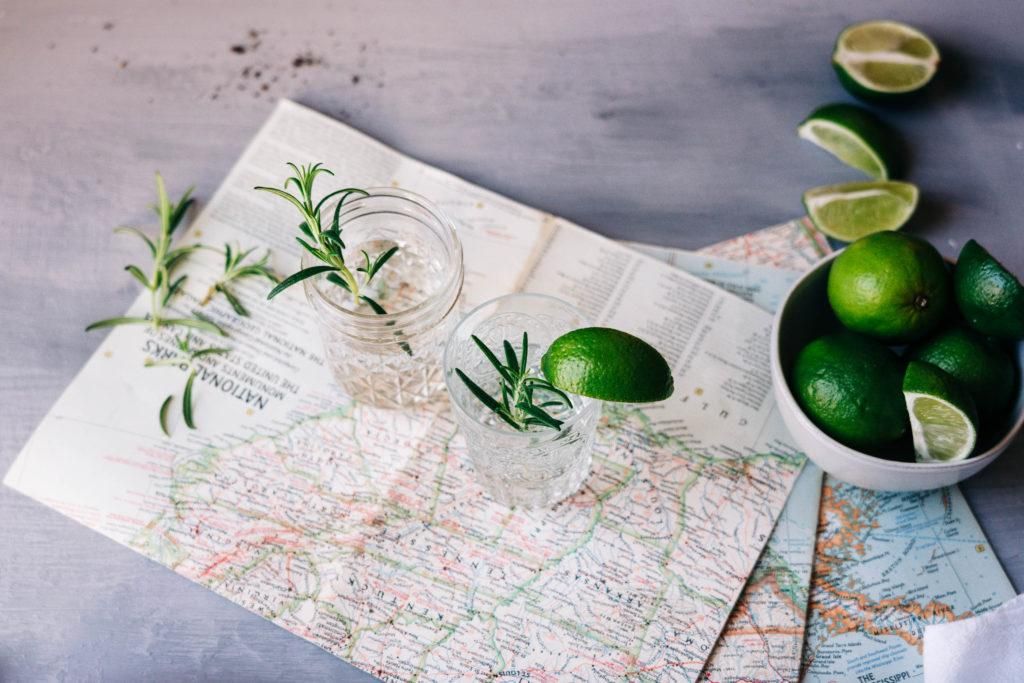
A simple cocktail one evening spurred an exercise in creativity with vintage maps, vintage cameras, and a splash of lime to add some color. A simple white sheet added a backdrop and soft window light accentuated this scene. Photograph by Karthika Gupta
Key Lesson: Make use of household items to add a story element to your food photography.
Planning Your Food Shoot
Even though you are at home and photographing food that is around you, that doesn’t mean your food photo has to be haphazard and random. Instead, plan the shoot.
Bring a lifestyle spin to your efforts. Choose a narrative that is true to your home, space, or even the food that you are photographing. Add engaging details that support the narrative.
If you want to practice dramatic and bold, choose props and lighting that support that story. If you want to keep it real and candid, include elements that add to that theme and feel.
Treat this photoshoot as you would any other photoshoot. Imagine yourself as your client.
Photograph by Karthika Gupta
Key Lesson: When planning your food shot, carefully consider the colors and shapes that you will use.
Photograph by Karthika Gupta
What kind of images would you like to produce? What kind of images would you like to receive? This mindset will bring a sense of purpose even though you are simply photographing food around the house.
Key Lesson: Having a sense of purpose brings out all of your photographic talents. Make a plan and create your food shot accordingly.
Setting the Scene
Food is an incredibly powerful subject.
Not only can it be a pretty subject to photograph, but it always has the ability to evoke emotions and feelings as well.
How many times have you looked at an image of food and found yourself licking your lips?
Food has the ability to make us feel, think, and imagine. Use that power to create images that speak to the viewer without saying a word.
This means setting the scene and using elements that revolve around a concept or a story.
You need to take the viewer through a narrative of time, place, and space. Give them a sense of the environment beyond the obvious elements and really connect all the senses to that moment/timeline.
Engage their emotions, but also keep it simple and maintain focus.
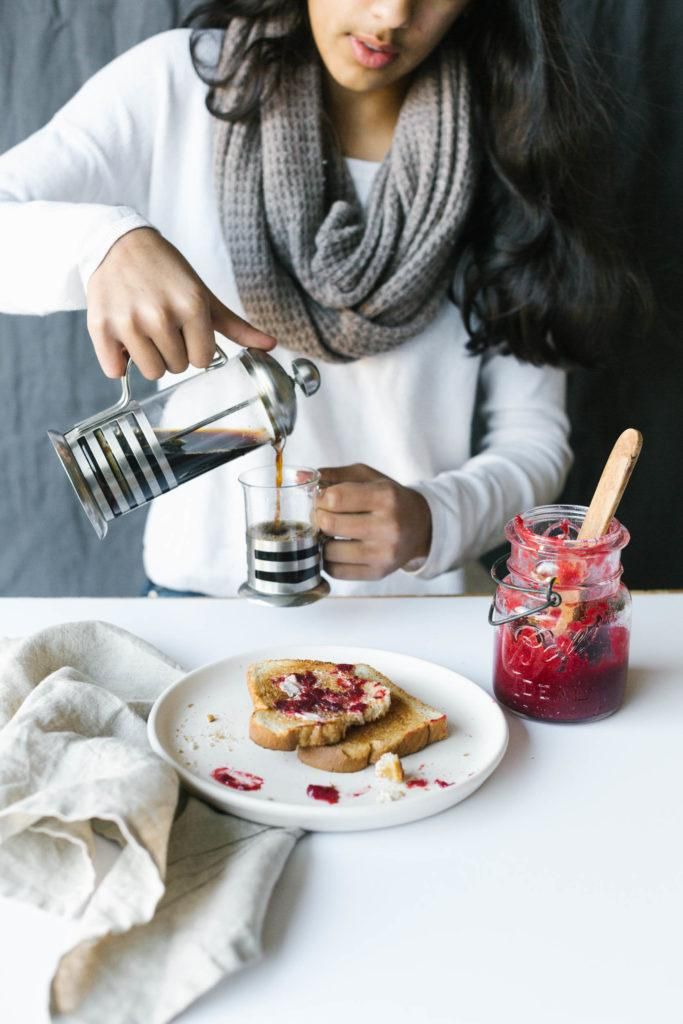
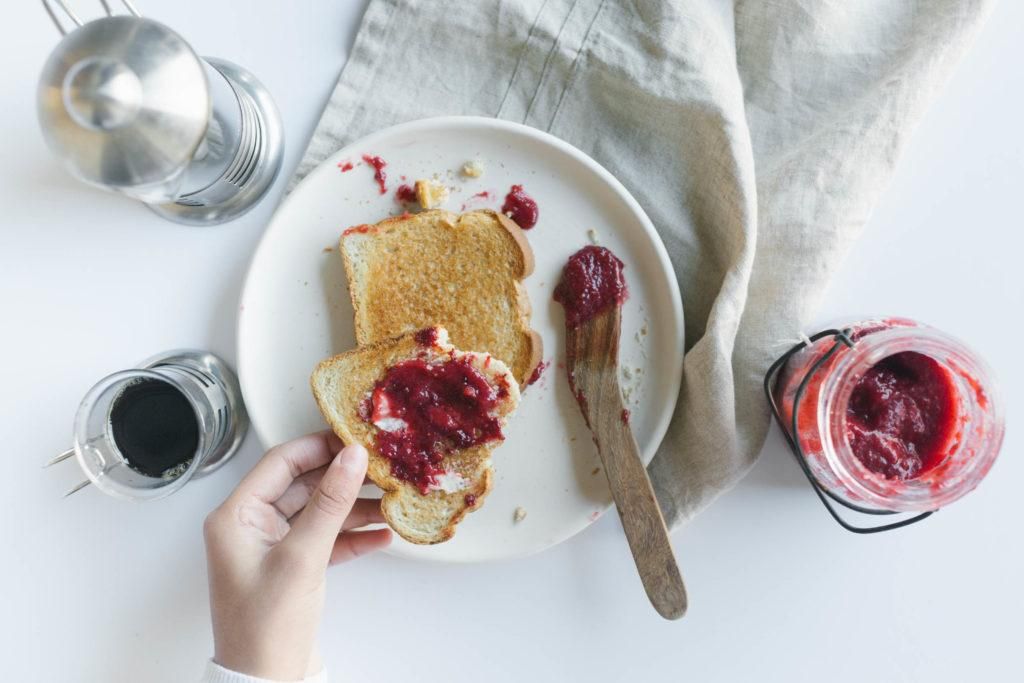
Morning coffee and homemade jam were key for this breakfast scene. And yes, I do use my French press every day for that morning cup of joe. Setting this scene was as much fun as enjoying the breakfast a few minutes later. Photograph by Karthika Gupta
Key Lesson: Set the scene to engage a viewer’s emotions. You can accomplish this through the use of props, models, and lighting.
Details Matter
Just like location, lighting, and colors are important in portrait photography, details are important in food photography!
And when I say details, this does not always mean props.
Always try and use the freshest ingredients. Not only do they look good, but they also add that “wow” element to any food photograph. Photograph by Karthika Gupta
Sure, vintage silverware and a beautiful linen fabric would make a great table setting, but details around the food are much more important.
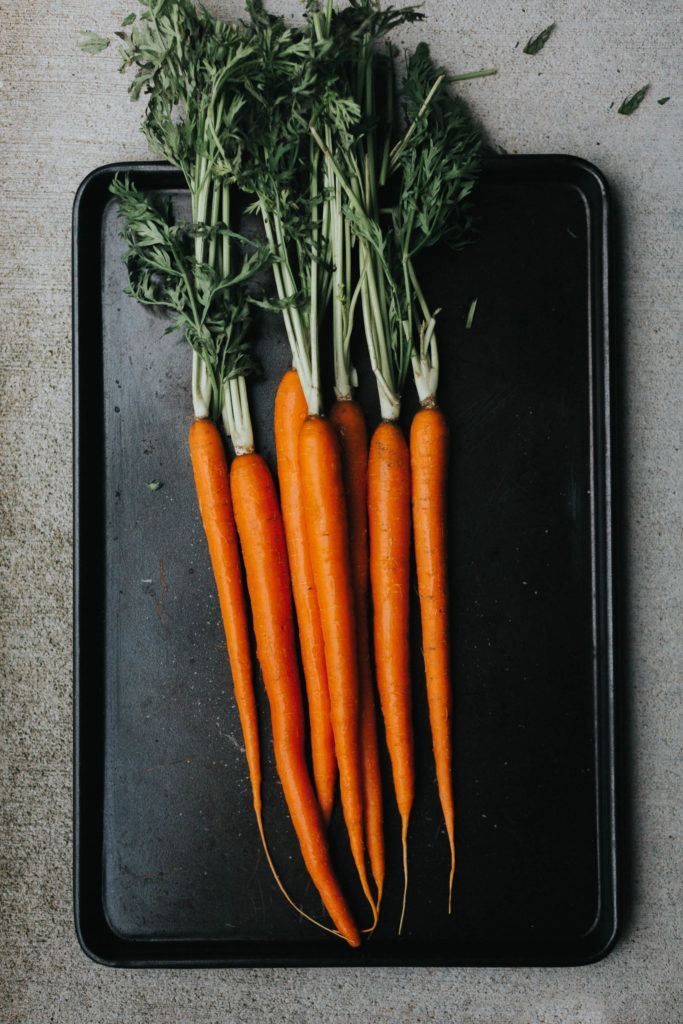
For a burger to be appetizing, it needs to be cooked well. For fruit to be appetizing, it needs to be fresh and look like it is at the peak of its season.
Keep these details in mind when you are photographing food.
Photograph by Karthika Gupta
Key Lesson: Fabulous food photography at home requires attention to detail on your part. Make sure the food is fresh and properly cooked.
Photograph by Karthika Gupta
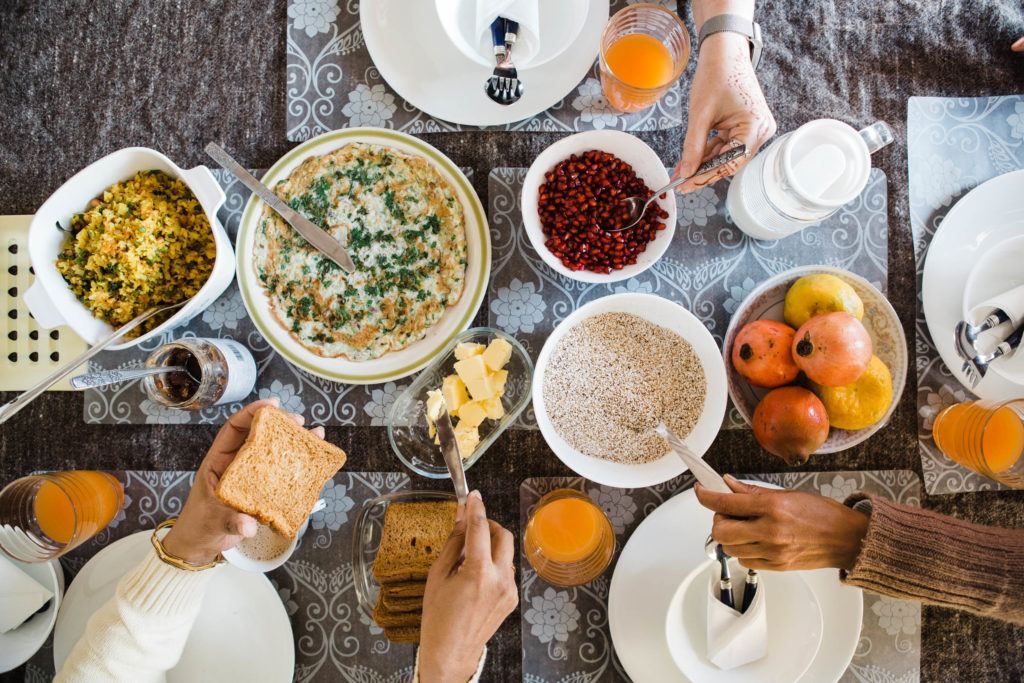
Key Lesson: When designing your food photograph at home, keep in mind color contrast and tonal contrast. These composition tools can make your food really stand out.
Photograph the Process
The beauty of food is that not only is the final product appetizing, but the process is also equally important.
When photographing food around the house, use it as a way to document the process of making and enjoying the food as well.
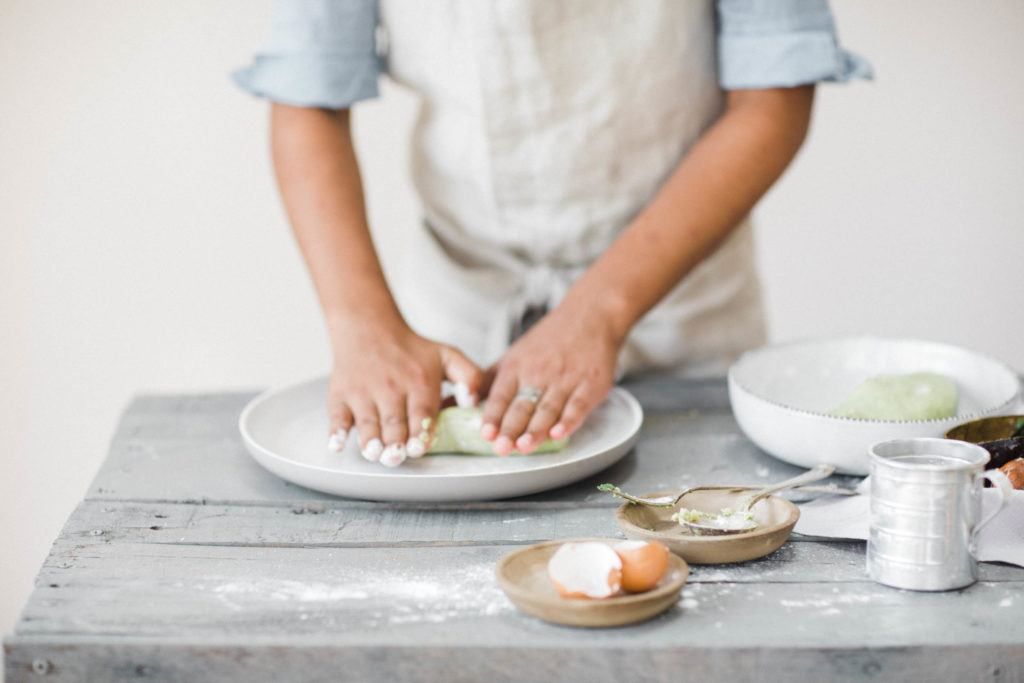
Hands, movement, and motion are powerful in conveying the process of making food. They make the whole process more relatable. They also add depth and dimension to an otherwise two-dimensional, inanimate object.
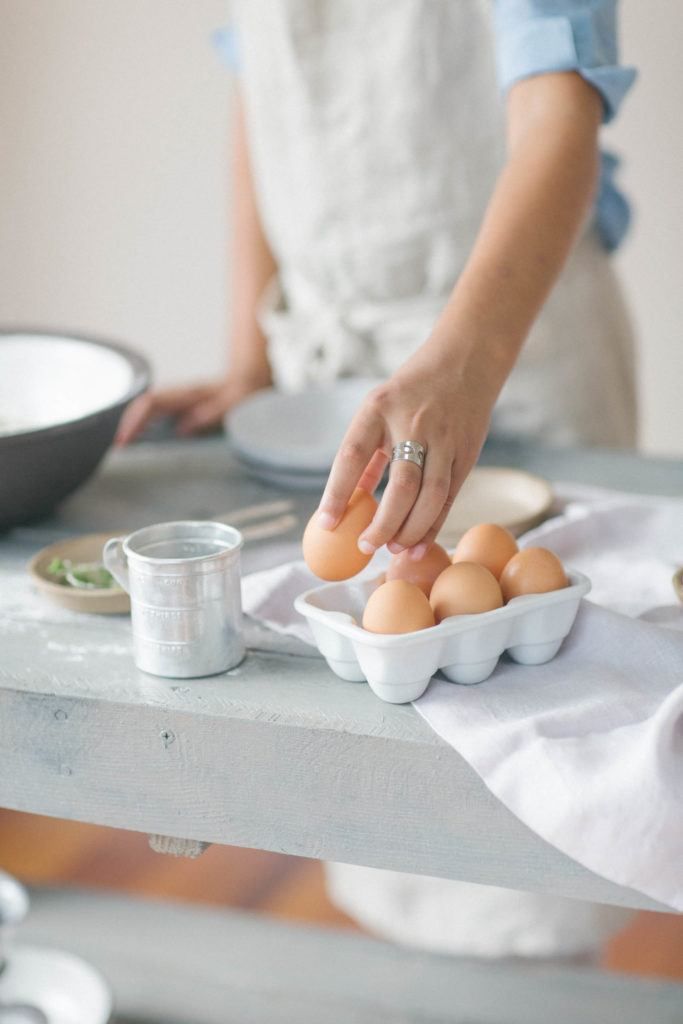
Focusing in on preparation details makes for very interesting food photography! Photograph by Karthika Gupta
Key Lesson: As part of your food photography project, photograph the process as well as the final product!
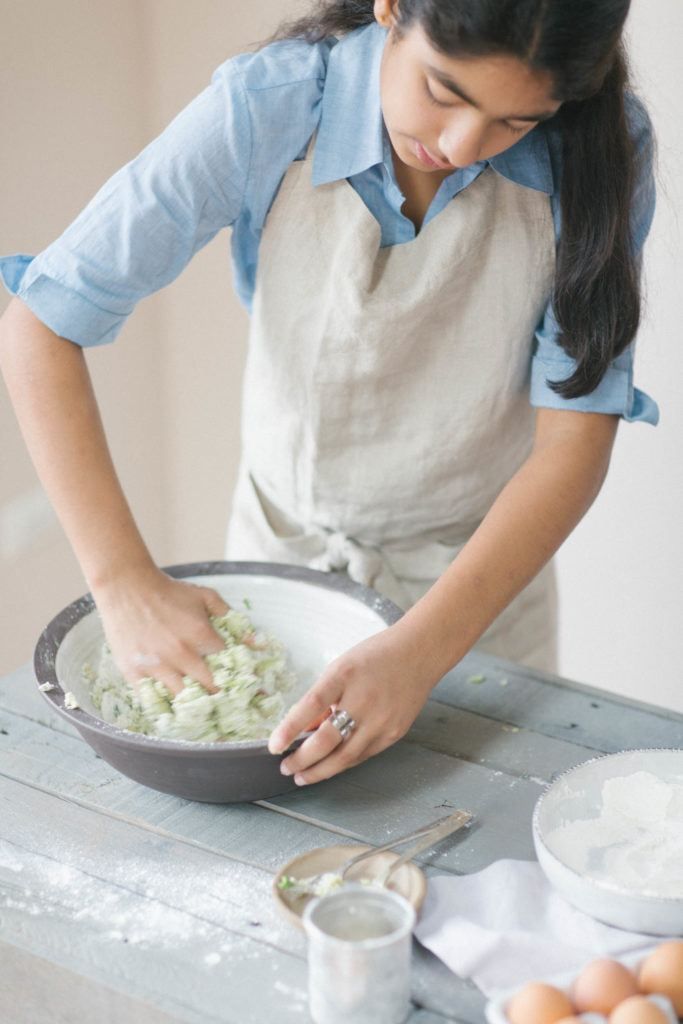
By including the face and hands of the cook, it adds a human element, and that helps a viewer of your photography to develop emotions. Photograph by Karthika Gupta
Key Lesson: Including a human element helps to generate emotions around a food photo shoot.
Recommended Reading: If you’d like to improve your composition skills for better images, grab a copy of Photzy’s best-selling premium guide: Understanding Composition.
Food photography, especially with the food around your home, is a great way to keep yourself engaged creatively and mentally.
Like any other form of photography, use this exercise to challenge yourself to not just take photos but also grow in your craft.
Set up different lighting situations, play with food in unique composition styles, and edit differently. Do whatever you need to do to make the best of what you have.
Food photography, especially with the food around your home, is a great way to keep yourself engaged creatively and mentally.
Don’t let ingredients, props, and gear hold you back from experimenting with food photography.
You really don’t need much to get started with food photography. The best part is that you get to enjoy the fruits of your labor almost immediately – figuratively and literally!
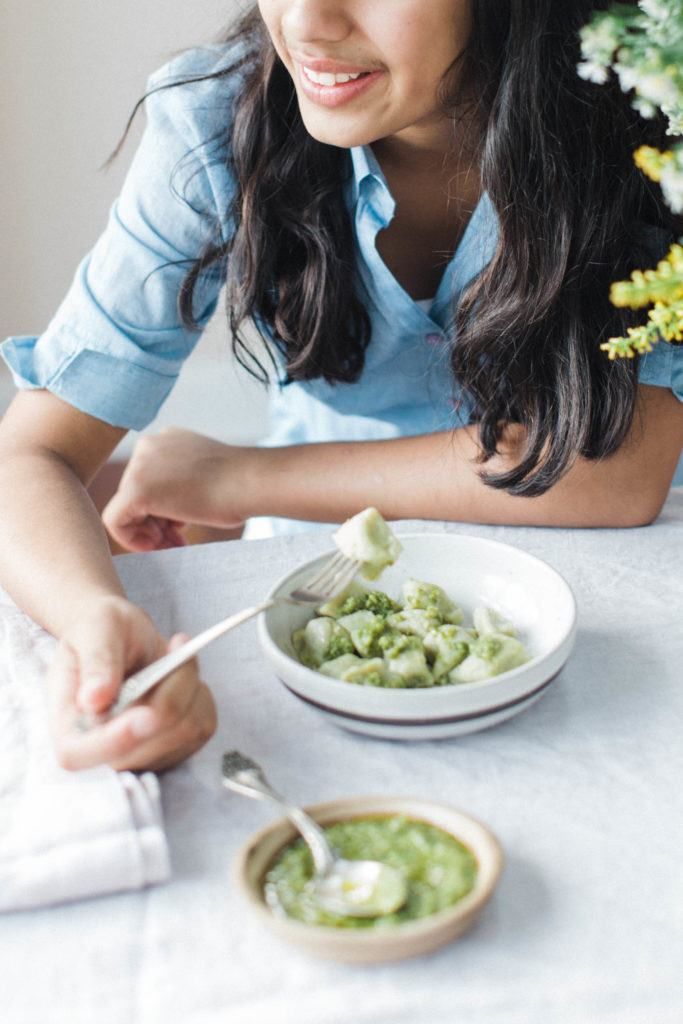
Photograph by Karthika Gupta
Self-Check Quiz:
- In food photography, can you start with simple objects that you have at home
- What can household items used as props help to add to your food photography project?
- True or False: It’s better to not plan a food shoot and just go with the flow.
- True or False: When planning a food shot, you should consider the colors and shapes that will be used.
- Having a _____ __ _______ brings out all of your photographic talents.
- A food shot will generate emotions when it revolves around a concept or _____.
- Name three elements in a food photoshoot that you can use to engage a viewer’s emotions.
- The food for your shoot should be fresh and well ______.
- What two types of contrast help a food shot?
Assignment:
Set up a table near a window in your home that does not get direct sunlight. Grab some food and some props. Create a set on your table and photograph it.
Now gather up a table lamp. Put it on your set outside of the frame. Turn the light on and experiment with the two light sources.
Finally, move your table to a window with direct sunlight. Place some food and props on your table. Position everything so that the direct light from the window is backlighting. Experiment with exposure. Try overexposure and underexposure.
Create a reflector with some tinfoil and bounce light back into the front side of your food set.
Bring your table lamp over. Again, place it outside of the frame and toward the front of your set. Try balancing out the two light sources.
If you have a family member around, try including them in both of these sets.


