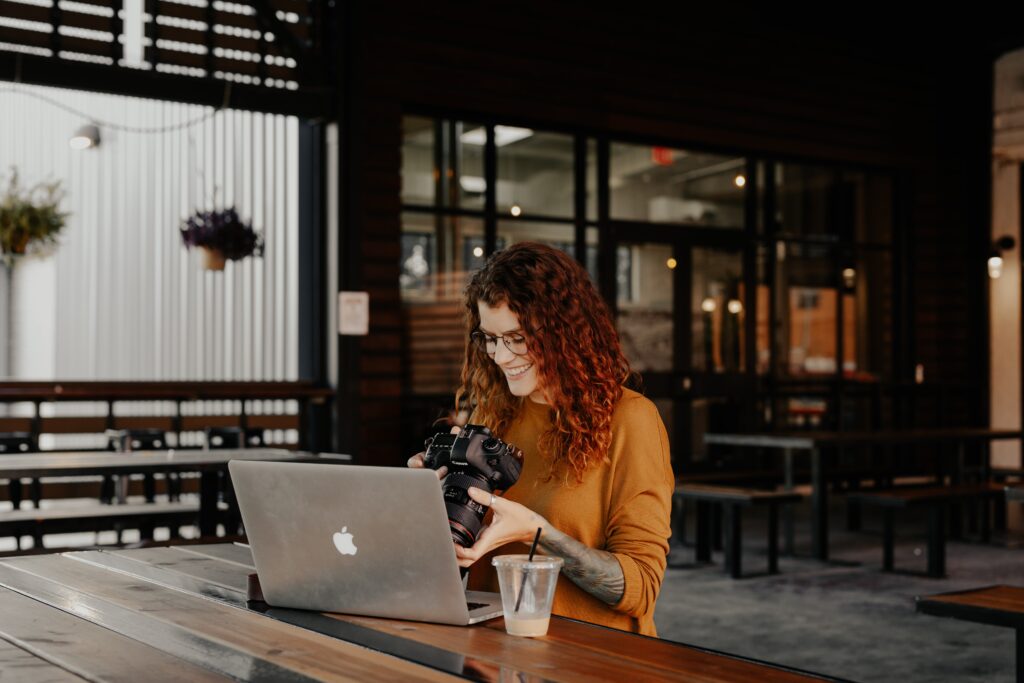

Portrait photography is my absolute favorite genre to work on. For me, it’s almost like being able to do real magic. We spend a lot of time looking at ourselves (for example, whenever we’re getting ready, changing outfits, putting on makeup, brushing our teeth, or even taking a glimpse at the way we look when there is a reflective shop window). Even though we sometimes have doubts about ourselves, trust me, photographers can see the beauty in everyone.
There is a common misunderstanding when it comes to editing pictures. Is it ethical? Is it good for our mental health? Is it necessary? Aren’t we lying to ourselves and others? Aren’t we just changing reality? No, we’re not. We’re enhancing it.
Today, we’ll cover the following:
- How to approach retouching from an ethical perspective
- My five go-to portrait editing treatments
Every client deserves to get their photos delivered and be like, “Wow. That’s me. I’m truly beautiful.” Of course, there is a part of the post-processing between the photo shoot and the delivery that is a bit mysterious. But you’re not paying a photographer to take the same picture as you would take yourself with the phone in your pocket. You’re paying for something extra, right?
Let’s enter the idea of photo editing with an open mind of artist. How can you make the photo look better? How do you work with colors? How can you create a smooth look on someone’s skin? How can you make this photo feel like your unique art? Before we dive into what I like to do in post-processing, let’s take some time to address what I wouldn’t recommend doing from an ethical perspective.
Recommended Reading: If you’d like to learn how to create amazing portraits, grab a copy of Photzy’s premium guide: The Art of Portrait Photography.
We’re Artists, Not Doctors!
When having a TFP photoshoot and working with a professional model, there is usually room for creative adjustments. But when you’re doing work for a client, you might want to take a few minutes out of your time to discuss their favorite photographs. Start slow: ask about their preferred color palette and aesthetics. As you go deeper, ask how they feel about retouching and disclose what kind of retouching you usually do. For me, I like to smooth the skin, retouch skin imperfections, highlight cheekbones, and contour the face. Do they prefer to focus on some areas more, while on some less? Or do they want natural pictures? Make sure that all of this is established upfront.
Start slow: ask about their preferred color palette and aesthetics.
I always like to say that I’m an artist, not a doctor. You need to know what exactly is in your abilities. What can you feel confident doing in Photoshop, and what do you feel is an invasive edit? Personally, I won’t change anybody’s proportions and I don’t edit any birthmarks and scars until I’m specifically asked to do so.
So, what are my favorite post-processing steps?
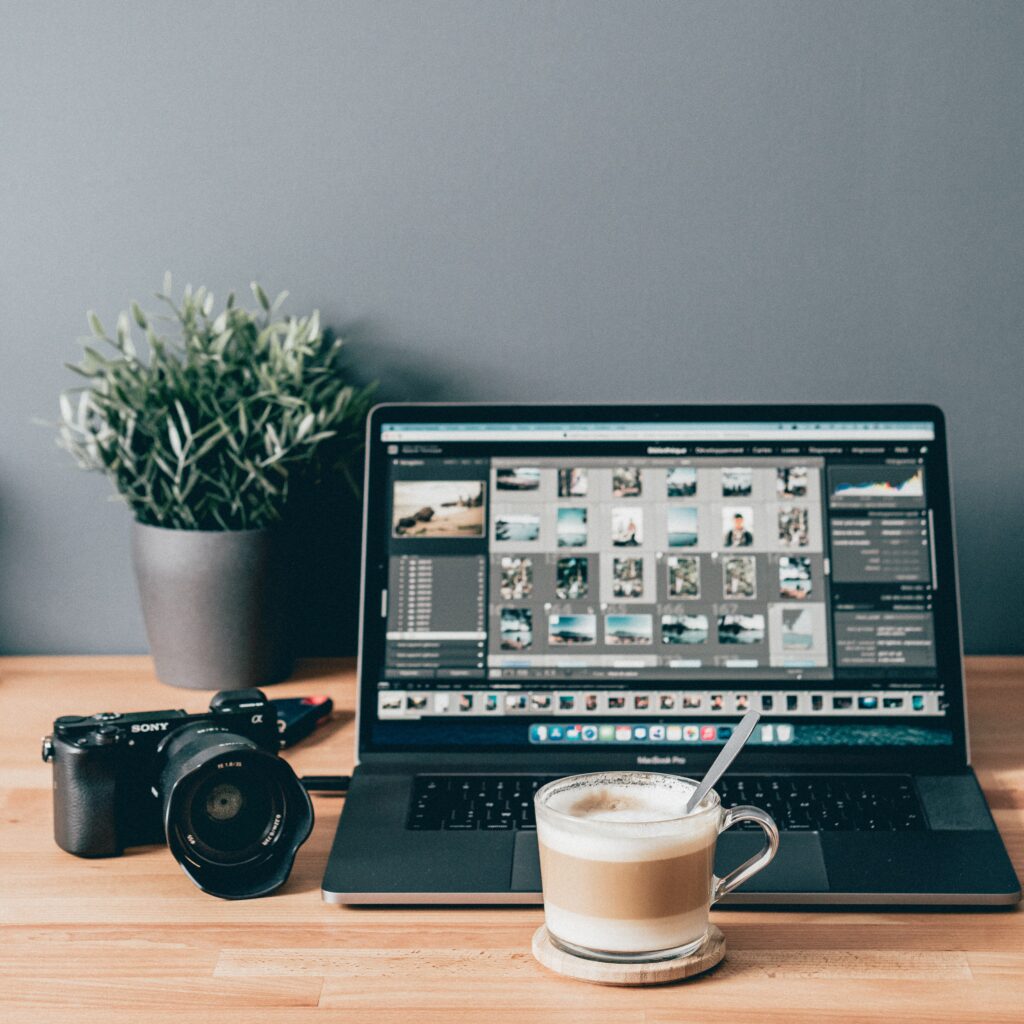
1. Lightroom Colors Bulk Editing
I love using Lightroom for editing colors and exposure of photos! It is a very simple and intuitive program that allows me to save a lot of time while making my photos feel consistent with colors. To save the performance of my laptop, I only import photos that are culled already and that I want to edit. After this step, I try to find a photo in my collection that is the most universal and has all kinds of light but at the same time represents the photoshoot the most.
This photo will serve as the first editing attempt that I call “finding the right preset.” Over the last 10 years, I managed to purchase or find many presets. The truth is, though, I have fewer favorites than fingers on my hand. These are usually the ones I go to for the first time. I ask myself what mood I’m going for and if the preset isn’t destroying the real colors too much. It depends on the intention! If it’s a moody portrait, I like getting creative and being a bit alternative. But if you’re photographing for a specific client (e.g. if the model is wearing designer clothes or special makeup), you want to keep some of it real so that it’s presentable for the other artist.
The best hack in lightroom is synchronizing settings with other pictures. Simply select all photos that you want to apply the same effect to while having the main photo (from which you’re passing the effect on) opened. The “Sync” button on the main screen will help you choose which settings you want to have copied. It works best with photos that have similar light and camera settings.
The best hack in Lightroom is synchronizing settings with other pictures.
Finding the right preset and passing it on is just the first step, but after that, I like to check the settings on each photo differently. Simply playing with the setting on the right side will enable you to make the most out of the preset on each photo.
2. Skin Retouching With Frequency Separation
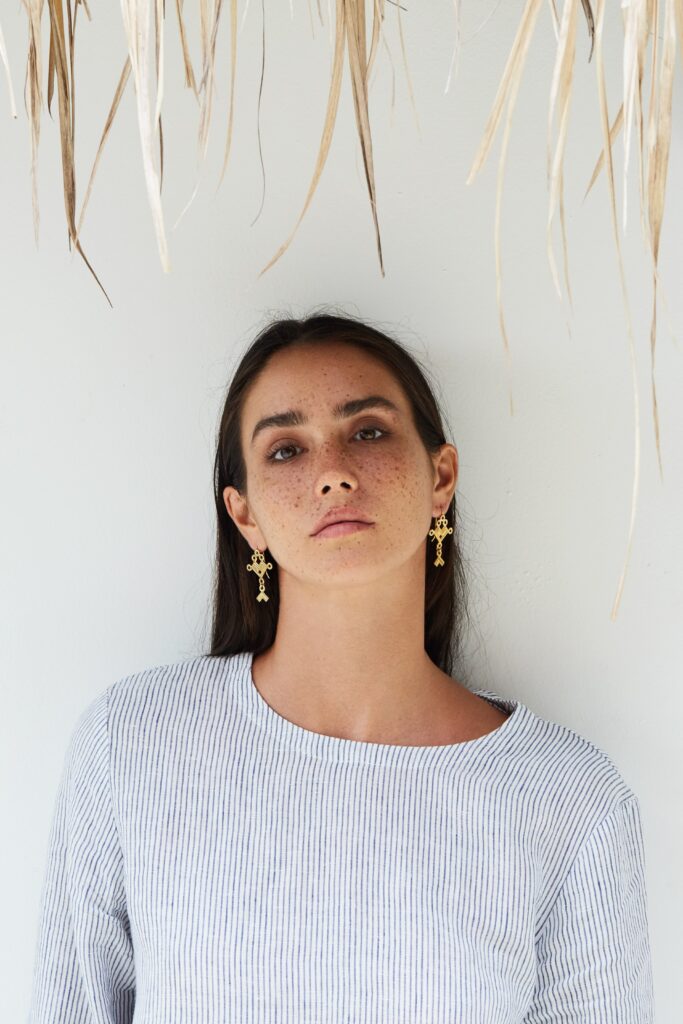
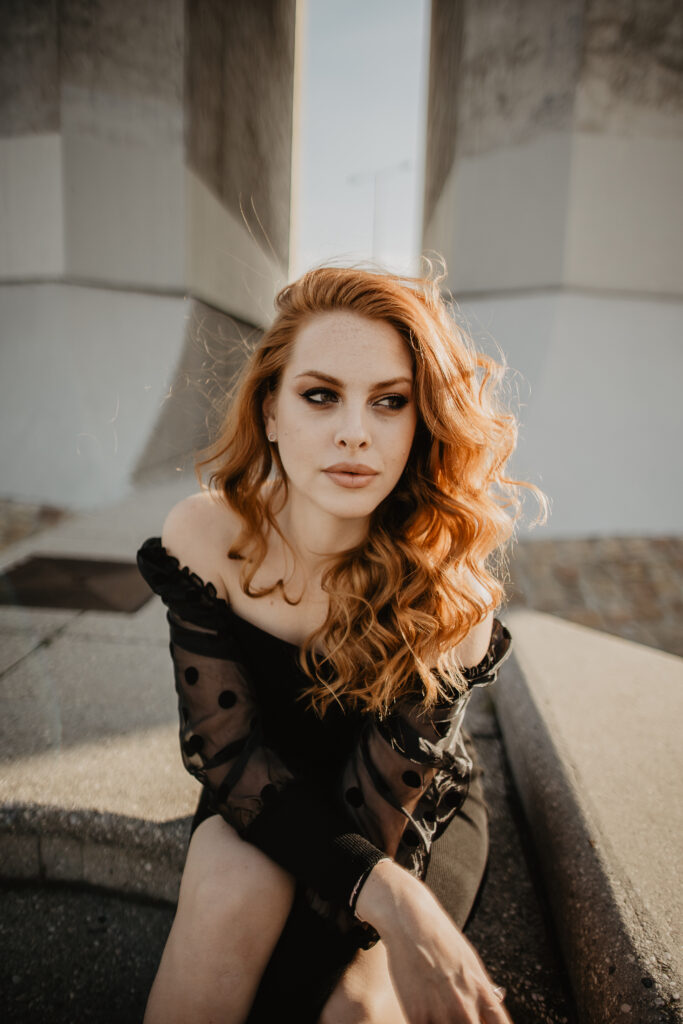
After the Lightroom edits, I continue the editing inside Photoshop if necessary. My favorite skin retouching technique I always use first is frequency separation. This technique allows you to divide your photograph into two sections: low frequency and high frequency. Let’s imagine them as parts of the image working together to achieve the final look. The lower frequency is usually used to perfect the skin colors (make it “smooth”) and the high frequency is about the details we see on the surface like pores, hair, or acne. You retouch these details on high frequency first and move on to skin retouching at the end.

Photograph by Ľudmila Borošová
At the beginning of modern photography, people used to retouch only by blurring out the imperfections, which made a lot of valuable skin details disappear. That’s why this method is praised by a lot of professionals. If done well, the texture of the skin remains almost intact.
3. More Retouching With Dodge and Burn
After I have my retouching base ready, I use a method called dodge and burn. To explain this technique as easily as I can, let’s imagine that you’re using two different types of brushes. The first one makes parts of the image lighter, while the second one is darker. This is perfect if you want to contour the model’s face: you’ll be using the lighter brush on places where you’d put highlighter and the darker brush where you can see the cheekbones. Photographers often use it to enhance contrast in some places (like eyeshadows) and create a natural glow on lips or inside the eyes.
4. Improvements With Curves
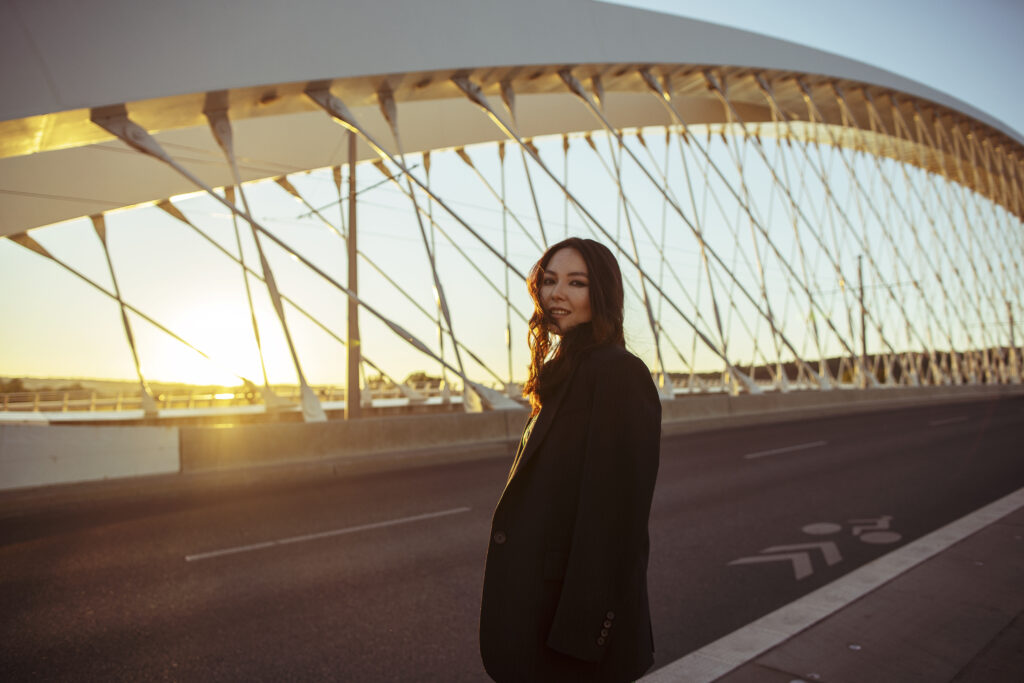
I don’t like playing with contrast inside Photoshop. Instead, I create different looks with curves. If you’ve never tried this feature, it looks a bit confusing and scary. Dedicate a few minutes and try playing around with its strings to see what looks you can achieve! This tool creates stunning contrast or even a film look (like you can see in this sunset image) by changing points in a tonal range of an image. You can access it by clicking on Layer, New Adjustment Layer, and Curves!
Photograph by Ľudmila Borošová
5. Adding Sharpness
After my final image is almost ready, I like to use a High Pass sharpness treatment for the final touch. Duplicate the ready image, and on the layer above it (that’s duplicated) apply the High Pass filter. You can find it under Filters and Other. The radius number you choose should be quite low, when you can see the outlines of facial features on a portrait, you can click on OK. Change the layer mode to overlay, and ta-da! You have the sharpness applied. If you want to reduce in it some places, you can use a mask on the layer and make it less violent in places where sharpness can cause a lot of noise (e.g. hair).
Photograph by Ľudmila Borošová
Crop the Photos
When I’m done editing my portraits, I like to get them social media-ready! I always save these documents:
- My Photoshop file – in case I want to do additional changes in the future
- Full-size JPG – the highest-quality possible photograph
- Instagram size – exported and cropped in the lowest resolution available (e.g. 1080px x 1080px for a square, 1080px x 1350px for vertical shoots)
- Facebook/Web size – exported and cropped to use whenever a smaller size of pictures is needed for better resolution or faster loading
This is when I know that my portrait editing is finished! I’m now ready to send all of these (except the photoshop file) to my client, too. This will make sure that if they post pictures online, they will look as good as intended.
Of course, it is hard to generalize every portrait editing – sometimes I do less, and sometimes I do way more steps. It is all about finding out what works for you and getting lots of practice! These post-processing techniques also depend on how many pictures you’re delivering. If you’re doing three high-end portraits, you’re able to spend quality time on each shot compared to 100 images at once.
Recommended Reading: If you’d like to learn how to create amazing portraits, grab a copy of Photzy’s premium guide: The Art of Portrait Photography.

Self-Check Quiz:
- What should you ask your client before the photoshoot?
- Is there something you shouldn’t automatically be editing?
- Can you edit pictures in bulk by copying settings?
- Which two frequencies does frequency separation contain?
- What is the difference between those frequencies?
- Name at least two parts of the image that are edited by the dodge and burn technique.
- Which Photoshop tool plays with the tonal range?
- What is the name of the filter adding sharpness?
- Why should you crop and resize the photos?
- Is there a recommended time to spend on one picture?
Assignment:
- Import your new photoshoot into Lightroom and try editing pictures by synchronizing their settings. Do you feel significant speed improvement?
- Check out your favorite photographers and their portraits. Look at the skin: does it have anything in common? What is it? Are some styles of retouching different and some similar?
- Crop and resize your next picture on Instagram to the smallest resolution recommended. How did it change the quality?