

When working with models, you might think that they’re the ones who need to know all the poses. However, the fact of the matter is that photographers need to be just as knowledgeable. It’s up to you to suggest changes and to make sure that your model always looks its best.
If you have a list of fantastic poses that look good on everyone, then you’ll be able to take control of every single shoot and make sure that your client is always ecstatic with the results. Whether you’re working with a professional on a commercial set, or guiding an amateur through their first-ever photoshoot, these poses will always stand you in good stead.
Here is what we will cover:
- The Straight and Simple
- The ‘Look Up’ Trick
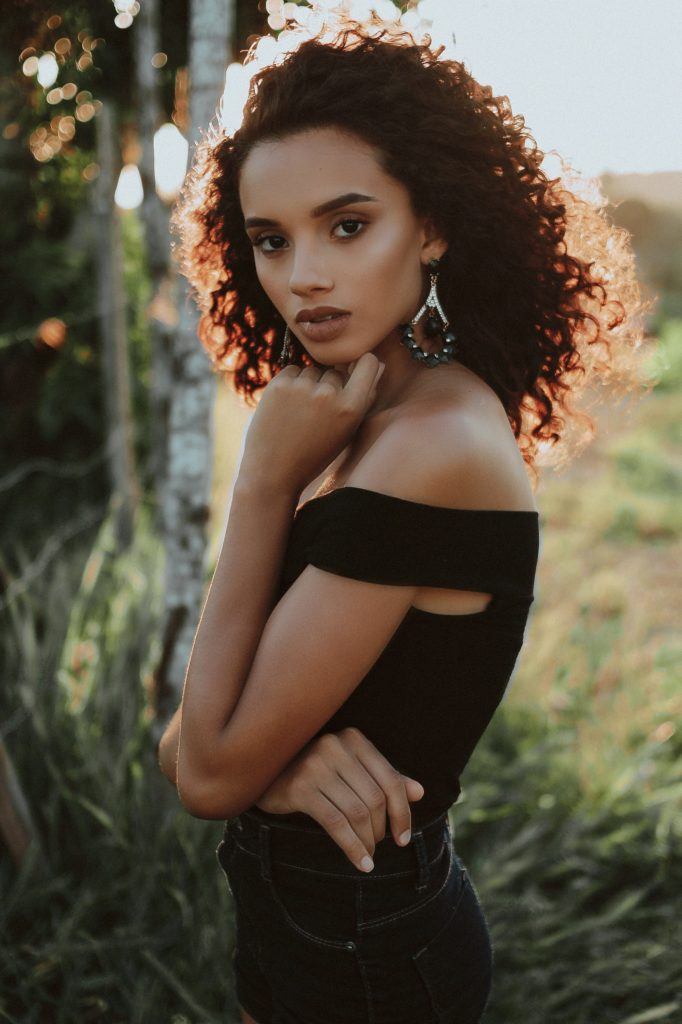
- The Crooked Arm
- The Slimming Hand on Waist
- The Side Turn
Recommended Reading: If you’d like to improve your photography skills and create compelling images, grab a copy of our Powerful Imagery premium guide by award-winning travel photographer, Michell Kanashkevich.
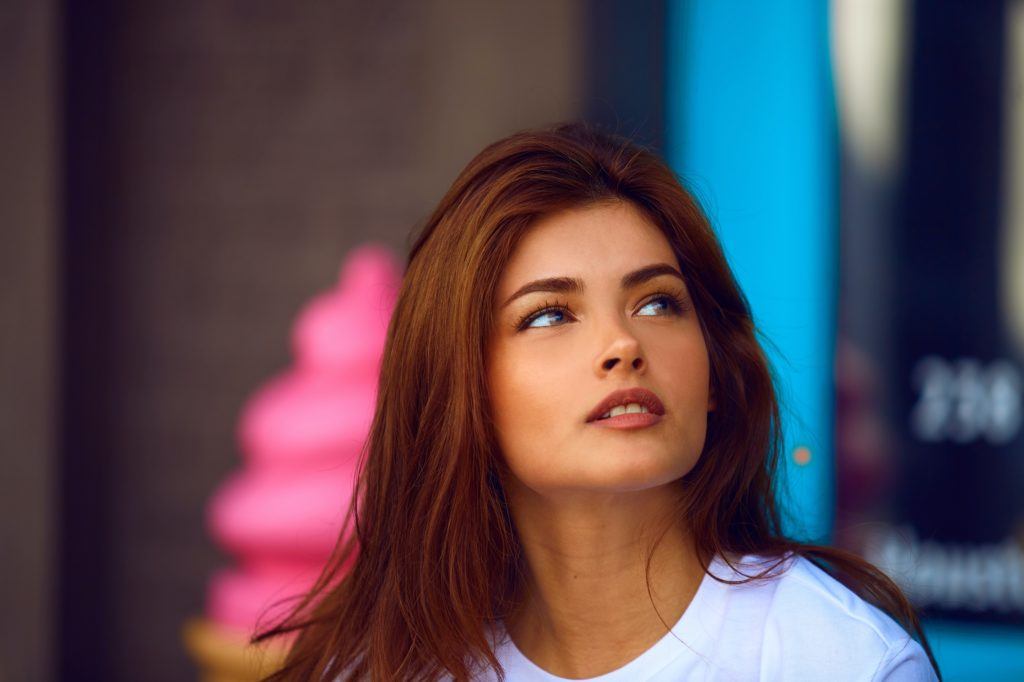
The Straight and Simple
For those who are new to photography or modeling, it can seem like you need to literally bend over backward, contort yourself like a gymnast, and fly through the air to make an interesting shot. After all, taking a standard and casual pose won’t make any impact, right?
Wrong! In fact, a straight-on to camera pose can actually work extremely well. It’s simple and takes away all of the frills, allowing the viewer to focus on whatever you want them to look at – whether that be the clothing the model is wearing or the face of the subject themselves. It allows the model to emote with their face without having to think about what they’re doing with their body.
A straight-on to camera pose can actually work extremely well.
You can also mix this pose up really easily. Casual atmosphere? Ask the model to slip a hand into the pocket of their pants or jacket. Happy feeling? A big grin and a slight lean forward, as if caught in the moment of emotion, can really bring that to life.
Simple doesn’t automatically mean boring! Photograph by Dom Hill
Key Lesson: The simplest pose can sometimes be the best. Don’t overdo it, especially if you’re shooting a simple portrait. Have your model face the camera straight-on and capture those eyes.
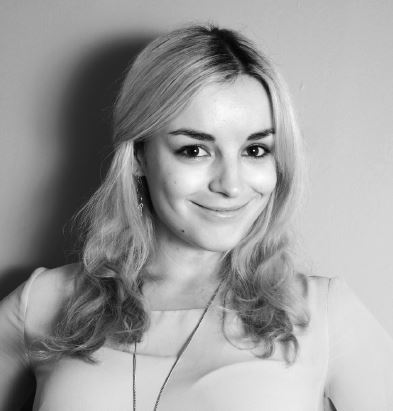
The ‘Look Up’ Trick
This is my absolute favorite trick for a really flattering portrait, and you won’t believe how simple it is!
Have you ever noticed what happens when someone looks up? It’s really quite magical: the light from the sky (or the studio lights) floods their face evenly, eliminating any unflattering shadows and making them look fully illuminated. In fact, it almost makes them glow. Not only that, but if you keep the face at a precise angle (e.g. off to the side of the camera, and not too high; I usually ask the model to look into the corner of the room behind me, for example), it can look incredibly flattering.
Photograph by Ayo Ogunseinde
You do have to be careful with this one, though: go too high up, and suddenly the camera is catching the inside of your model’s nose and the bottom of their chin, which can look quite odd in a photograph. We’re not used to seeing people at that angle.
Keep it at the right angle, though, and it could be one of the most beautiful shots in your portfolio. There’s something about looking up that signals hope, joy, and aspiration. It’s a great message for any shot.
Key Lesson: A well-lit and upturned face can look simply stunning. Practice with your angles until you find that flattering sweet spot!
The Crooked Arm
If your poses are feeling a bit boring, there’s a really quick and easy way to spice them up and add some interest: simply have your model throw one arm – or both – above their heads at a crooked angle.
This pose can come across as a bit cliché, but sometimes the ones we’ve seen a million times really are the best. Putting the arms up above the head elongates the torso, making the model appear slimmer and more toned, and also provides leading lines for the eyes to follow.
You can play around with this pose in a lot of different ways: one arm or two, place the hand on the top of the head or the back of the neck, leave it hanging loose in the air near the head, point the elbow down or up, have the model play with an earring or a strand of hair. What’s more, it’s a great way for close-up shots to include the hands, so it’s perfect for beauty shots incorporating nail polish, or jewelry shoots with rings.
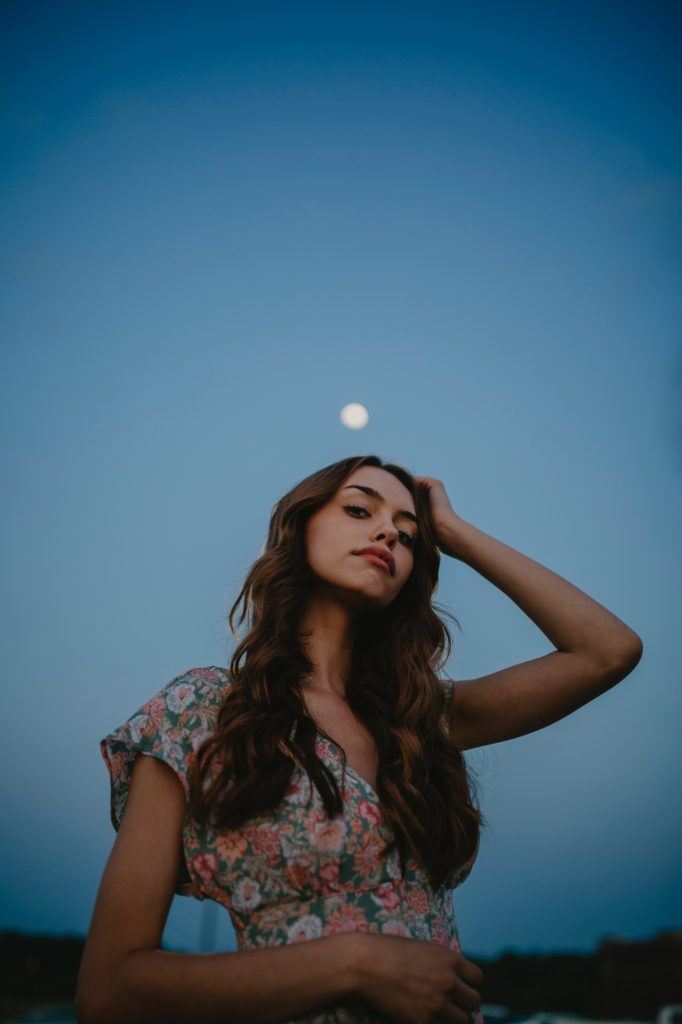
A crooked angle of the arm over the head can interestingly elongate the body. Photograph by Penguinuhh
Key Lesson: Keep it flattering and not cliché, and think about where the leading lines are going, but when in doubt, throw those arms up near the head and see what happens!
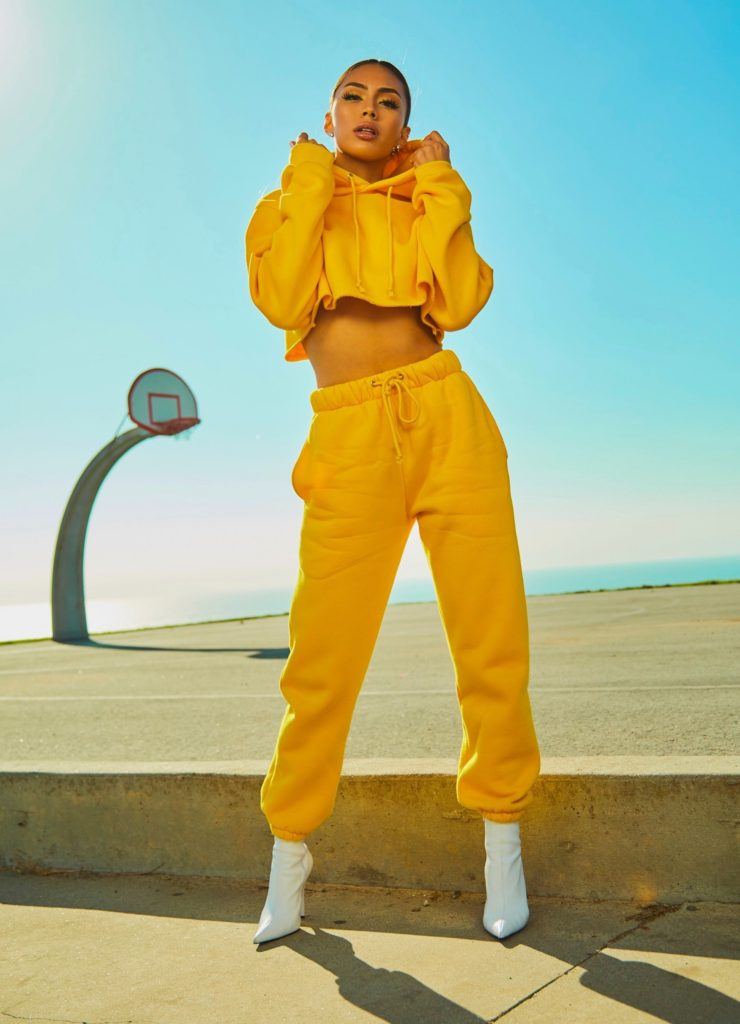
The Slimming Hand on the Waist
The hand on the hip: a classic pose and one that almost any model, amateur or professional, will pull out at some point.
But guess what? All those hands-on hip posers are doing it wrong. Why? Because they should actually be putting the hand on the waist – the slimmest part of the body where a natural curve from the hips hits the torso.

With a hand on the waist, the body is more defined. Photograph by Melody Jacob
Any female model will look more flattering with their hand defining that part of the body, making them seem slimmer and better-defined, and some males could benefit from it, too. It’s a huge confidence-booster, and those who are self-conscious about their body will find that it works wonders. That confidence will show on the face, and there you have it – a much better look for your shot.
Any female model will look more flattering with their hand defining that part of the body, making them seem slimmer and better-defined...
This is a trick that not many people manage to learn, so if you shoot portraits of everyday clients rather than professional models, you are quickly going to gain a reputation as the most flattering photographer around.
Key Lesson: Define the shape of the body with a hand on the waist, not on the curve of the hip!
Recommended Reading: If you’d like to improve your photography skills and create compelling images, grab a copy of our Powerful Imagery premium guide by award-winning travel photographer, Michell Kanashkevich.
The Side Turn
Our final pose is just as simple as our first, but it, too, will make a big impact. It’s very easy: just ask your model to turn to the side, either at a ninety-degree angle or slightly shallower. Then have them look back to the camera.
As with our other poses, it’s easy to change the look around. You can have almost endless variations on that amazingly flattering angle. It almost always makes the body look great, and with the right lighting on the face, it can make for a perfect shot.
Have your models play around with arm placement, facial expression, and whatever else they have to play with. This will help you to create diversity within the same pose. Try combining it a little with some of our other poses; for example, a hand on the waist for a slimming side angle.
Just like our straight-on pose, simplicity rules the side-turn: perfection without contortion! Photography by Caique Silva
Key Lesson: Turn to the side, then look back. Simple instruction will always work wonders!
Conclusion

Photograph by Rhiannon D’Averc
When you are directing your models on how to pose, try the following tips:
- Stand straight-on to the camera and look right down the lens
- Look up to the sky for flattering light
- Pop an arm up over the head or behind the neck for leading lines
- Crook the elbow and let the hand drop by the face for headshots with detail
- A hand on the waist, NOT a hand on the hip, is a slimming look
- Turn to the side, then look back
- Combine some of these ideas for a super-pose
Self-Check Quiz:
- Where should your model look for flattering light?
- What angle is best for a side-on shot?
- Which works out best: a simple pose or a backbreaking one?
- Should you use one or both arms over the head for a stunning effect?
- How can you change the angle of the arm when placed with a crooked elbow?
- Where should the hand sit on the body for the most slimming look?
- What could you combine with a turn to the side for a flattering look?
Learning Assignment:
Next time you work with a model, keep this list saved on your phone or written out nearby and go through every pose with them, in order. In the end, once you’ve captured everything, you can even combine some of them to see what you can come up with.
After the shoot, review every shot and figure out which ones you like the best. Which pose is more flattering? Which one creates the most interest for the viewer? Do this with other models who have different body types, too. Each time you shoot a model who looks different, you can get a definitive answer to which pose works best for someone with that shape and size. Then you’ll always have a go-to flattering pose!


