

Everyone wants to look their best in photos. Capturing a natural smile or a lovely candid, relaxed expression with the perfect lighting is a great start. But these days it may not be enough to satisfy your portrait client or your partner when you photograph them.
In this guide, we’ll take a look at using Lightroom for retouching skin. Lightroom has all the tools you need to balance the exposure and color balance in a portrait so that skin tones will appear natural. You can also remove spots and blemishes from the skin. With careful masking, softening the skin is now easier than ever.
The series of steps I’ll walk you through in this guide lead towards a result designed to look natural. You can exaggerate and experiment with any of these to your heart’s desire and achieve whatever look you want for your portraits.
Key Lesson: Start with good intent. Knowing what style of portrait that you want to produce helps you work more efficiently and accurately.
Recommended Reading: If you want to learn how to enhance your photos and create better images, grab a copy of Photzy’s premium guide: Ultimate Guide to Fundamental Editing.
Retouching Skin Effectively With Lightroom
Retouching skin has become a norm these days, not only for magazine models and movie stars but for influencers and maybe even your mother! To produce portraits that will please picky subjects, photographers have to know how to retouch skin.
In the past, this was only possible for professionals. Photo retouching was a whole different art form. It had levels of difficulty beyond most photographers. Even applying basic skin retouching was limited to the experts.
To produce portraits that will please picky subjects, photographers have to know how to retouch skin.
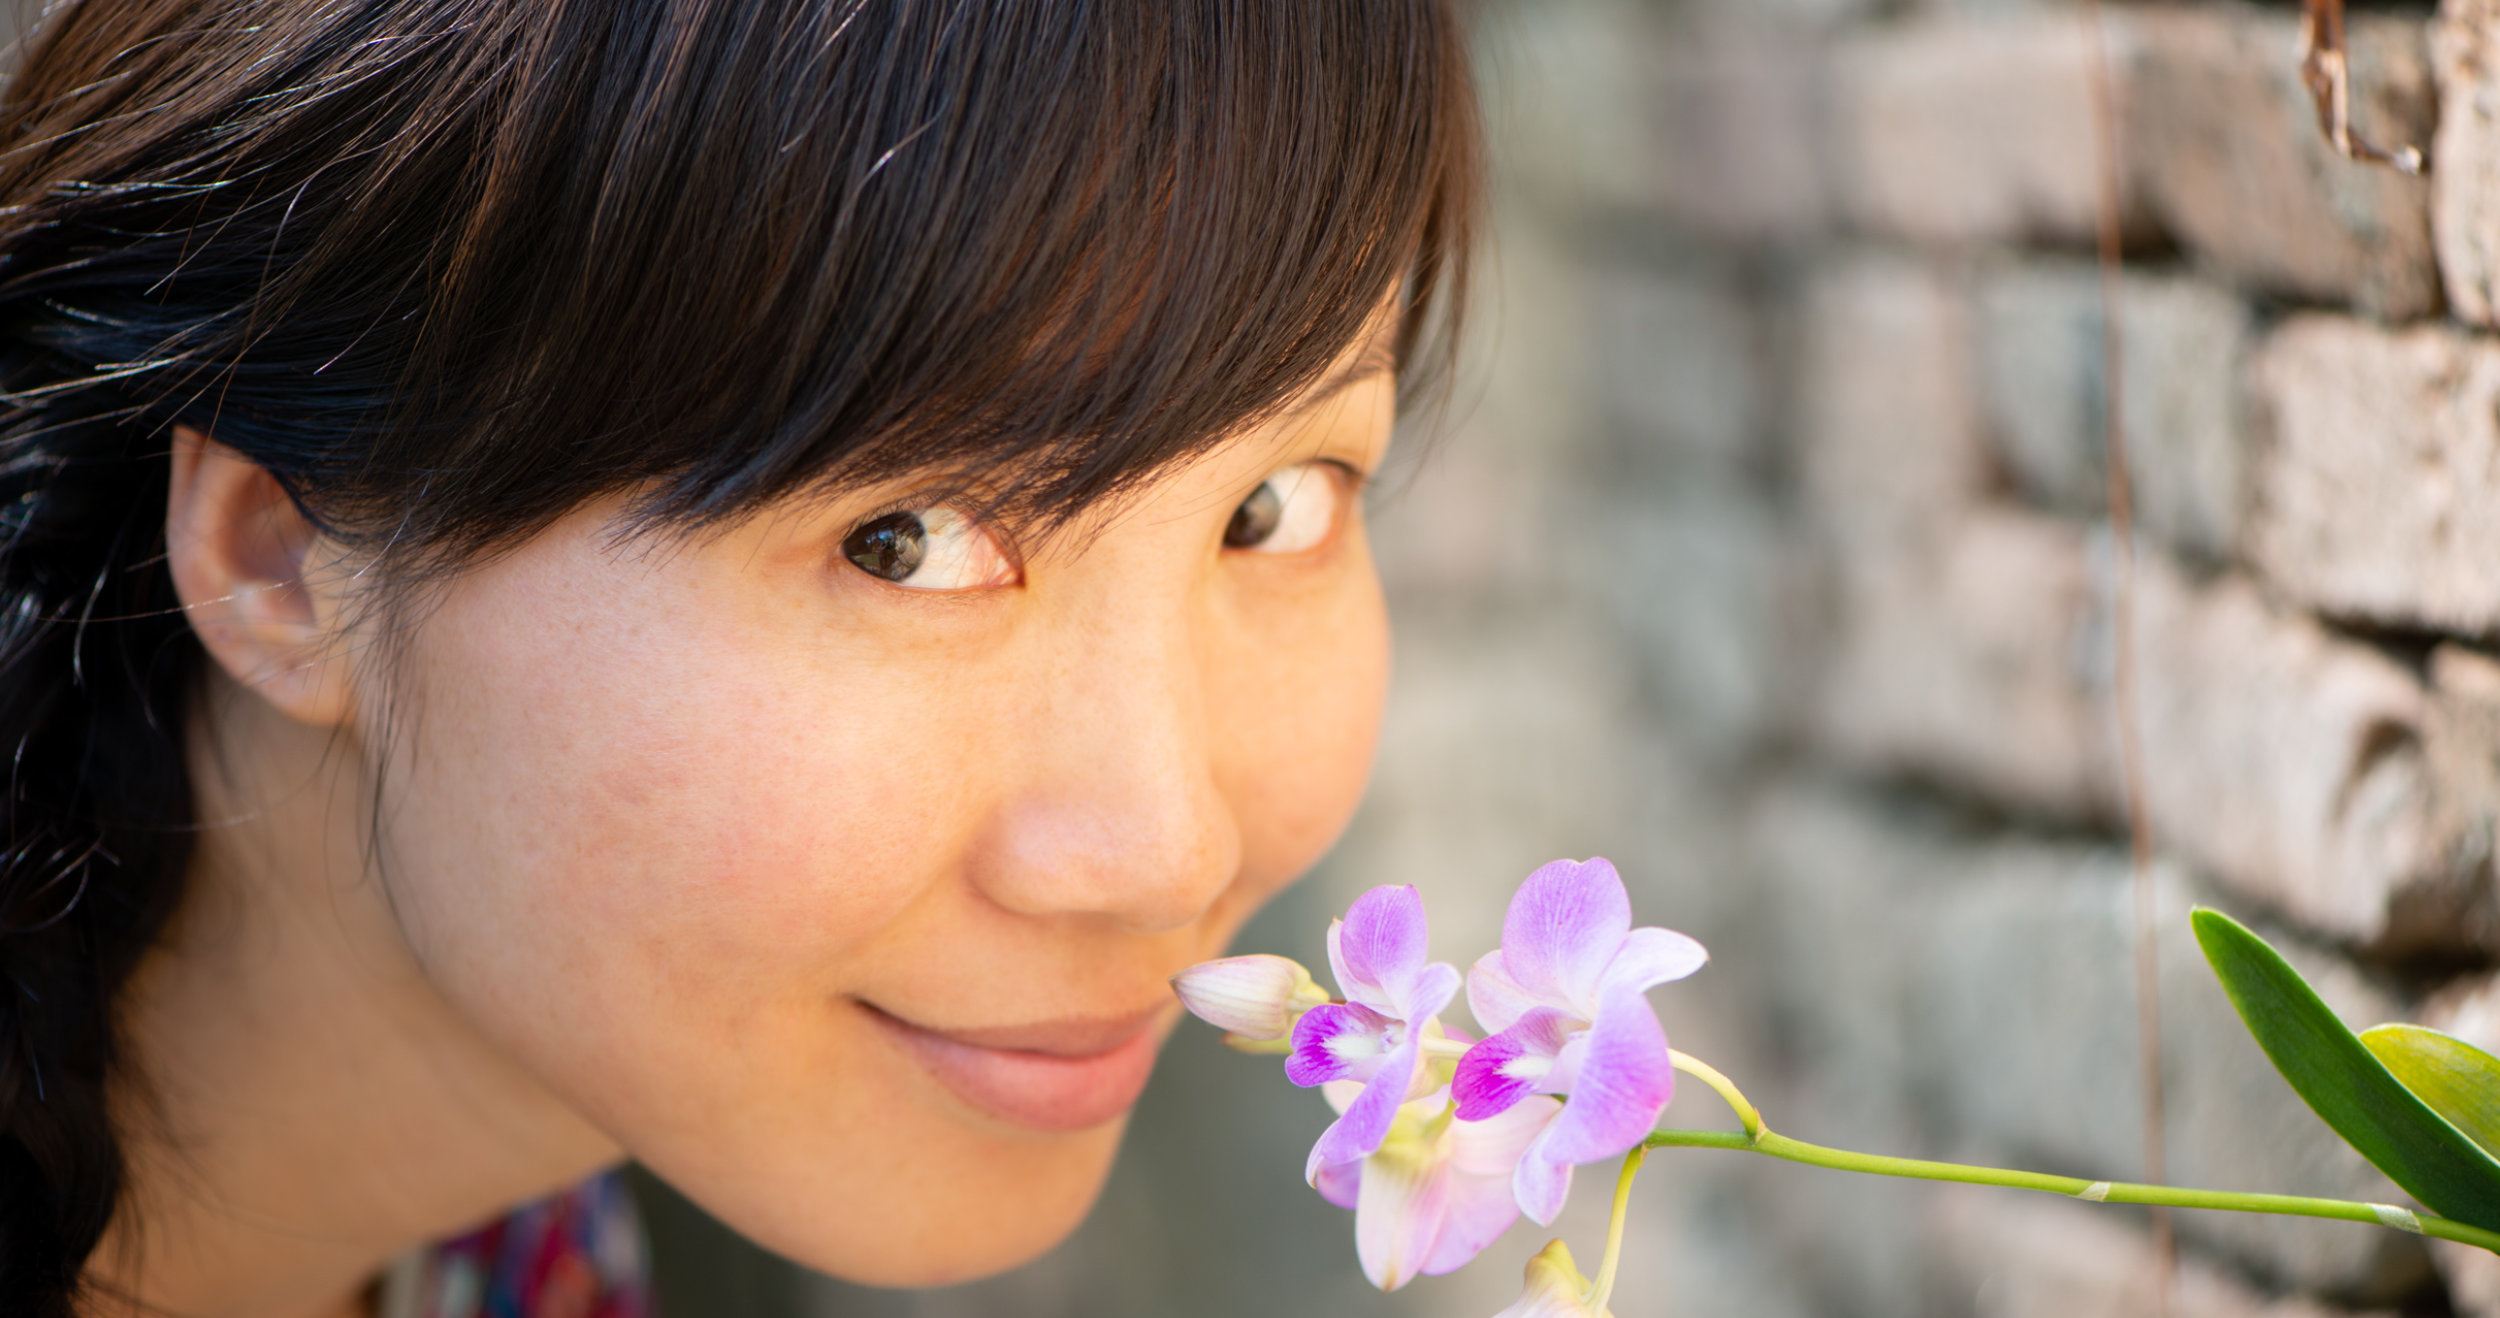
Photograph by Kevin Landwer-Johan
Smoothing away wrinkles and blemishes, softening, shading, and tweaking skin are all often necessary to satisfy clients. Nowadays, there’s a proliferation of apps that automatically retouch skin. But relying on automated global image adjustments often returns less than pleasing results.
Using Lightroom to retouch skin has become easier with recent upgrades to the software. You have more control than with an app, so you’re not so likely to end up with fake-looking skin.
In the past, Photoshop was the tool of choice for retouching skin. Being able to work with many layers to refine the look of a portrait could take hours. But this is also not suitable for everyone. Retouching skin in Lightroom brings a balance between what the apps have to offer and the complicated workflows in Photoshop.
Key Lesson: Lightroom provides tools for skin retouching that are more flexible than many apps and not so complicated to use as other programs.
Start With Exposure and White Balance
Whenever I’m creating a portrait, I set my exposure for the skin tone. To me, the skin is the most important part of a portrait to have well exposed. If the person’s skin is too bright or too dark, this will potentially lead to more work in Lightroom to get your pictures looking good.
So, the first thing I do when developing a portrait image in Lightroom is to make sure I have the skin tone looking good.

Photograph by Kevin Landwer-Johan
I made this portrait of my friend in the studio, so I had a good degree of control over the lighting and my exposure. It’s a little ‘hot’ on her forehead and cheeks, but the overall exposure of her skin is okay.
Photograph by Kevin Landwer-Johan
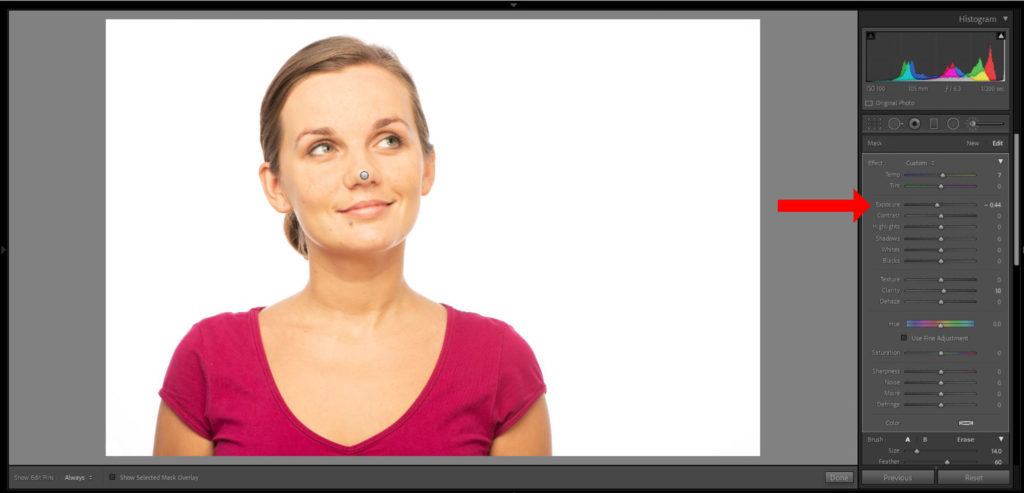
Use the Adjustment Brush to reduce the exposure or increase it on any areas that are overexposed or underexposed. In the image above, you can see the areas on her face I have painted over where I want to reduce the exposure. The alteration is rather subtle but improves the portrait by making the skin tone more even.
Photograph by Kevin Landwer-Johan
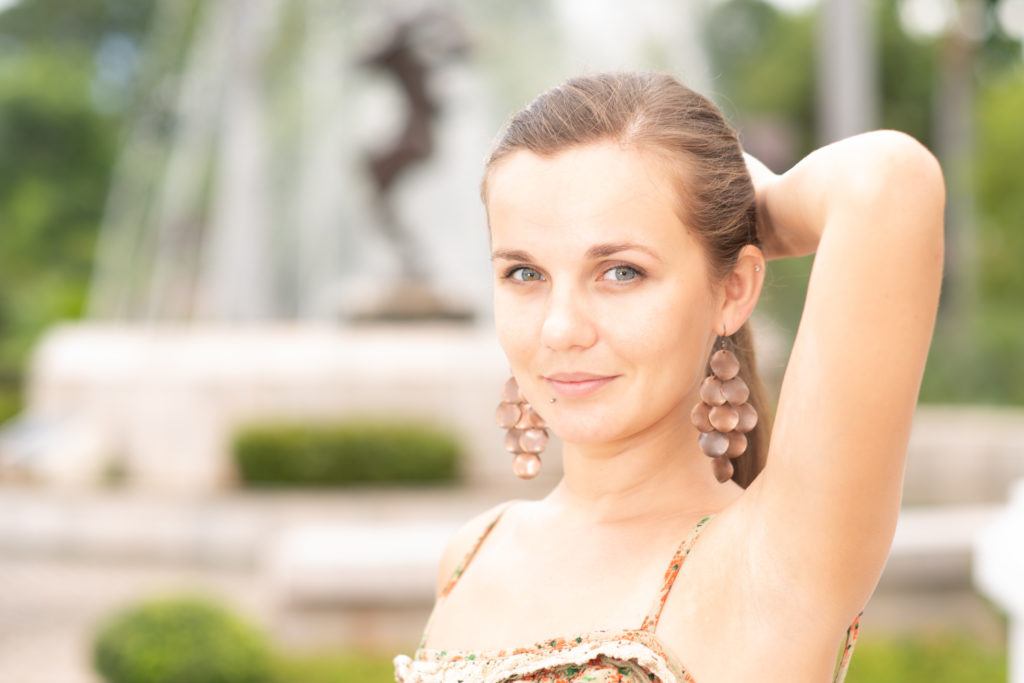
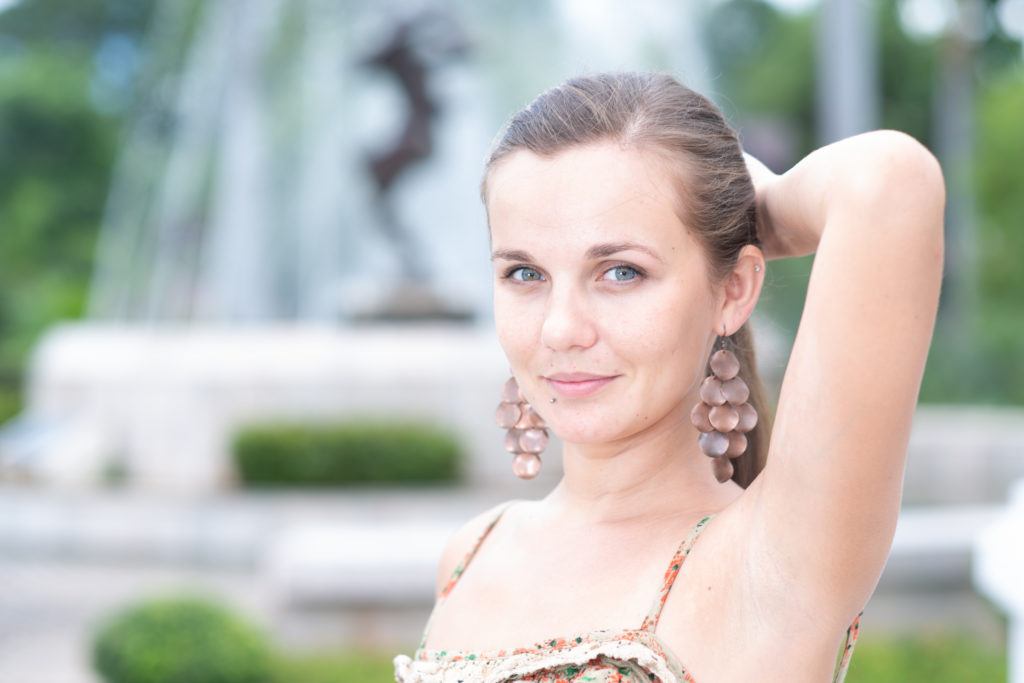
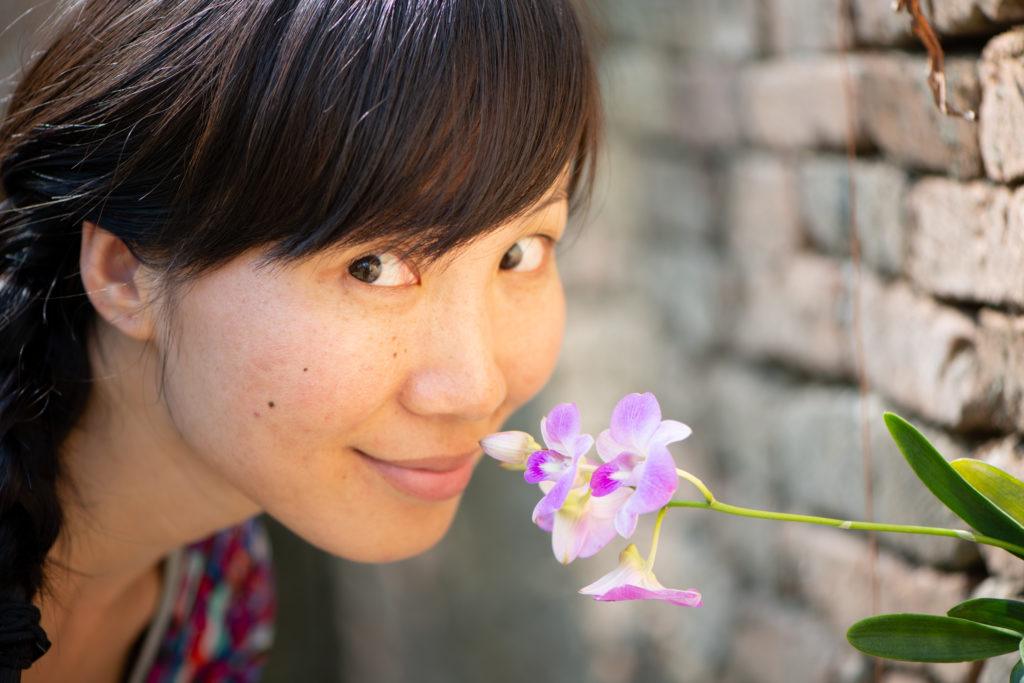
In this photo, made outdoors earlier in the day, I used a flash with a small softbox as a fill light. The exposure is good, but the color temperature is a little cool or blue looking. Adjusting this at the beginning of the skin retouching process helps to start the process well.
The Temp slider reading was 4456. I dragged the slider to the right to bring a little warmth back into her skin tone. The reading for the tweaked white balance is 5706. This brings her skin tone closer to how it looks in the studio portrait.
Key Lesson: Adjusting the white balance is particularly important when working on a series of portraits that the model may want to use in a portfolio. You’ll want to balance the skin tone, so it looks the same across all the photos of a person.
Retouching for Redness and Contrast
Some people’s skin can look quite red in photos. This is more common with people who have sensitive skin and in colder climates. I see it more often in men than in women.
Photograph by Kevin Landwer-Johan
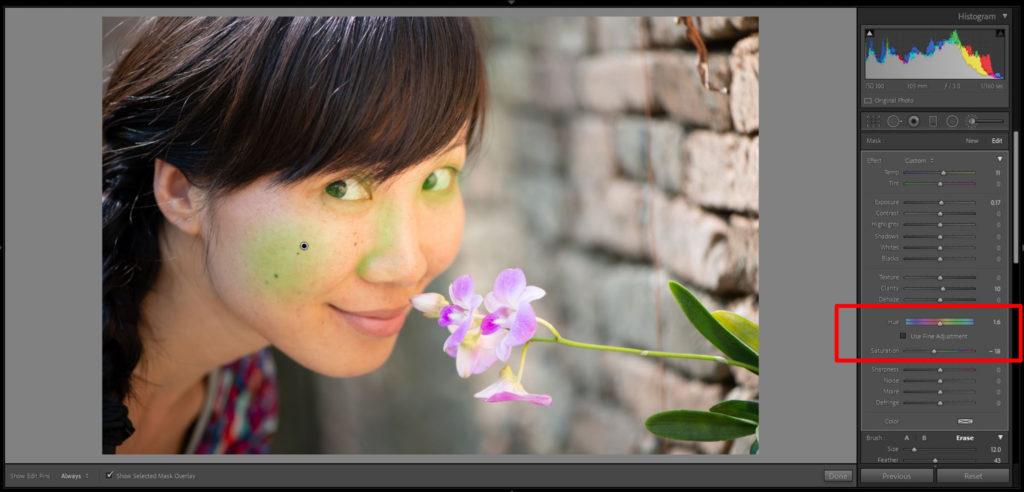
Using the Adjustment Brush is the most effective way to correct redness in a person’s skin tone. Use the brush to paint over the affected areas. In this portrait, I painted her cheek, along the side of her nose, and a little around her eyes. I use a pen and tablet that are pressure sensitive. This makes it easier to apply the brush gently. You can also adjust the Flow and Density of the brush, so you’re not applying it too heavily.
At this stage of your skin retouching, you may want to adjust the overall contrast of your portrait. Knowing the look you want to achieve will determine the level of contrast you choose. Balancing the contrast at this stage makes further adjustments more streamlined. I find it’s easier to make changes to the contrast now rather than later in the process.
Photograph by Kevin Landwer-Johan
Key Lesson: Making smaller, more subtle incremental changes allows you to build up a more natural-looking effect. If you are heavy-handed and drag sliders to their extremes, this can result in unnatural-looking retouching. It can also affect the technical integrity of your image files.
Removing Spots and Skin Blemishes
Everyone has some small skin blemishes. It’s very rare to make a portrait of a person that has perfect skin. Retouching skin blemishes is straightforward in Lightroom. Anything like pimples, obvious pores, scratches, or any other temporary problem can be removed. With permanent marks like moles, scars, or birthmarks, it pays to ask your subject if they want them removed.
Using the Spot Removal Tool, you can effortlessly clean up spots and blemishes on a model’s skin. Adjust the brush size and feathering, so it’s slightly larger than the spots. Most of them are likely to be pretty small and relatively similar in size. I usually work with the Opacity of this toolset at around 50%.
You have the option to Clone out spots or to Heal them. I find the Heal option works very well most of the time and is quicker to use.
Key Lesson: Zoom in using the Z key, and you will be able to make your edits as precise as possible. Editing spots while zoomed out, you can’t be as precise as you might need to be. By zooming in and using a smaller brush size, you’ll get the best results.
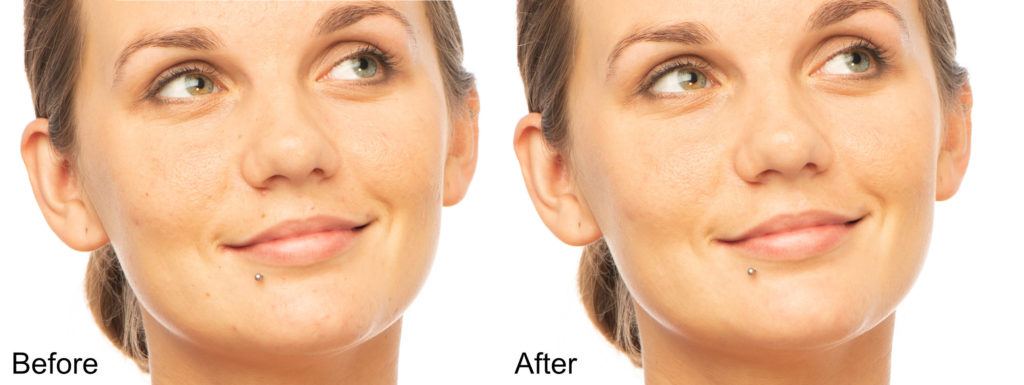
Here you can see a side-by-side comparison before and after I used the Healing spot removal tool.
Softening and Smoothing Skin in Lightroom
Now we’re getting to the part of skin retouching that you need to be most careful with to create the look you want. Influencers on social media and wedding photographers can sometimes tend to make a bit of a mess of softening and smoothing skin. But, as with any aspect of editing digital photos, the look you end up with is entirely your choice.
Over-softening and over-smoothing skin can result in a very plastic, fake-looking portrait. If this is your thing, follow through with this section and exaggerate the steps. I’m aiming to provide you with information that results in natural-looking skin that’s a little softer than normal.
Using the Adjustment Brush again, paint over the skin. Avoid painting over any:
- lines on the face,
- eyebrows and lashes,
- hair, and
- eyes and lips.
I will press the ‘O’ key so I can see the mask I am creating when I paint. Once I’ve finished painting, I’ll press the ‘O’ key again to turn off the mask and then make adjustments. I find it’s quicker to use a larger brush and not worry about the eyes and lips etc. I’ll paint over the whole face and then switch to the Eraser on the brush tool, zoom in, and then work on the areas that I masked which are not skin.
Over-softening and over-smoothing skin can result in a very plastic, fake-looking portrait.
There are two preset options to smooth skin. You can find them in the drop-down menu at the top of the Adjustment Brush panel. It will most likely be set to Custom. Click on the menu and scroll down until you see Soften Skin and Soften Skin (Lite). Often, the Lite option applies a decent amount of softening, so the skin still looks relatively natural.
Looking at the sliders in the panel, you’ll notice that when you applied the preset, the Texture and Clarity sliders moved to the left. You can now adjust these if you are not satisfied with the level of softening the preset added.

Photograph by Kevin Landwer-Johan
Key Lesson: Experiment with these two sliders. Everyone’s skin is different. The style of lighting you used will also affect how the skin looks. Harsh lighting at a low angle to the skin will accentuate the texture, so you may want to apply the softening more aggressively.
Recommended Reading: If you want to learn how to enhance your photos and create better images, grab a copy of Photzy’s premium guide: Ultimate Guide to Fundamental Editing.
Conclusion
Once you’ve worked through these steps, take a look at the whole image again. Zoom out and study your work. Then zoom in and move the image around so you can take a final look closely to check that you’re satisfied with how you have retouched the skin in Lightroom.
You may notice a few blemishes you missed or see some areas of contrast that need dealing with.
If you were aiming for a natural-looking portrait, ask yourself if your photo looks enough like the person you photographed in real life. Will they like the picture you have created? For me, I always feel best if my subject likes the portraits I have made of them. I might like what I have done, but unless they are happy too, then my satisfaction is not complete.
Self-Check Quiz:
- What’s it good to start with when retouching skin on a portrait?
- In the past, what was the tool of choice for skin retouching?
- What’s the most important part of a portrait to have well exposed?
- What’s the best way to create a more natural, subtle-looking effect when retouching skin in Lightroom?
- Name three adjustments you can make to the Spot Removal Tool.
- How many standard skin-smoothing presets are available in the drop-down menu?
- What are the two sliders used to smooth the skin?


