

One of the most important things you can do for yourself as a photographer is to have fun. Whether photography serves as a source of income or is a weekend hobby, the quest to create art can be a drain on your ability to remain internally motivated. You can alleviate much of that self-imposed anxiety by making sure you take the time to just create art for art’s sake. There are dozens of ways to go about this — take a self portrait, use a camera or lens you’ve never used before, try film. Or try painting. You don’t need a brush and an easel; I’m talking about painting with light.
Intrigued? Perhaps you’ve never heard of such a concept; maybe you’ve heard of light painting but never took the time to try it out. Well, now is as good a time as any.
What Is Light Painting and How Does It Work?
Some people hear the phrase “painting with light” and respond with a hint of apprehension, as they assume that light painting is something above their current skill level. Trust me when I say that it’s not; anyone can do this.
Light painting is a rather self-explanatory term; you are quite literally using light as your paint and brush, while your surroundings serve as the canvas; all this will be captured by your camera.
"You are quite literally using light as your paint and brush, while your surroundings serve as the canvas."
Under most circumstances, we create exposures with a camera due, in large part, to the light that is being reflected from the many different surfaces in our environment. If we are in a well-lit environment, it’s relatively easy to get a good exposure; as such, we have greater flexibility in terms of what aperture and shutter speed we can use.
In poorly lit or dark surroundings we’re forced to use longer shutter speeds to compensate for the lack of light and make sure the camera’s sensor has enough time to gather all the information it needs to produce an acceptable exposure.
When you do light painting you will be working in a dark environment; the “empty” visual space will reflect no light. This is important as it will allow the camera to capture the light being emitted from your “paintbrush.”

What You Will Need
- A camera with manual settings and Bulb (B) shooting mode
- A sturdy tripod
- A shutter release cable with locking mechanism or remote with timer function
- A light source of some kind. This could be a flashlight, an LED, a neon glow stick,
even a flash or portable strobe. - A dark environment. You can work indoors in a room with all the lights turned out and windows blocked, or you can work outdoors at nighttime.
Preparing Your Camera
Exposure
You don’t want the camera trying to guess the exposure for you; given your working conditions it’s not going to do a very good job. Set your camera to Manual (M) or Bulb (B) mode. As far as aperture goes, remember that you will be using a long shutter speed, so you don’t really need a large aperture and shallow depth of field isn’t a goal in this type of photography. Use an aperture of f/5.6 or so.
Focus
The same idea applies when it comes to focus. Your camera will struggle mightily to autofocus in the dark surroundings, so you’re going to have to use this little trick: shine a flashlight on the area on which you’ll be painting and let the camera focus automatically. Then, switch to manual focus in order to preserve focus. If you’re indoors, you can simply turn on the lights to lock in focus, then turn the lights back off.
ISO
Keep the ISO level at its lowest setting. Your shutter will be open for upwards of 30 seconds; the light source you use in this activity will be sufficient for the job. Boosting your ISO will only add unwanted distracting noise to your image.
White Balance
How you set the white balance will depend primarily upon what your light source is. If you’re using a flashlight, set the white balance to tungsten or incandescent. But instead of fretting over white balance, just see the next tip.
File Format
Shoot raw. This will make it significantly easier to process your shot when the time comes. If any unexpected color casts show up, you can adjust the white balance in software.
Making It Happen

With the camera attached safely to your tripod and set to f/5.6 in Bulb mode, use your remote to open the shutter (if you don’t have a remote, you can use the camera’s timer function). Now, with light source in hand, run in front of the camera and paint.
Use the light to write words or draw shapes; you can paint on thin air or on a wall. You can include other objects in the scene and paint them. Don’t worry too much about showing up in the image yourself; if you’re moving quickly, the camera won’t capture your likeness, but if you want to take precautionary measures, wearing dark clothes will ensure you don’t show up in the shot.
However, if you do want to be in the shot, just linger in one spot for a moment. Generally, you will appear as a transparent figure but the longer you stand in one spot, the more well-defined your likeness will be. The same goes for the light itself; the slower you move the light, the more intensely it will appear in the final shot.
"The same goes for the light itself; the slower you move the light, the more intensely it will appear in the final shot."
Examples of What You Can Do
- Use objects and structures in the environment to add depth to the scene; you can also use those structures as a canvas. In the image below, you can see that the prominent edges have been painted. Different colors can come from using colored LEDs or flashlights capped with colored filters.

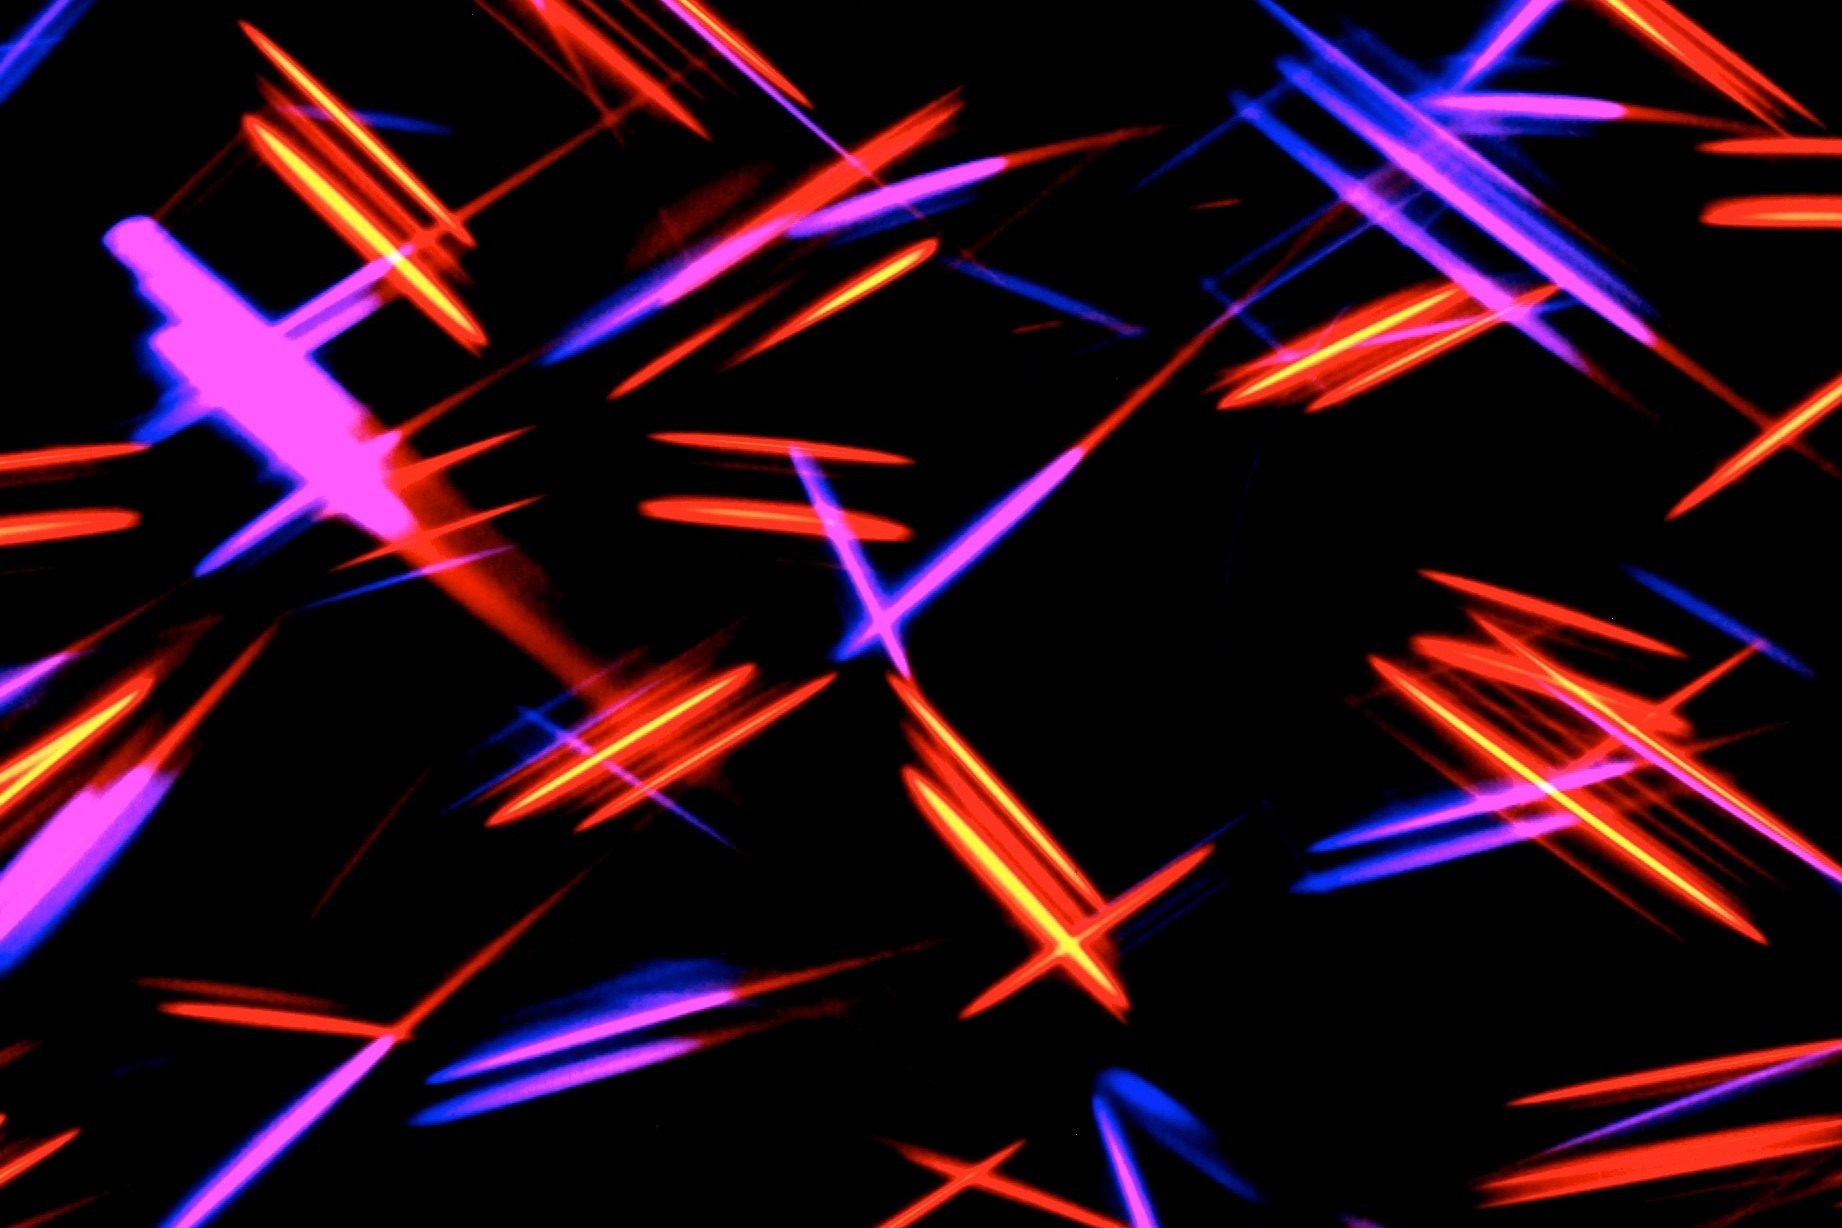
- Create a work of abstract/modern art by using LEDs. LEDs tend to give a more defined edge and are available in a number of colors. The square cropping of the image below further lends to its art-like presentation.

- Use a wall as your canvas. This light based graffiti will look cool and will keep you from getting hit with a charge for property crime.

- This example showcases a more advanced means of incorporating light painting into a landscape shot. This image was captured at night, meaning a long exposure was used; it was a prime opportunity to light paint the driftwood with a flashlight, bringing added depth and interest to the foreground.

- This image was created in an abandoned tunnel using an LED, a flashlight, and a batch of burning steel wool which emits the unique amber colored pattern.

- This brilliant example was made by using flashlights with red and green filters to outline the body and draw wings. The long exposure helped to create the bursts of light extending from the moon. The image was refined in post processing software.

- Use light painting to showcase your favorite superhero’s powers.

- Light painting and self-portraiture make a brilliant team.

Final Thoughts
The sky is the limit. Once you get the hang of the basic process behind light painting you can go as far as your creativity will take you.
Light painting is much easier than many people think and, most importantly, it’s fun; it’s an escape from the norm.
"Light painting is much easier than many people think and, most importantly, it’s fun!"
When you feel overwhelmed or uninspired by things as they relate to your photography, take time out to simply have some fun with your camera— give light painting a shot. I can’t image why you wouldn’t enjoy it.


