Beauty, they say, is in the eye of the beholder. This means that we judge what we see according to our own subjectivity.
Whenever we deal with art – whether we’re creating, assessing, buying, curating, or simply appreciating a piece of art – we always base our judgment on our own perception and standards. This is something that is influenced internally by our experiences, technical knowledge, feelings, tastes, or whatever it is that has shaped the way we see things over the years.
That’s why what may be trash to one person may be a masterpiece to another. Whatever is precious to an individual may be worthless to someone else.
This subjectivity allows one artist to price their artwork at a hundred dollars, while another artist with a similar piece will price it at thousands of dollars.
This is pretty much true for everything concerning art, and most things in life in general, including photography. Our influences affect what we value and how we judge things, and I strongly believe that these influences affect the way we perceive everything in life.
This is why we must learn the art of effective photo critique.
I am not offering you a formula that would turn you into either an art expert or a master photographer, but today I would like to share the way I have been critiquing photographs, both for giving feedback to my photography students and also personally for assessing my own work – a way that could possibly encourage others to continue getting better at photography, rather than discouraging them.
If you’re interested in this kind of method, then read on.
Our Basis of Judgement
Our lesson begins by understanding how we judge photos.
In photography, we have used the term “photo critique” to judge an image and provide feedback to the photographer about that image.
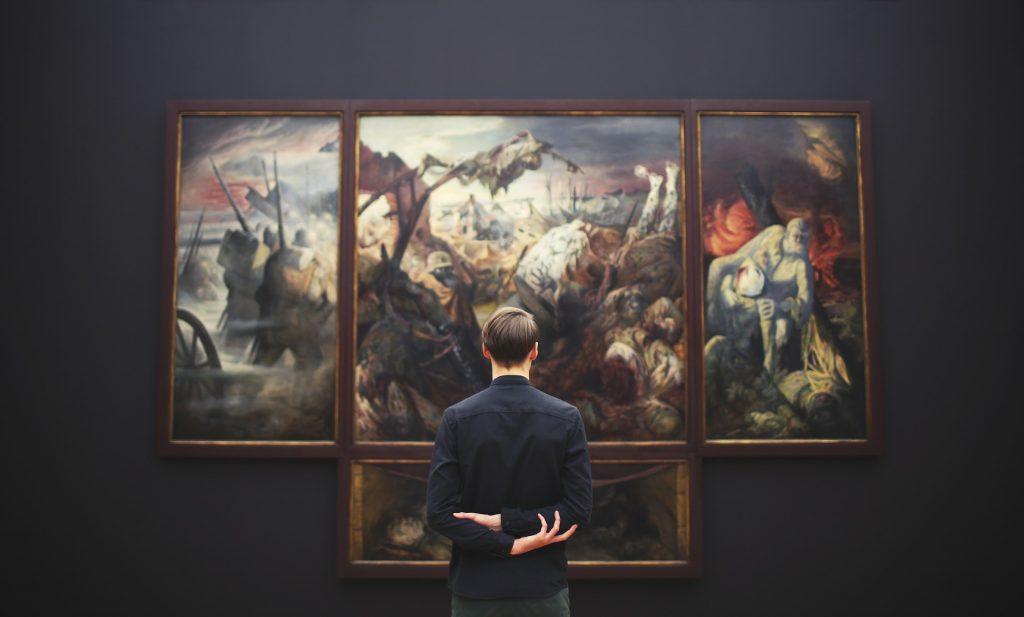
Now, to “judge” may be a strong word to use, but the term simply implies that we create a conclusion about something based on a standard. For example, if we decide that a painting is beautiful, we create a conclusion that the painting is beautiful. We have ‘judged’ it to be beautiful.
Photo by Karlo de Leon
For us to decide that the painting is beautiful, there must be a basis.
But what should be our basis of that judgment?
In courts, judges judge and provide verdicts based on the law; the law is the standard. However, when judging art, we don’t necessarily have written standards to follow.
This is where subjectivity comes in. Every single person who will critique an image will use different standards to judge it. This is why no two people will critique the same photo in the same way.
Some may critique based on technique and technicality, whereas others may use intuition. A few more will use pure bias or feelings, and there are those who will even critique based on their favorite color.
If we want to provide critique effectively, it’s good to be aware of what you’re using as your standards of judgment, even if they’re subjective.
Intention Matters
The reason why you want to give critique matters. This may sound a bit like I’m tapping into your conscience, but it helps to know that different intentions create different results. Your intention will affect the way you give critique.
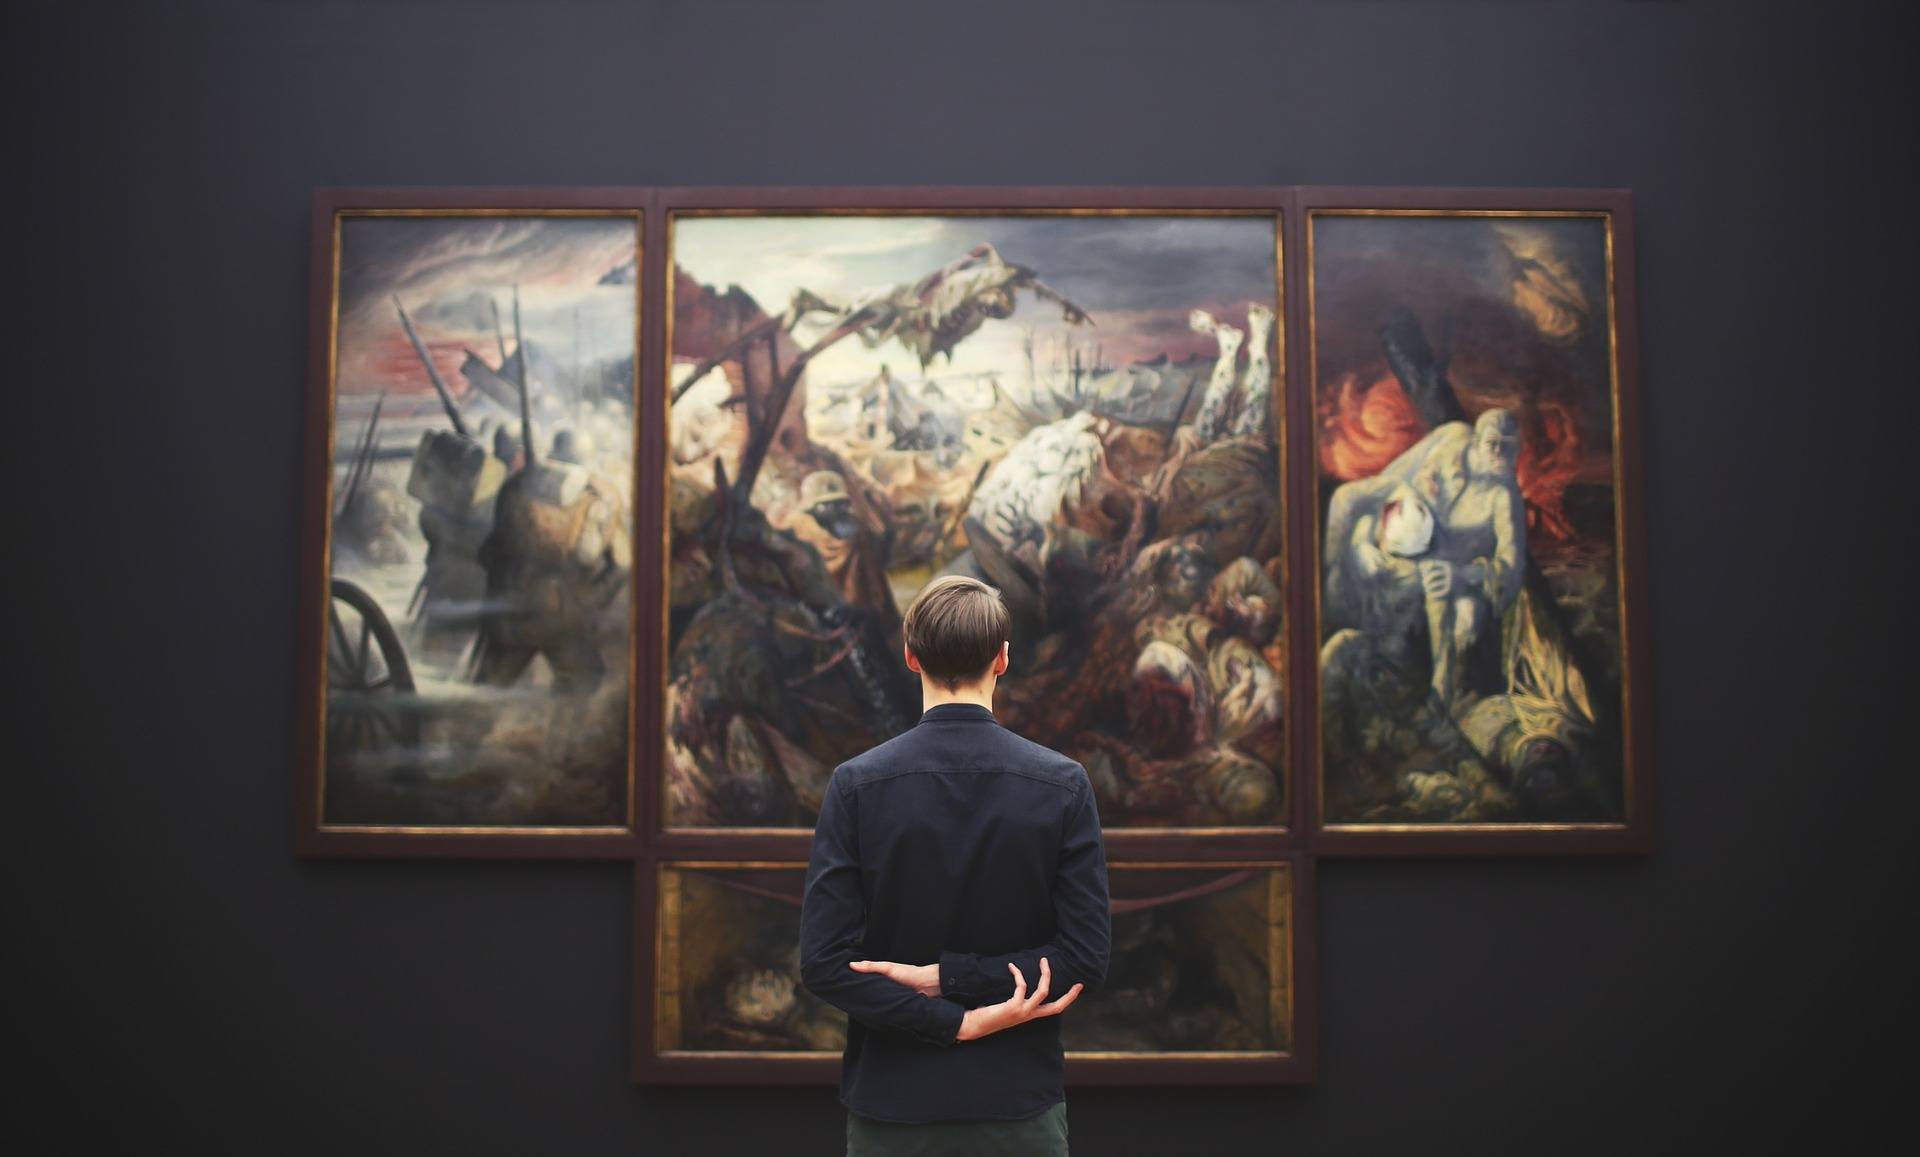
When someone tells you that your photograph is wonderful, it feels really good.
But if someone tells you that your photograph is ugly, or that your image is beyond fixing, not only will you feel bad about what was said, but the statement also offers no help whatsoever.
Photo by Karlo de Leon
I’ve seen critique discussions in forums where more experienced photographers leave nasty comments to new photographers that go beyond the essence of critique.
In one instance, I’ve seen a comment that discouraged the photographer to even continue photography. The comment was,
“Your problem is beyond composition. Your problem is that you don’t have talent.”
This is a good example of really bad critique. In fact, it is not critique at all.
The poor kid only wanted to learn. If that was said to me, I would have felt really miserable. Of course, the whole forum went wild after that.
Having the intention to help others to improve is a good way to approach critique.
Effective photo critique is always helpful to the one who created the image. It provides some form of direction that the shooter can take, or it will give an idea as to what knowledge or experience they should begin to acquire.
Effective photo critique is always helpful to the one who created the image.
If there’s no additional knowledge to be acquired, effective critique can validate that the photographer has already learned a certain skill. This is especially true for more experienced photographers.
Also, every time you provide critique, it allows you to intentionally practice what you’ve learned in photography. It also helps you to validate what you know based on other people’s images.
Receiving Critique
Before we continue discussing how to give critique, let’s first talk about receiving critique.
Different photographers will have various reasons for wanting to receive critique. In my opinion, receiving critique should be all about learning. It’s receiving feedback to improve.
There are also those who only want to receive affirmation but they do this by submitting their image for critique. I personally think that this is a bad idea.
A word of warning: Subjecting your images for critique can hurt your ego especially if it’s negative feedback given by someone who has never understood how to give effective critique.
So before you do so, ask yourself if you’re really looking for advice on how to improve your photography, or if you’re just seeking validation or looking for compliments.
What Images Do I Submit for Critique?
Typically, you would want to ask others to critique your best work. Rarely do I see someone who asks others to critique a photo that hasn’t passed their own standards. You normally want to put your best foot forward whenever you ask for feedback. This helps us see where we are at and what else we could do to be better in our craft.
There are also times when you want to ask for feedback for photographs that you’re uncertain about – you like the image, but you’re not quite sure what seems to be off and you don’t know what you could do or could have done to make it better. You just feel it intuitively. Receiving critique may be a way for you to know what it is.
How to Receive Critique
The other reason why we’re highlighting receiving critique first is that it helps us determine what kind of critique is helpful. This, in turn, allows us to give critique effectively.
Whenever you receive critique, gather the most common feedback, assess it, and ask yourself these two questions:
- What does the feedback tell me about what I can improve on?
- Based on what I need to improve on, what specific skill in photography do I need to learn more about?
But wait, it shouldn’t be just any feedback. It should be observation-based feedback. Here are some examples of observation-based feedback:
- Your horizon (landscape) is not level. The shot feels like it’s tilting to the left.
- It’s perfectly exposed.
- The background elements are distracting.
To compare, here is some non-observation-based feedback:
- Using the rule of thirds is better.
- Your photo will look better in black and white.
- It’s beautiful!
Important Note: In the second half of this guide, Giving Feedback, I will discuss why I avoid giving these types of feedback and why we shouldn’t focus on them very much if we’ve received them.
Ok, let’s have an example. Imagine that after submitting your photo for feedback, the most common feedback you’ve received is:
“The photo is underexposed” and “The colors are dull and flat.”
Alright! Let’s answer those two questions.
What can you improve on based on the feedback?
- Its exposure and color.
Next, what specific skills do you need to learn to address the issue?
- How to determine what correct exposure looks like.
- How to achieve it in-camera and also possibly correct it in post-processing.
Now, if you cannot answer these two questions immediately, research that topic and that may well be the key to improving your shots.
Movie critics don’t have to be filmmakers to provide great feedback. Same goes with other visual art critics, including photography. Receiving critique from both photographers and non-photographers can be invaluable. Photo by Karlo de Leon
Key Lesson: For this to be more beneficial to you. Go over the other photos you have in your collection and see if there’s a pattern or a tendency. It may not only be something that’s in one photograph, but in the majority of your images.
For example, there are some beginners who have a tendency to tilt, instead of level, their horizons when shooting landscapes. It’s common in most of their shots.
I’ve also seen some postprocessing newbies who tend to oversaturate their colors. I’ve been guilty of this too.
Now, why do we gather just the most common feedback and not just take them all? Because, in my opinion, general observation is usually more accurate when it comes to subjective things. Why do you think it requires more than one judge to say yes to an X-Factor or American Idol audition, or any art or talent competition for that matter? This is also why it’s good to submit your image to a number of people, or for group feedback, rather than to just one individual as you’re starting out.
As you master how to give effective photo critique, however, you will also learn to look for valuable feedback even if it’s not general opinion. For now, let’s stick with common feedback.
As a side note, I also add more weight to critique given by people I trust in terms of art and photography, like art experts or experienced photographers that I know mean well and are supportive of my development.
Non-Shooting Exercise:
1. Find one photo that you’d like to be critiqued and show it to the two following people:
- Someone you’re really close with that’s not a photographer or visual artist
- Someone who’s a photographer or an artist
Ask them this question: What do you think about this photo. Can you give me feedback about it?
Compare the feedback. You may actually ask more than two people, but make sure to separate the feedback given by those in category 1 and 2. See if there is a difference in terms of how useful their reactions are in terms of improving your photography. 2.
2. Submit up to three photographs for critique in a critique group. Suggestions of critique groups will be discussed later in this guide.
Using the methods you’ve recently learned on receiving critique, ask, gather, and analyze feedback that has been given to you by the critique group
Giving Effective Feedback
Now for the fun part!
For me, there’s really no right or wrong way to critique – just effective and ineffective.
This is also why we’ve started the topic with receiving feedback first, because I wanted to give you a glimpse of what can be effective and ineffective.
There’s really no right or wrong way to critique – just effective and ineffective.
Effective critique hinges on one important element: the ability of the critique giver to provide relevant observable information. This kind of feedback can give the shooter something to work with.
Remember, the goal of effective critique is to help and not simply to criticize, so give the shooter something that can help them become a better photographer. If you can, make it relevant to what they need help with if they ask for it.

There are a lot of things that you may not like about this image. But can you find something that you actually like about it?
What Works and What Doesn't Work
One way to critique an image is to ask yourself two questions:
- What is it about the image that works for me?
- What is it about the image that doesn’t work for me?
“What works for me” is a question of, what is it in the image that is pleasing, striking, or interesting? And what do I like about it?
“What doesn’t work for me” is a similar opposite question: What is it in the image that I find distracting, off, or weird? And what do I not like about it?
This prevents me from simply saying “it’s nice,” “it’s beautiful,” or “I don’t really like it” without offering anything that the photographer could use to improve later.

Let’s take this image of a cup of coffee as an example.
How would you critique this image based on what works and what doesn’t work for you? Write it down on a piece of paper.
Really, write it down. We’ll do a comparison later.
The nice thing about this approach is that it allows me to look into both positive and negative aspects of the image. This allows for more balanced feedback, because oftentimes the tendency to give critique leans to either just good or bad.
Do you have to give both good and bad sides? That’s really up to you. It’s good if you can, but I don’t think it’s necessary. I prefer focusing on one or two things that stand out.
Critique Using the Seven Fundamental
I avoid using checklists for critique. Although it can be thorough, to me, using a list to see whether or not the image passed a certain standard is quite limiting and not really representative of the image.
What I do follow is the use of key photography skill areas that I can focus my critique on.
There are seven areas that I feel every photographer can work on to improve their photography. They are camera knowhow, composition, lighting, visual storytelling, subject selection, post-processing, and specific areas of study (mastery of photography genre). Everything else will fall under these categories.
They’re pretty self-explanatory so I won’t be discussing these anymore.
Recommended Reading: If you’re interested in knowing more about it, though, here’s a free guide that I wrote about these seven skill areas. I urge you do to do a quick read on it before proceeding – The 7 Fundamental Photography Skill Areas. If you’re interested in knowing more about it, though, here’s a free guide that I wrote about these seven skill areas. I urge you do to do a quick read on it before proceeding – The 7 Fundamental Photography Skill Areas.

This image has a gorgeous scene but some things are quite off. How would you critique this image based on the 7 fundamental photography skill areas?
What I then do is merge this with what works and what doesn’t work to be able to create a better flow for my critique.
Try it now. Analyzing the coffee cup image, make a list of things that work for you and that do not work for you and classify them under these seven categories.
Now compare your notes from your last feedback and see if there’s a difference. Some of you may have added some more items since you now have a reference as to what to look for.
Based on the seven skill areas, here are a few things that work for me and a couple more that don’t.
What works?
- Subject Selection – the froth design is attractive
- Camera Knowhow – exposure is fine, no camera shake
What doesn’t work?
- Lighting and Visual Storytelling – the lighting is kind of flat
- Composition – the image feels like it’s titling to the right
- Post-processing – while the image is properly exposed, the color rendition makes it look like it’s underexposed
Did I like this shot? Not really. It looked ordinary to me. It wasn’t bad, but it also wasn’t special.
But I am here to help the photographer, not bash them and make them feel miserable.
Out of this list, I will focus on just two or three points.
I think there are two things that could have been done to improve the image. They are, (1) better lighting and (2) just tilting the crop a little to the right so the level doesn’t feel awkward.
Key Lesson: Even if I find ten things that I feel could be improved, I only focus on two to three points.
If you’ve ever taught basic photography, one thing that you don’t want to do is to critique at a level that they don’t understand. That is just counterproductive.
The lighting used was just warm ambient room lights, which don’t do much for the image. It would add a little more drama and interest by getting window light or more directional lighting to increase the natural contrast to make it look more interesting. The froth design is great, and it’s nice to focus on that instead of the whole cup. Cropping closer might work.
Important Note: There is some bias in my last cropping suggestion since it focuses on how I think the composition should have been done based on the subject selection. The photographer doesn’t seem to care about the story here but more on design, so I will choose to give that feedback. In most other times, like if it was a product shot, I will not because it’ll alter the original message (more on that later). The important thing is that when I give this feedback, I am aware of the possibility that it may not be what the photographer intended.
You don’t have to discuss each of the seven categories; just what works or what doesn’t work.

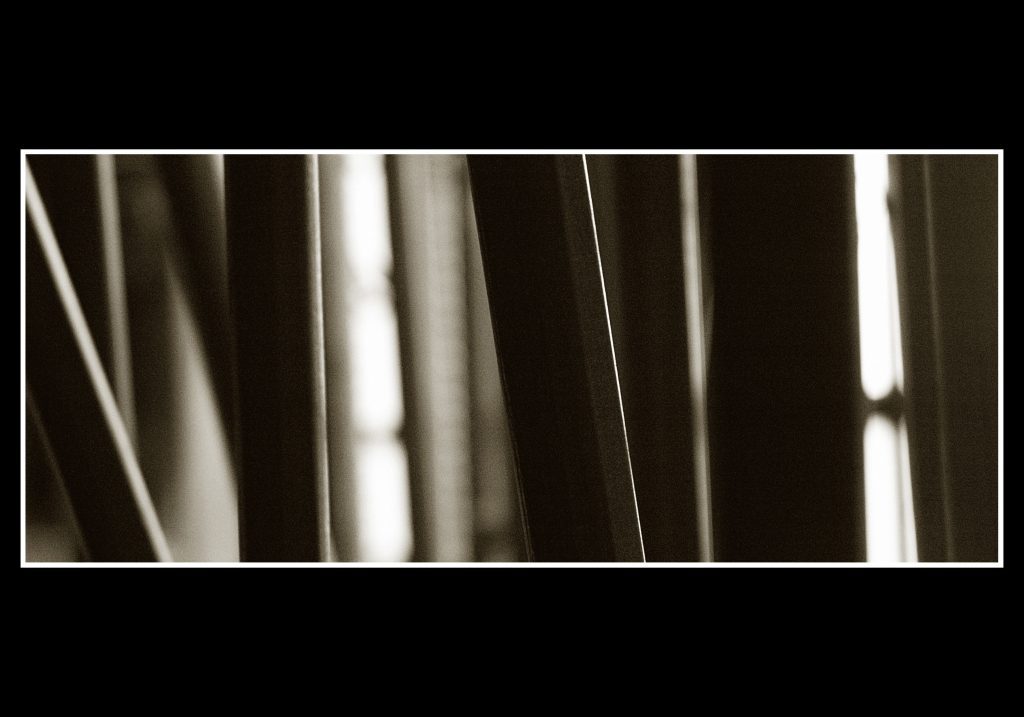
Here’s an image that I actually like at first glance. There are parts of the image composition that I both like and don’t like. I really like the use of repetition here. The use of blur to create depth is also great, plus the use of sharpness and contrast to determine the focal point.
But it’s not a photo I’d like to stare at. It hurts my eyes so it’s not really that pleasing. I’m guessing it’s the color and that there’ are many curvy lines in the background.
So here, composition will both fall under what works and what doesn’t work.
Avoiding Rules and Bias
In order for us to critique effectively, we must be aware of our own biases and avoid imposing them on others.
Here are some of these biases and why it’s important to avoid using it in critique carelessly.
Don't Base it on Rules and Guidelines
There are many rules and guidelines that help beginning photographers improve their shots. A classic example is the rule of thirds – a photography composition guideline.
In order for us to critique effectively, we must be aware of our own biases and avoid imposing them on others.
Most people who haven’t learned composition will usually place their subject dead center in the frame. Someone who has recently discovered the rule of thirds would probably suggest to use the guideline even if they don’t have a full understanding of why it works.
Here’s an example feedback for this image below: “The photo is not following the rule of thirds.”

When you give a statement like this, it tells the recipient that images should always follow the rule of thirds to be strong, but this is not true. There are photographs that work better if they don’t follow the rule of thirds. This is one such image. Another example is: “The subject is slightly blurry. It’s not tack sharp. Make sure to keep it tack sharp next time.” This is based on a guideline that subjects need to be sharp. It’s also a personal bias (which we will discuss next), because having photos tack sharp is but a personal need.

Photo by Karlo de Leon
I took the photo above around 15 years ago (at the time of writing). It was at the time that I was volunteering as a photographer for a heritage group in my location. I was still starting out as a photographer then.
If I submit this for group critique now, I’d be sure to get a comment that the photo is slightly blurry and needs to be sharpened. Why is that? Because many of us have been accustomed and trained that our subject needs to be sharp.
But the question is, does it not work if it’s blurry?
If my goal was to submit this to a stock agency or a magazine, sharpness may be important. But I only intended to create an image that preserved the interior of a heritage house. I am aware of the sharpness issue, but I like it none the less.
Here’s the interesting thing, though: a museum curator once saw this photo and asked me if I could sell that to him framed for a few hundred dollars. He said that it feels like the photograph was alive; like someone was going to walk across the image. The blurriness and the color treatment gave it an effect that made it look more 3D.
This is why I never use checklists. If sharpness and color rendition was part of it, I would have deleted this photo.
How you can give feedback better is to focus on the ‘why’ instead of the ‘how’ because it gives the shooter a better idea on what to work on instead of following a guideline mindlessly.
Because, more often than not, we tend to give only one solution, when in fact, there are a myriad of others that the shooter can do to make it look better.
So it’s actually ok to give a solution or two as long as you provide the ‘why’ observation first.
Here’s an example of feedback for a photo where the subject is placed dead center: “There’s too much space all around the subject and it makes my eyes feel tired. Try using frames or different composition rules for a better eye flow.”
In the flower image earlier, however, the petals form leading lines that make it effective even if the flower is placed at dead cente
Avoiding Personal-Need Bias
It’s difficult to give critique without bias, but we must strive to hold back on our preferences so that we do not invalidate the works of our fellow photographers.
Imagine if a photographer told you that you should just convert your color photograph into a black and white image because it looks better, but it’s not the theme that you’re trying to follow.
Those who are used to over-saturating colors could easily feel that normal color photographs are dull, and would probably suggest to use a style and look similar to theirs.
Purists abhor post-processing experts.
Here’s an example of a critique statement that contains personal-need bias:
“It’s better if the color of the dress was red since red is a strong color and is more attractive. Pink is too pale. Choose a stronger and happier color.”
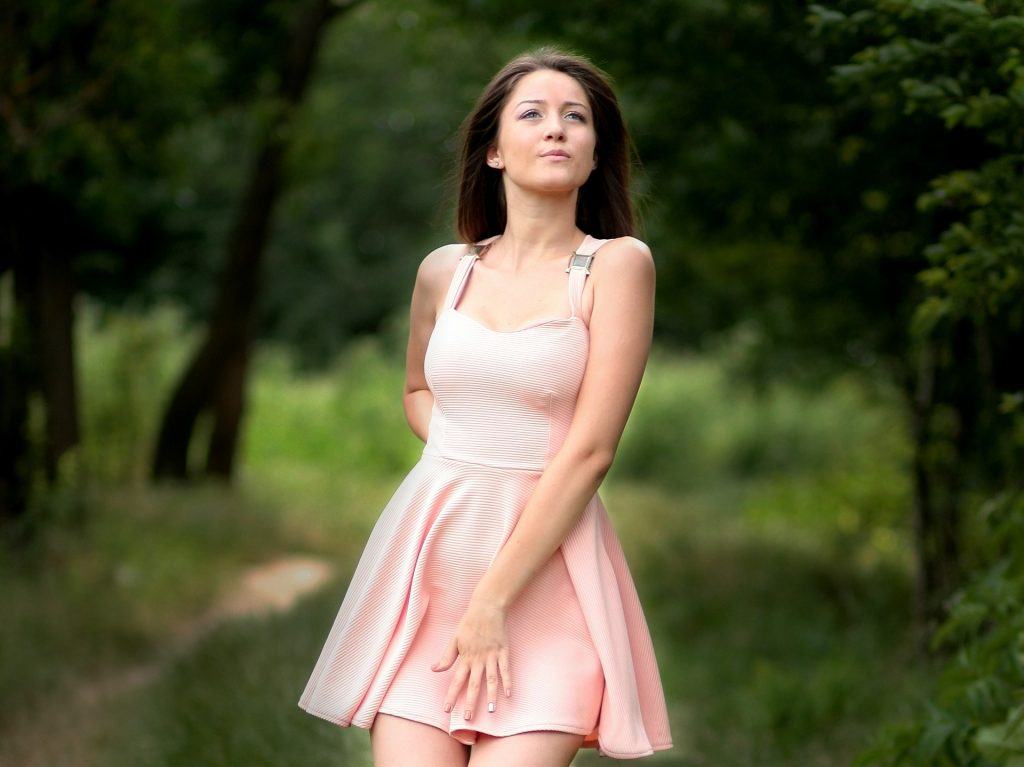
Looking at this photo as reference, composition and story-wise, the tone and color of the dress in the original image already work since it makes the subject (girl) stand out. Happiness doesn’t also seem to be a theme in the photograph.
The comment must have been given because of personal bias. It could be that the one who gave the feedback likes red, or she learned from her photography teacher that red stands out, and that she wants photos to feel more positive.
Avoiding Message Alteration
I think the most ineffective type of feedback that should be avoided are those that alter the original message that the photographer wanted to convey. The only exception to this is if the feedback is specifically about the message itself.
Photo by Karlo de Leon
Let’s take this photo as an example.
Say someone comments about cropping this image:
“I think it’s better if you zoomed in closer to highlight the subject’s face. Also, using a narrower depth of field to blur the background more would be a better and stronger shot.”
See, this is not ineffective critique because it is wrong. In fact, the feedback may be quite valid. Cropping it closer will highlight the subject’s face and capture more of the emotion and human connection. It’s ineffective because that kind of composition change disregards the original intention or message.
Recommended Reading: If you’d like to learn how to use depth of field to create stunning images, grab a copy of Photzy’s Beautiful Background Blur premium guide.
Photography is not just about composition; it’s also about storytelling. And more often than not, and in my personal opinion, storytelling should be of priority. Composition should serve the original intent – the story and the vision that the photographer wanted to convey in the first place.
I took that photo during one of my trips to Seoul, South Korea. I was walking along the streets of Itaewon when I saw this guy. I was drawn to him because of his unique character. In this photo, I wanted to highlight this uniqueness, so everything from his face, to his clothes, his gestures, and paraphernalia (the bottle of soju and newspapers nearby) mattered in this shot.
Photography is not just about composition; it’s also about storytelling. And more often than not, and in my personal opinion, storytelling should be of priority.
Making it look like a street shot was significant to me because I wanted to show where he was – on the sidewalk begging for money, but with a smile. Cropping it to show only the head would be a total misalignment from my vision.
If you will provide a solution with your feedback, it should always support the same message and story. If you do not know the vision, guess – or better yet, ask the shooter.
Venues for Photo Critique

What do you think about the placement of elements in this frame? How about the lighting? Do you find it flattering or is there a way to improve the lighting?
I would like to end this guide by giving you a couple of venues where you can experience photo critique, whether you’re looking to give or receive feedback.
First, if you aren’t part of a photography club yet, consider joining one. I’m sure there are those who allow for a test membership so you can try it out first and see what they do in the club.
I joined a club in my first year as a photographer and it has been a valuable experience for me.
We had photo shoots, out of town photo opportunities, photo walks, and learning sessions. What I’ve found most valuable in joining a club is that I had access to professionals or, at least, more experienced photographers who were able to give me feedback. At the same time, we had a monthly photo contest where every submission was critiqued. Giving and receiving constructive feedback was part of the culture of the club and that really helped in my growth as a photographer.
The second and more accessible way to give and receive critique is to join an online critique forum. While social media sites like Instagram and photo sharing sites like Flickr and 500px are great places to share photographs, they’re not conducive to critique exchanges.
Most photography forums usually allow some form of critique-giving. Our sister site, Lightstalking, has a critique section called The Shark Tank where the sole purpose is to exchange feedback on submitted images. It is highly encouraged to give feedback before receiving feedback, so it’s a great place to practice critiquing other photographers’ works too. Try it out here. It’s free to join.
Final
Effective critique, like most every topic in photography, cannot be fully learned by reading just one short guide. Although I have outlined what I think is essential, there is a lot more to discover. What I have outlined here should be more than enough for you to get you started. The following non-shooting exercises should help you find venues where you can start giving and receiving critique.
Photo by Karlo de Leon
Non-Shooting Exercise: Here are some challenges that you can choose to do:
- Scout around for a camera club near you. Visit them when you can and see if it’s a good fit for you.
- Join a critique site and practice giving critique to at least three photographs. Make sure to assess the photographs first and write down your critique before you read the comments of other people. You don’t have to actually post your feedback, unless you’re brave enough to do it.
Recommended Reading: If you’d like to learn how to use depth of field to create stunning images, grab a copy of Photzy’s Beautiful Background Blur premium guide.