If you’ve been using your digital camera for a while, you’ll have noticed a button or function called White Balance. You might even know a bit about what white balance does. But if you’ve got questions, then this is the guide for you! I’ll explain the different white balance settings and how to use them in your photography.
Here’s what we’ll cover:
- What is color temperature?
- What is white balance and what are the white balance presets?
- Changing white balance in-camera and in post-production
- Auto white balance
- Tint
Recommended Reading: Want a step-by-step guide on photography skills with your DSLR? Grab a copy of our best-selling guide, the DSLR Crash Course.
What Is Color Temperature?
The first thing you need to understand about light is that it has different colors from different sources, and each of these colors has a color temperature. This isn’t visible to the naked eye, as we tend to compensate for different color temperatures so that we just see white light. But cameras don’t compensate, so unless we tell the camera otherwise (via the white balance setting), it will just capture the light and color temperatures that are actually in a scene.
Color temperature is measured in units of Kelvin (K). These are the basic ranges for different types of light:
- 1000-2000k: Candlelight
- 2500-3500k: Tungsten Light (normal household bulb)
- 3000-4000k: Sunrise/Sunset (clear skies)
- 4000-5000k: Fluorescent Light
- 5000-5500k: Electronic Flash
- 5000-6500k: Daylight (clear skies with sun overhead)
- 6500-8000k: Overcast skies (moderate)
- 9000-10000k: Heavily overcast skies or shade
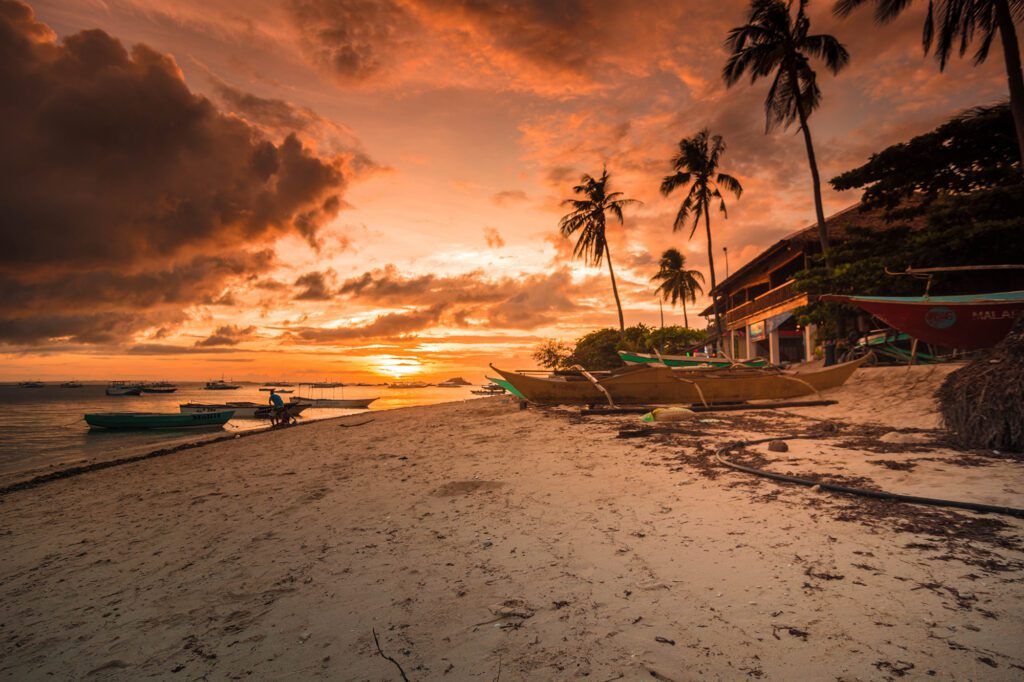
Sunrise and sunset are perennially popular times of day to shoot at, due to the soft light with a low color temperature. Photograph by Zany Jadraque
A neutral color temperature is taken as sunlight at noon, with a color temperature of 5000-6500K. This is why you’ll find electronic flash and studio lighting balanced to between 5000 and 5500K so that it imitates sunlight as closely as possible.
The first thing you need to understand about light is that it has different colors from different sources, and each of these colors has a color temperature.
You will also notice that there is a large amount of variance between different light sources, even if they seem to be the same. For instance, two tungsten household bulbs could have two different color temperatures. Therefore, you will find a range of units of Kelvin for each type of light source.
What Is White Balance and What Are the White Balance Presets?
Key Lesson: Hopefully, it should be easier for you to understand white balance now that I’ve explained what color temperature is. White balance balances the color temperature in your photograph by adding the opposite color to that in the image to bring the color temperature back to neutral. White balance allows the camera to adjust the color casts thrown off by various lighting to produce a more natural-looking image.
In the good old days of film, dealing with different kinds of light could be tricky, particularly when it came to indoor tungsten and fluorescent lighting. We used to use special film or complex sets of filters! Digital cameras make things so much easier. Even the most basic camera comes with a white balance setting, which allows you to alter the white balance preset from shot to shot if necessary. You’ll find a range of presets on your camera, so let’s look at what they mean.
- Auto White Balance (AWB) is the default white balance setting, whereby the camera sets the white balance according to the available ambient and/or flash lighting. AWB on modern cameras is pretty reliable; although, varied lighting sources and strong ambient lighting can still confuse it.
- Custom/Preset White Balance allows users to set their white balance using a gray card (which gives a shot with 18% gray, which is the midpoint between true black and true white). This is often used by professional photographers in a studio environment, where it is vital to have a true white background.
- Kelvin White Balance allows you to set the color temperature at will, giving a very precise result, as you can tweak the Kelvins in small increments.

Indoor and household lighting are generally tungsten-based, casting an orange glow onto images. Even with the correct white balance used, it can be particularly tricky to overcome. Photograph by devn
- Tungsten White Balance adjusts the white balance to deal with the orange cast put on images by normal household bulbs.
- Fluorescent White Balance adjusts the white balance to remove the green or blue tinge produced by fluorescent strip lighting. There are a lot of different types of fluorescent bulbs, so some cameras will have several different presets for this setting.
- Daylight White Balance is, fairly obviously, designed for shooting in daylight. However, it should only be used when there are clear skies and the sun is overhead.
- Flash White Balance is for use with external flashguns (speedlights). As flash can be quite cool, this mode warms up shots a touch.
- Cloudy White Balance is for use in the daytime when skies aren’t clear. As it presumes there is some cloud coverage, it will warm shots up a little more than the daylight mode.
- Shady White Balance is, again somewhat obviously, for use in shady conditions. Shade tends to cast a slightly blue/green tinge on subjects, so this mode will compensate for that by adding a touch of yellow.
Changing White Balance In-Camera and in Post-production
White balance can usually be changed with a dedicated button on most cameras (usually helpfully labeled ‘WB’). You’ll also often find it in the Quick Menu or information that can be displayed on the LCD screen. Some basic models don’t have a shortcut button, so you’ll need to go into your Menu Settings to change the white balance.
Key Lesson: The most accurate white balance reading will be obtained by using the Custom/Preset white balance setting. However, this is usually best to use in a situation where the light is stable (e.g., a studio), as otherwise, you’ll have to take a new reading every time the light changes.
If you’ve shot your images in RAW, you can also change your white balance in post-production programs such as Adobe Photoshop and Lightroom. This is sometimes referred to as the color correction. You’ll find the white balance adjustment settings in Camera Raw with a default box that will usually say ‘WB: As shot.’ Clicking on the ‘As shot’ box will give you a drop-down list of presets, similar to those found on your camera.
Auto White Balance
A brief note on AWB. If you’re shooting RAW, using AWB will be more than sufficient in many cases. Simple lighting, shooting outdoors, or shooting indoors with only one type of lighting will probably be fine to shoot with AWB. But if you’re shooting with a mixture of lighting or in situations where there is very strong tungsten or fluorescent light, you’ll probably find that AWB will struggle to get things correct. In these situations, I’d strongly recommend setting your white balance to the appropriate preset. As with all technologies, more modern cameras will have more accurate AWB. However, if you need to get colors 100% accurate (in particular, white backgrounds), I always recommend using a Custom white balance. It’s also advisable to remember that if you’re shooting in Jpeg, you won’t be able to apply an accurate color correction in post-production, so you need to get your white balance correct in camera.
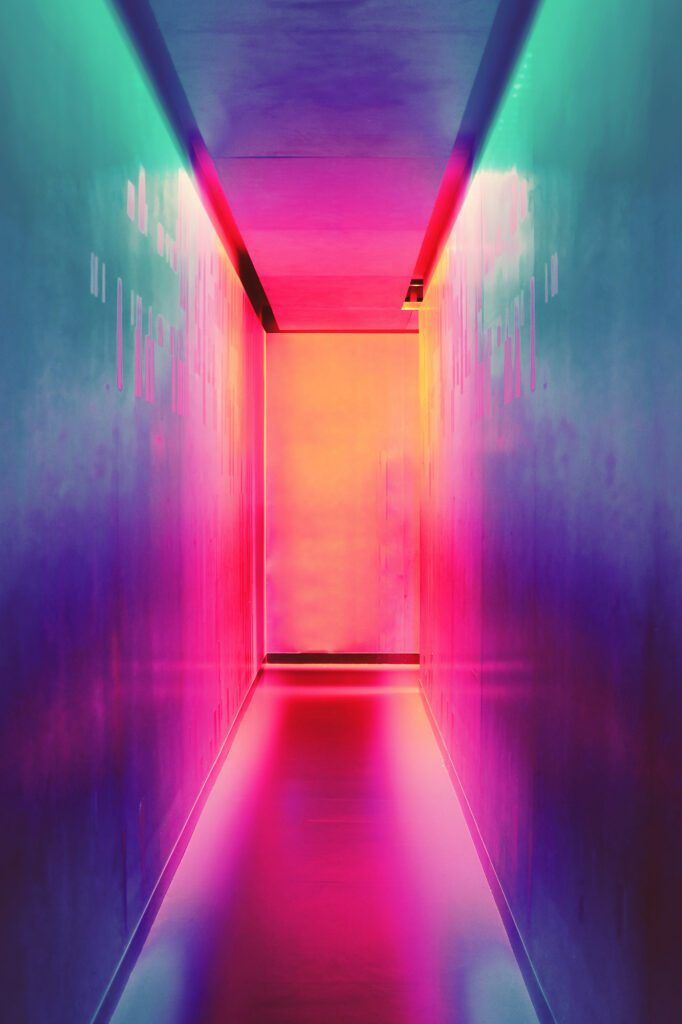
Modern fluorescent lighting can create several different color casts and tints. Sometimes the best option is to make a feature of it! Photograph by Efe Kurnaz
Key Lesson: Do be aware that if you buy a new camera, or use more than one model, the white balance settings are likely to be slightly different! Different cameras affect the final look of the image.
Tint
As well as color temperature, light can also have a tint. Color temperature ranges within the orange/blue spectrum whilst tint ranges within the green/magenta spectrum. This is unlikely to be an issue if you’re shooting in daylight or with artificial lighting that’s balanced to the same Kelvin range as daylight.
As with all technologies, more modern cameras will have more accurate AWB. However, if you need to get colors 100% accurate (in particular, white backgrounds), I always recommend using a Custom white balance.
But if you shoot with tungsten, fluorescent, or LED lights, you will find yourself having to contend with tint. Adjusting your white balance to the correct preset may not be enough. In this case, it’s vital to shoot in RAW so that you can easily adjust the tint in post-production to get the right look and feel to your image.
For the most accurate white balance reading, you should use the Custom white balance setting with a gray card. This is particularly useful when you’re working with a lot of white in an image, which can easily confuse your camera’s internal meter. Photograph by freestocks
Recommended Reading: Want a step-by-step guide on photography skills with your DSLR? Grab a copy of our best-selling guide, the DSLR Crash Course.
Conclusion
Once you understand the concept of light having a color temperature, the white balance should become easier to understand. Having a basic understanding of color temperature should be more than enough for most photographers. The important things to get to grips with are when and how to adjust white balance – either in-camera or post-production. This guide should give you the knowledge you need to be comfortable using a white balance.
Self-Check Quiz:
- What is a neutral color temperature range in Kelvins?
- What piece of card is needed for a Custom/Preset white balance?
- What is changing white balance sometimes called in post-production?
- Can you change your white balance preset in post-production if you’ve shot in Jpeg?
- What sorts of lighting are most prone to adding a tint to your images?

