
When I started taking photography seriously and getting something more than a hobby out of it, I was always focusing on the wrong things like getting a new camera body, a new lens, and experimenting with various editing styles. As for models, I was looking around town to get the most promising rising stars that could make it on the cover of our local magazine. While all these factors have some power over your masterpiece, if you’re looking for a nice shot of somebody, it doesn’t matter if they are in a beauty pageant. Everyone is beautiful in their own way, and trying to meet the standards isn’t getting you exciting photographs. However, learning how to pose different models and working with their body features to complement the composition really works.
Today, we’ll cover the following:
- What do we mean by posing and composition?
- What kind of questions should you ask when taking photos?

Photograph by Ľudmila Borošová
Recommended Reading: If you’d like to learn how to create amazing portraits, grab a copy of Photzy’s premium guide: The Art of Portrait Photography.
What Is Posing?
Even when photographing the most attractive person on the planet, you can get an unflattering shot if you avoid posing well. Posing is the art of making the subject stand or sit in different positions. It is what distinguishes professional models from others. Their ability to quickly change poses and control both their body and facial expressions is what makes them a pro.
What Is Composition?
A photograph consists of many elements that are somewhat related to the picture. How you choose to organize them inside the frame is what creates the composition. It can of course be random, but many professional photographers stand out when their use of composition is exceptional. You can use it to complement light, shadows, and colors, or to make geometrical features stand out. The way you assemble all the features of the photograph makes your composition.
A photograph consists of many elements that are somewhat related to the picture. How you choose to organize them inside the frame is what creates the composition.
Often, you find some posing and composition tricks that always work and reuse them. But other times, having a creative model who doesn’t mind switching different poses helps expand your horizons, too. Ultimately, there isn’t a right or wrong way of doing things and that is what makes the creative process so beautiful. Let’s talk about a few principles that I like to follow when taking photos. I always subconsciously ask myself these questions and they enable me to make better decisions.
1. Are There Any Lines to Follow?
Lines are everywhere around us once you learn where to look for them. They can be hidden anywhere, and some are more obvious than others. A typical example of lines is in landscape photography when you look at the line between the sky and the ground. Other lines can be visible in buildings.
Photograph by Ľudmila Borošová
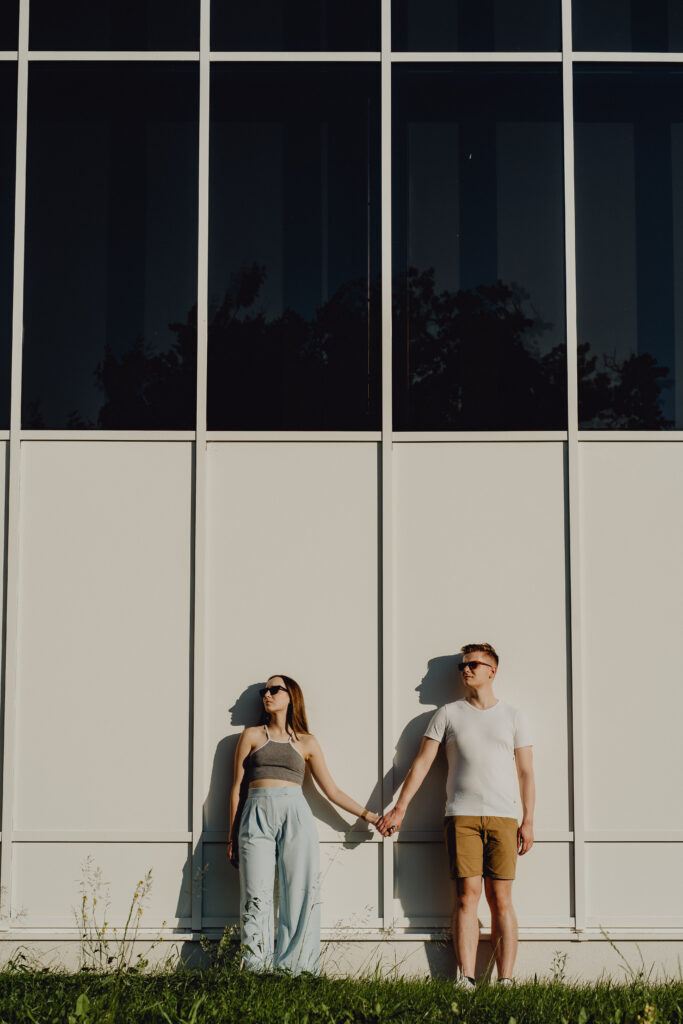
Firstly, I look if there are any interesting lines I can take advantage of. You can have horizontal lines, defining the upper and lower parts of the picture. Other lines can be vertical, which optically prolongs the picture. You can also find diagonal lines, which make the picture more unique. Some leading lines are also curved, and they help in serving as a “road” to the photographed subject.
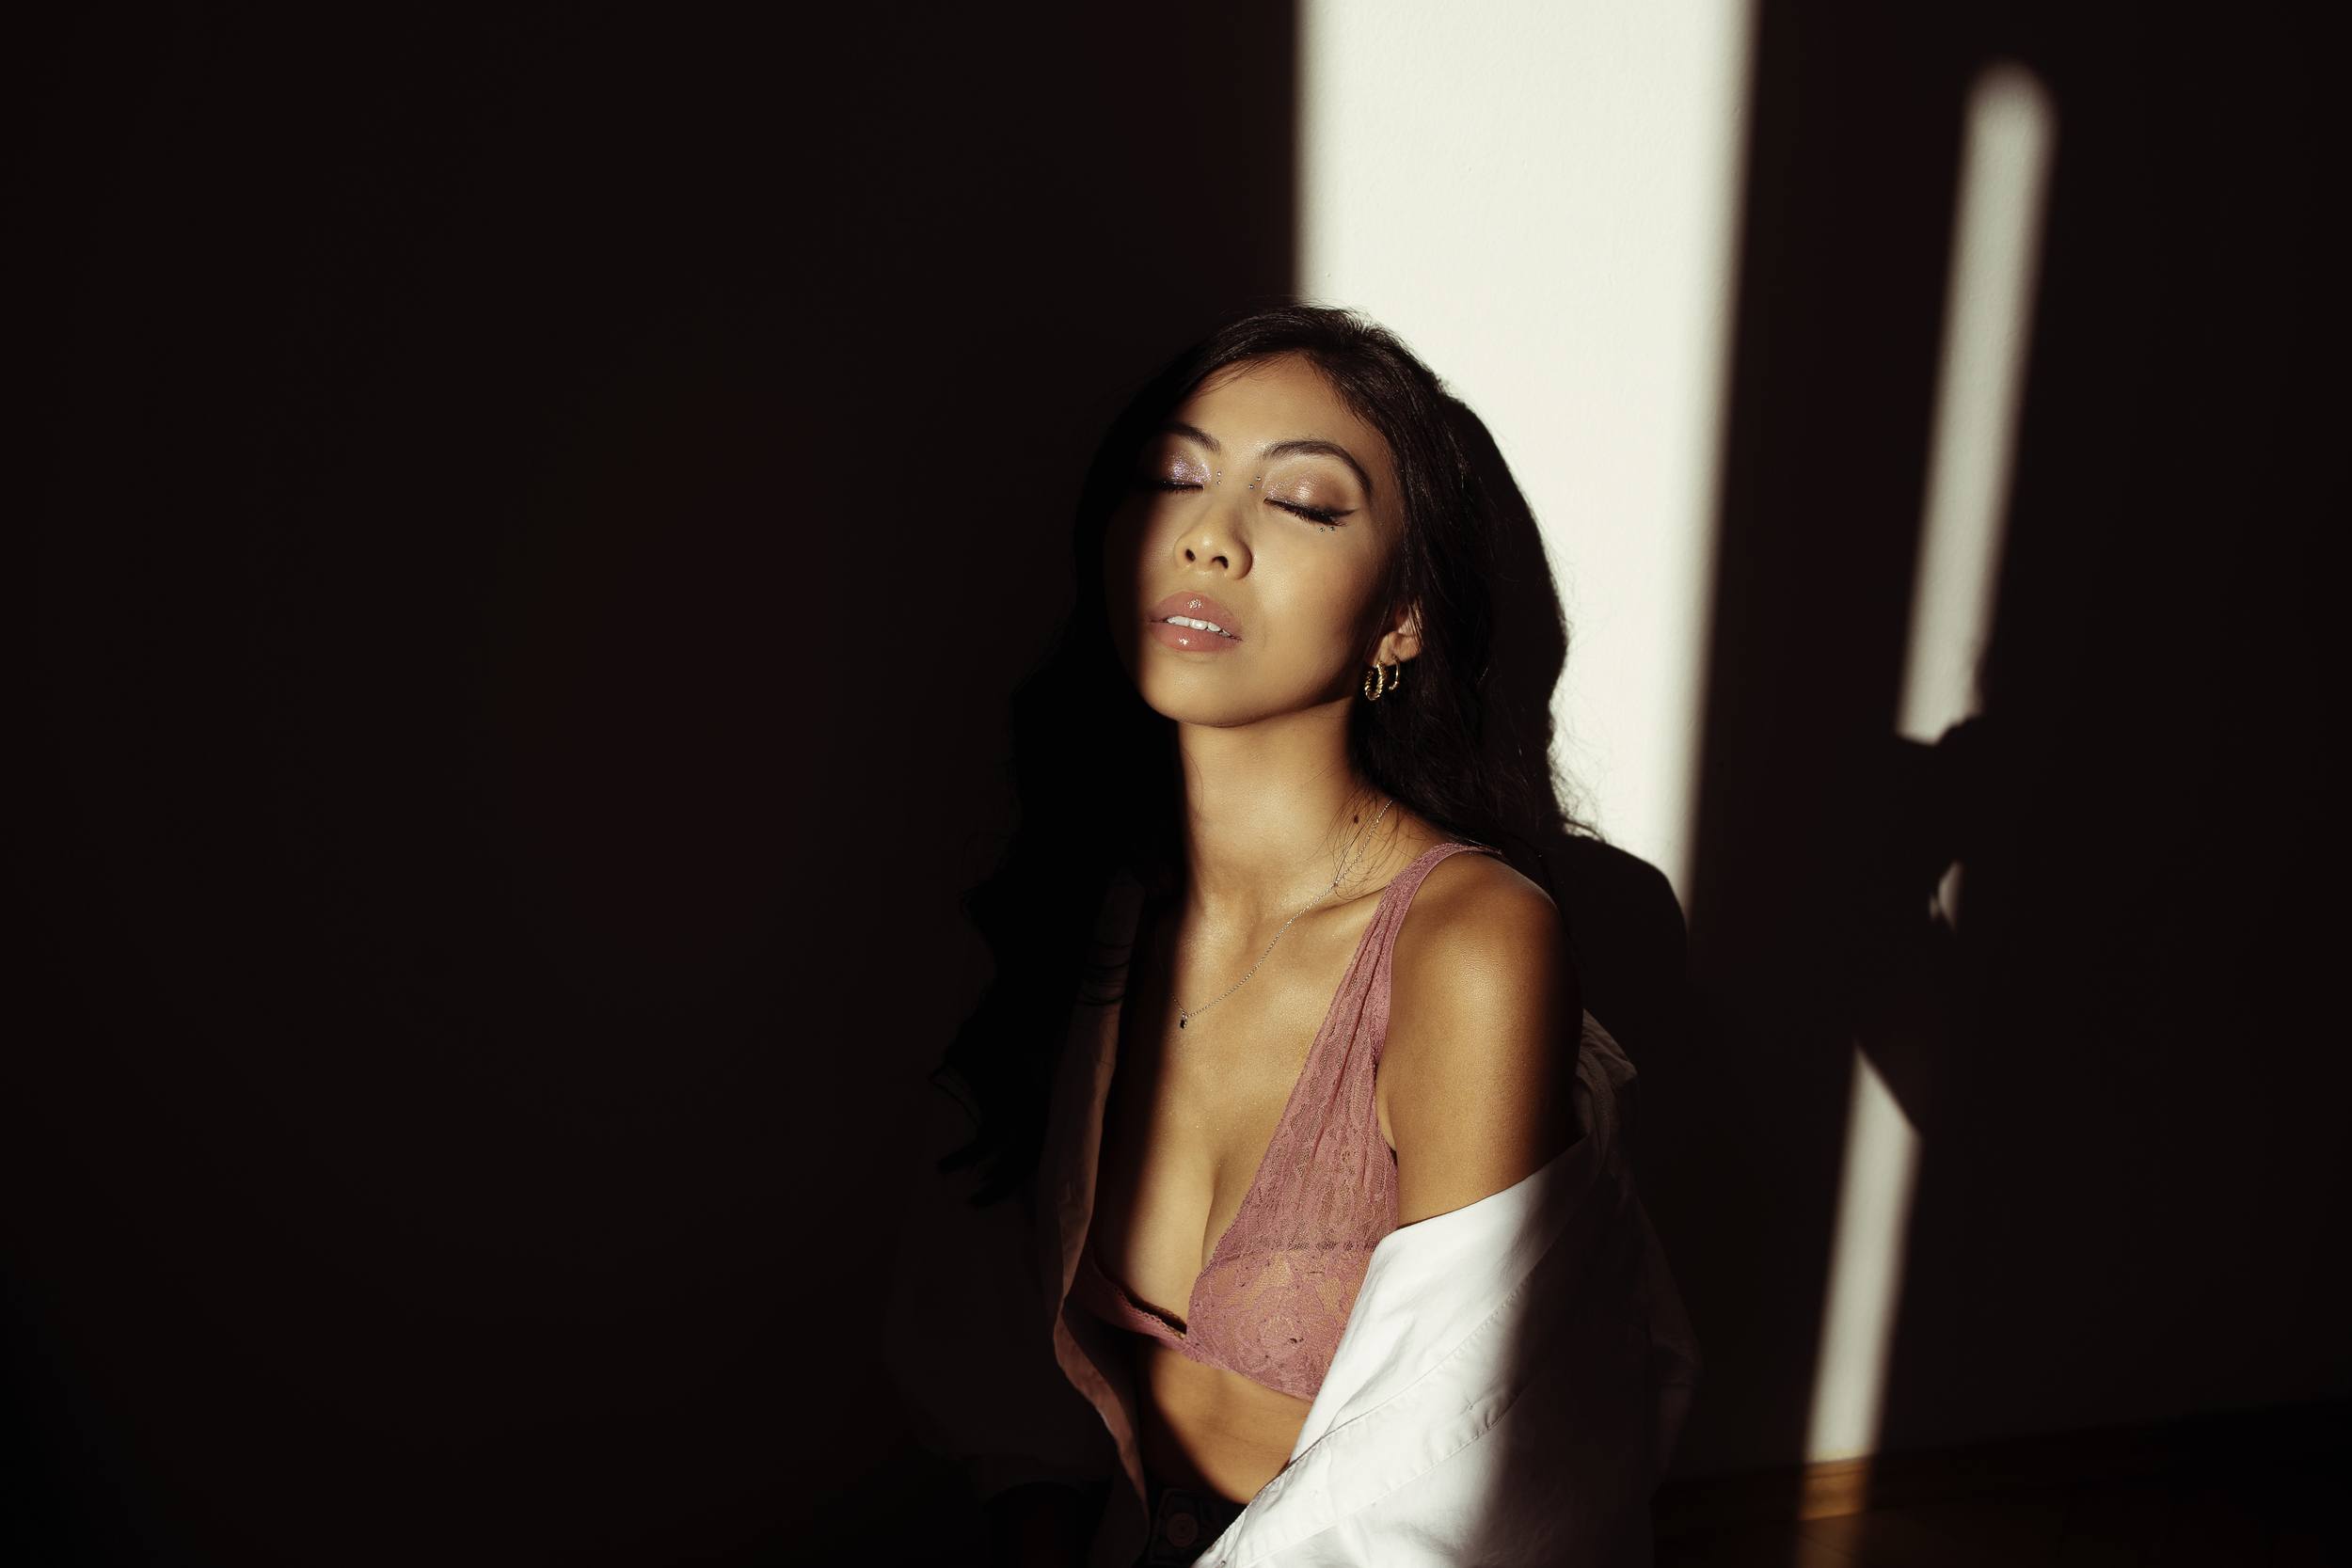
Tip: As shown in the image, combine lines with sunlight! If there is light shining on a wall, it creates a great source of interesting lines.
2. Can I Use Any Popular Composition Styles?
You don’t need to reinvent the wheel to be successful; there are already different theories on composition! They exist so that you can follow them and break them to improve your photos. Can you name any famous theories? Here are the two winners:
- The rule of thirds – This is the most common rule. Many photographers say that it’s overused, but the truth is that you can never go wrong with this one. The idea is that when the object of the photograph isn’t centered and is following certain lines, it makes the image more interesting and dynamic. You’re basically trying to create a photo where all the important action takes place in the left or right third of equally divided pieces. The object doesn’t need to be shown as a whole, and you can play with different scenarios; for example, as it is emerging from the corner.
- The golden ratio – Similarly to the rule of thirds, this theory breaks down the photograph into equally sized rectangular sections. Our aim in this composition rule is to center the main object as much as possible. Even though this rule is relatively simple, it is often mastered only by experts. The horizon is usually in the lower part of the picture, while the object is more of a central element.
Photograph by Ľudmila Borošová
Tip: You have a little composition helper right inside your camera, and I use it too! You can turn on the grid inside your live screen that automatically divides your frame into nine parts. This helps you put the focus of the photo right on the dividing lines!
3. How Can I Use What’s on the Model?
Photograph by Ľudmila Borošová
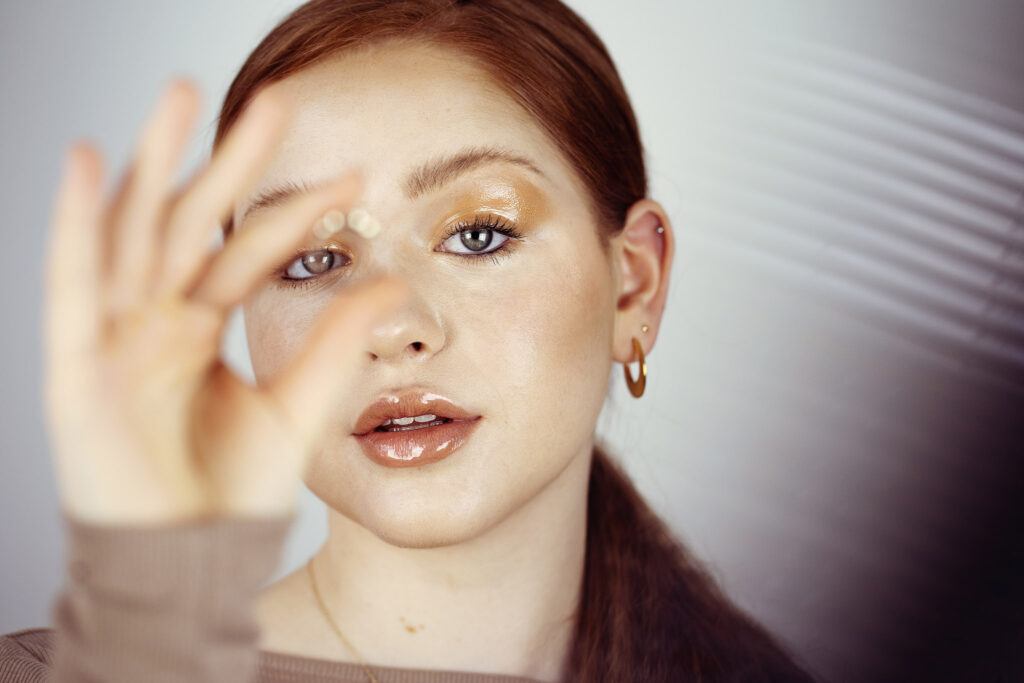
Your model will probably have at least a few unique factors that could change the composition to something more interesting. It could be creatively shaped clothing, a funky hairstyle, or even the way your model interacts with the camera. Composition and posing are tightly related for this very reason! Take a look at my favorite picture of my model Klara: she’s holding her golden ring right in front of the camera. This greatly helps the composition, but at the same time, it is a part of the pose.
Do you see what I mean now? You can always think about this example when you ask yourself this third question: “Is there anything on the model that I could creatively use?”
4. Is There Any Empty Space That Needs to Be Filled?
Sometimes, we find awkward “blank” spots on the picture that need to be filled with something to bring extra attention. It’s not a rule, sometimes they can be intentional. Whenever you’re unsure which style would suit it best, you can take photos of both options and decide in post-processing.
Photograph by Ľudmila Borošová
This is when you can incorporate posing! Just a simple fix with the model raising her left hand created so much difference in the picture.
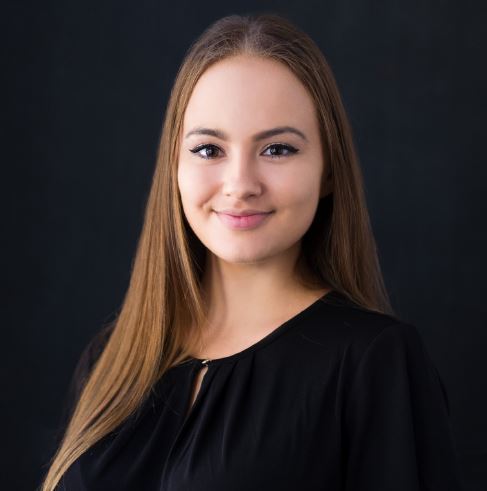
5. Is There Anything Unflattering That Needs to Be Fixed?
If you’re working with regular people that don’t have the skills of a professional model, just subtle changes can create a lot of difference in both composition and posing. Try playing around with hair, leaning the head on each side, or getting the best side profile. This will show you that you can pose individual parts of the body. If you pose hair, you can hide them behind the shoulders or keep them in front. If the posture of the model is wrong, you can always remind them to get their back straight. My biggest tip is to photograph people a little from the side while turning their heads toward the camera. This is really flattering for the majority of people! When shooting outside, I also like to catch good light on their face. Keeping the chin tilted up just a little helps a lot!
6. Can the Way I Pose Create Depth?
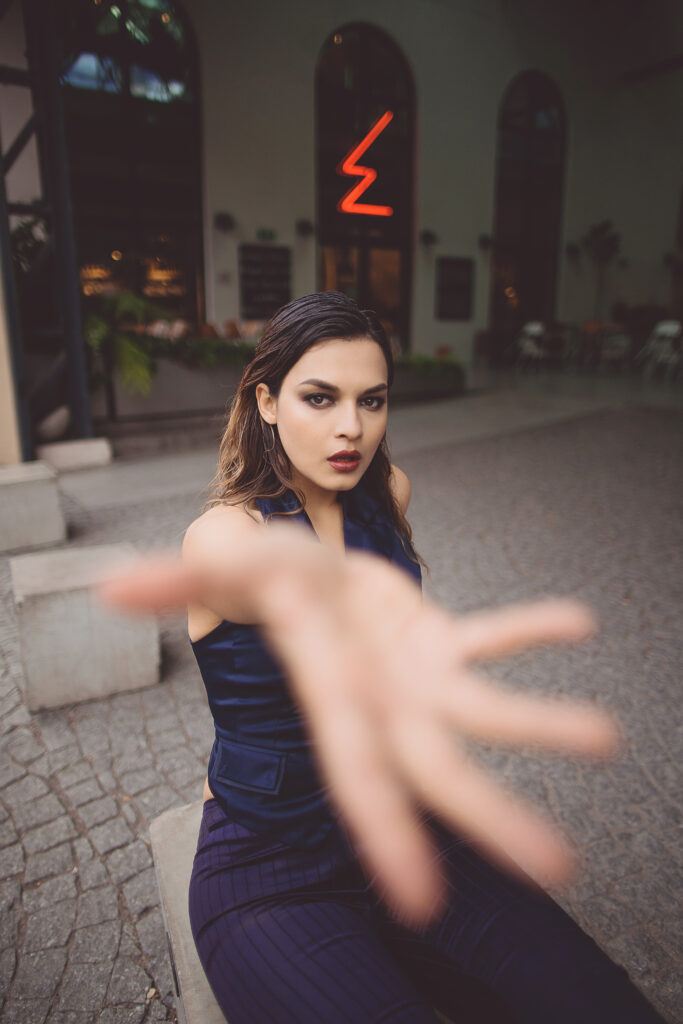
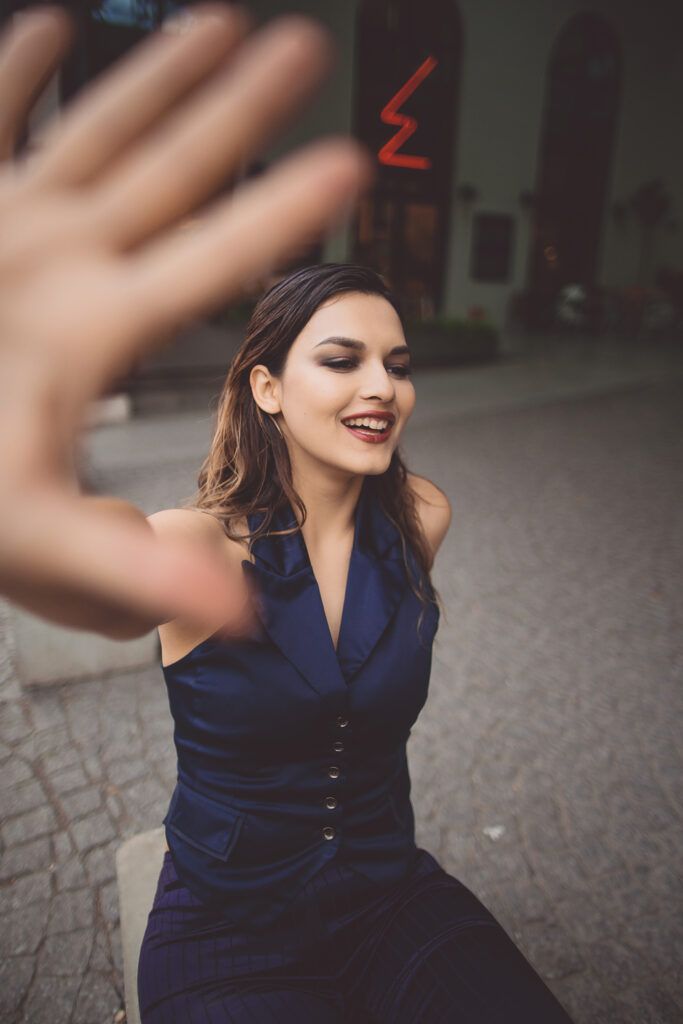
This is a great question that will help both areas, too. When we use the depth that the correct aperture brings, we can help involve the viewer in the picture. The simplest example is an extended hand that is going into the distance of the lens. When you do this but keep the face of the model in focus, you intentionally put a lot of depth and feeling into the shot.
Photograph by Ľudmila Borošová
In the picture on the left, we tried to interact directly with the viewer by keeping the look very focused on the camera and showing the whole hand, as if the model was showing something. In the picture on the right, we played around with the hand coming from the frame and making the pose a bit disconnected.
7. What Is the Purpose of the Photoshoot?
Lastly, the trick that helps me create the best composition might be the simplest one. What do you even need the photos for? This will determine the right dimensions you need to use. The best practice for composition in each one is a bit different. The simplest example is social media. When shooting for Facebook, you’ll get the best results with a horizontal photo in the correct dimensions. But on Instagram, the best-performing options are vertical and horizontal. If you’re aiming for the vertical shot, you still need to be aware of having the model right in the middle. Why? Instagram will crop your photo in your feed to a square anyway, so you need to make sure that it works in all possible settings. For example, if you use the rule of thirds for your Instagram photo, it will probably end up looking a bit odd in your profile grid. It’s the same principle as with building a website: it needs to look great on a computer, tablet, or smartphone.
When shooting for Facebook, you’ll get the best results with a horizontal photo in the correct dimensions. But on Instagram, the best-performing options are vertical and horizontal.

Photograph by Ľudmila Borošová
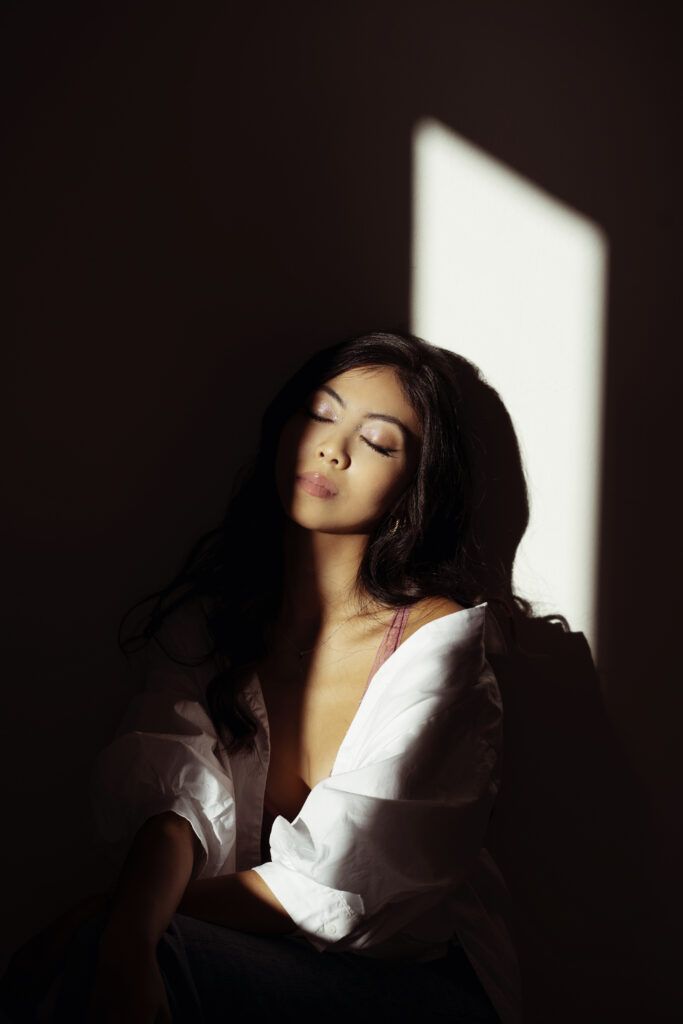
This photograph works well both in full size and cropped as a vertical photo or a square.
I hope that you’re ready to take your camera outside now and start asking the right questions! A lot of creative ideas are all around you, so you can start learning by looking at other people’s work, finding lines in the right places, or just getting comfortable with your camera grid.

Photograph by Ľudmila Borošová
Recommended Reading: If you’d like to learn how to create amazing portraits, grab a copy of Photzy’s premium guide: The Art of Portrait Photography.
Self-Check Quiz:
- What do we understand by posing and composition?
- What kind of lines do we know in photography?
- What camera setting can help you with composition?
- What are the two most famous composition hacks?
- Why is using accessories important?
- What can you do with the blank spots in your picture?
- What are some minor fixes in a pose that can help improve results?
- How can you create depth through a pose?
- How can knowing the purpose of the photoshoot help you?
- Is there anything you need to know when posting on social media?
Assignment:
- Next time you go on a photoshoot, turn on the grid view in the camera. Each time you take a picture, find the main line and make sure that it’s aligned with the grid. How many lines could you find in one shot?
- Find your favorite photoshoot and look at all pictures again. How would you crop them for different social media platforms? Do they all work, or are some of them odd? What would you change in their composition to make them feel better?
- Choose three accessories from your home that you can use in a picture and play with the focus to create depth. What will it be? Jewelry, plants, or maybe a curtain? The possibilities are endless!


