
It was while researching ideas for still life and food photography that I stumbled across some gorgeous dark, moody images.
The colors were intense, and there were heaps of black background and dark shadows providing wonderful contrast.
These images captivated me, and I spent a year trying to replicate the style for myself.
Each time I shot, I got closer and closer to the desired outcome, but it remained elusively out of reach. That is until I saw a similar style of image on Facebook, and I queried the creator as to her technique.
She gave me the final piece of the puzzle that I was missing, which I will share with you today.
This dark and moody (low key) style of lighting embraces the chiaroscuro technique made famous by the 17th century painters. Chiaroscuro comes from the Italian “chiaro” meaning clear/light and “oscuro” meaning obscure/dark.
It added drama with the extreme contrast of light and shadow, but also importantly in a two dimensional medium like painting, the play of light and dark areas gave a depth and three dimensional realism previously lacking.
Low key is used for portraits, food, still life, product shots and studio work. For big scale shoots, the professionals use studio lights and large modifiers, but you can achieve very nice effects with natural light and some way of shaping the light.
- Recommended Reading: Improve your photography by working better with light. Grab a copy of Photzy’s best-selling premium guide, Understanding Light Book Two.
What is low key?
Low key is when the image is composed with the subject being well exposed but with a focus on shadows, darkness, and depth in the background and processing.
Normally when we shoot our images, the aim is to expose them correctly for the lighting situation that you have at hand. Many people “shoot a little to the right,” by which they mean they set the camera to expose so that the histogram is balanced a little more to the right. The left edge of the histogram covers the blacks, the right edge covers the whites, and the middle graduates from one to the other.
When you expose more to the right, it brings in more of the lighter tones but not so far that you blow out the highlights (when the whites have no detail and are big flat blobs of white). When you shoot more to the left, bringing out the blacks and the shadows, it’s low key. The opposite is high key, where it’s all bright and white.
It’s a stylistic choice to changing your lighting and processing in an extremely dark way. Opinions will vary as to whether it is artistic or just simply underexposed. My approach is to go with what feels right for the particular image. So don’t be afraid to push the boundaries much further than they make you feel comfortable.
- Key Lesson: Low key is a specific way of shooting or processing your images to enhance the blacks and shadows.
Setup and gear
Low key is about controlling and shaping the light. My work has all been done with natural light, either adjusted in-camera or in post-processing to suit my requirements.
My gear is as follows:
- Canon 7d MK II
- Canon 50mm F1.8mm lens
- Canon 100mm F2.8 IS L macro lens
- Canon 17-55 F2.8 IS lens
- Manfrotto tripod legs and Acratech head
- RRS L plate
- Wireless remote
Lens choice is more to do with the style of shooting you are doing (i.e. wide for landscapes, macro for close-up, portrait-grade lenses for street or studio work). My still life and macro shots are all done on a tripod. Most of my landscapes are shot on a tripod, and my long exposures absolutely are.
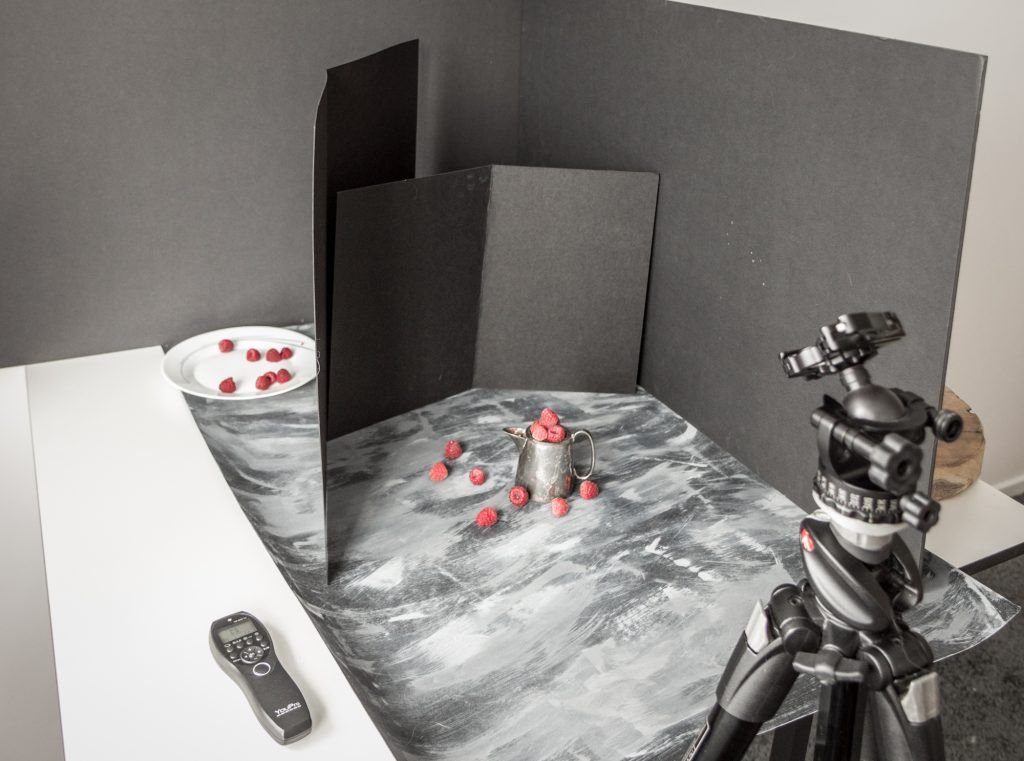
The most important thing with low key is how you shape and control the light. For my food and still life photography I use black foam core sheets and black cardboard sheets of different sizes. These can act as backgrounds and backdrops – flags and reflectors to absorb light and add shadow.
“The most important thing with low key is how you shape and control the light.”
A flag is a tool to remove or block excess or unnecessary light. They are necessary to shape the light falling on the background and around your subject, and also the subject as well, depending on how you are crafting the image.
If you are using flash or lights, you may have a grid or a snoot which focuses the light on a smaller, more controllable area.
Some people may also prefer to invest in a black seamless background as well. I have a roll of matte black fabric but have never actually used it!

This is my studio (above) – white walls and a large window at the end. I usually drape the window with some thin white fabric to further soften and diffuse the light. This helps tone down the highlights and makes the edges of the shadows softer.
The cat is an optional extra.
- As far as positioning the subject goes, I use two options:
- Back to the right wall (the one that has the light on it in the studio image). This gives a nice neutral background and side light which I find useful as it gives natural shadows which make the image more three dimensional when processed with a high key effect.
For still life/food, I shoot on the table similar to how it is set up in the studio image. The curtain may be untied and used as a large flag to control the light if it is a bright day.
- Key Lesson: Low key is about controlling the light you have, so natural light can work just as well as studio light.
- Recommended Reading: Improve your photography by working better with light. Grab a copy of Photzy’s best-selling premium guide, Understanding Light Book Two.
Shooting
Not everyone has the space or the money to allow them to own studio space and professional lighting gear, but if you can manage some good natural light, a neutral white wall and to shoot in RAW, then a lot of scope is available to you.
From my studio image you can see a nice sized window and lots of neutral walls. I usually shoot against the right wall because the angle of the sun as it moves across the room (I’m in the southern hemisphere) throws the light from the left
So if I set up shooting with the right wall as the background, I get the light coming over my left shoulder directly onto the subject. This helps expose properly and also helps angle shadows away from the subject rather than across it, which allows us to use the shadows to emphasize the 3D effect of an object.
My shoot setup consists of the camera setup on my tripod – I shoot with a wireless remote and usually use live view. This helps me focus accurately as I can zoom in when using the macro lens, and I can expose visually based on the light I am getting.
For my still life and food photography, my table is positioned near the window and the black foam core and cardboard is used to provide the background and backdrop. More black card is used to control and limit the light on the subject on the left. On the right (away from the window), more black card is used to add shadow on that side, which can add more dimensionality.
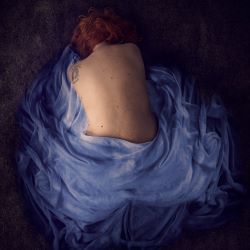
Additionally, when shooting fine art self-portraits, the wireless remote allows me to shoot several different changes in pose without moving from my spot.
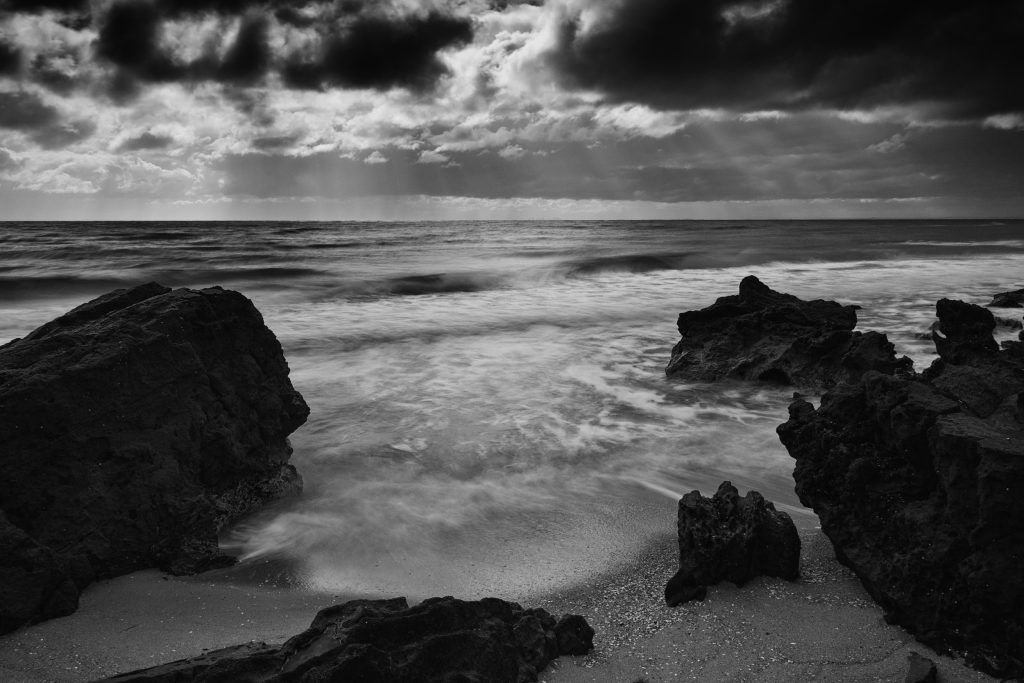
Note that low key does not have to be shot in controlled lighting conditions inside; landscapes and other images taken outside are perfectly viable low key options. In fact, some of my best low key images have been taken on days when the light was truly dreadful, and that is an added bonus in my opinion. When the skies are overcast and cloudy, and the light is flat and even and a bit dull, when you shoot in RAW you have much more scope to process the image as a low key.

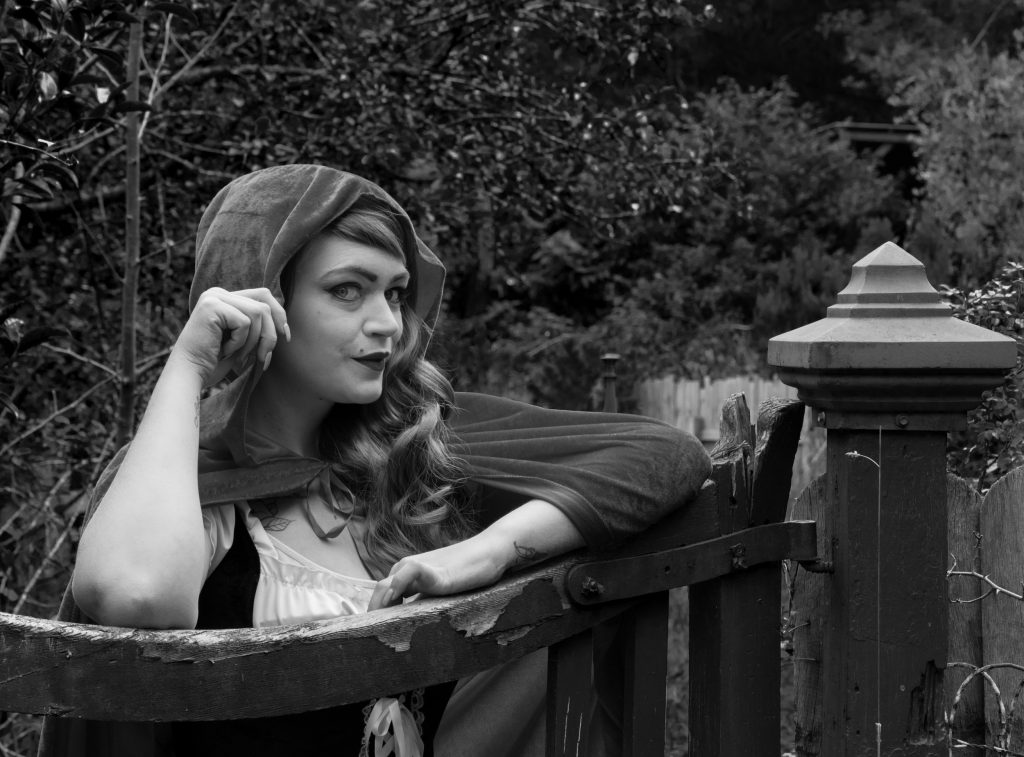
While it isn’t a hard and fast rule, it is fairly common to see low key images processed as monochrome or B&W. Removing color from the images allows the contrast and textures of the images to shine through. This does have an important impact on how you shoot your images.
Composing your image for monochrome requires you to think differently about your image than if you were shooting in color. So if you find yourself frustrated with how your low key images are coming out, check if the tonal range is dynamic enough; that your image contrast ranges from true blacks to true whites; and that it has texture, details, balance, and structure.

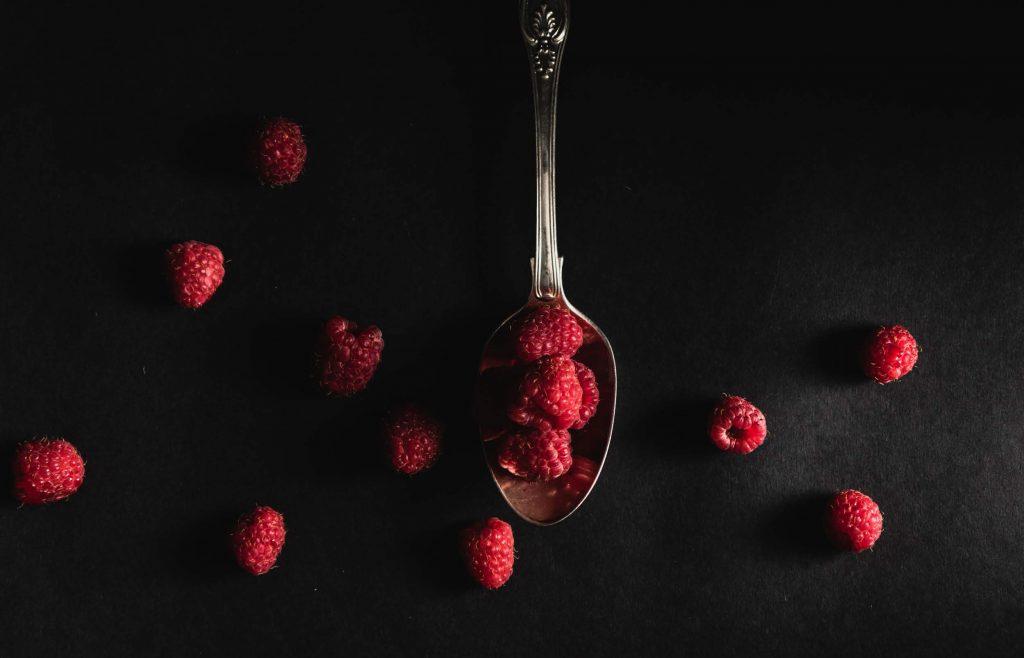
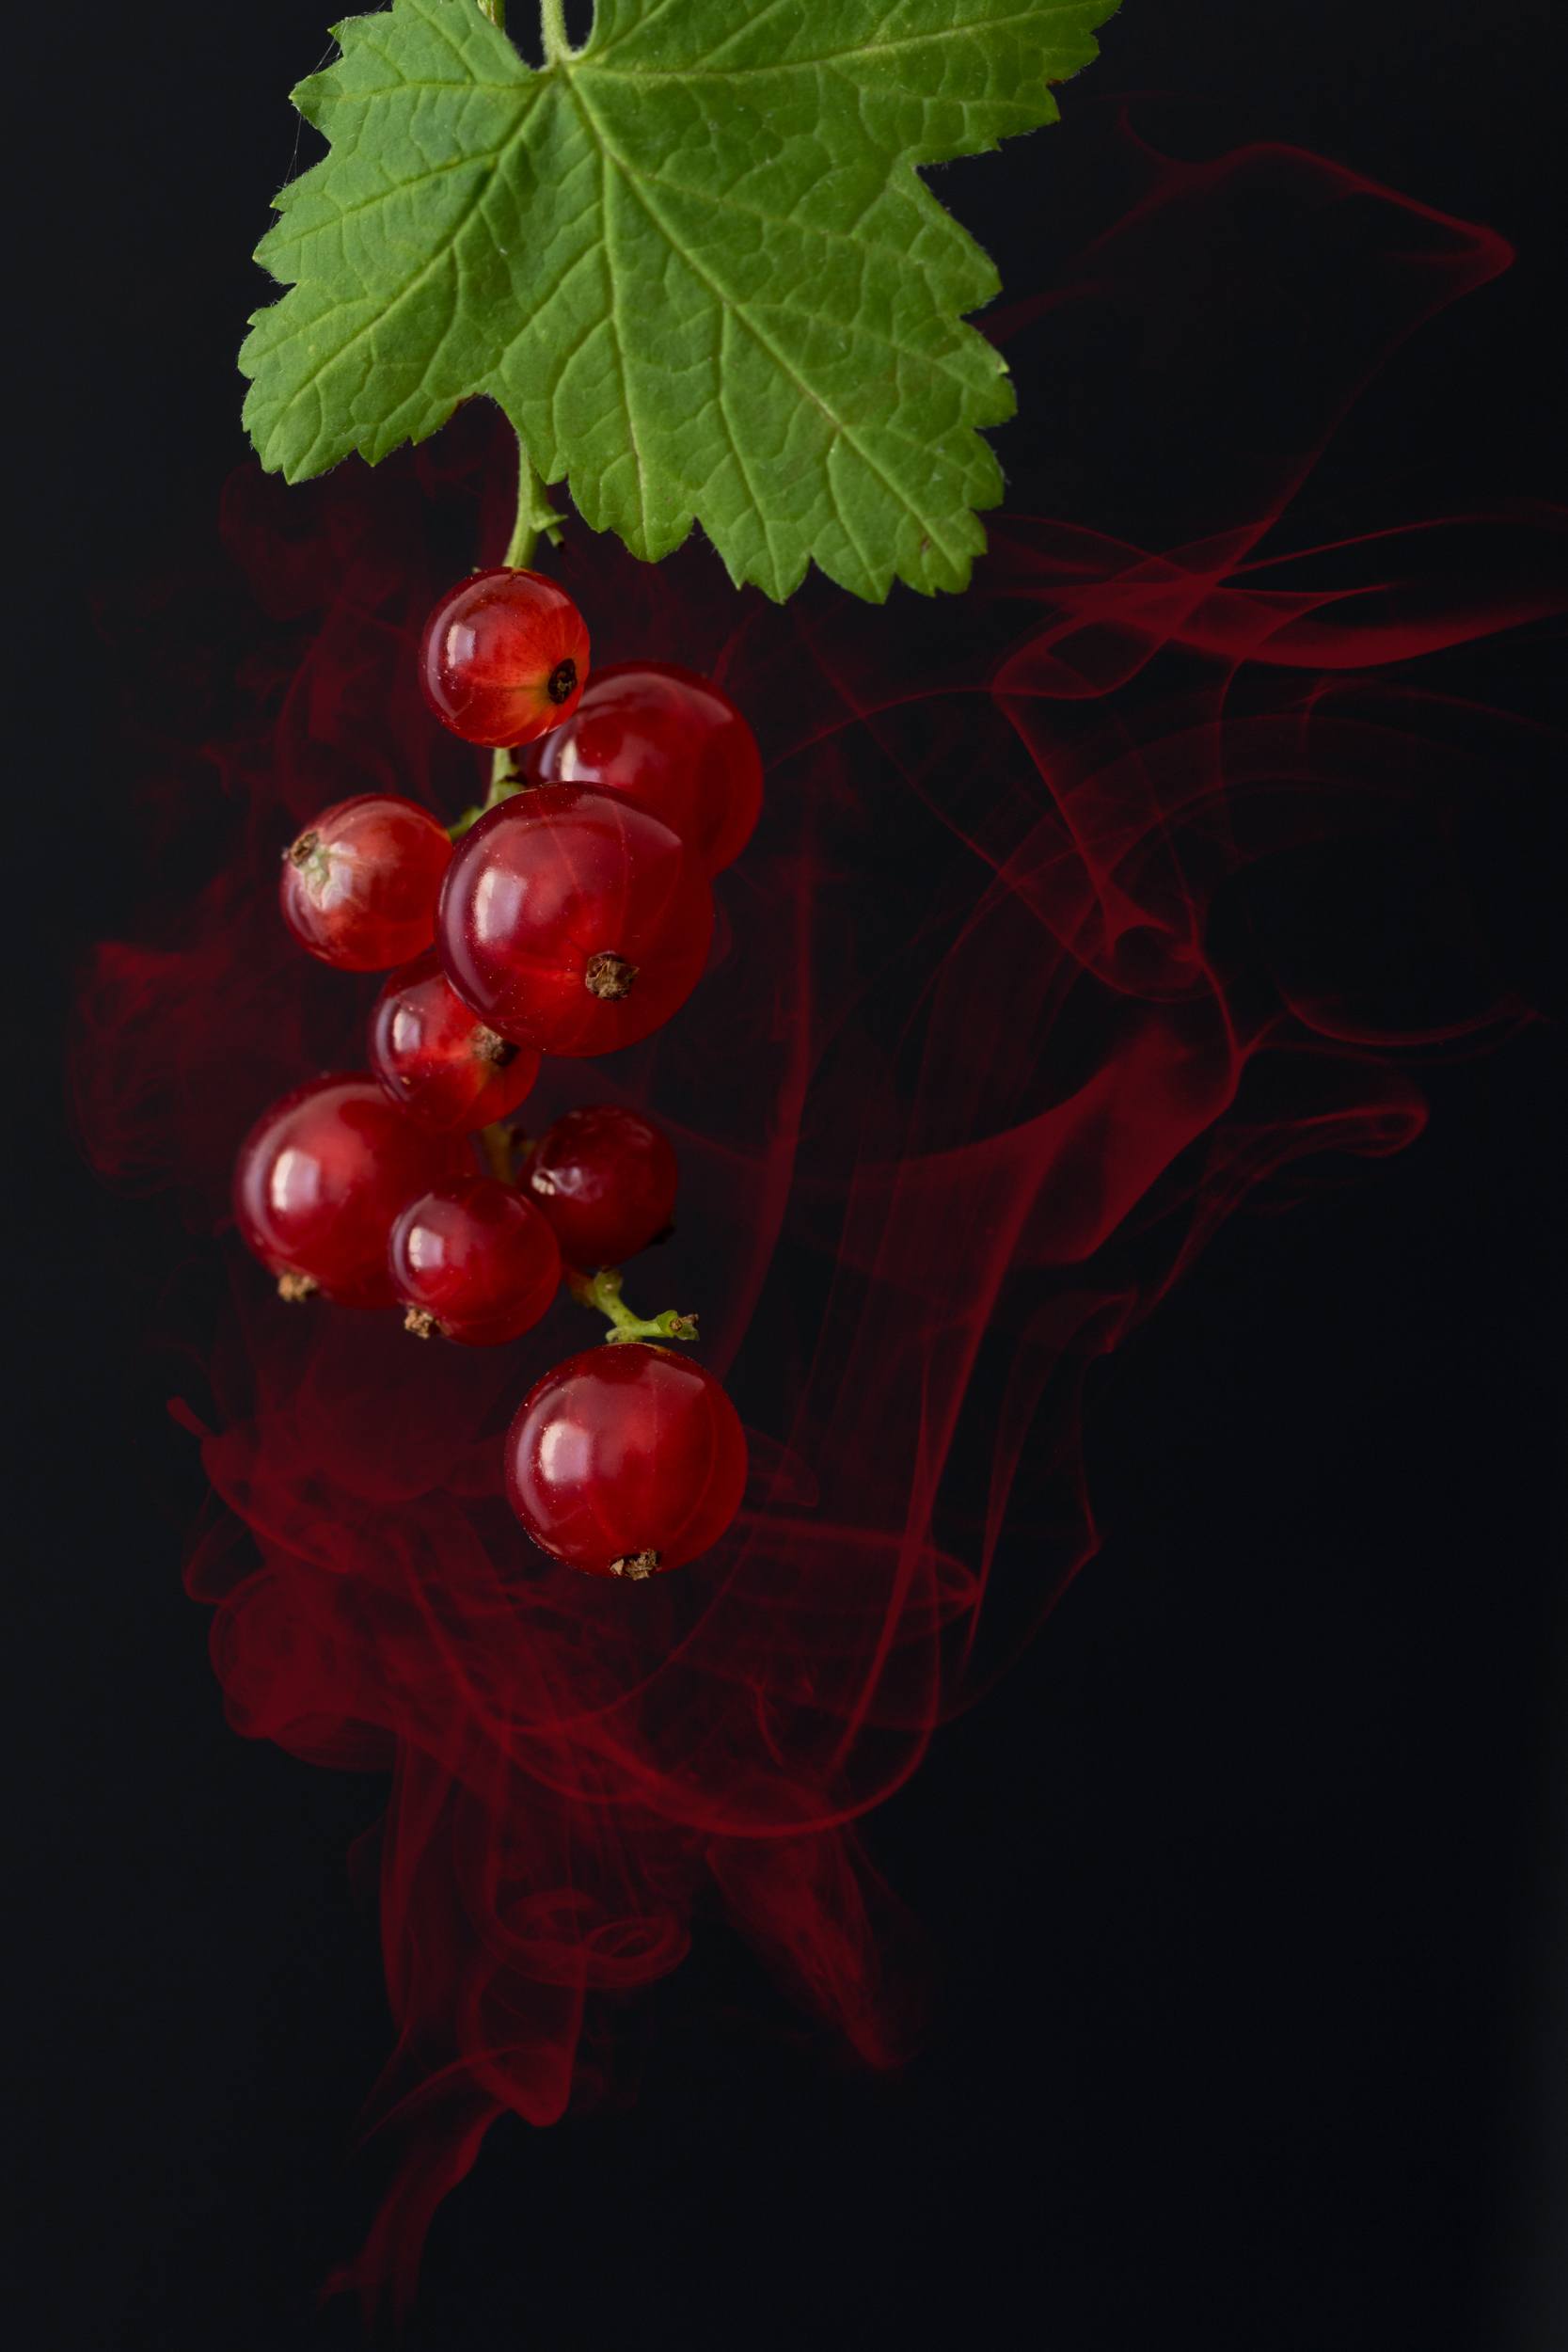
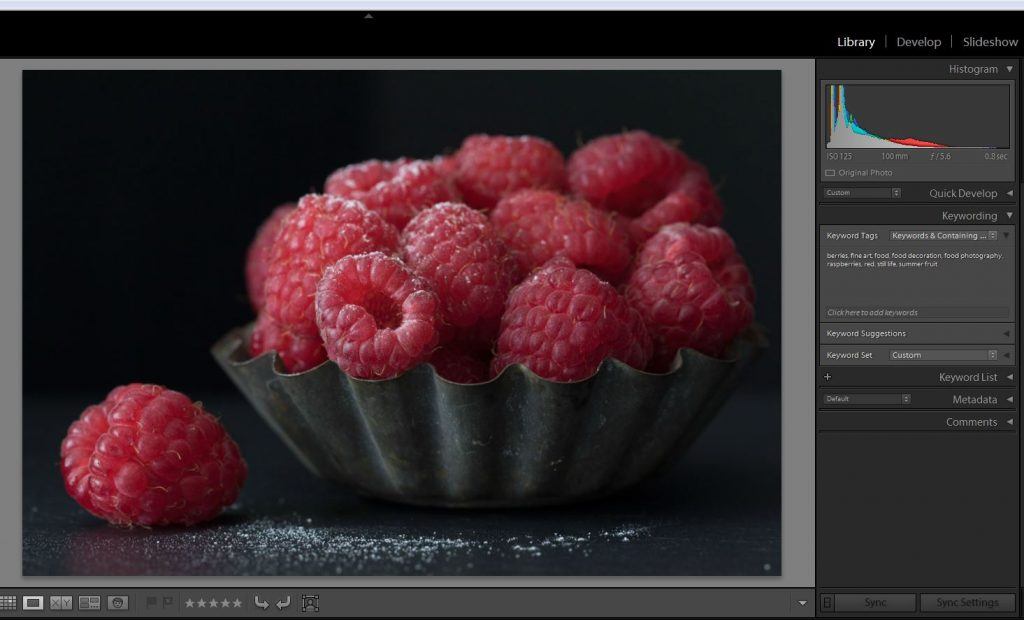
This is the unedited RAW file in Lightroom with the histogram. You can see that it’s picking up the black/shadow areas in the background and those are peaking as a result, and the entire histogram looks a bit odd.
Yet the berries themselves are relatively well exposed.

Let’s compare it to this second image, where the black background is swapped out for a white one. The histogram is peaking at the white end with the whites, which is understandable, but the exposure is in a similar place and not too different.
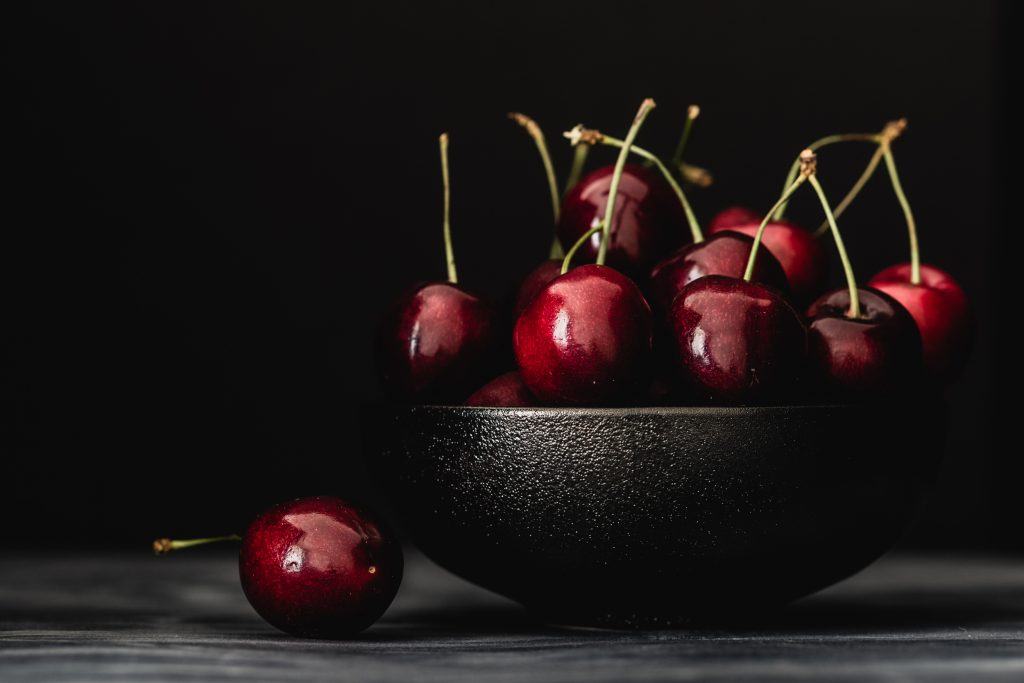
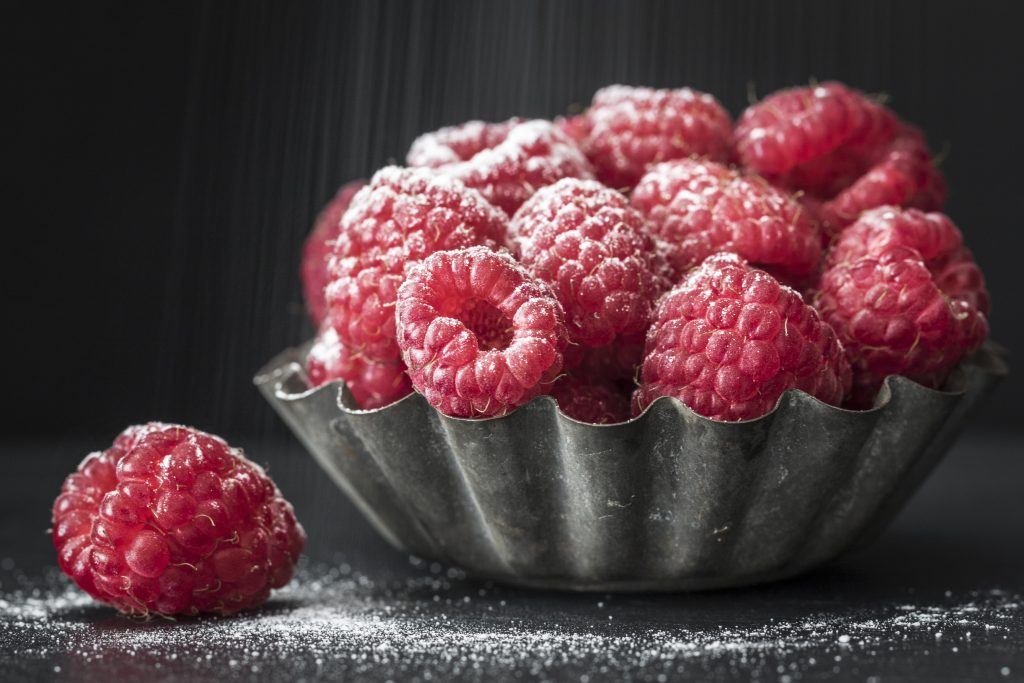
This third image is part of the path to the final keeper image that this shoot generated. This image is again an unprocessed RAW file for comparison, but you can see the histogram is pushed to the left. Overall light tones are darker as well, and the blacks/shadow are intensified.
What happened between Shot 1 and Shot 3?
I lowered the exposure dial on the camera so the image was underexposed enough to intensify the blacks, but not so much that the berries were so dark they would look unnatural when edited.
What did the final image look like, I hear you ask?
Because it was shot in RAW format, the file had sufficient information that it could be edited this way in Lightroom. I would recommend that you always shoot in RAW, but especially when doing high or low key imagery. The RAW file format contains so much more data than a JPEG and allows for more scope in creative editing and pushing the boundaries.
- Key Lesson: Shoot in RAW to optimize your final image outcome.
Post-Processing

This is where the magic happens. My weapon of choice to edit my images is Lightroom, and I always start with doing a base edit. This will bring the image up to a neutral standard exposure and from there, creative tweaks start to happen.
Depending on the image, at this point it may switch over into B&W, either within Lightroom or using Nik Silver Efex. When you are in the Develop mode in LR, switching over to the B&W panel and experimenting with the sliders is a good way to see if the image has potential with a monochrome finish without committing you to anything.
Presets are a favorite option to quickly and easily experiment with a range of different creative edits. I have some specialized B&W ones from Hacking Photography and some dedicated Food/ Still Life from Kim Klassen and 2 Lil Owls.
Quite often I will create and save several different variations of an image as I go, and then decide which one is my favorite at the end. My process is very organic, and I edit based on the ‘feel’ of the way an image edit is shaping up. You know that little adrenaline skip when you have got “the shot,” it also applies in post-processing when you find just the “right” edit to make an image sing.
Generally it will be necessary to lower the exposure slider, increase contrast, darken shadows, and darken blacks. Not all of these will be required on every image, and the amount for each image will vary. Be patient and take your time and experiment. For color images, I often counterbalance the increase in black by boosting the color saturation and vibrancy on the subject to make it pop more. Selecting the subject and giving it a slight clarity boost also helps add more zing to the subject.
“I would recommend that you always shoot in RAW, but especially when doing high or low key imagery.”
It’s important to realize that every image will be different and there is no fixed recipe or outcome. My editing process is very flexible, starting with identifying a good composition, cropping to suit, doing base edits, and then experimenting with different styles.
When I first started doing low key photography it was frustrating because I wasn’t quite getting the lighting right, and no matter how hard I edited, the final image just didn’t work.
Here are some key tips for editing a low key image:
- Shoot in RAW
- Set up the shot using the light you have
- If possible, control and shape the light around the subject
- Expose appropriately – using a lot of black can sometimes be difficult to balance the light on the subject
- Edit in your RAW editor of choice – I use Lightroom, but any good RAW editor will suffice
- Be brave and go way outside your comfort zone
- Key Lesson: Edit a well exposed, balanced image and then have fun experimenting with pushing the sliders, and make sure you go outside your comfort zone.
- Recommended Reading: Improve your photography by working better with light. Grab a copy of Photzy’s best-selling premium guide, Understanding Light Book Two.

Low key is a stylistic choice for shooting and editing your images. Like all creative options, it should be used with care and precision when the image or situation demands it. Not every image will suit a low key approach, especially when adding in monochrome, so some thought needs to go into the composition and planning of your final image BEFORE you take it.
Conclusion

Low key can be used in portraits, still life, food, landscapes, and many other kinds of photography. Setting up and controlling the light on a shoot will always provide the most ideal outcome, but a normally exposed image can be creatively edited when shot in RAW.
Be prepared to go far outside the boundaries of how you would normally shoot, compose, or edit your images. Experimenting and going outside your comfort zone when you are editing is required to get the really deep, dark dramatic images, but hopefully you will learn to love the dark side and go to play there more often.
- Self-Check Quiz
- Is low key limited to studio work only?
- Is high key completely lacking in any highlight detail?
- Is it necessary to shoot in RAW?
- What is a flag?
- Which way will the histogram sit when an image is processed as low key?
- No, low key landscapes and images can be shot outside.
- No, high key minimizes highlights but does not necessarily completely remove them.
- Yes, for best outcomes shoot in RAW.
- A piece of cardboard or other solid substance that can be used to shape and block light.
- A low key image histogram will be pushed further to the left.