


Lightning is quite simply a marvel of nature. While it poses a threat to anything it might strike, we can’t ignore our fascination with lightning. It’s a beautiful phenomenon and, as such, lends itself to being photographed
Lightning photography, however, can truly be challenging:
- There is a lot of guesswork involved due to the random nature of lightning flashes. You never know exactly where in the sky lightning will appear, how long a single strike will last, or how bright it will be. No matter how skilled a photographer you consider yourself, lightning is a subject that will force you to rely on luck to some degree.
- There are no do-overs, no mulligans when shooting lightning. If you don’t get it right on your current outing, you will have to wait until the next storm to try again.
- Lightning is a point-source subject, meaning its thin lines create very bright highlights with hard edges surrounded by strong shadows. This scenario is rather demanding on a camera’s/len’s and focusing capabilities.
- Lightning can strike twice. And about 2000 people per year are killed by lightning. Yes, it’s a small percentage in a global context; just remember you’re always at risk.
With all that in mind, let’s move on to the fun stuff.

Photo by Richard Fisher
What You Will Need
- A camera with bulb exposure mode (B) and continuous drive focusing mode.
- A standard angle lens — something between 35mm and 60mm or a zoom lens that covers that range. Of course, you can always choose to go wider, but going longer probably isn’t advisable.
- A sturdy tripod.
- A remote shutter release, preferably one with a lock feature.
- Rain protection gear for your camera.
Waiting for Suitable Conditions
The fact that you have to wait for a thunderstorm is quite obvious, but not every thunderstorm is necessarily ideal for lightning photography. You sort of have to make a judgment call on this, but here are some advantageous atmospheric conditions to be on the lookout for:
- Supercell or rotating thunderstorms.
- Thunderstorms that form in advance of an approaching cold
front. These storms often produce lightning strikes every
couple of seconds. - Local, isolated thunderstorms.
You won’t find much use of storms that are located more than 15 miles (25 km) away or ones that are wrapped in low-level clouds. Similarly, don’t bother trying to shoot in storms where the lightning itself is embedded in very heavy rain – you’ll end up with a lot of low contrast shots.
Finally, skip weakly electrified thunderstorms — those tend to discharge lightning only every 15 minutes or so.
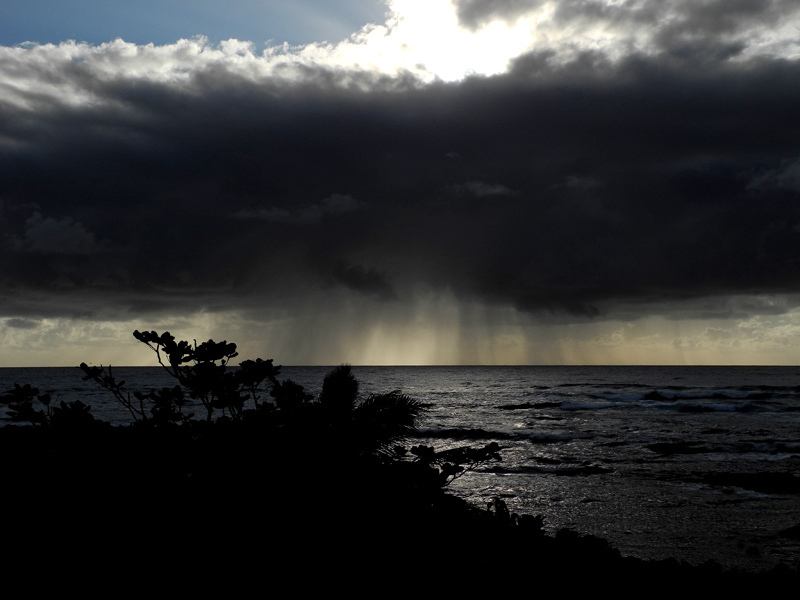
Photo by Matt Gragg
Where to Set Up
As they say, location is everything. It’s not that you have to be in some exotic locale to get beautiful lightning shots, all you really need is an unobstructed view of the sky. You can set up in your backyard, a sidewalk, or a hiking path.
Make the most of your location and use any interesting features present as part of your composition. A few places you might want to avoid setting up include:
- Underneath or near trees and power lines.
- On top of hills, mountains, or other elevated positions. –
- Wide, open fields.
- In or near bodies of water.

Photo by Richard Taylor
Exposure Settings
The bottom line is that there is no “best” exposure for capturing lightning.
As discussed above, there are so many variables associated with lightning that it would be counterproductive to suggest that there is a right way or wrong way to go about this.
"The bottom line is that there is no 'best' exposure for capturing lightning."
There are, however, some useful recommendations you can apply to get started and then adjust as needed.
- Aperture: f/11 often does the trick. You get great depth of field and sharpness while allowing for shutter speeds that are plenty reasonable. You could certainly shoot at f/16 but, depending on the conditions, that could be asking for too long a shutter speed and you’ll end up with an overexposed image. Likewise, you could try an aperture of f/8, but you might not get the optimal amount of depth of field.
- Shutter speed: The assumption is that you will be attempting your lightning photography after dark. If this is true, then you will need long shutter speeds. How long? That’s an open-ended question, which is why it’s best to use the camera’s “bulb mode” so you can have more control over how long the shutter stays open for. If you want to set a specific shutter speed, however, try between 15 and 30 seconds.
- ISO: Using an ISO of 100 will minimize the noise in these long exposures.
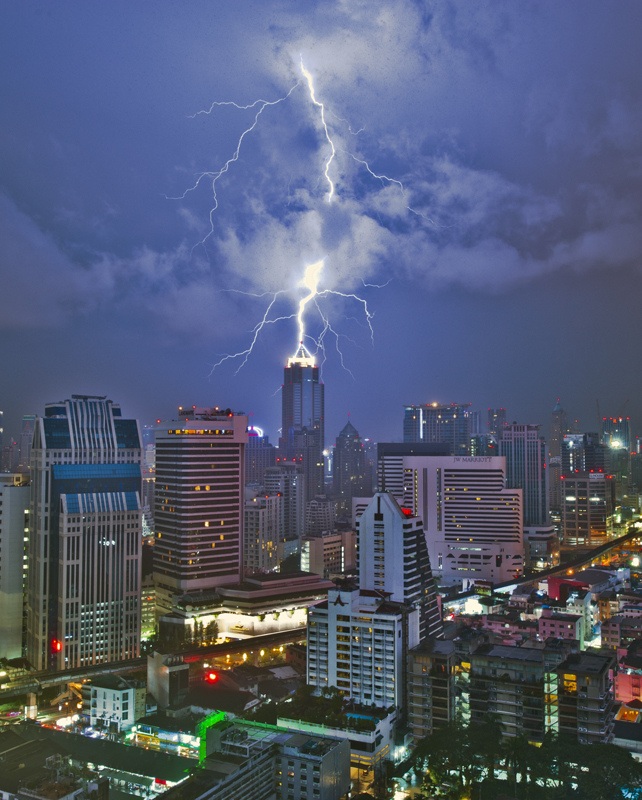
Photo by Mike Behnken
Technique
Before they actually try it for themselves, the question that floats around most people’s brain is, “How can I possibly be fast enough to trigger the shutter at the exact moment of a lightning strike?”
Fortunately, that’s not how it works. While capturing lightning can indeed be tricky, it’s hardly the mystery that some suspect it is.
- Secure your camera to your tripod. It’s vital that you are using a sturdy tripod, as any movement (you may have to deal with strong winds) will cause the image to be blurry.
- Set your camera to bulb mode, typically indicated by a “B” on the mode dial.
- Dial in your exposure settings.
- Check to make sure you’re happy with the framing and composition of your pending shot.
- Focus on something in the distance or focus to infinity; in either case, manual focusing is going to work best.
- Open the shutter using the remote shutter release.
- Wait for a lightning strike (or multiple strikes) to occur within the frame of your shot.
- Release the shutter.
Alternatively, you can use your camera’s continuous drive mode and hope that lightning strikes occur during shooting. You’ll end up with plenty of throwaway images afterwards, but this technique may prove generally beneficial, if less efficient.
"Focus on something in the distance or focus to infinity; in either case, manual focusing is going to work best."
Post Processing

Photo by Jared Smith
It is recommend to shoot in raw so that you can develop your images more easily. Virtually all of what you do in post will be a matter of personal taste, but you may want to pay particular attention to the following:
- Contrast: This will likely need a boost.
- White Balance/Color Temperature: Cooler images have more of an “electric” feel.
- Black Level: Increase black level to boost overall saturation while also further darkening existing black areas to draw even more attention to the lightning.

Photo by Owen Zammit
Inspiration
The steps outlined here are not set in stone; they are presented as a kind of template. Try them out and, along the way, customize them to work more in your favor. So the next time a thunderstorm breaks out, snatch up your gear and get out there. Some incredible images await.
Here’s some inspiration.

Photo by Kuster & Wildhaber

Photo by Warren Tyrer
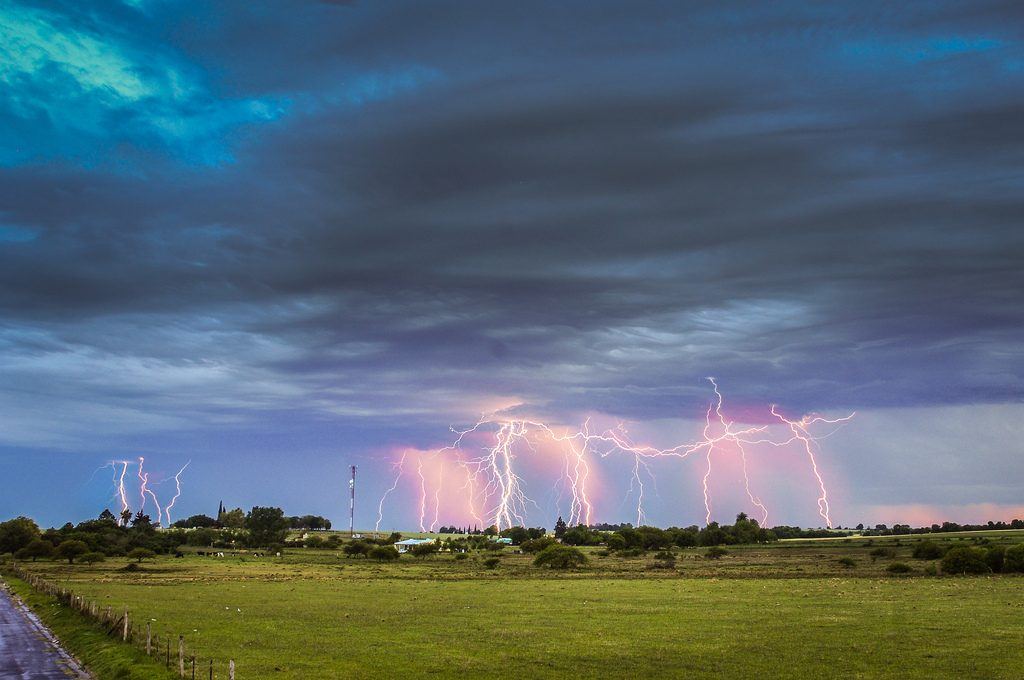
Photo by Emilio Küffer

Photo by Jason D. Little

Photo by John R. Southern

Photo by John Fowler


