Introduction
Do you know how jewelry photography is different from others? Here is a complete jewelry photography guide, including an equipment list, process, tips, and ideas.
More than 1.6 billion people are buying products online. The jewelry industry is one of the top fields here. A large amount is earned every year from the jewelry market.
Among many online sellers, 90% think that photo quality is the most important deciding factor for online sales. It’s undeniable how massive the impact of photography is on the digital market. Knowing how to photograph jewelry has now become the essential requirement of product photographers.
Jewelry photography is different from other kinds of product photography in many ways. There are specific rules that need to be maintained. Anyone can shoot jewelry if only they’ve prepared themselves properly for the shoot. Even knowing the small details is a must here.
What you’ll learn in this guide:
Here, we will cover the significant aspects of jewelry photography, and you’ll get an overall idea about the whole shooting process. These are the areas to be discussed:
- How to shoot jewelry
- Equipment you need to shoot jewelry
- Setup for jewelry photography
- Common mistakes and how to avoid them
- Important jewelry photography ideas and tips
Recommended Reading: After learning about camera settings, improve your photographs by understanding how light works! Grab a copy of Photzy’s premium guide: Understanding Light Book One.
How to Photograph Jewelry
You need to be careful if you want to shoot jewelry. Every detail is important here, and this is not an easy job. From lighting to composition, everything plays an important role.
Before shooting, you need to plan everything appropriately so that you can work according to the plan and produce exactly what you want.
1. Equipment
There are some basic types of equipment that you’ll need to shoot jewelry. While choosing these, keep in mind how you want to shoot your product. Here is the list of equipment you’ll need to shoot jewelry:
Camera
You don’t need any fancy gadgets, and there is no one best camera for jewelry photography. A mirrorless DSLR camera is enough for a jewelry photoshoot. That will cover pretty much every product you might need to shoot.
You don’t need any fancy gadgets, and there is no one best camera for jewelry photography.
Kit lenses that come with DSLRs can easily be considered the best lens for jewelry photography. A 16-50mm or 18-55mm can work fine for jewelry photography. You can keep an 85-100mm macro lens to capture the smaller rings or nose pins, but you’ll need this only if you’re publishing in big sizes. In that case, a macro lens will give better quality.
Tripod
A tripod is essential for product photography, particularly jewelry, to get sharp images. It’s even better if you can use a remote to press the shutter to eliminate the camera shake. This will help you to fix the frame too.
Light
For jewelry photography lighting, three lights in total are enough. Use two lights for side lighting and one for the top. The top light needs to be brighter than the sidelights. You can use a 500-watt top light and two 250-watt sidelights.
Other than that, you might need a reflector and softboxes. If you are on a budget, a ring light can be an excellent choice for you.
Table and Background
You’ll need a table to keep your product on. If your product is on the floor, you’ll have to take all the images from a high angle. Also, add paper or cloth on the table as the background of the image.
2. Setup
Jewelry photography setup does take a significant amount of concentration. We’re going to break the parts down and discuss each one.
Background
Background plays a crucial role in jewelry photography. You can’t be fixated on one type. You need to change and try different backgrounds depending on your products. Plain white and black backgrounds are pretty standard in jewelry photography. But that just doesn’t go with every product.
Props
Using props is fantastic for small products like jewelry. This creates a different ambiance in the image that makes it more appealing. Rather than finding difficult things, go for easy and straightforward stuff from your surroundings or nature while choosing jewelry photography props.
For example, you can keep a yellow flower beside a piece of jewelry that has a yellow stone. Or add a pinch of color powder of that same color. This reference of similar color makes the composition much better. Always think about making creative compositions.
Set the Product
Before shooting jewelry, you need to clean the product correctly. Even the most minuscule dust particles can show up in images. Use glass cleaner or other liquid to clean the product first.
Now it’s time to put the product in the right place. You can simply keep it on the table, or you can use stands. For example, cardboard can be used for jewelry photography. You can put a necklace, earrings, or even nose pins on cardboard. Other materials like sticks and boxes can also be used to place the jewelry.
Light
Set the light after placing your product. Ensure the light source is precisely where you want it to be. Use softboxes to get rid of hard shadows from the image. Place lights on both sides of the product. You can use the third light from the top if you need to.
3. Lighting
First of all, keep in mind that you need to use soft light for jewelry photography. Jewelry products are already glossy. Hard light is unacceptable in most cases here because that’ll create dark shadows and reflect a lot. So, try to keep the lighting soft and mild.
We already talked about using three lights with softboxes. Ring light works so well for jewelry photography as it produces favorable light. Also, you can think of window lights. There is no rule that you’ll have to use heavy instruments. Make use of ambient light if needed.
Avoid on-camera flash if you’re using flash as this is direct and will create brighter light than you need. Use off-camera flash and set it wherever you need it. Also, adjust the light intensity while setting up.
To set the light, you might need to try and readjust several times and fix it at a point where you get the best light.
4. Camera Setup
Set your camera on a tripod and fix a frame. Shoot in manual mode so that you can adjust the exposure easily. There are three settings that you need to work with:
Aperture
Use shallow depth of field if and only if your product and image demand that. Otherwise, don’t go for that. You’ll have to show a greater depth of field in most cases. So, keep the aperture above f/11 or f/15 or even higher if necessary.
ISO
As there will be a light setup, you won’t have to think about higher ISO. Keep the ISO lower to avoid grains in your image.
Shutter Speed
You can, and you should use a fast shutter speed here. Keep it around 1/1000 or 1/2000.
5. Post-Processing
These are the most basic photoshop post-processing edits you can do for your jewelry photography:
- Brightness/Contrast: This is used to adjust the light and shadow of the image. Contrast means the difference between light and dark in an image.
- Dodge/Burn: Dodge and burn works oppositely. The Dodge tool darkens an overly highlighted area. On the other hand, the burn tool highlights a particularly dark area.
- Hue/Saturation: This changes the color tone of the image. Be careful about not changing your original product color while using this.
- Clone: Use it if you get any unwanted areas in your photo. This tool does copy and paste one part into another.
- Spot Healing: Correct small details of the product with this tool, like dust, scratches, etc.
Recommended Reading: After learning about camera settings, improve your photographs by understanding how light works! Grab a copy of Photzy’s premium guide: Understanding Light Book One.
Common Jewelry Photography Mistakes to Avoid
Here are some of the most common mistakes that photographers make while shooting jewelry:
Focus
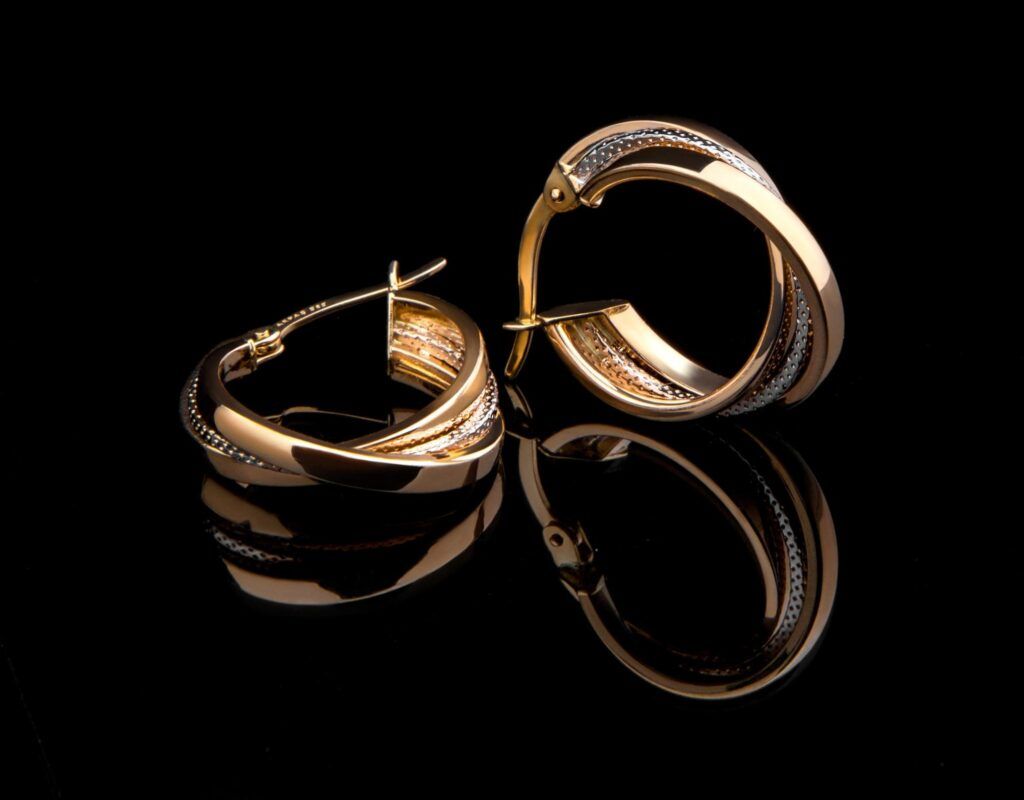
Many photographers don’t keep in mind that focus doesn’t work in the same way for all images. You just can’t use shallow depth of field where you need to show an overall view. Greater depth of field is a must here to give a complete picture.
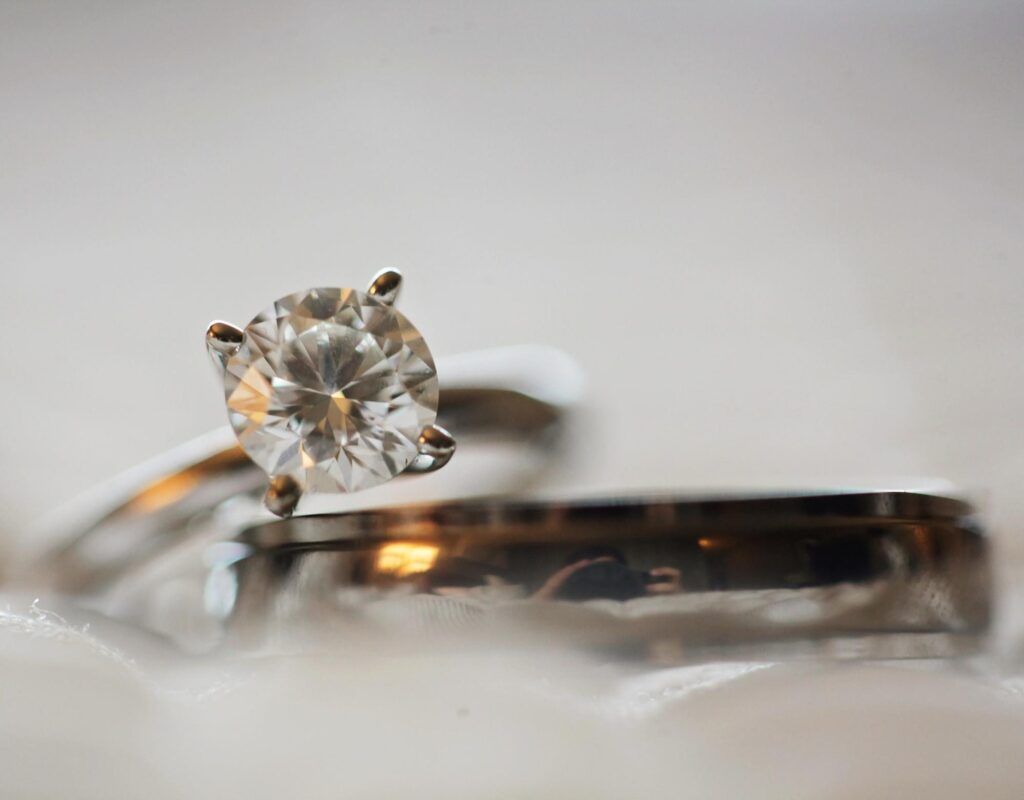
On the other hand, shallow depth of field works for details. When you want to show details of a product, then you can focus on a particular area and keep the other place out of focus to keep your viewers’ concentration on a specific area.
White Balance
White balance determines the color tone of an image. Be careful about the white balance while shooting. If you want to capture the product’s actual color, you’ll have to adjust it with the white balance. Otherwise, there is a chance of returning the product because of the wrong color.
Reflection
Reflection is a prevalent struggle of jewelry photographers. As jewelry itself is a glossy product, there is a high chance of reflection while shooting. Be it a small one, this can change the design of your product. So, try your best to avoid reflection while shooting.
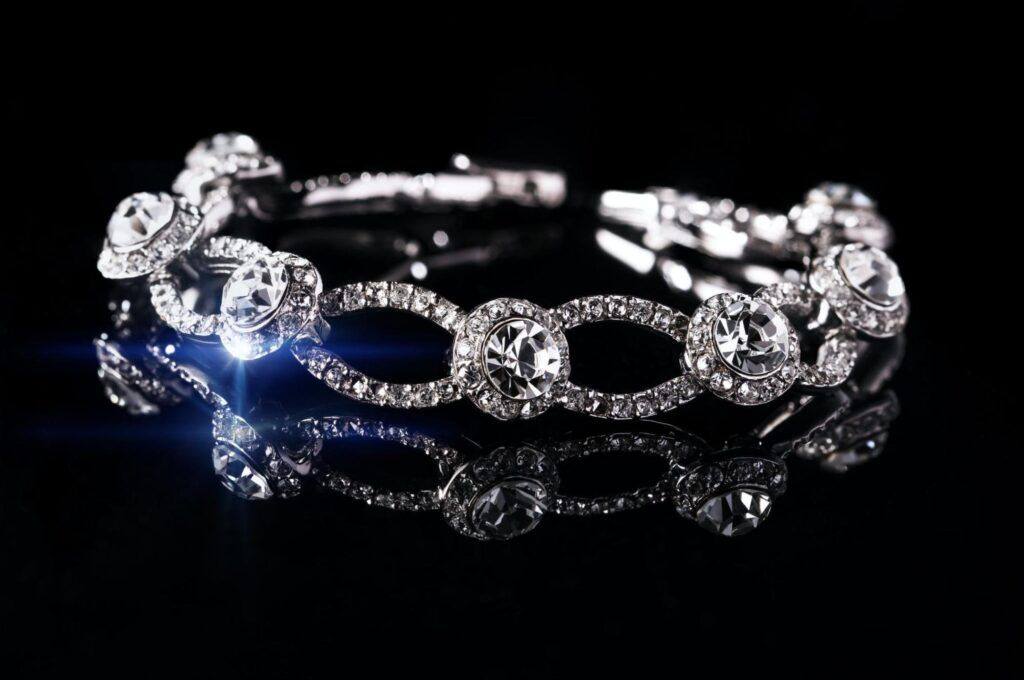
If you still get that, work on it while doing post-processing and adjust the light. Don’t forget that any kind of unnecessary reflection will disturb your viewers, which surely you don’t want.
Hard Light
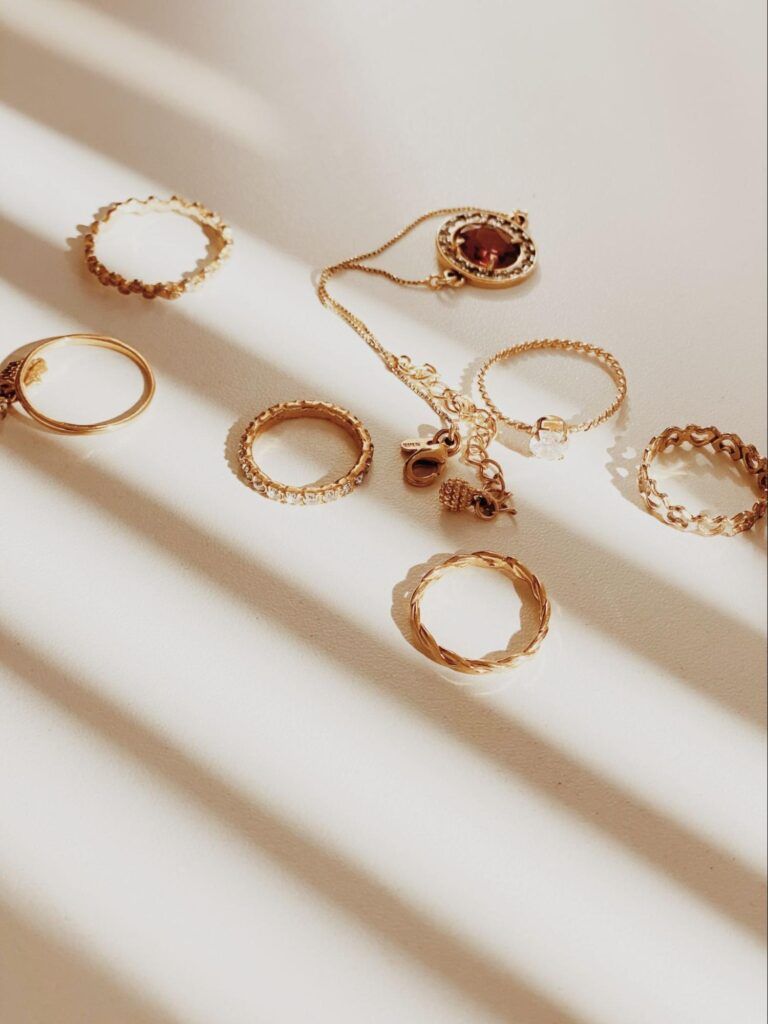
Hard light is annoying for jewelry. This creates so many other issues like high contrast and hard shadows, increasing the chance of getting unnecessary reflections. Natural light or soft studio light works much better for jewelry, so don’t bring the harsh light into your image for no reason.
Inconsistency
There is this important pattern. Following a specific style allows you to create your own unique identity. But suppose you are inconsistent and produce different product images for various products. In that case, there won’t be any way to identify that all these are owned by one brand.
Following a specific style allows you to create your own unique identity.
Inconsistency makes it challenging to relate to the brand. You don’t need to use the same composition or background or props. Just maintain a particular style. You also can make a preset for post-production to keep the tone of the images the same.
Tips for Photographing Jewelry
Try to keep these essential rules in mind to produce quality work for your business:
Creative Composition
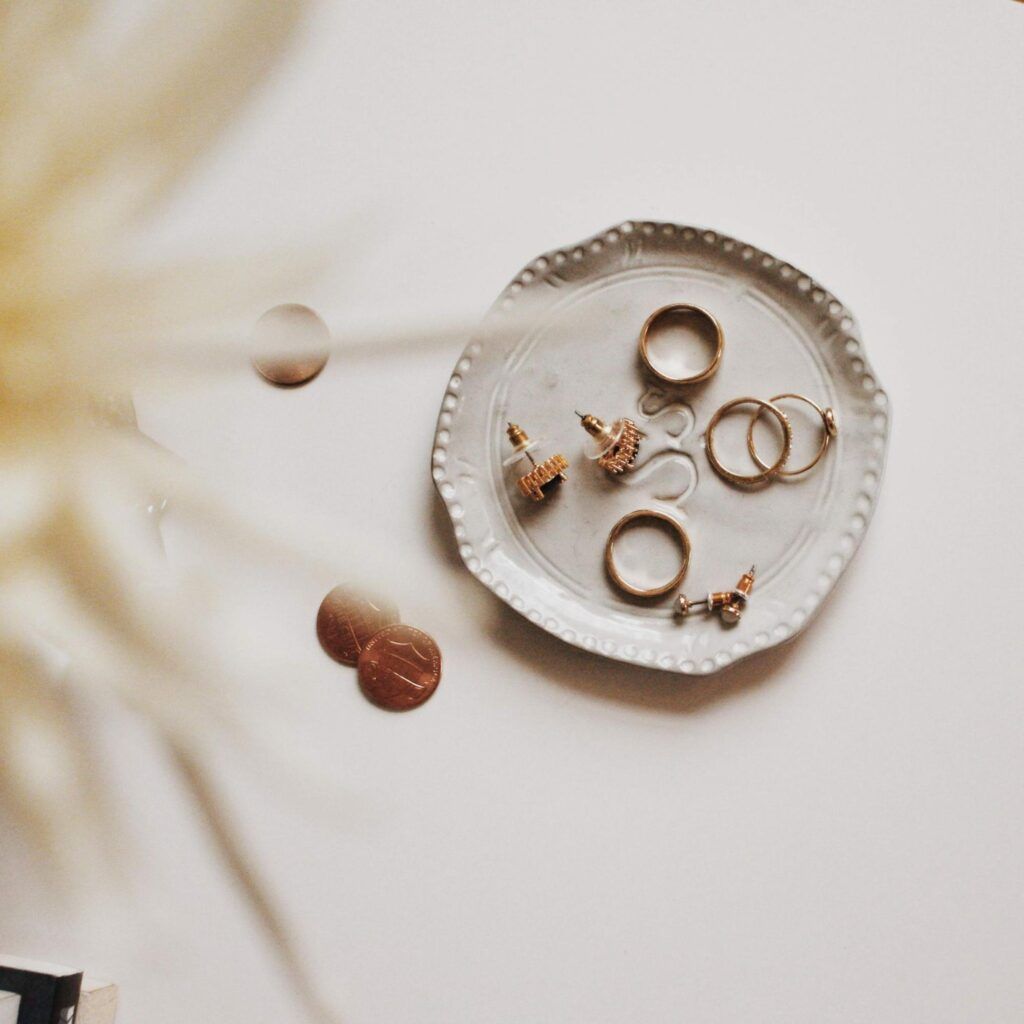
Composition is essential for any kind of product photography. For small products like jewelry, it’s even more important to give enough attention to composition. This can change the mood of an image. Try interesting and new ideas to make it work. The more creative you are here, the more pleasing your image will be.
Use Interesting Props
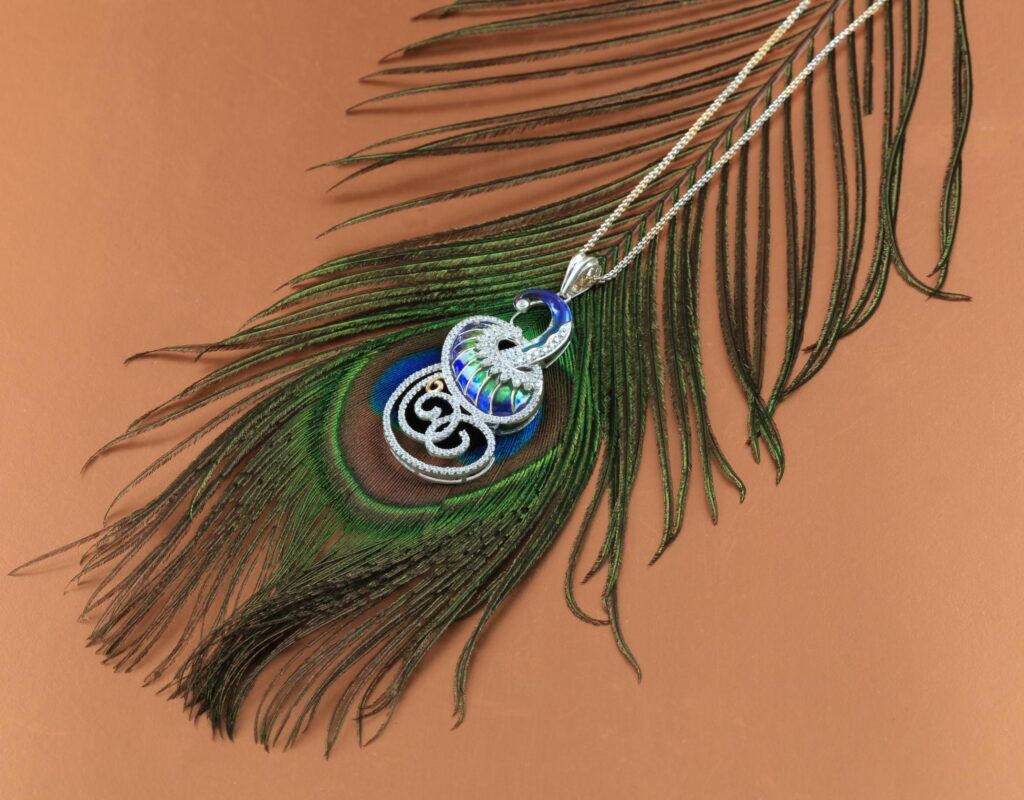
Using props is nothing new in product photography. Chances are, many other photographers will use the same technique. But what makes the difference is how incomparable your props are. The more unique and exciting your props are, the more appealing your image will be.
Try GIF
GIFs and moving images have become a big part of digital media. They are cool; they are trendy as well as lively. Suppose you’re making an earring image. Just by swinging the earring and capturing the movement, it will change the quality of your image. This kind of image attracts the customers much more than usual.
Take Multiple Shots
One or two shots are never enough for jewelry photography. For jewelry, you need to show the product from different perspectives to give an overall idea. If you have enough shots, you can adjust and use them in whichever way you want. Take close-ups, long shots, and try different angles.
Maintain Minimalism
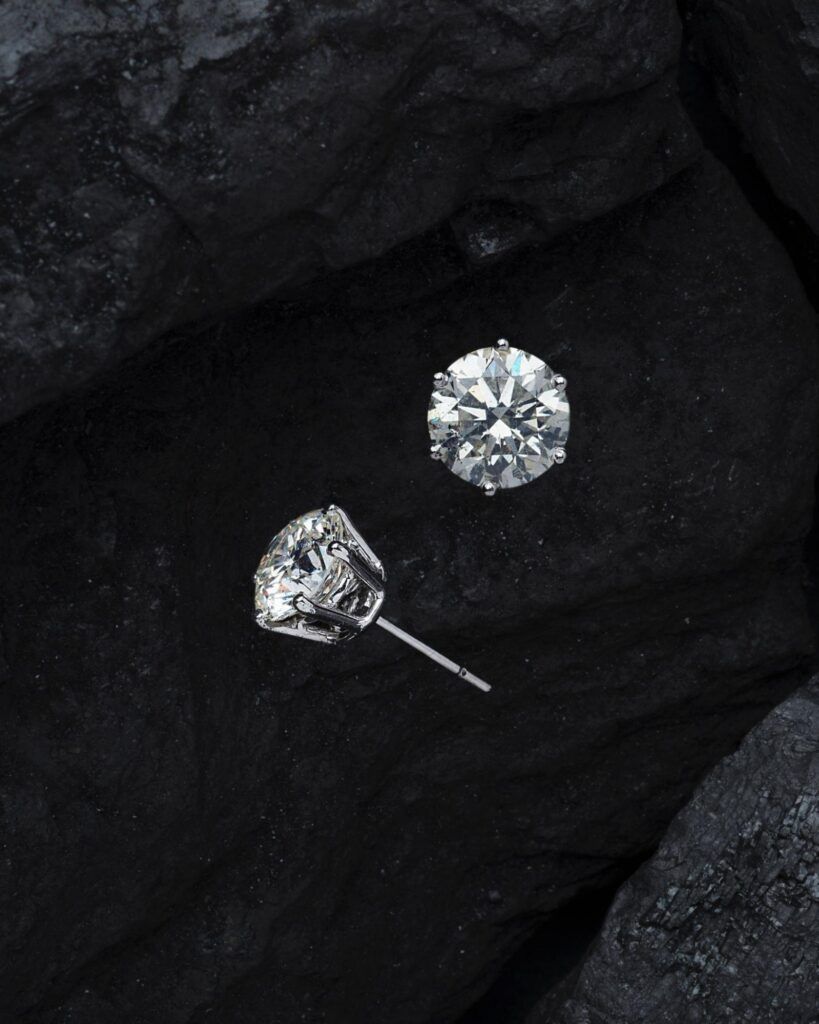
Finally, be minimal with your image. The ‘less is more’ rule works here well. Keep the background simple so that it doesn’t distract viewers. Use minimal props and keep the image simple. Jewelry itself is a gorgeous product, so you don’t need to add anything heavy that takes the lead in the image.
Recommended Reading: After learning about camera settings, improve your photographs by understanding how light works! Grab a copy of Photzy’s premium guide: Understanding Light Book One.
Final Thoughts
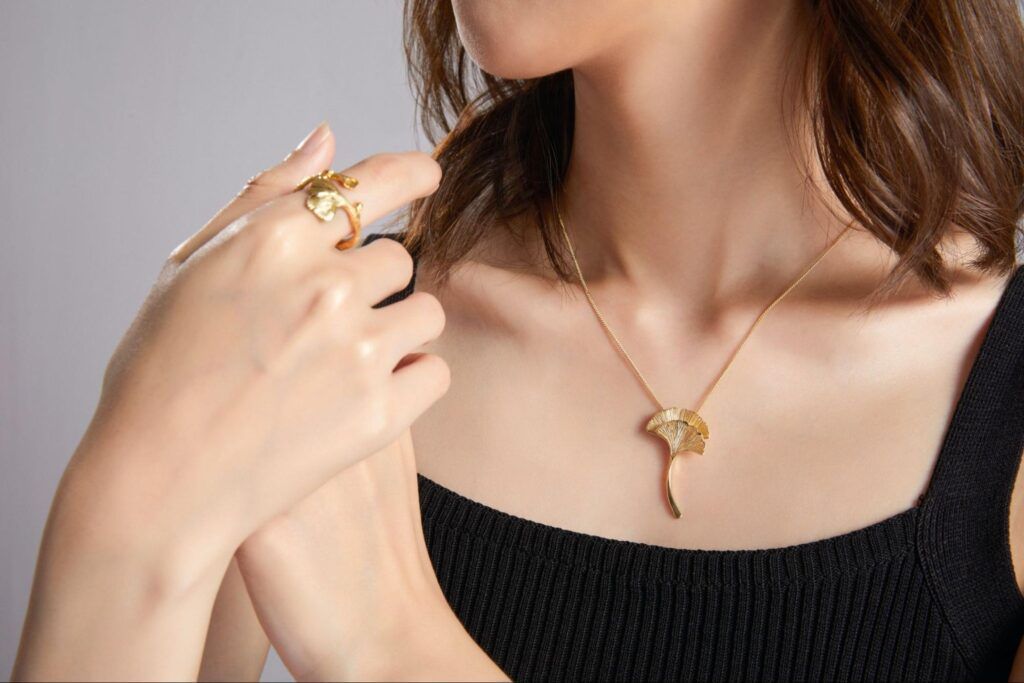
Jewelry photography techniques are not tough, but they can be challenging. It needs a lot of attention to each detail. Even the smallest mistake can be a major one in the image. As this kind of photography is sensitive, photographers need to have adequate knowledge of what they’re going to do.
The jewelry industry is a big market, and it almost always has that standard. Now, with the growth of the digital market, jewelry photography has also made its place. Professional photography is not enough; keeping pace with the trend is essential, too, as this is constantly evolving.
Self-Check Quiz:
- What kind of light should you use in jewelry photography?
- How do you prevent reflections in images?
- What props can be used in jewelry photography?
- When doesn’t a shallow depth of fieldwork for jewelry?
- What kind of light is preferable for jewelry?


