How to Easily Replace a Sky in Photoshop

Bunty Pundir
Bunty Pundir

New / Noteworthy

EDITOR’S NOTE: If you’re looking for a quick way to learn the basics of photography take a peek at our popular cheat sheets: The Snap Cards. If you missed out on your set last time, they’re available again and on-sale right now.

The final result of the tutorial with the replaced sky. Original images by Dan Reynolds (foreground) and Yahya Ehsan (sky)

In this tutorial, you’ll learn how to replace the sky in an image using Photoshop. I’ll take you through one of the best techniques to isolate sky in a photograph. This technique is non-destructive, which means you can go back to the original image at any time during the editing process.

You’ll learn how to use a combination of Channels and Masking to select the sky and then replacing the sky with a different one. This tutorial is a basic tutorial so no matter what your Photoshop level, this will surely help you. Let’s get to it!

Step 1

First, let’s open the sample image which you can download from Unsplash. To open the image in Photoshop, go to top menu, select File > Open & open the image. You can also create a new document & start working with it but I am directly working on the image.

Here you can see I have opened the image in Photoshop:

Step 2

As I mentioned earlier, we’ll use a combination of Channels and Masking to extract the sky. First, you have to access Channels TAB by selecting Window > Channels. This will make the Channels TAB visible if you are not seeing it.

Now we’ll use the channels tab to make the selection and I’ll show you how you can choose a channel to extract the sky. The theory is you have to select a channel that is giving you the most contrast between your subject & background. Since I don’t have any subject in this image, I am going to assume Sky is my subject, and the rest of it is the background. You can select each channel to see which one is making the sky blown-out as much as possible.

In my case, the blue channel is the channel which is providing a blown-out sky which is exactly what I want. Now select the blue channel as you can see I have selected it.

At the bottom of the layer panel, you can see there is a tiny circle icon (Load Channel as Selection) click on that to load the selection.

Step 3

Once you click on the Load Channel as Selection icon you can see the selection is active and we have selected the sky in just one click. Don’t forget to click on the RGB Channel to switch back from Blue to RGB channel.

With Blue channel, we have also selected those parts that are blown-out or almost white & these parts include some parts of our background such as hay bales, there are many parts if you zoom in. To get rid of this selection, we have to minus it manually and we can do this using the Quick Selection Tools (W).

Select the Quick Selection Tool (W) from the tool panel and check on the (-) icon on the options bar to minus the selection. Once the tool is set brush it over the parts shown in the image below to minus the selection.

Also, make sure to zoom in so you don’t miss out small details. As you can see in the image we have selected the house as well because it has some blown-out parts. Make sure to minus the selection there as well and navigate through the image so you don’t miss out any of these parts.

Once you clean the selection, your selection results should resemble the below image.

Here you can see nice & clean selection of the sky.

Step 4

To isolate the sky we need to add a layer mask. To do this, click on the Add a Layer Mask Icon at the bottom of the layer panel. You can also go to Layer > Layer Mask > Reveal All to add a layer mask.

Once you add a layer mask, you’ll have the similar results shown below.

Step 5

We haven’t extracted the sky instead of that we have our background invisible. We can invert the layer mask results to remove the sky. All you have to do is press CTRL + I to invert the layer mask results.

Once you invert layer mask results you can see we have extracted the sky but there is a lot more we can do to improve it further.

You can see the layer mask results by pressing ALT + CLICK on the layer mask thumbnail. This shows the masking results, everything in black is completely invisible & everything in white is visible. If you take a closer look at the layer mask results you may find that there are some parts that are gray. Those parts are 50% visible & 50% invisible.

With these results, if you add a new image below the landscape image these parts can overlap each other. While these parts can help you if you are creating compositions because these parts may match with your new sky. But for the sake of simplicity, we’ll remove the sky completely that means we need to turn the layer mask totally black.

Step 6

Hold down CTRL & click on the mask thumbnail to retrieve the selection & then press CTRL + SHIFT + I invert the selection so we can select the sky.

Once the selection is active, we can paint on the layer mask with black color to remove those parts. You can select the Brush Tool (B) & set the foreground color to black. Now paint on the mask to remove the sky completely since we have the selection active you don’t need to worry about that you might paint on the background instead of the sky. The selection will take care of that. Also, if you don’t want to paint what you can do is set the foreground color to black by pressing (D), then press Alt + Backspace to fill the layer mask selection with black color.

You can see in the below image that my layer mask is totally black & we have removed every inch of the sky. There are no sky details but in case if you want to go back or you are like “Oh, I need some parts back” just simply paint on the layer mask with white color to reveal those parts (it really helps if you are creating a composition).

Step 7

Download the sky image from Unsplash. Go to File > Place Embedded & place the sky image under the landscape layer. If you see a lock icon in your background layer you can double-click on the background layer to unlock it then you can place the sky image under it.

So place the image as I did it below & you may notice transform handlers around the sky image. You can use these handles to resize the image or make it fit nicely to the document. You can hold down SHIFT to keep the aspect ratio while resizing the image.

Here are my final results:

I hope you enjoyed the tutorial and learned something new today. This tutorial is for basic level Photoshop users and I hope you were able to figure out how to replace the sky in an image, which can sometimes be tricky to accomplish.

BONUS: There's something special for you on the next page...

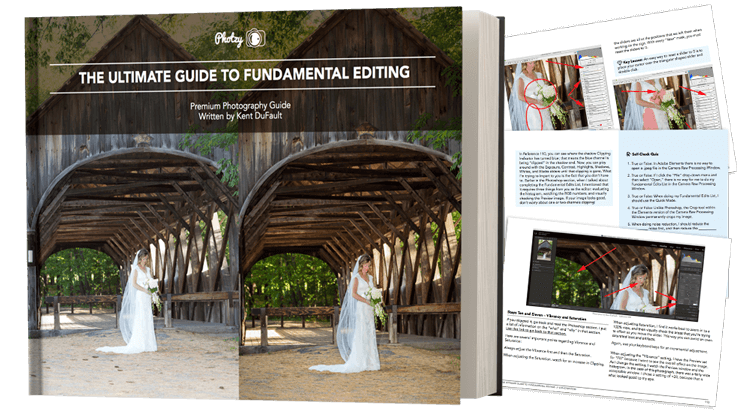
If you’re unsure about your Fundamental Editing, or you would like some guidance on how to edit your photos for maximum impact, Kent DuFault has written a comprehensive guide on the subject.

It covers all three Adobe products: Photoshop, Lightroom, and Elements. Plus it includes a free printable step-by-step editing checklist with that you can pin-up, or leave next to your computer.

If you missed out on your copy last time, it’s available again and on sale right now.

Click below now, to read about it on the next page…

About Bunty Pundir

About Bunty Pundir

Bunty Pundir is an artist based in New Delhi, India. He has written tutorials for many popular blogs. Apart from being a tutor, he is a digital artist mastering compositing, photo manipulations & does commission artworks. You can check out his work on Instagram.

Who is Photzy™ ?

Great question! Photzy.com is an online photography school with a focus on simple, practical tips and tutorials, for beginners.

Since 2012, we’ve grown to a small team of photography enthusiasts from all over the world, teaching over 200,000 students from 180 countries. No matter where your current skill level is, we’d like to help you explore your unique creative side, through photography!

“At Photzy, we believe EVERYONE is creative, and that photography is the best way to explore and share your creative side with the world.”