For many of us, a vacation means a trip to a relaxing place where the land and water meet. You may have spent your childhood family vacations there. No matter the age, water never seems to lose its magnetic pull and the lure of a beach never gets old.
Although we tend to think of beaches as the classic white sand variety, they are diverse in their composition and characteristics. They can be rocky and rugged, temperate or tropical. Likewise, an individual’s reason for visiting a shoreline can vary greatly, making them an excellent subject for a photographer.
We’ll take a look at some of those opportunities as well as discuss some of the challenges in taking great images to document your beach vacation.
In this article, you’ll learn about:
- Equipment required for a variety of situations
- Safety issues to consider
- Different ways to photograph a beach
- How to plan your shots
- How to ensure that you have a good exposure
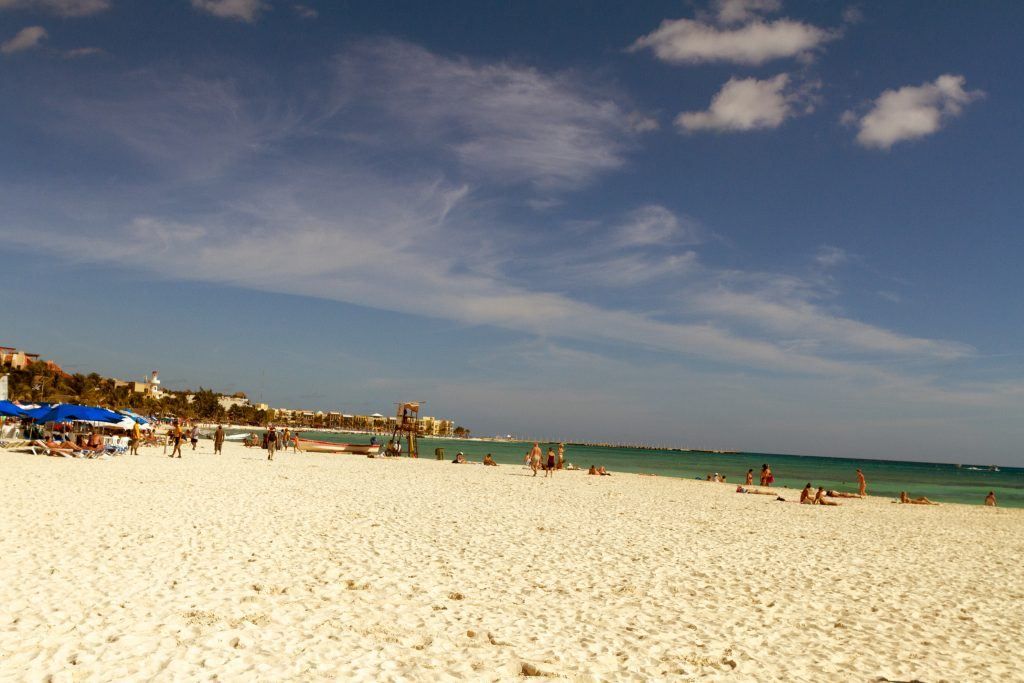
Photograph by Rob Eyers
Before we start, I’d like you to take a moment to study this picture of mine (above). Lacking in composition, subject matter, and good lighting, it’s safe to say that it’s not a compelling beach scene. Discussing its failures will be helpful in discovering what makes a successful beach photograph.
Here are some of the major issues to avoid:
- The horizon is not level. This is the worst mistake you can make. When taking beach shots there’s going to be water. Unless you have a good artistic reason for that body of water to be slanted, it’s best to get it level.
- There isn’t a main subject. What is the viewer supposed to be looking at
- The brightest part is the sand in the bottom left, which is nearly over-exposed with nothing of interest to look at.
- There are color issues.
- There is no composition to speak of.
Key Lesson: Keep the horizon level and anchor an image with a main subject.
Recommended Reading: If you’d like to improve your composition skills for better beach photography images, grab a copy of Photzy’s best-selling premium guide, Understanding Composition.

Photograph by Rob Eyers
I’m much happier to say that this image (above) is mine. The horizon is level and there’s a subject. The color is much better, as is the early morning light. This picture vividly brings back the memory of a particular vacation with the early mornings spent sitting in a beach chair sipping coffee.
Before discussing other beach photo opportunities, let’s briefly look at some of the equipment that can be useful.
Gear
For the purpose of this guide, let’s assume you’re using a DSLR or mirrorless camera. Here are some pieces of equipment that are useful:
- A lens hood to keep the sun out of the lens as well as to give the lens some protection.
- A circular polarizing filter to help control reflections.
- A neutral density filter for taking longer exposures.
- A tripod for longer exposures. These longer exposures may be for special effects or for when there’s very little light..
Gear Safety
Salt and sand can be a problem with camera equipment. If there’s salt spray, a UV filter is a good idea to protect the lens. Clean the filter frequently as the salt mist will build up, causing blurry photos. Keep the tripod out of any salt water as it’s very corrosive. Be cautious and clean things thoroughly after you’re done shooting and you’ll be fine.
Exposure Considerations
Camera light meters are very useful tools, although it’s important to understand that they expect to see the average brightness of the scene they’re measuring as mid-gray. Because of this, there are times when they will fail to set the correct exposure.
This failure is most noticeable when the scene is very bright or when it is dark. When the scene is bright – like when there’s a lot of bright sand – it will underexpose the scene to make things more mid-gray. The reverse is true when the scene is dark, which causes overexposure.
The best solution to this issue is to stop using the fully automatic exposure setting on the camera. By using manual mode or exposure compensation in one of the other automatic modes, you can take control and avoid having bad exposures. The meter can still be used to check the scene, but a better solution is to check the camera’s histogram.
Key Lesson: Scenes that are very bright, with high dynamic range, or scenes that are dark are best shot with some manual control to achieve correct exposure.
Recommended Reading: To learn all about shooting in manual mode I highly recommend reading Photzy’s free guide on shooting in manual mode by Kent DuFault: The Real Reason You Should Use Manual Mode. This guide also explains the advantages and shortcomings of the other automatic camera modes.
Now that we’ve briefly discussed some of the issues of setting exposure with scenes that have demanding lighting, let’s move on and discuss some of the options available at the beach.
By using manual mode or exposure compensation in one of the other automatic modes, you can take control and avoid having bad exposures.
Most people go to the beach at midday when the light is very harsh. The best way to avoid this bright harsh light is to get up early. Although an early wake-up call may not be very appealing to someone vacationing beachside, it is prime time in terms of lighting. It’s that fabulous light in the early morning and the evening that can make for standout images.
The early morning light at this time of day is soft and beautiful. A few hours later and this scene would be harder to capture as the light would become harsh and the dynamic range would be more of a challenge.
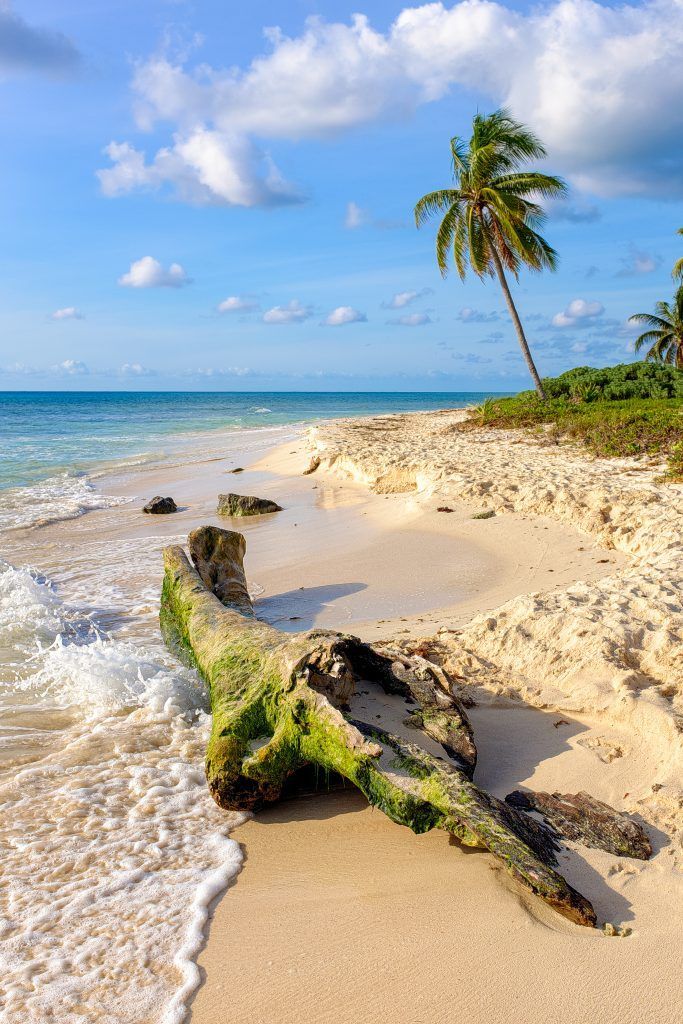
Photograph by Rob Eyers

Photograph by Rob Eyers
Sometimes the beach takes on a supporting role as in this shot from Panama. The roots of this large driftwood tree are obviously the focal point, with the mountains acting as a backdrop. This image, like the last one, was taken when the light was soft and warm. This time it’s late into the evening as sunset approaches.
Key Lesson: Early mornings and evenings are great times to take beach shots as the light is beautiful at that time of day.
Sense of Place
Next, let’s talk about a sense of place. Always be on the lookout for something that’s unique to where your beach vacation is. Not only will it tell others where you were, but these unique elements make for great subject matter to anchor your image.
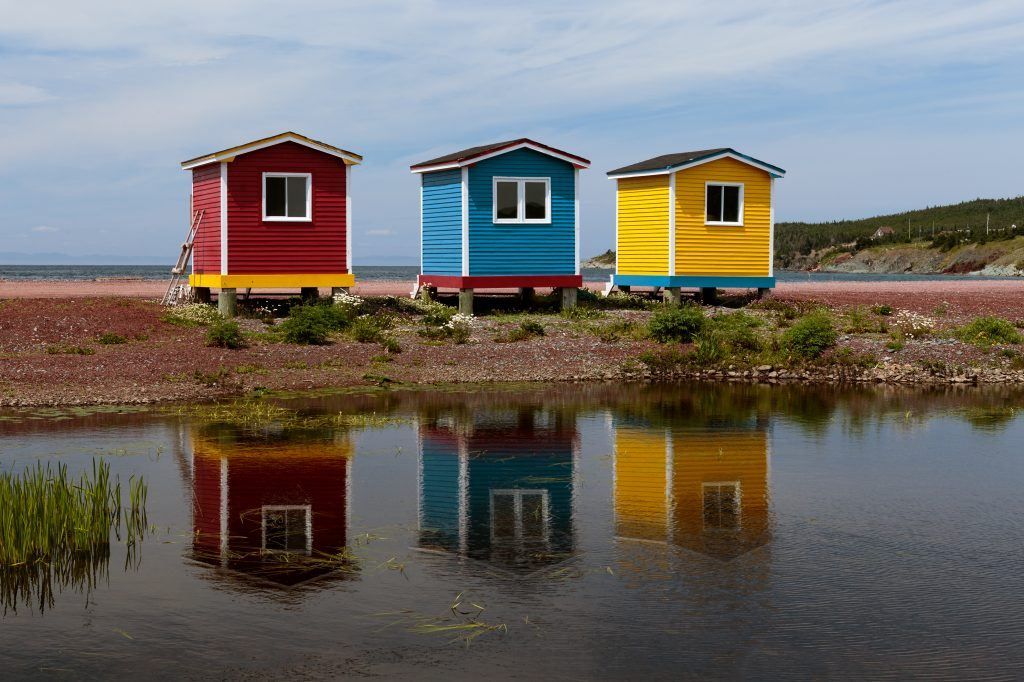
Photograph by Rob Eyers
This scene is a memorial to fishermen lost at sea in Newfoundland, Canada. Reflections, bright colors, and a group of three make for a pleasing picture. There’s no mistaking where this vacation was.
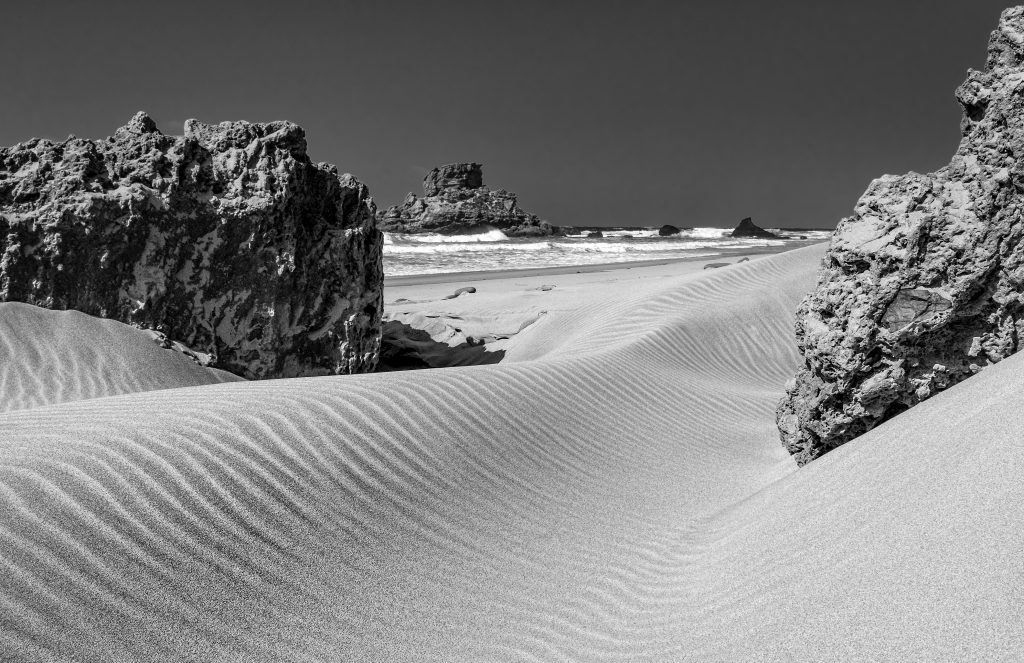
Photograph by Rob Eyers
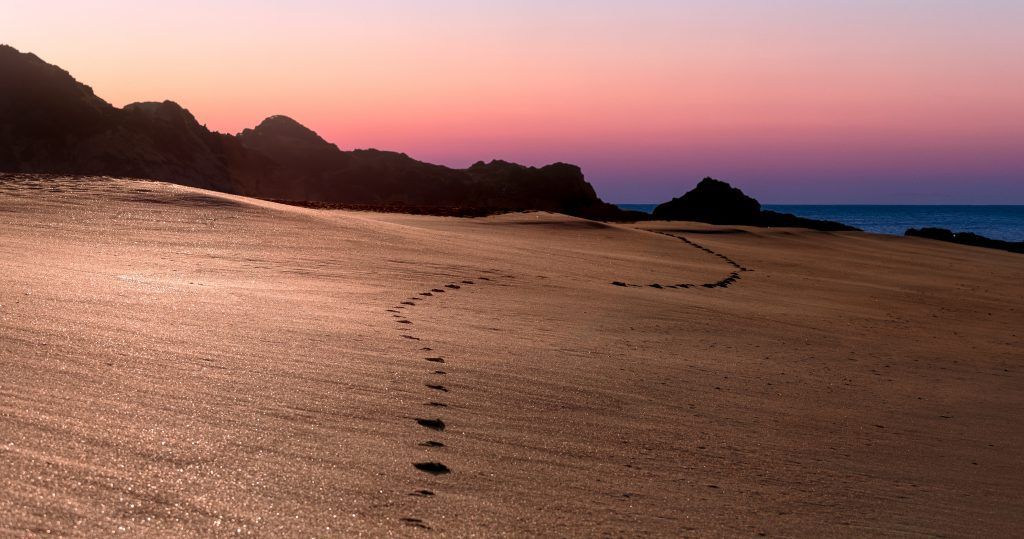
This wind-swept beach on the west coast of southern Portugal is a study in texture. Sand dunes built by relentless breezes stretch out through the jagged rocks of the beach. Here it’s the patterns in the sand that catch the eye and lead you into the picture.
Key Lesson: Look for unique attributes that impart a sense of place. Frame an image to include those elements and exclude distracting items.
Recommended Reading: If you’d like to improve your composition skills for better beach photography images, grab a copy of Photzy’s best-selling premium guide, Understanding Composition.
Perspectives
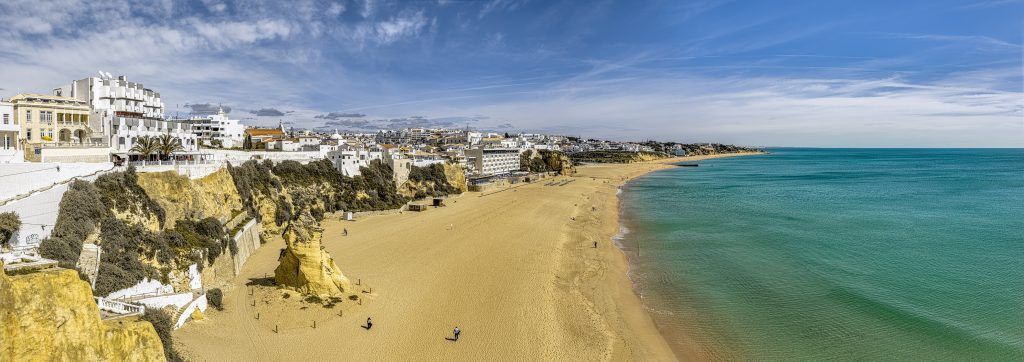
Another idea that can set a photo apart is to find a different or unusual vantage point to take it from.
Key Lesson: Panoramas can be a great way to capture the essence of a beach vacation. Look for different vantage point opportunities.
Photograph by Rob Eyers
By finding a high point from which to shoot this panorama (above), the viewer is given a different perspective than if it had been taken from down on the beach. The opportunities at most beach locations are almost limitless. Work the scene and take images from as many vantage points as possible. It may surprise you which ones you or others like the most when you return home.
Sometimes the scene you set out to photograph just isn’t quite what you’d expected. That’s when it’s time to erase any preconceived ideas and open up your eyes to what’s there. Look for compositions and interesting light. It can be helpful to simply sit down and observe what’s there in front of you. Your creative juices will begin to flow as you relax and enjoy your surroundings. Some of the best images come from moments like this.
Photograph by Rob Eyers
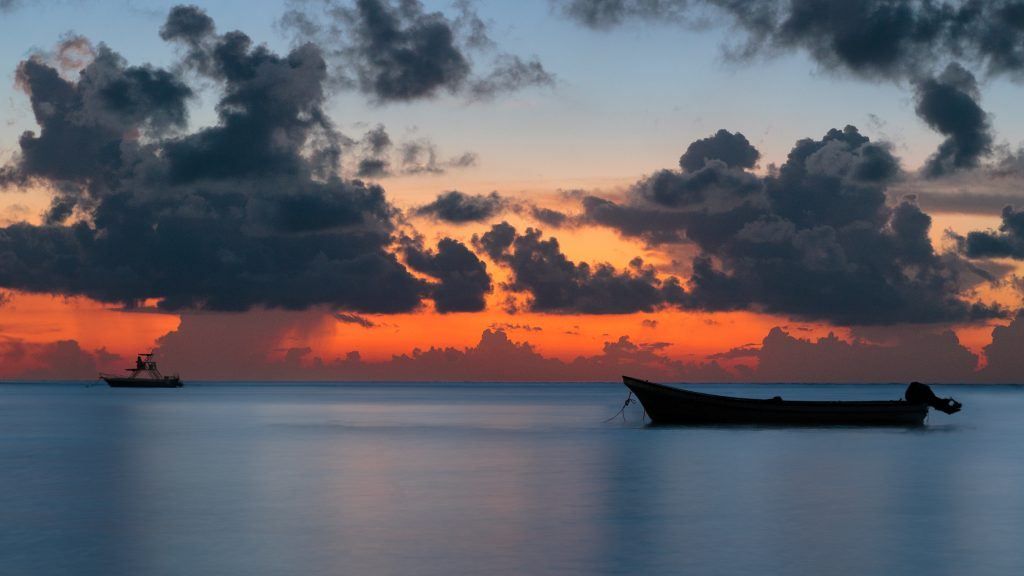
This image was taken early one morning before sunrise. I’d been coming down to this beach every morning for weeks on an extended vacation. Every morning was different, so a day missed was an opportunity lost. Some mornings were wind swept with huge waves, and other days were lacking with hardly any color. This particular morning was pretty calm. Although it was calm, the water wasn’t as flat as I’d hoped.
After watching for a while, and as the sky began to show some color, I decided to take several different exposures and work with them in Photoshop later. I wanted the water to be smooth, but I didn’t want the boat to be blurry or the clouds to be a blur either. In order to capture the image that I had in my mind’s eye, it was necessary to take multiple exposures. By using a tripod it was possible to take fast exposures with a wider aperture and slow exposures with a smaller aperture. The overall exposure of each photo was the same. The resulting images were blended in Photoshop using layer masks.
Key Lesson: A tripod makes it possible to take multiple images of the same scene that can be matched up in post-processing later. To help you recognize a set of photos later on in post-processing, start by taking a shot of your hand with one finger and end the set with another shot of your hand with two fingers.
Photograph by Rob Eyers
Best Time To Shoot
As previously mentioned, sunrise and sunset are popular times to go to the beach to take photos. However, there’s a time before sunrise and after sunset that can be magical. The eye doesn’t always catch all the details and color of a scene when the light is fading, but the camera certainly does.
This time of day is called nautical twilight. It occurs when the sun is 12 degrees below the horizon. It’s at this time that the sky can show its most spectacular colors. If you arrive right at sunrise or leave right after it disappears over the horizon in the evening, you may miss the best show. It’s not guaranteed, but when it does occur it’s usually spectacular.
If you arrive right at sunrise or leave right after it disappears over the horizon in the evening, you may miss the best show. It’s not guaranteed, but when it does occur it’s usually spectacular.
The timing of nautical twilight can be determined using apps such as The Photographer’s Ephemeris (TPE) or PhotoPills. The exact time varies by where you are on the planet and the time of year, so the information these apps supply is of great assistance in your planning.
For photography at this time of day, a tripod is an absolute must. Exposures will be much longer so a steady base for the camera is essential. It always amazes me to see what the camera can capture that the naked eye doesn’t see. Another advantage of arriving at the beach early is having the place to yourself. As the morning goes on, the beach becomes progressively busier, making it harder to take photos that are not just simply snap shots.
Key Lesson: Tripods make longer exposures possible when there is not enough light to hand-hold the camera. Any stabilizing system in the lens or camera should be turned off. Stabilizing systems are looking for motion, and when they don’t find it they can cause varying amounts of image degradation.
Photograph by Rob Eyers
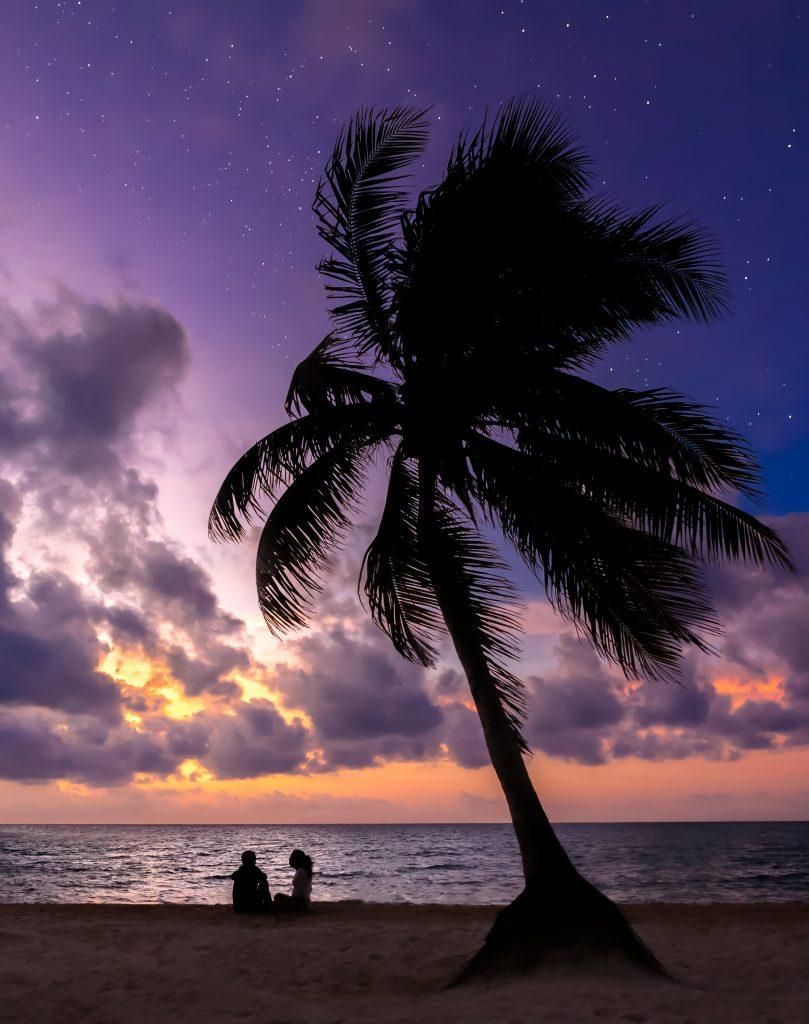
When this image (above) was taken, I had to use a flashlight to see where I was walking. It was about 10 minutes after nautical twilight began and 20 minutes before sunrise. To the naked eye there was very little color in the sky.
There were a few stars visible but not as many as you see in this final image. The extra stars came from an image I took 30 minutes before, which was blended in Photoshop. Don’t be afraid to enhance your photos to express your own artistic vision.
Photograph by Rob Eyers
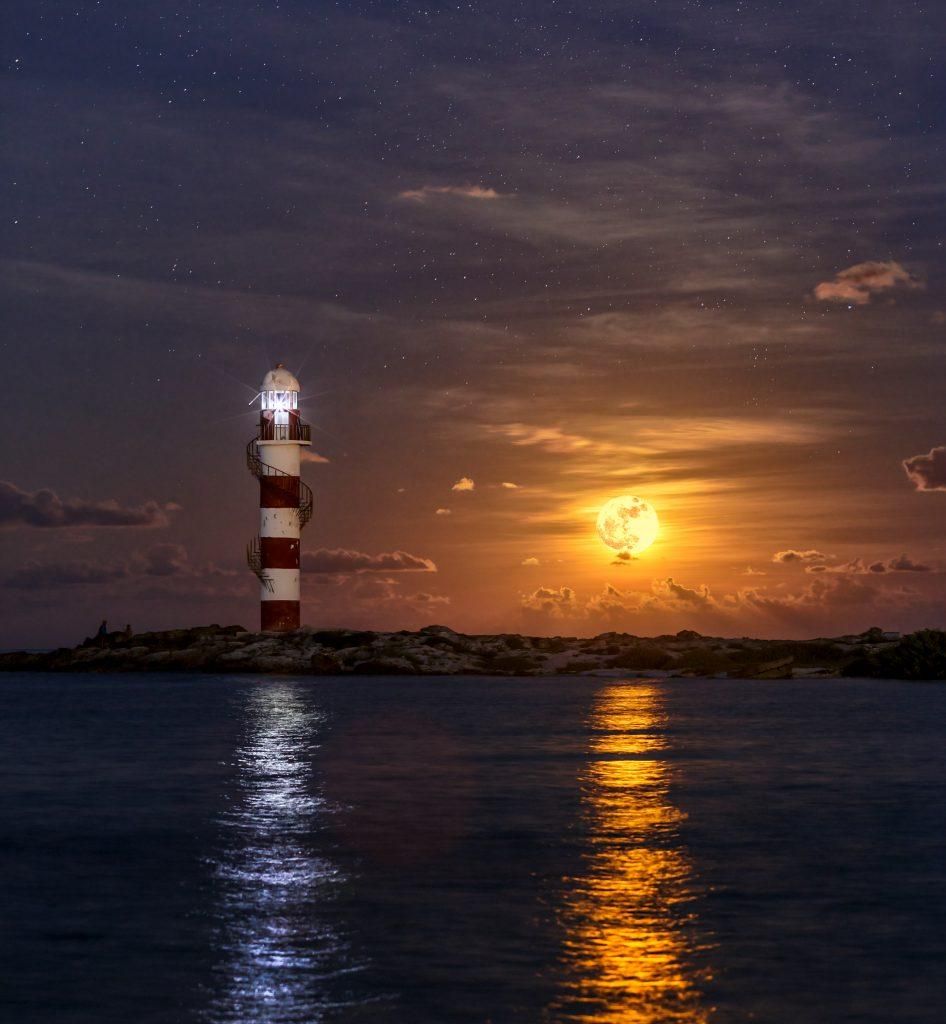
The beach is a perfect place to capture special moments like a full moon rising. The reflections on the water and clear view of the horizon offer images that are extremely memorable. The apps mentioned previously are also the perfect tools to plan both time and location for such a shoot.
Many beach photos have a large dynamic range. Some of the scenes will be very bright and some will be dark. All of these circumstances are a challenge for your camera’s light meter. Bracketing the shot with an exposure one stop over and one stop under is a good idea. Think of it as free digital insurance. Bracketing can also open up other post-processing possibilities such as blending or recovering highlights.
Recommended Reading: If you’d like to improve your composition skills for better beach photography images, grab a copy of Photzy’s best-selling premium guide, Understanding Composition.
Final
A beach vacation is a photographer’s playground full of beautiful colors, interesting subjects, and unique scenery. Good composition and keeping the horizon straight are basics to keep in mind while framing subjects that are unique to the area. Those unique subjects will add character to your images. Always look for beautiful light, which can be found in the early morning or late in the day. Use the camera’s ability to capture images in very low light to create photos that stand out. Beach photography offers a lot of possibilities, but don’t forget to put your camera down once in a while,get your feet wet, and have some fun!

Photograph by Rob Eyers


