

They say never work with animals or children, but if you’ve got pets in your life, it’s hard to resist trying to capture their unique personalities in photographs.
Animals can be a challenging subject. They don’t understand posing for the camera and are often more interested in getting on with their own day than interacting with a photographer. So it takes a little effort to get great photos of your pets.
In this guide, we’re going to look at how to photograph your pets and the tips and tricks you need to capture their personalities.
Here is what we will cover:
- What equipment do you need?
- Camera settings and being prepared
- Exposure tips for fur and the myths about black pets
- Tips and tricks for getting the best from your pets
Recommended Reading: If you’d like to learn how to create amazing portraits, grab a copy of Photzy’s premium guide: The Art of Portrait Photography.
What Equipment Do You Need?
Pet photography doesn’t require a lot of special equipment, but you’ll find the job easier with certain camera gear. A DSLR or CSC camera with interchangeable lenses and full control over the camera settings is recommended as you want to be able to control the images you produce. As with all photography, it’s your lenses that make the difference in the quality of your images. The better the glass, the better the quality of your images.
However, when it comes to pet photography, your best option is going to be a zoom lens. This gives you the option to change the focal length quickly (which is extremely useful with moving subjects) and allows you to photograph your pet without having to get too close (which can be distracting for the animal). Ideally, you’ll want a lens with an aperture of at least f2.8, to allow you to blow out the background with a small depth of field, but this will hike the cost up. A prime lens will give you a larger maximum aperture for less money but will restrict the speed at which you can capture a shot, or you can use a zoom lens with a smaller maximum aperture and accept the slight loss in quality.
Make sure you have a spare battery and plenty of memory cards; when pets are being engaging, you don’t want to run out of either. And when it comes to photographing animals, it’s always advisable to have toys and treats on hand to get their attention!
Make sure you have a spare battery and plenty of memory cards; when pets are being engaging, you don’t want to run out of either.
A note about using flash with pets: A lot of pet photographers do work with artificial lighting, but I’m personally a fan of trying to use natural light with pets. This is because a flash ‘firing’ can spook them. However, some pets really aren’t bothered by the flash and it can be useful in certain situations. If you’re going to use flash, keep the power low, diffuse the flash, and make sure you bounce it rather than firing it directly into the pet’s face.
Be Prepared
Much like the Boy Scouts motto, it pays to be prepared when it comes to photographing pets. Animals don’t always stay still for long, so they’re not going to wait around patiently while you adjust your camera settings! Now, I’m a big fan of working in full Manual mode so that you’ve got maximum control over your exposure, but if you’re just starting out, you can learn with either Aperture Priority or Shutter Priority modes.
So, how should you set your camera up? Obviously, it’s likely you’ll need to make some adjustments as you go along, but you can use these settings as a baseline to get started. One thing I would also recommend is setting your camera to continuous focusing (AF) mode, so that you can pan with the animal if it starts moving. And shoot in RAW so that you’ve got more to work with in post-production if necessary.

When your pet pulls a cute expression, you want to be ready to capture it, even if the background isn’t perfect. Photograph by Jo Plumridge
Outside
If you’re outside, then you’ve got natural light to work with and this makes your job easier when it comes to your camera settings. Set your ISO to its lowest setting (usually ISO 100) as this will reduce any digital noise (grain) in your image.
If your pet is stationary, you won’t need a particularly fast shutter speed, but make sure you’re shooting at 1/60th of a second and above to avoid any risk of camera shake. For action shots, you’ll need a faster shutter speed to freeze movement, so start at 1/250th of a second and work up from there until your pet is sharp. It’s also advisable to use a faster shutter speed if you’re using a large telephoto lens to again help prevent camera shake. Use a shutter speed equivalent to your focal length (e.g. 1/200th of a second for a 200mm lens).
When you’re shooting outside, you’ll probably have more options for your background and can choose how much of it to keep in focus, so use a large aperture (e.g. f5.6) if you want to blur the background with a small depth of field and a small aperture (e.g. f22) if you want the whole shot in focus with a large depth of field.

Shooting outside gives you more options with your camera settings and allows you to keep your ISO low.
Inside
If you’re shooting inside without any artificial light (apart from household lighting), you are going to be a little more restricted with your settings. Bear in mind that tungsten lighting (household bulbs) run both warm and orange, so set your white balance accordingly. Or, for the best results, shoot indoors on a sunny day and use the light coming through the windows to your advantage.
When you’re shooting indoors, your background is likely to be more distracting (unless you’re photographing against a plain wall). For this reason, I’d recommend a larger aperture to blow out your background with a smaller depth of field. This will also help your pet to ‘pop’ out of the image and will have the added benefit of letting more light into your image. Use a shutter speed of 1/60th of a second or above to keep your image sharp.

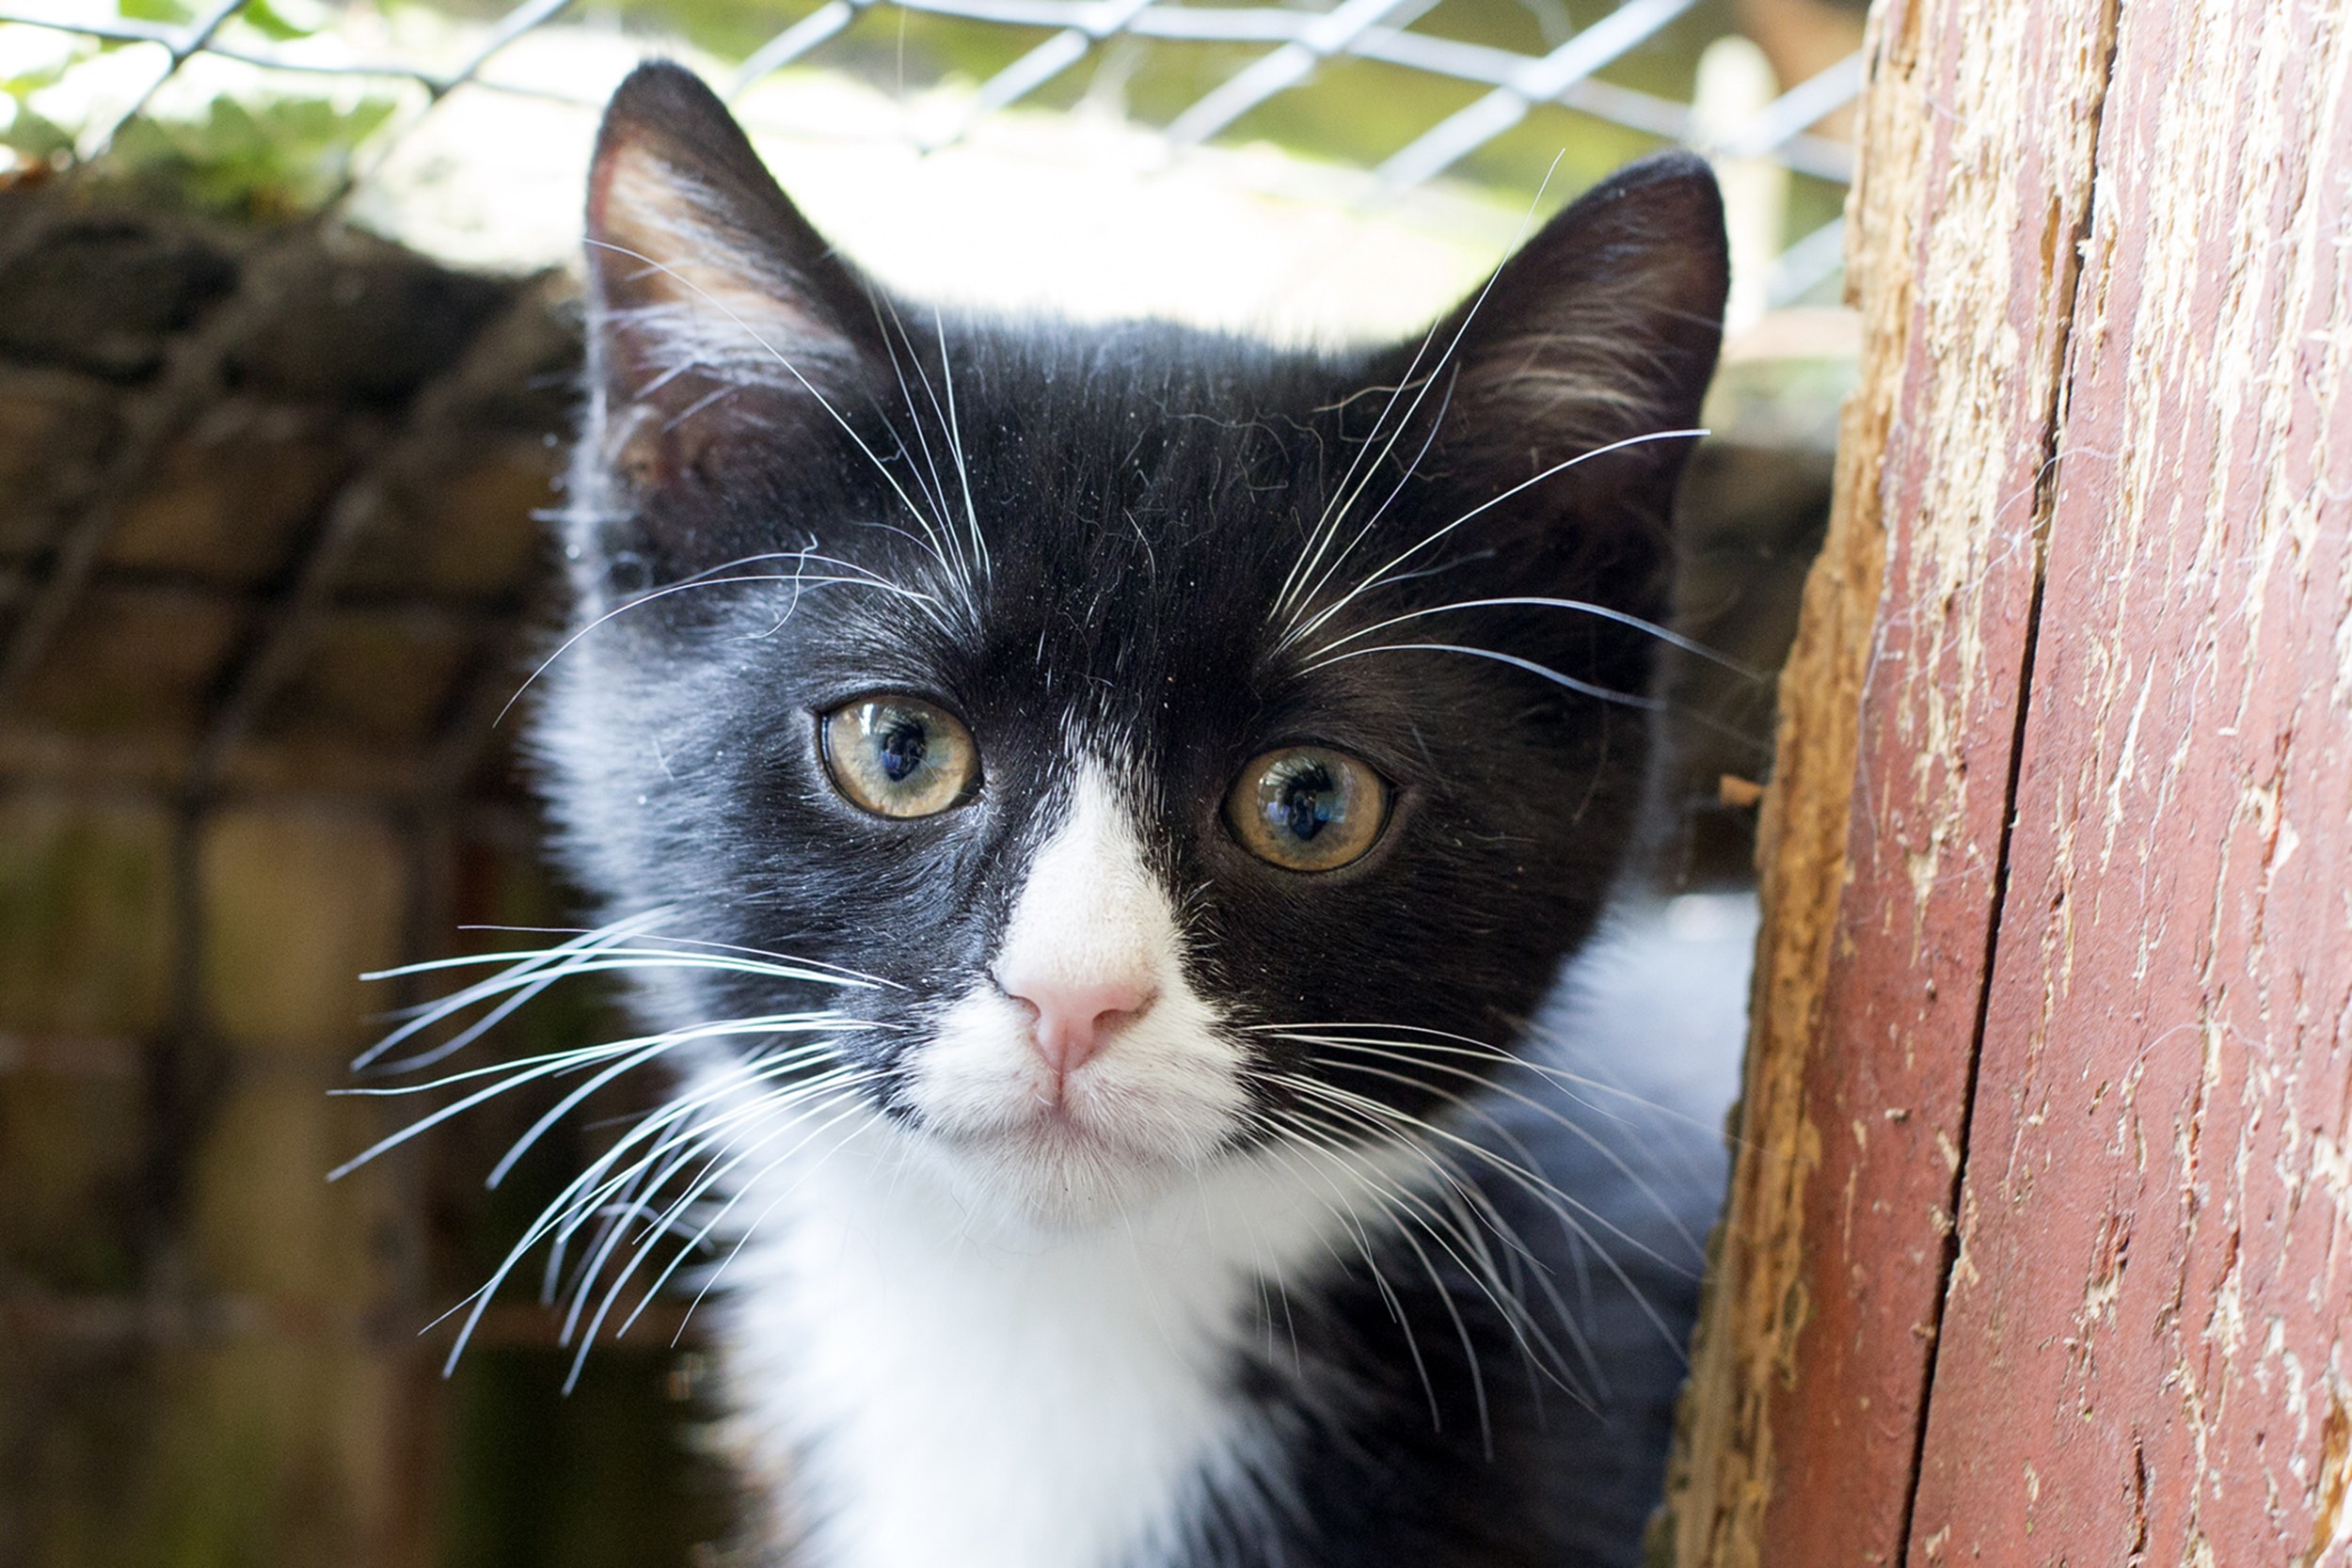
Cats are probably one of the trickier pets to photograph, and you will often need to photograph them where they’re sitting. This is why using a small depth of field is so useful, as it can blow out a distracting background. Photograph by Jo Plumridge
It’s likely that you’ll need to raise your ISO quite significantly in order to get enough light into your image. However, most modern DSLRs and CSCs are capable of shooting with higher ISOs without detrimental noise. Yes, there will be noise, but it’s of an acceptable nature. I use a Canon EOS 5D Mk III and regularly shoot with ISOs of around 1250 without any discernable loss of quality.
Of course, if your pet isn’t easily spooked, you can consider using flash, which will allow you to use lower ISOs and give you a wider choice of aperture and shutter speed settings. I also always keep a reflector handy for pet photography, to help reflect light back onto the subject.
Key Lesson: Depth of field is, in my opinion, the single most important factor in any photograph. It sets the entire feel of an image and is often the difference between a snapshot and an image that looks professional. Your aperture should always be a major consideration when it comes to your settings.
Recommended Reading: If you’d like to learn how to create amazing portraits, grab a copy of Photzy’s premium guide: The Art of Portrait Photography.
Exposure Tips for Fur and the Myths about Black Pets
Fur color is something you should take into consideration! For lightcolored fur, underexpose by one or two stops. For dark-colored fur, reverse this and overexpose by one or two stops. Of course, the most challenging pets are those that are black and white! For these, make sure you shoot with even lighting and underexpose the shot slightly. It’s easier to bring the detail back into the black in post production, whereas if your whites are overexposed then there won’t be any detail to find afterwards.
The most challenging pets are those that are black and white! For these, make sure you shoot with even lighting and underexpose the shot slightly.
The common myth you’ll hear is that black pets don’t look good in photographs. Without wishing to be rude, I would suggest that this is owed more to a lack of photographic ability than the animal’s coat color! I foster cats for a UK charity, and black cats are sadly one of the most common colors that come into rescue, which means I have plenty of practice in photographing them. As well as the above tips, one other thing I’ve learned with black pets is to always photograph them against a pale or brightly colored background. This helps them to stand out.
Key Lesson: If you’re having trouble getting the correct exposure on your pet, consider switching your camera’s metering mode to partial metering (if your camera has this) or spot metering. These modes allow you to meter for a small area within the frame, meaning that you can use them to meter primarily for the exposure of your pet.

It’s a common myth that black pets don’t look good in photographs. A simple way to help them stand out is to photograph them against a bright background, which makes the black fur ‘pop.’. Photograph by Jo Plumridge
Tips and Tricks for Getting the Best from Your Pets
So, now that you know the technical side, how do you get the best out of your pets? Let’s look at some tips in more detail.
Sharp Eyes
As with all portraits, sharp eyes are essential. Nothing ruins a photograph faster than having soft focus on the eyes. Eyes draw a viewer into a photo and help them to create a relationship with the subject. So, make sure you choose a suitable focal point that you can position in between the eyes. Remember that this is particularly important if you’re using a small depth of field, as your overall focal area will be smaller.
Know Your Pet
Pets all have their own personalities and knowing about them makes it easier to take good photos. The best shots come when an animal is relaxed and in its normal routine. You want the animal to be happy! Is your pet a fan of toys? Or do they enjoy snoozing more than anything else? Think about the quirks that make your pet unique and work with them. Also, don’t forget to employ treats as a bribery tactic!

Know your pet inside and out and you’ll be able to capture photos that show their personalities –– even the humorous side!
Composition
Photograph from the pet’s eye level. This way, you’ll create a stronger connection for the viewer and the perspective will look more natural. And be very careful not to accidentally crop off ears or tails if you’re going for a full-length shot. Because animals move quickly, this can be an easy mistake to make.

Get up close and on your pet’s eye level to produce more natural images.
Conclusion
Most people want to photograph their pets. We all love their quirky ways and loving natures! To get the best out of your pets, you need to:
- have the right camera equipment,
- learn how to use your camera settings effectively,
- think about how to get the best out of your pet, and
- know how to compose your shots to get the best results.

Photograph by Jo Plumridge
Self-Check Quiz:
- Why is your choice of lens important?
- Does a large aperture mean a small or large depth of field?
- Why is a smaller depth of field often useful in pet photography?
- What should always be sharp in pet photography?
- What mode can help you get the exposure correct with black or white cats?
- What should you never crop out in pet photography?


