

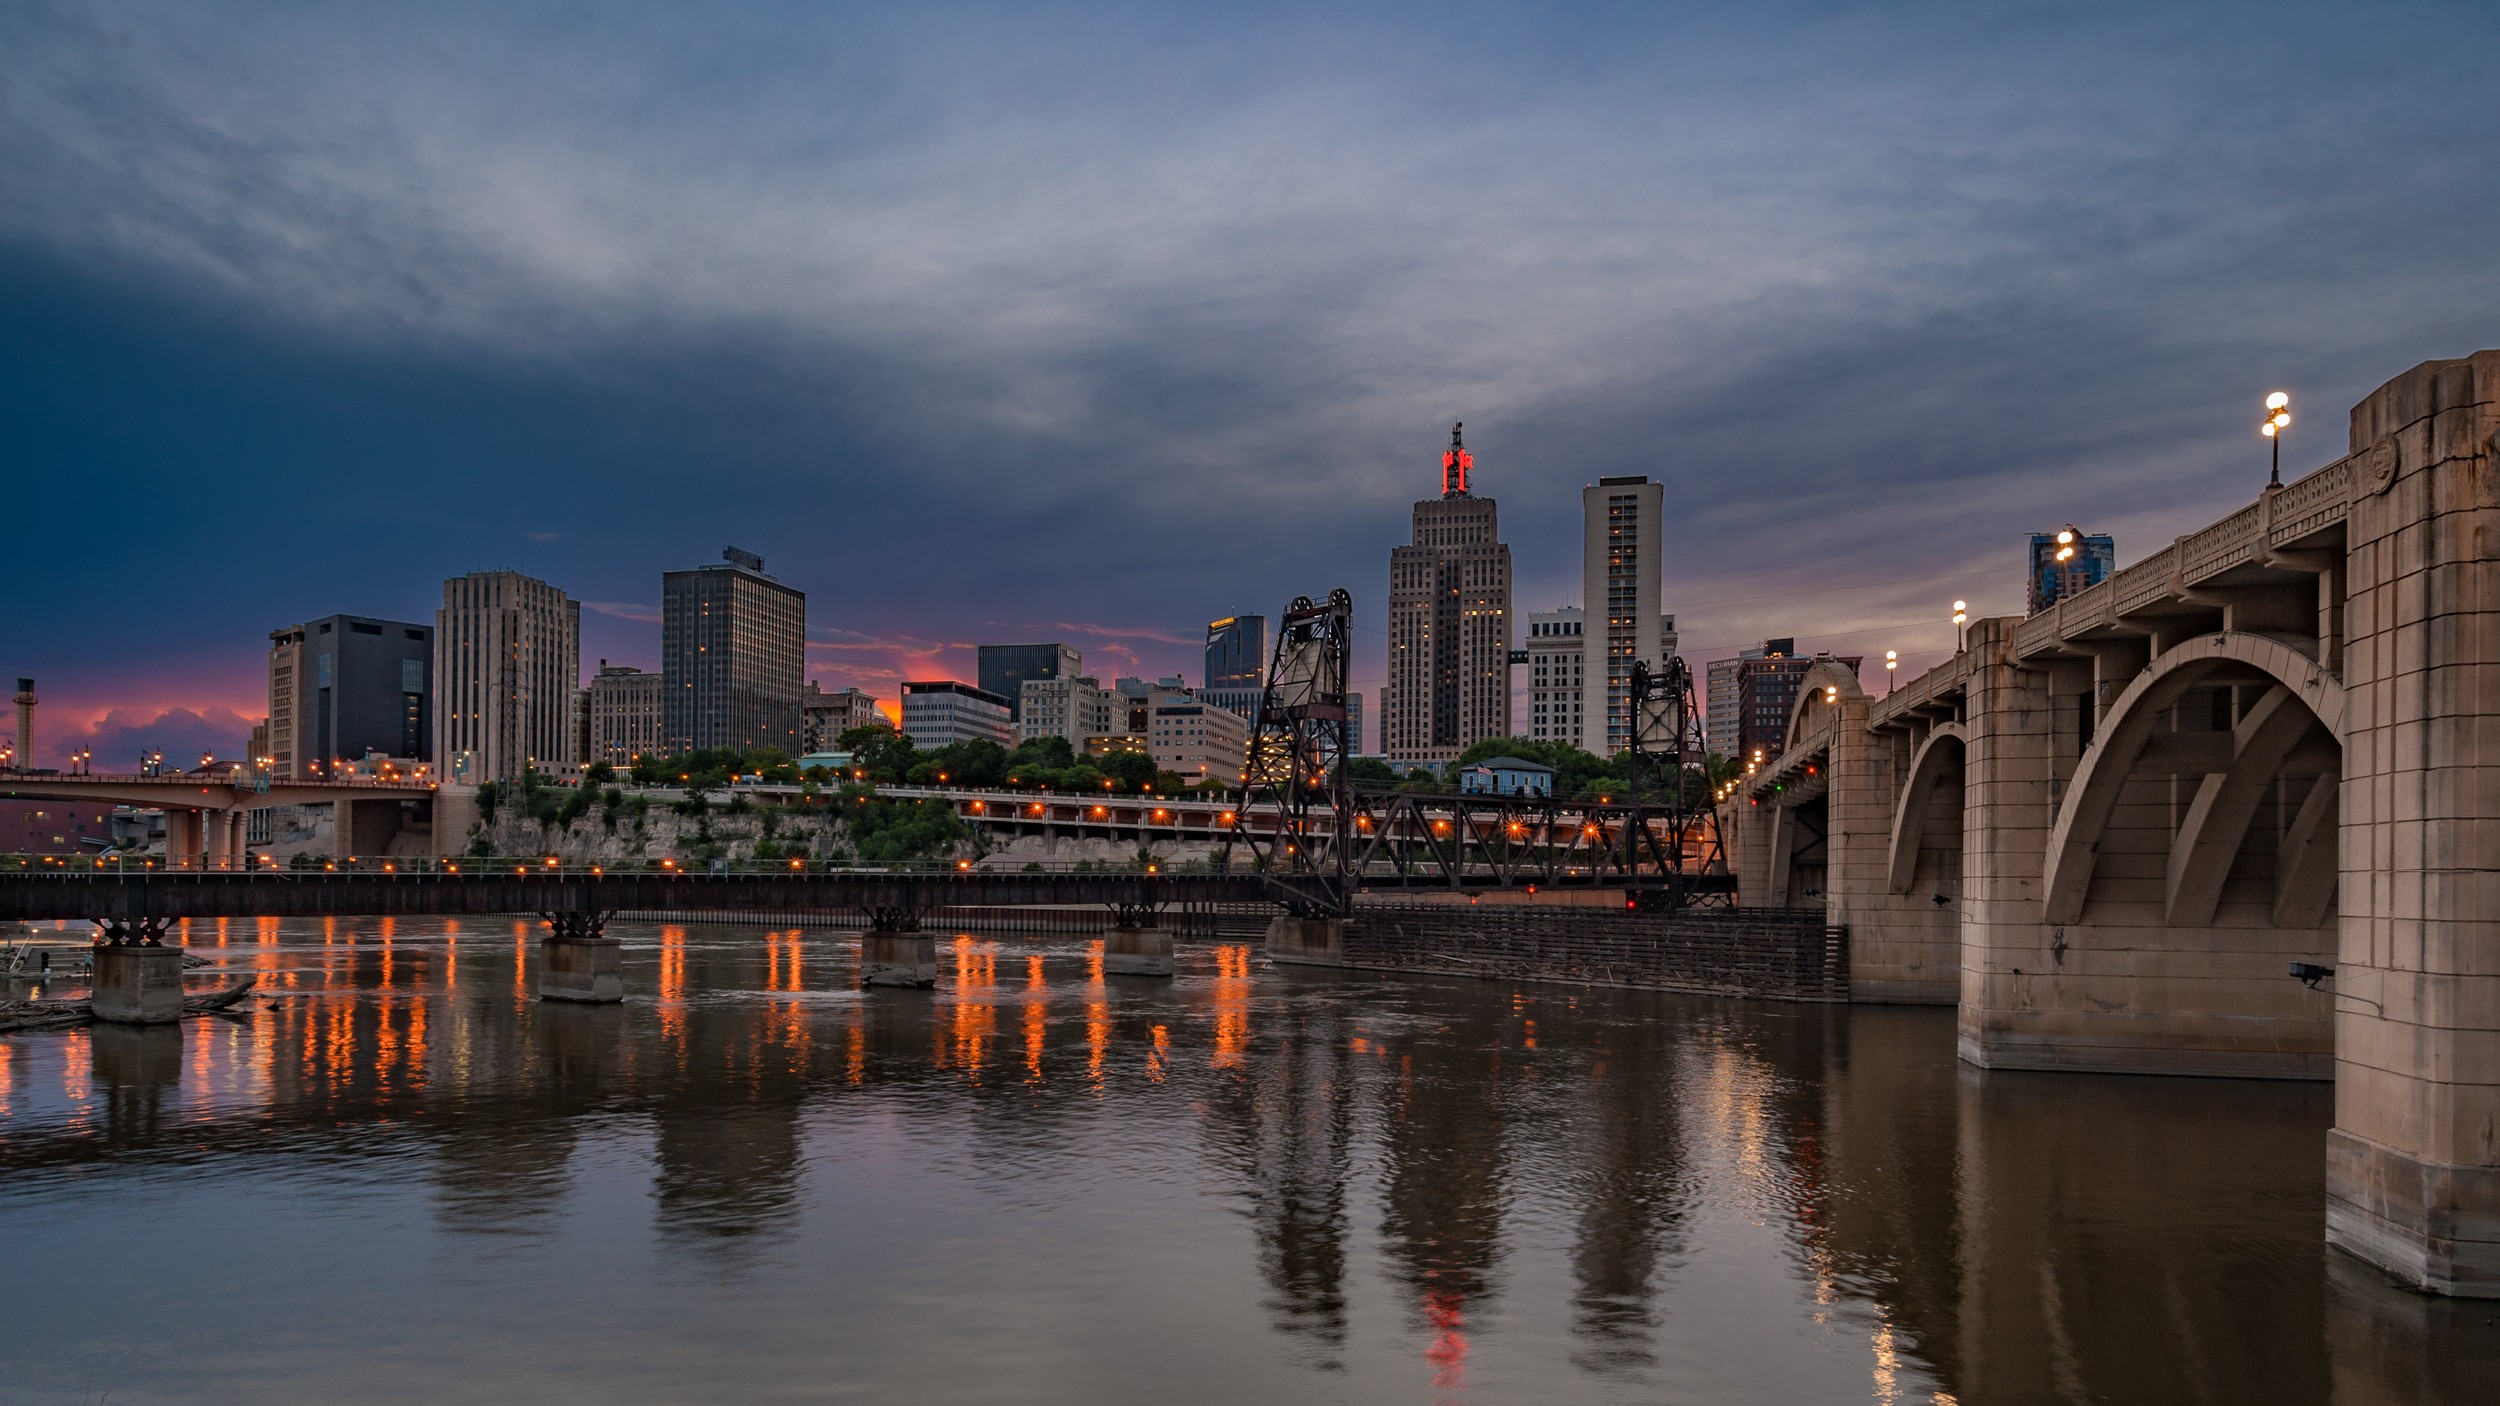
When I was a child, I would always get excited when passing through downtown St. Paul. There was something about the way the skyscrapers, bridges, and the Mississippi River played together that kept me staring out the window as long as the city was in view, or until my neck started to hurt. To this day, I still find myself admiring the Art Deco style of the First National Bank Building, the simple design of the 105-year-old railroad bridge that intersects Robert Street at a curious angle, or anything else that catches my eye when I’m in the area.
For the life of me, I can’t explain why I find the city so compelling. I just do. While I struggle to articulate what I find so intriguing about the diverse types of architecture squeezed into a few city blocks, photographing cityscapes has given me an outlet to show what I find so fascinating. My hope with each image I post is that the viewer will pick up on something in the scene that they’ve never noticed before and pay a little more attention to their surroundings the next time they visit that location. This guide will give you an idea of how I set out to do that.
In this article, we’ll discuss the following topics:
- What a cityscape is
- What you need to photograph a cityscape
- Where you should go to capture a compelling image
- What time of day is best
- How to frame your images
Recommended Reading: If you’d like to learn more and improve your landscape photography, grab a copy of Photzy’s bestselling premium guide: Complete Landscape Photography.

Photo by Aaron Seefeld
What is a Cityscape?
If you search the internet for the definition of “cityscape,” you’ll find interpretations that range from artistic to philosophical to structural. For the scope of this guide, we’ll say a cityscape is a depiction of a city or urban environment. The most popular form of a cityscape in photography seems to be skyline shots, but aerial images are gaining in popularity. Street-level views and other types of shots can also fit in this genre. The same concepts that apply to photographing metropolitan areas will also work for small towns and villages with just a couple of buildings.

Photo by Aaron Seefeld
What Do I Need to Photograph a Cityscape?
Fortunately, cityscapes don’t require a lot of exotic gear. A camera and lens that allows you to get your desired composition are all that is truly necessary. Having said that, there are a few things that will improve your images, especially if you venture out in low light situations.
Compulsory
- A camera. Any will do, but one that lets you control the aperture, shutter speed, and ISO is preferable.
- A lens with adequate focal length for your subject. For most cityscapes, a wide to normal lens is best suited for the job. However, depending on your vantage point and artistic vision, ultra-wide and telephoto lenses may also work.
- Spare batteries and memory cards. It’s no fun to go home early because the battery dies or there’s no room to store your images (I know from experience on both accounts).
Very Helpful, Arguably Mandatory
- A tripod, or other means to stabilize your camera. Even if your shutter speed is fast enough to shoot hand-held, securely stabilizing the camera will help you get as sharp of an image as possible. It’s also necessary if you’re bracketing your images for exposure blending or doing time-lapses. Setting the camera down will also force you to slow down and focus on your composition a little more.
- A remote shutter release. It may not be noticeable to you, but even while stabilized the camera moves when you press the shutter button. A remote release will help minimize this movement. If you don’t have a remote shutter release, your camera’s self-timer can work.
Optional, but Useful
- Filters. Neutral density filters force longer exposures, which can help blur people and vehicles out of your scene as they pass by. Graduated neutral density filters can help hold back a bright sky when the foreground is dark, or vice versa. Polarizing filers will reduce glare from reflective surfaces such as glass or water.

Photo by Aaron Seefeld
- A soft lens cloth. Condensation, fingerprints, and other things find their way on to the lens and filters. You’ll want to be able to clean them off.
- A flashlight. If you’re out in the dark, you’ll appreciate the help in seeing where you’re going. It can also be used for light painting if you want to fill in some dark spots in the scene.
- A friend. It’s fun to explore downtown or other urban settings with someone else. There’s also safety in numbers.
General Camera Setup
Your specific aperture, shutter speed, and ISO will depend on your camera/lens combinations and scenes, but there are some settings you can take care of ahead of time. Setting what you can ahead of time will get you out in the field faster and reduce the chance of missing shots.
- Shoot RAW files. When post-processing your images, using a RAW file will allow you to manipulate the most data possible while keeping the image clean. This is especially important when shooting in high contrast and low light situations.
- Shoot in Aperture Priority or Manual mode. Cityscapes are the urban equivalent of a landscape. You’ll want as much of the scene in focus as possible, so use an aperture somewhere in the f/8-16 range. You may need to experiment to find the sweet spot for your lens.
- Set your ISO to the lowest native value your camera offers. For most cameras, this will be between 50 and 200. You’ll get the best contrast and color range your camera offers, and minimal noise.
- Use matrix or evaluative metering. Switch to spot metering if you need better control of the highlights at night.
- Try auto white balance first. Most newer cameras are pretty accurate in AWB, but if the color is off while you’re shooting, set a custom white balance. Shooting in RAW will allow you to fine tune the color in post-production.
- Use Manual focus (or use back button auto focus). If you use your shutter button to focus, there’s a chance the focal point will drift when you take the picture. For a single shot, that may not be a big deal. If you’re bracketing exposures for HDR, or looking to stitch a panorama, you want the focus to stay put to reduce the chance of stacking/stitching errors.
- If shooting at night, dim your LCD as much as possible. The camera’s preview display is very deceiving in low light and will trick you into thinking your image is brighter than it really is. Rely on your histogram for determining correct exposure.
- Bracket your exposures. This is optional, but it will give you much more flexibility in post-processing.
Were Should I Go to Photograph a Cityscape?

Photo by Aaron Seefeld
Given the definition we’re working with, go anywhere that offers a view of the city that excites you. If you are just starting out, or need some inspiration, search the internet for images that others have taken of the same area. Select one or two of your favorites and try to figure out where they set up to take the shot. Go there and work on your shooting technique. As you become more comfortable and familiar with the city, find your own vantage points.
When scouting locations for a cityscape, look for hillsides, bluffs, or accessible tall buildings that give you a bird’s eye view of the streets and buildings below. Look for low vantage points where the buildings rise up in majesty. Find a street or path that is lined with buildings and activity.
When scouting locations for a cityscape, look for hillsides, bluffs, or accessible tall buildings that give you a bird’s eye view of the streets and buildings below.
Be on the lookout for elements that will aid in your composition. Roads, bridges, railroad tracks, and rivers can all be used as leading lines to guide your viewer through the scene and to your subject. Consider the elements in the foreground and background and how they can balance and complement your image instead of distracting from it. Pay attention to where the sun is and see how its position affects the lighting on your scene. Also consider how the seasons affect the scene.
What Time of Day is Best for Photographing Cityscapes?

Photo by Aaron Seefeld
This is the $64,000 question. Unfortunately, the answer is, “It depends.”
The blue hours are generally regarded as the best times to shoot cityscapes. The lights of the buildings, bridges, and street lamps are on, but it’s still light enough to see without them. The balance of ambient and artificial light gives you plenty of detail in the shadows while keeping the highlights from blowing out. Of course, the golden hours and early morning/ late evening will also yield fantastic results. It’s usually best to avoid the harsh midday sun.
To come up with a more concrete answer, consider the scene you wish to photograph and ask yourself a few questions.
What type of ambient lighting do I want? If you want the balance of ambient and artificial light, shoot during the blue hours. If you want the golden rays of first or last light, be ready at sunrise or an hour before sunset. If you want a daytime scene, favor earlier in the morning or later in the afternoon. If you really love hard shadows, shoot at noon.

Photo by Aaron Seefeld
Recommended Reading: If you’d like to learn more and improve your landscape photography, grab a copy of Photzy’s bestselling premium guide: Complete Landscape Photography.
Morning or evening? This one may be dictated by personal circumstances such as your job or family commitments, but if you have a choice, think about the sun’s position relative to where you want to shoot. Do you want the sun in the scene, or do you want it behind you? Also consider how much traffic you want in the scene. More people tend to be out in the evening than in the morning. This is especially true on the longest days of summer when sunrise is between 4:30am and 5:30am.
Key Lesson: Whatever time you choose, be sure to arrive early and get set up in advance so you are ready when the desired lighting comes!

Photo by Aaron Seefeld
How Should I Frame My Shots?
The usual rules of composition apply to cityscapes. The Rule of Thirds is one of the most popular options for horizon placement, but the Golden Ratio also works well. The decision to use the upper or lower third depends on your foreground and background elements. A fiery sunrise or sunset would be better emphasized by putting the horizon in the bottom third, while a flat sky can be minimized by using the upper third. Whatever you do, don’t awkwardly cut off part of your subject for the sake of satisfying a compositional rule. Try to find another way to fit the scene in your frame that is visually pleasing.
Whatever you do, don’t awkwardly cut off part of your subject for the sake of satisfying a compositional rule.
As I mentioned earlier, leverage roads, bridges, and rivers as leading lines to guide viewers through your image, or as frames for your subject. Keep an eye out for diagonals and triangles that can enhance your composition.

Photo by Aaron Seefeld
When shooting, compose your scene looser than you think you need to. This serves a couple of purposes. Firstly, it gives you some wiggle room to correct perspective distortion in post-processing. Secondly, it allows you to experiment with different cropping to see what you like best.

Photo by Aaron Seefeld
If you can’t fit your scene into a single frame, or you want to emphasize the expanse of the scene, turn your camera to portrait orientation and take several shots to stitch into a panorama. Be sure to shoot these frames in Manual mode to keep your exposure, focal point, and white balance the same. Once again, compose loosely because you’ll have to crop the image after stitching the frames together.
Recommended Reading: If you’d like to learn more and improve your landscape photography, grab a copy of Photzy’s bestselling premium guide: Complete Landscape Photography.
Try It Out!

Photo by Aaron Seefeld
Now that we’ve talked about what it takes to photograph a cityscape, your mission is to find an urban scene that catches your attention and go capture it.
- Gather all the gear you need to get the shot. Don’t forget spare batteries and memory cards!
- Scout potential vantage points, look for leading lines and consider how the foreground and background interact with the subject.
- Determine what type of lighting you want on the scene and figure out what time of day and year works best. Get out there early so you’re ready when that time comes!
- Frame your scene loosely so you can correct perspective distortion and crop to a composition that pleases you.
- Use your histogram to determine whether you are getting a proper exposure instead of relying on your camera’s display.
Most of all, have fun and enjoy the sights of the cities around you!
Self-Check Quiz:
- True or False: Cityscapes are the urban equivalent of landscapes.
- True or False: Cityscapes should always be shot during the blue hour.
- Aside from your subject, what should you pay attention to when scouting
vantage points from which to shoot? - Why is it important to arrive and set up early?
- Why should you frame your scene looser than you want your final image to be?


