How to Choose a Shooting Mode When Photographing

New / Noteworthy
⌛ 3 min read
EDITOR’S NOTE: The following post is a quick tip from our 17-Piece Camera Fundamentals Guided Resource Kit. If you missed out on your copy last time, it’s available again, and on sale today.
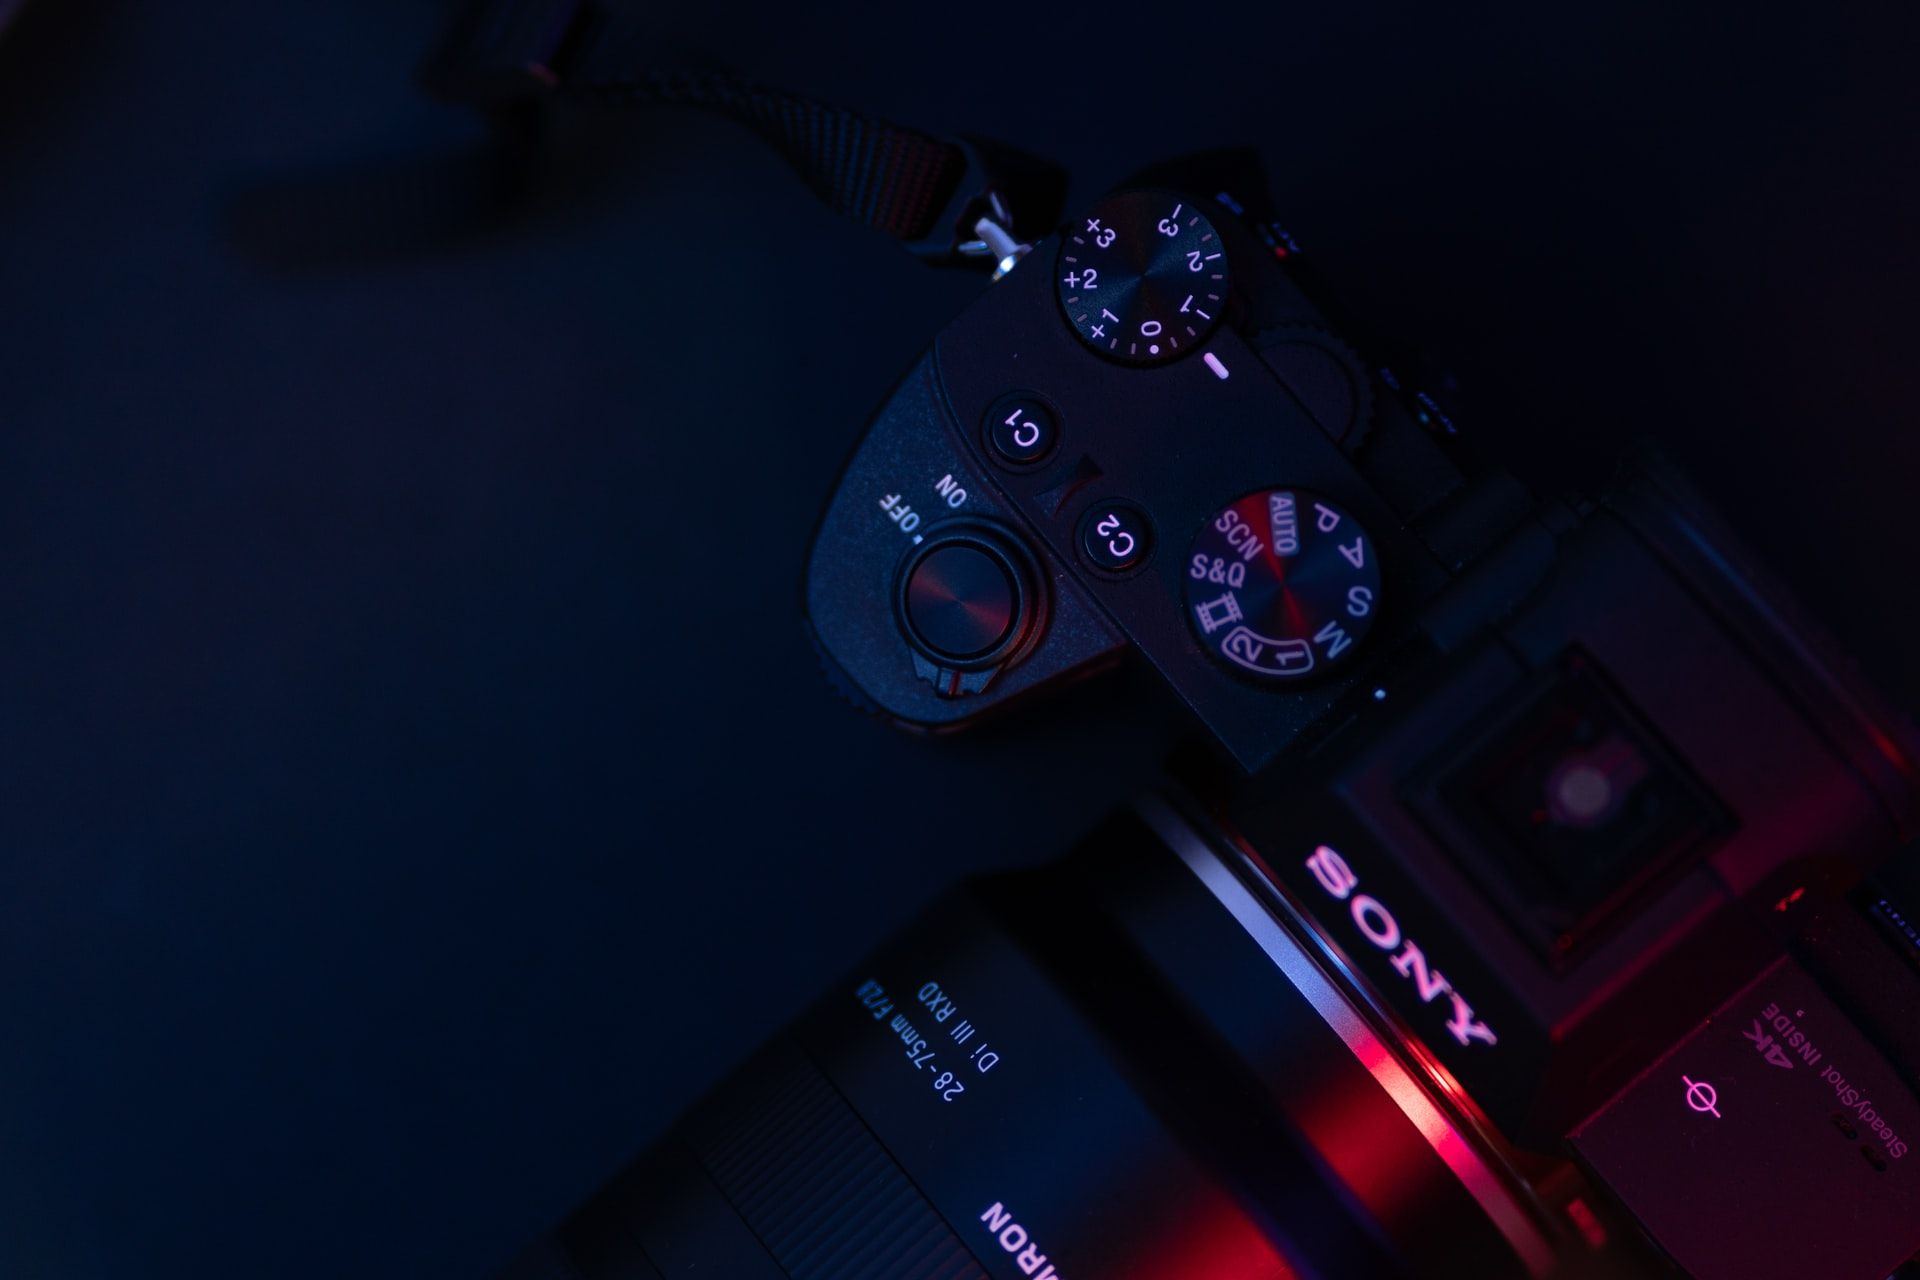
There are a few different shooting modes that you can choose from when photographing. Your choice of shooting mode should be based on the situation at hand.
Let’s take a look at an example situation and go through the various shooting modes to see how you can pick one that would work the best for the scene.
(Note: Today, you can download our 17-piece Camera Fundamentals Guided Resource Kit, including a new exclusive free bonus, right here for a limited time!)
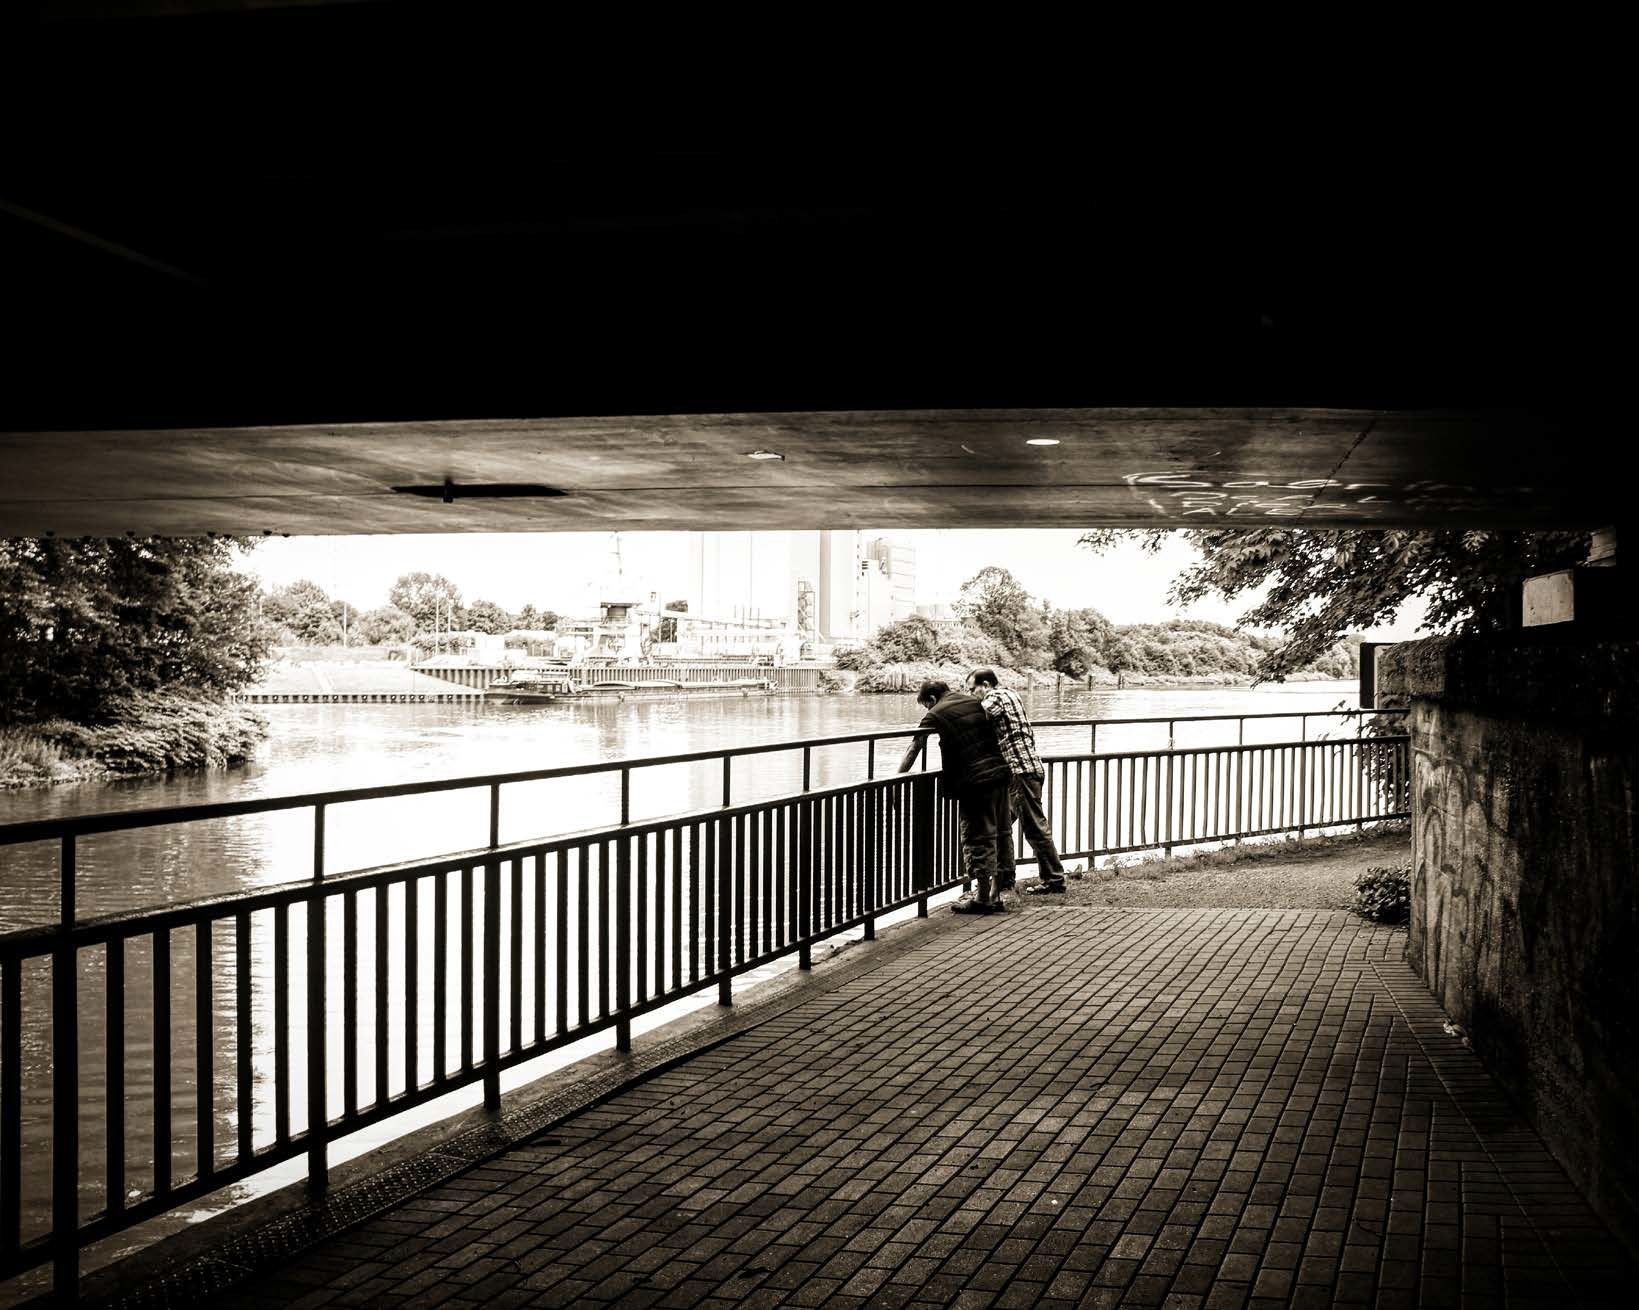
Let’s dissect the situation in the image shown above as it relates to choosing a shooting mode.
1. Manual Mode
This mode would give us the most versatility for dealing with the high contrast. However, it could slow down the shooting process, as we would have to be aware of our shutter speed, our aperture, and our meter reading as the situation potentially changes.
Also, it is possible that we might have to change the ISO setting (if we weren’t in an auto ISO setting), or manually reset the ISO if it was not giving us the appropriate camera settings that we desired.
In other words, this mode demands maximum attention to the technical aspects of the camera settings.
2. Aperture Priority Mode
This mode assures us a determined depth of field by allowing us to preset the f/stop.
However, that Depth of Field (DOF) window is subject to change based on the subject-to- camera distance or if we change the focal length of the lens by zooming it in or out.
Plus, we must be cognizant to the shutter speed so that we don’t get camera shake or subject blur if the men move. One element of the exposure triangle (shutter speed) is taken care of by the camera, relieving us of thinking about that one setting. We are placing our judgment onto the aperture.
📸 17 Handy Resources on Camera Fundamentals? Download our complete 17-Piece Guided Resource Kit that will help you understand the basics of photography… ⏰Be quick — Bonus expires midnight! Download Here →
3. Shutter Priority Mode
This mode assures us that we will be cognizant of the shutter speed.
We will set the shutter speed high enough to freeze any camera shake and potential subject motion, or slow enough to blur parts of the image; or everything, if that’s what we choose.
We are relinquishing control of depth of field to the camera. However, does this shot need DOF control? I think not. I would be more worried about getting the image sharp, especially if I were working quickly.
4. Program Mode
This shooting mode could potentially work well in this situation, if the camera were set to an auto ISO mode. If the camera wasn’t set to an auto ISO mode, the shutter speed might drop down too slow or the aperture might max out at the widest opening without us realizing it.
Program mode is helpful for very fast shooting. However, I would only use it in conjunction with the auto ISO mode; otherwise, you must continually monitor both the shutter speed and aperture settings!
5. Scene Modes
These shooting modes aren’t recommended if you want any sort of control over the shooting process.
Choosing the Shooting Mode
Based on the above, which shooting mode would I choose?
I would choose shutter priority mode, program mode, or manual mode – Shutter priority first, program mode only if I was using the auto ISO setting, and manual mode if I had the experience to compose the images while carefully monitoring the shutter speed and aperture setting while shooting.
There you have it. The next time you’re out photographing and wondering which shooting mode to choose, do keep the above points in mind.

To Learn Photography In 2024, You Gotta Have Great Teacher(s) ← it’s the 's' that matters...
If you learn from just one teacher, you’re killing your creative spark. Why? Because discovering your unique talent, is all about trying a whole bunch of different things first. And only then, picking a focus!
This is exactly why we created our Brand-New Guided Resource Kits…
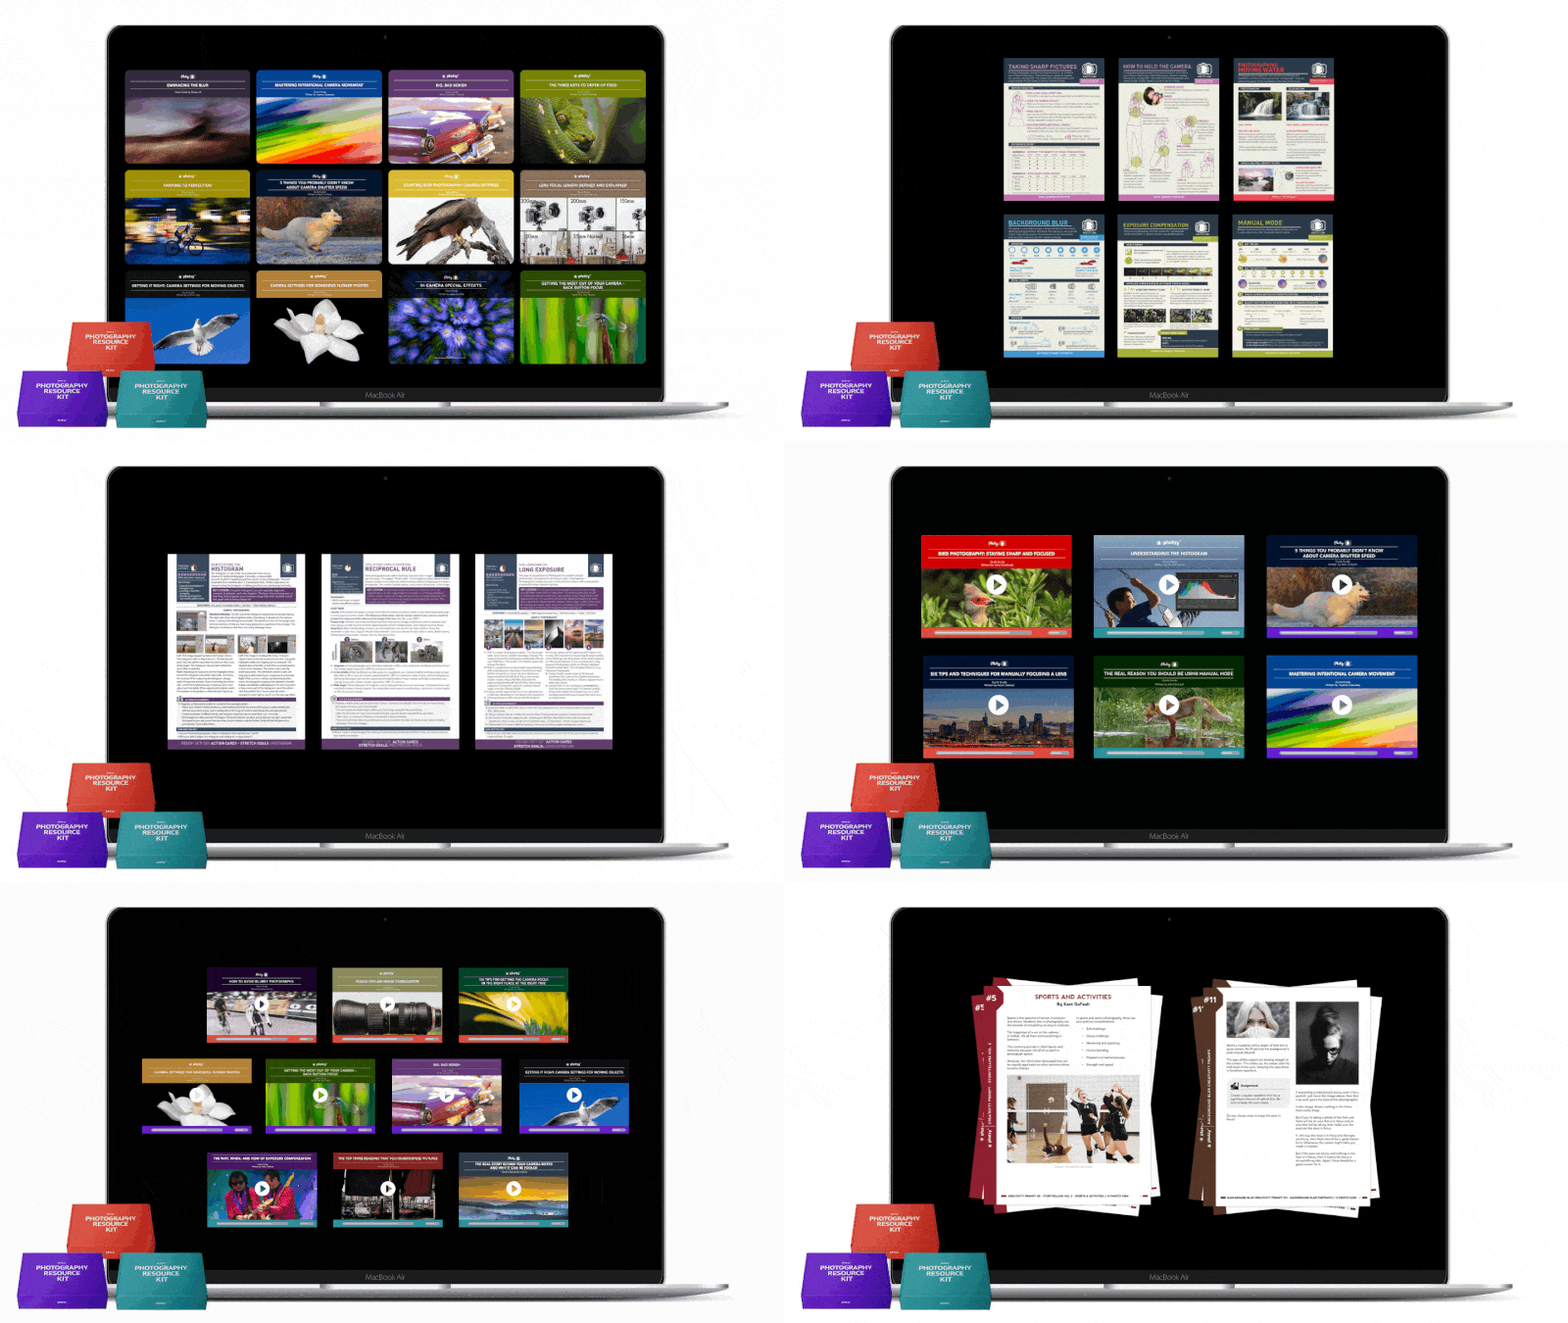
You’ll get a jam-packed kit of photography guides, cheat sheets and mini-lessons. Beautifully hand-picked from a wide range of teachers & sources. Suited to EVERY type of learner.
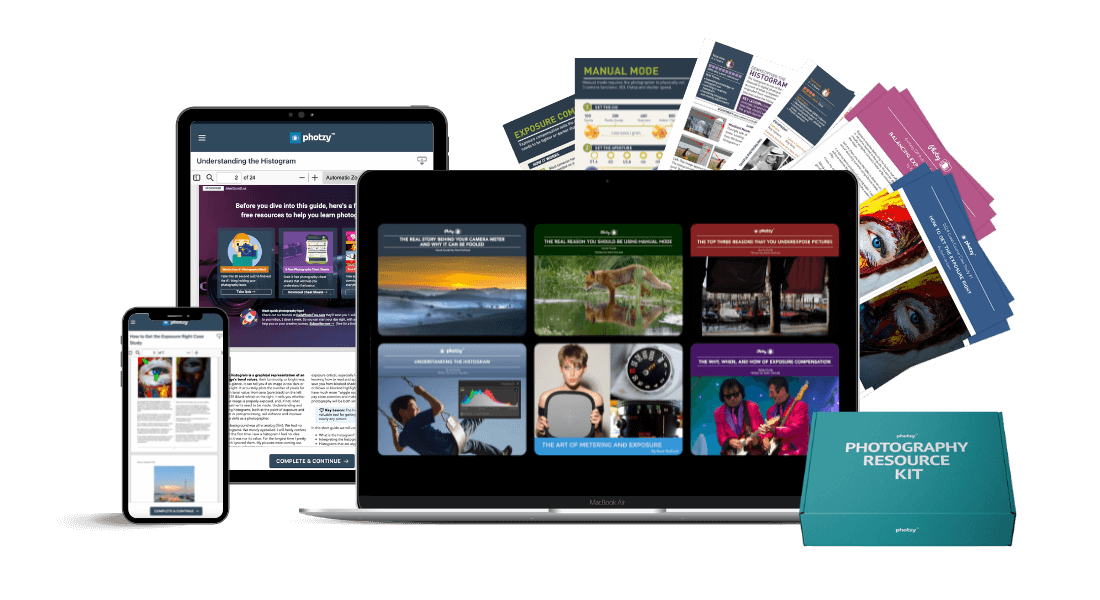
This Camera Fundamentals Kit Will Give You 100's of Quick Photo Lessons, UNLIMITED Shooting Ideas, And Endless Creative Inspiration!
Your kit comes with a full video walkthrough, with suggestions for which order to consume the resources in. And covers which common photography problems each resource will help you solve.
Plus, you’re getting multiple hands-on shooting exercises and photography assignments to try out. This is proven to lock the skills into your 🧠 brain, in a fun & practical way.
It’s simple — Grab this guided resource kit today, and you’ll improve your photography (& creativity) skills, guaranteed!
📦 What's Inside?
Take a lil peek:
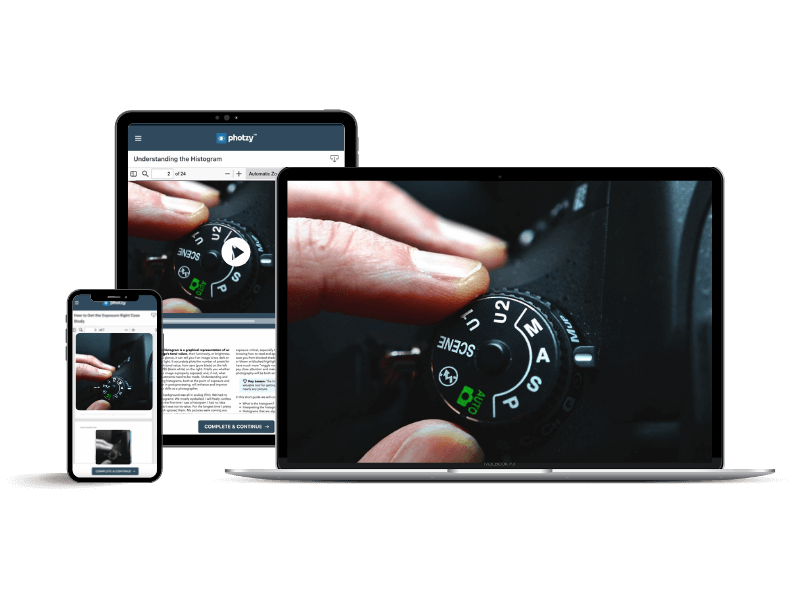
2-Part Guided Video Walkthrough
This is where the magic starts. Meet the curator. Explore the content.
- Start Here: Meet the curator, and discover exactly how this kit is going to help your photography.
- Curation Walkthrough: Take a tour through each piece of content inside your kit, and learn why it was included!
Value: $10.00 ✓Included!
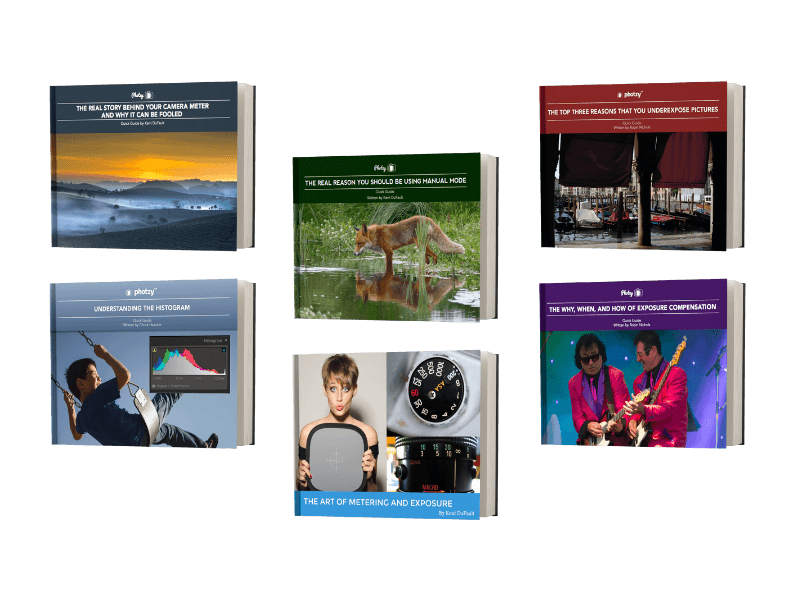
6 Photography Quick Guides (pdf)
These are your pdf mini-guides. Each covers a popular topic or common photography problem. Read them on any device, or print them out.
- Art of Metering and Exposure (39 Pages)
- The Why, When, and How of Exposure Compensation (17 Pages)
- The Real Story Behind Your Camera Meter and Why It Can Be Fooled (22 Pages)
- Understanding the Histogram (24 Pages)
- The Top Three Reasons That You Underexpose Pictures (21 Pages)
- The Real Reason You Should Be Using Manual Mode (30 Pages)
Value: $30.00 ✓Included!
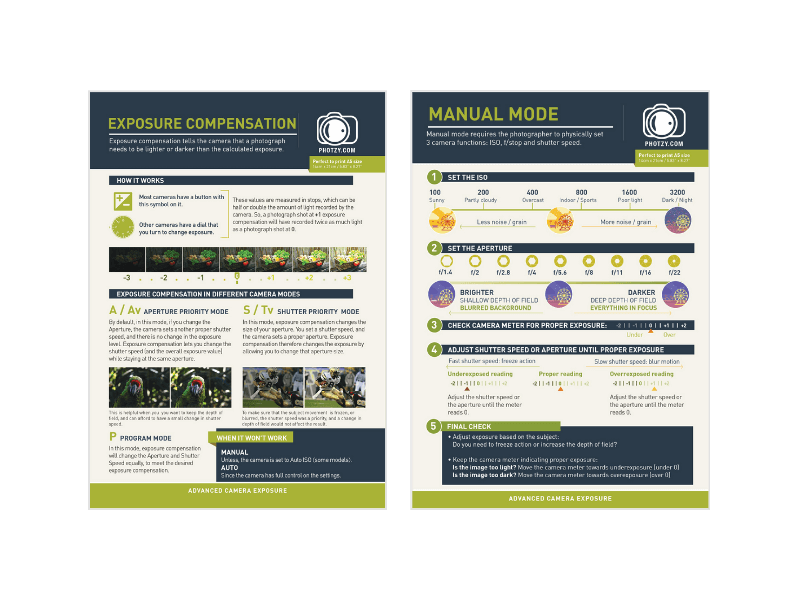
2 Printable Photography Cheat Sheets (pdf)
These Snap Cards™ are user-friendly cheat sheets organised and color-coded into common problem areas. Perfect as a quick reference when you’re out shooting. Never miss a shot again!
- Exposure Compensation
- Manual Mode
Value: $10.00 ✓Included!
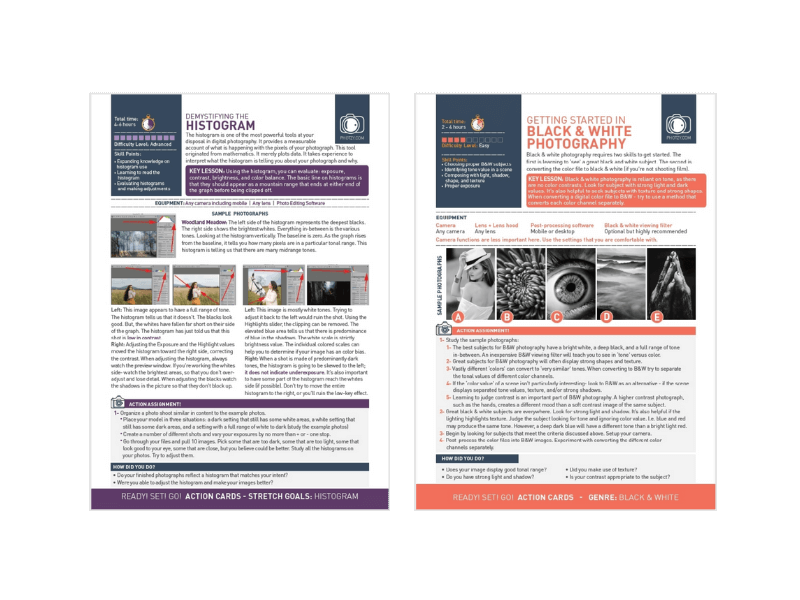
2 Printable Project Cheat Sheets (pdf)
These Action Cards™ discuss a topic, give you suggested settings, key points, and shooting exercises. Perfect if you love to learn through an actionable assignment and review process.
- Demystifying the Histogram
- Black and White
Value: $10.00 ✓Included!
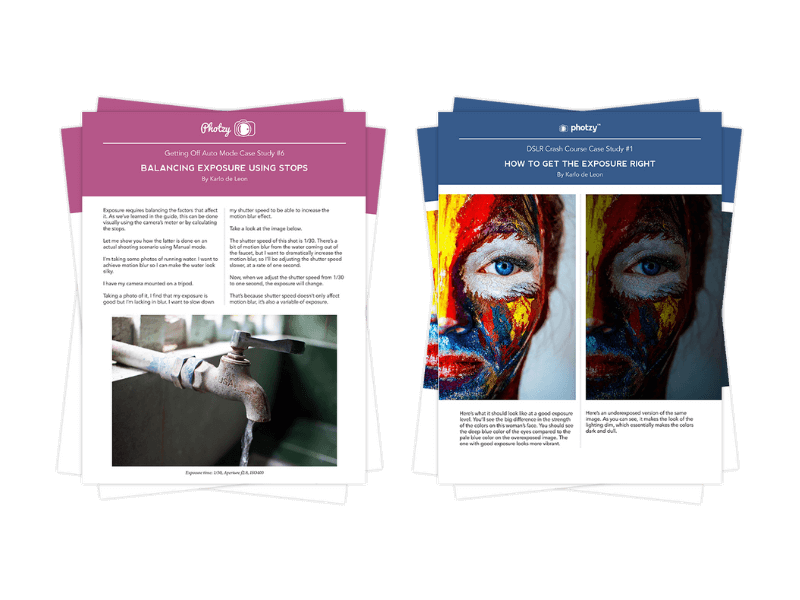
2 Extended Photography Case-Studies (pdf)
Learn from photo examples with a step-by-step breakdown of the creative process, shooting challenges, and self-check questions, designed to push you outside your comfort zone.
- Balancing Exposure Using Stops (7 Pages)
- How to Get the Exposure Right (7 Pages)
Value: $14.00 ✓Included!
3 Hands-on Exercises And Shooting Assignments to Try (video tutorial)
Here you’ll test everything you’ve learnt so far. This is proven to lock the skills into your 🧠 brain, in a fun & practical way.
- Getting the Exposure Right
- Exposure Compensation
- Balancing Exposure Settings using Manual Mode
Value: $15.00 ✓Included!
Don’t miss out. Join over 200,000 happy photographers who learn with us!
👇 Grab Your New Camera Fundamentals Guided Resource Kit: Volume One Today!
- Hey there! Great timing...
Today's Deal Ends In:

- Click 'Add to Cart' now to get instant access to your resource kit. Includes: 5 Videos, 4 Printable Cheat Sheets, 6 Quick Guides, 2 Extended Case Studies, Secret Bonuses + More!
Total Value: US$139.00
Today Only: $2.99

