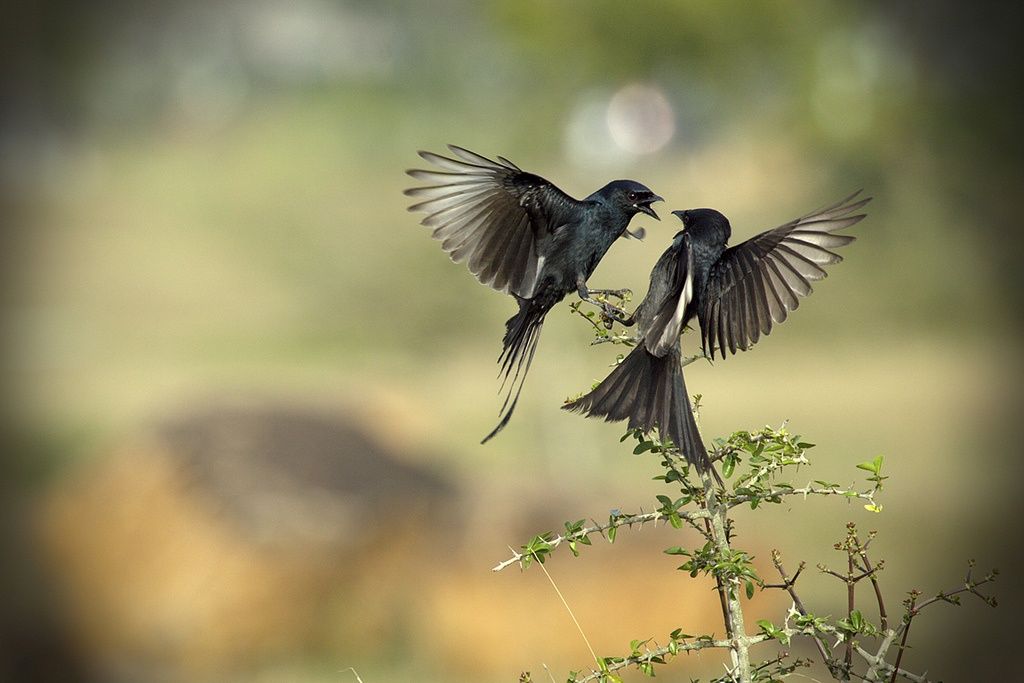
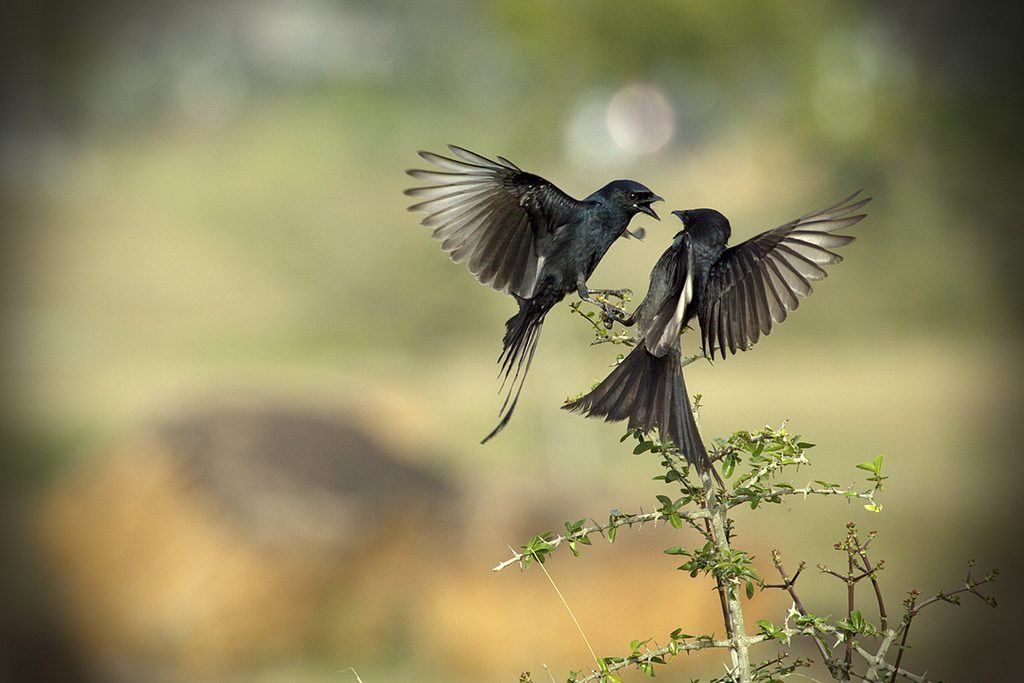
Photo by Vinoth Chandar
It’s harder to hit a moving target than it is to hit a stationary one; any sniper, archer, or NFL quarterback knows this to be true. Photographers understand this challenge as well. One can’t possibly overstate the importance of nailing focus; focus works right alongside composition, framing and lighting as factors that make for a good photo. Sure, there’s always some artistic wiggle room to account for, but if you fail to reach a certain — perhaps abstract, perhaps arbitrary — threshold, your image simply isn’t going to go over too well with its intended audience.
In most situations, even when the lighting is changing, you have enough time to make necessary adjustments to get a good exposure. Composition changes only when you change it.
And then there’s the issue of focus.
Focusing on static subjects is easy; if you run into problems, it’s often due to some snafu with your lens and/or camera. But when your intended subjects are on the move — and, even worse, moving rapidly — the difficulty level of the task at hand increases by an order of magnitude.
So how do the pros do it?
There’s no cookie cutter methodology, no one-size-fits-all approach. Different photographers use different ways to focus successfully on moving objects.
"There’s no cookie cutter methodology, no one-size-fits-all approach."
But when we look at the range of techniques used by various photographers, some very important, very helpful tips reveal themselves, and from those tips we can obtain a basic but highly functional understanding of how to better capture moving subjects.
Which Focus Mode To Use

Photo by Justin Jensen
First, let’s work under the assumption that everyone prefers autofocus (AF) to manual focus. In reality, this is far from a universal truth and there are a number of scenarios in which manual focus trumps autofocus, but we’ll get into that later. For now, AF is the name of the game.
DSLRs are equipped with two AF modes — one mode for static subjects and one mode for moving subjects.
Single shot AF works best for non-moving subjects such as portraits or landscapes. In single shot AF mode, you can’t take the photo unless focus is locked. The good part about this feature is that you can be rather certain that your shot will be accurately focused; the bad part is that if your once stationary subject starts to move after focus has been locked in, your shot will come out blurry. You’ll end up refocusing constantly, never being sure of when you’ll get the desired result.
Enter continuous AF, the second of the two basic DSLR AF modes. As the name implies, the camera will continuously adjust focus as long as the shutter button is pressed half way. It will keep this up right up to the point you release the shutter.
More on Continuous AF Mode
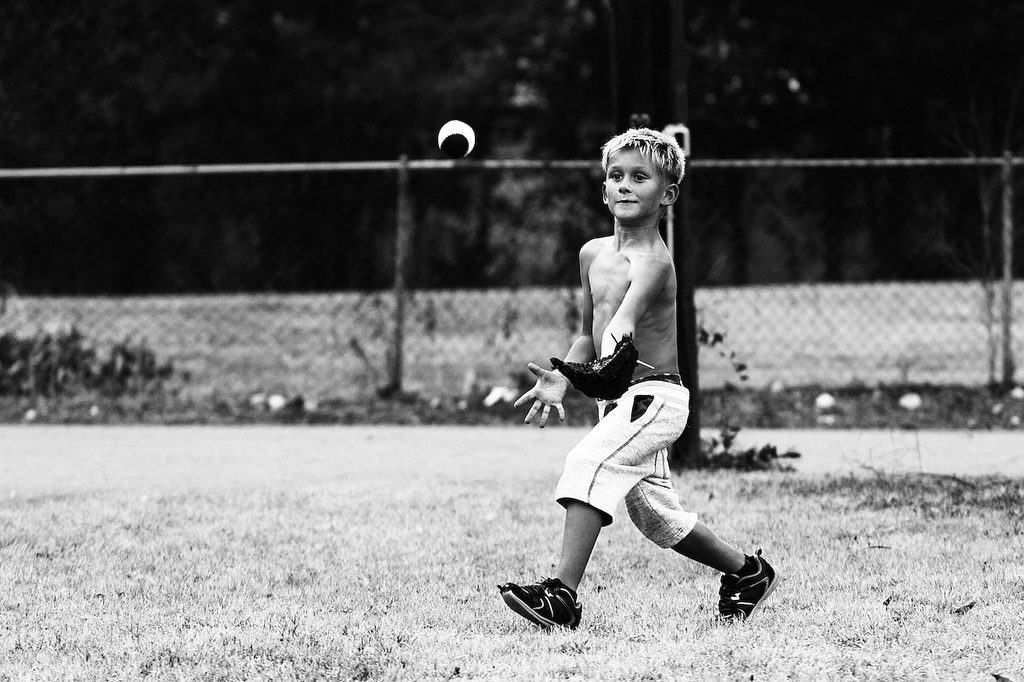
Photo by j Devaun
Most people tend to use only one focus point (usually the center point). This works well enough for static subjects, but focusing on moving objects is a different story. When working in continuous AF mode, most newer DSLRs will allow you to choose one, a small cluster, or all of the camera’s focus points. Generally speaking, the more focus points you use, the greater chance you have of capturing rapidly or erratically moving subjects.
That doesn’t always mean that all the focus points should be selected, however. Having all the focus points active while trying to photograph a small subject, or one that may become obscured by the background or foreground, will confuse the camera and make it difficult to lock on to your intended target. You’ll probably get something in sharp focus, but it won’t be what you wanted.
Manually selecting a small cluster of focus points — or even a single focus point — will work better in some instances because the camera will focus only on the area of your choosing. All you have to do is track the subject with your camera.
Different camera manufacturers employ their own naming conventions for all these features, but they all essentially do the same thing.
Check your manual to find out not only what these features and modes are called on your camera, but also how to activate them.
Continuous Drive Mode

Photo by Don McCullough
Continuous drive mode makes an excellent companion for continuous AF. Continuous drive mode allows you to take many shots in rapid succession- as fast as 12 frames per second depending on what camera you’re using.
So, while you’ve got continuous AF active and paired with continuous drive, you simply need to track your subject and, when ready to shoot, hold the shutter button down.
You will be rewarded with a series of images that show your subject in evolving stages of action.
So, What Was That About Manual Focus?
If your camera’s AF system is up to the task, it will secure the focus of moving subjects far more often than it fails.
However, there are times when manual focus might work better. Many photographers use a technique known as pre-focusing.
Using this method, you pre-focus on a specific spot with one shot AF then switch to manual focus to keep the focus at that distance locked in. Make sure you’ve got continuous drive mode active. Now, let loose a burst of shots as the subject arrives at the point you focused on. This technique minimizes the amount of work the AF system has to do (time taken to autofocus, distance the lens barrel has to travel) and maximizes the odds that you get at least one in-focus shot.
Pre-focusing works especially well with predictable action; for example, in things like motor sports, where your camera’s AF system may not be able to keep up with the speed at which cars or motorcycles are racing toward them.
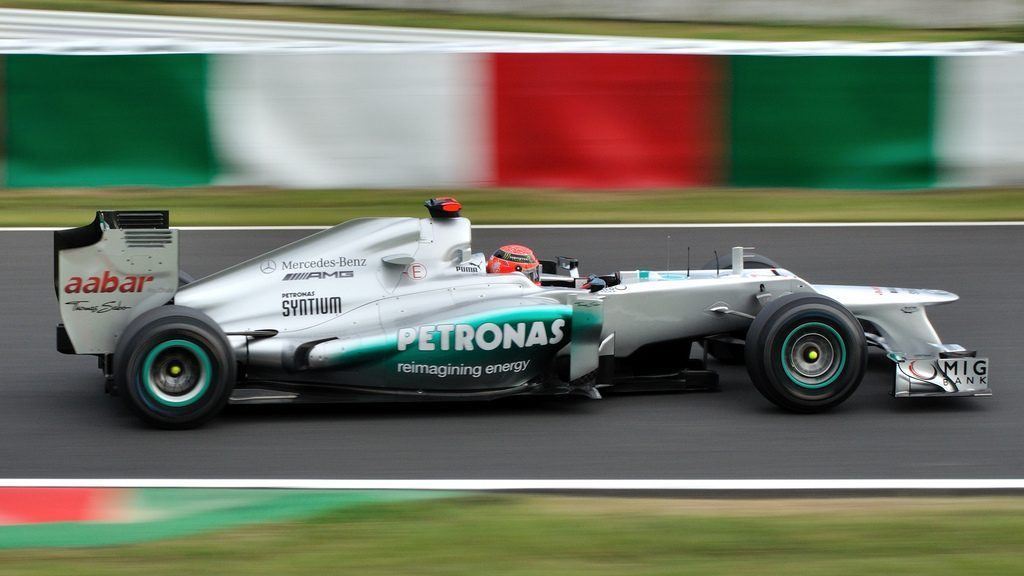
Photo by Michael Elleray
How To Optimize Your Camera For Action Shots
- Set the AF mode to continuous focus. Canon refers to this as AI Servo, while Nikon calls it Continuous-servo AF.
- Use continuous drive mode. Sometimes called burst mode, most cameras should present you the option of high-speed and low-speed continuous shooting.
- Activate the focus limiter. Some telephoto and macro lenses feature a focus limiter switch that limits the range of distances over which a lens will attempt to focus. If your lens has this feature, turn it on.
- Turn on “type 2” image stabilization. While traditional image stabilization doesn’t assist in freezing action, some lenses are now equipped with a more modern secondary form of stabilization known as “panning mode”. This mode will stabilize movement only in the direction in which you are panning (moving horizontally) instead of trying to compensate for movement in all directions.
Even the best photographers will attest to the fact that successfully capturing moving subjects is a challenge, but it is not one that can’t be overcome with practice and patience.
Yes, it’s seems a lot to juggle: not only do you have to pay attention to the lighting and make sure you create an interesting composition, but you’ve also got to go through all these steps to make sure your speedy subject is in sharp focus.
"Even the best photographers will attest to the fact that successfully capturing moving subjects is a challenge, but it is not one that can’t be overcome with practice and patience."
Over time, though, it all becomes second nature. Before you know it you’ll be known as the fastest finger in town.
A Few More Examples
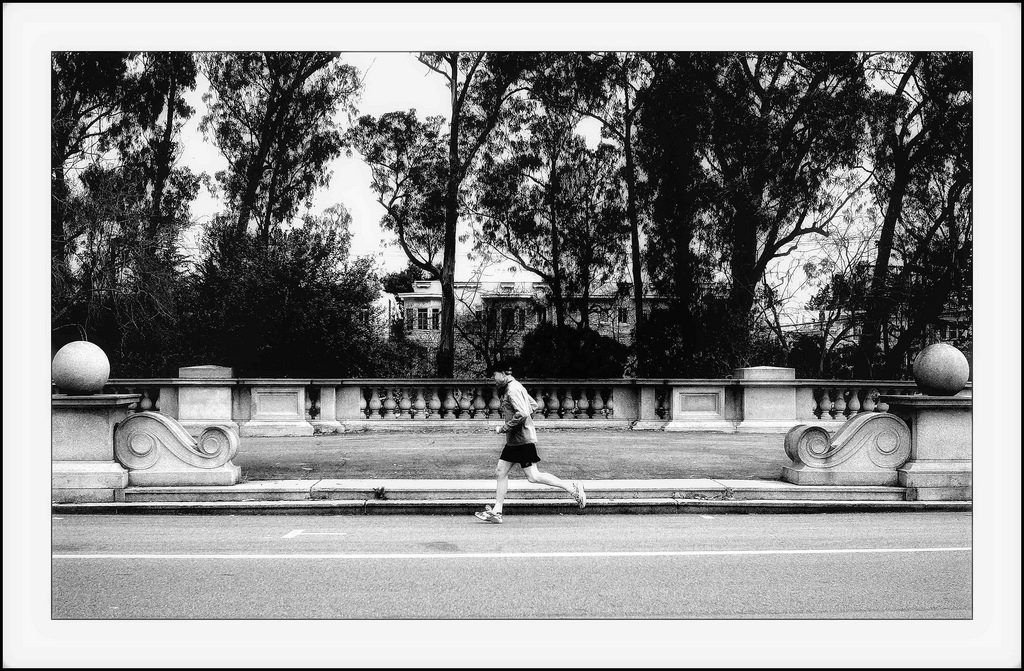
Photo by telmo32
While the runner in this shot (above) obviously wasn’t moving as fast as a race car, it still took a shutter speed of 1/2000 to freeze his movement.
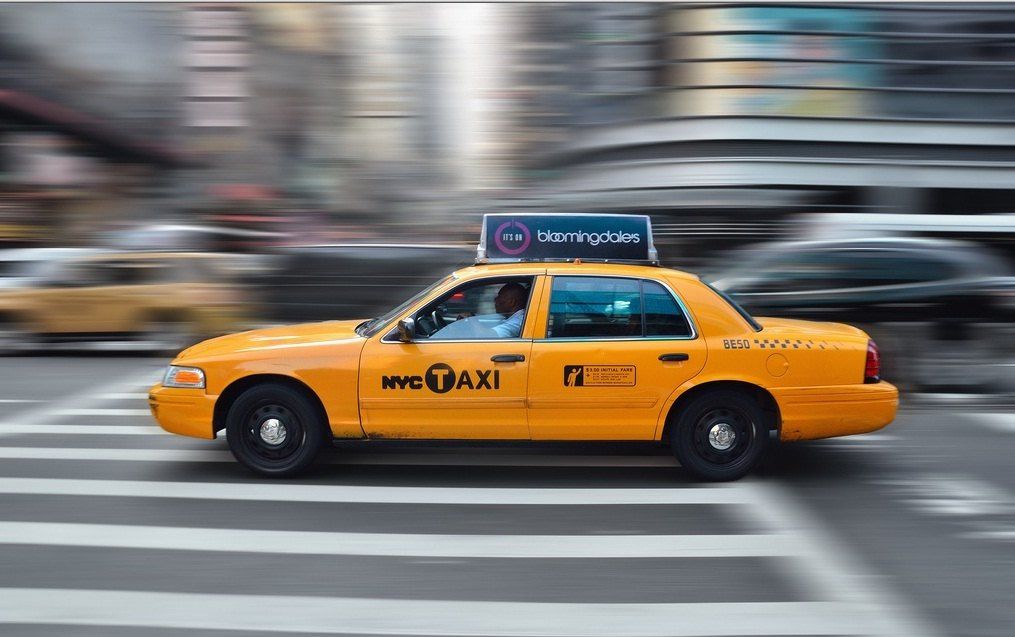
Photo by damianos
A classic panning shot, this image is proof that fast moving objects can be captured with very sharp focus.
While the taxi cab is the moving object in this scenario, we actually perceive motion via the blurred background.
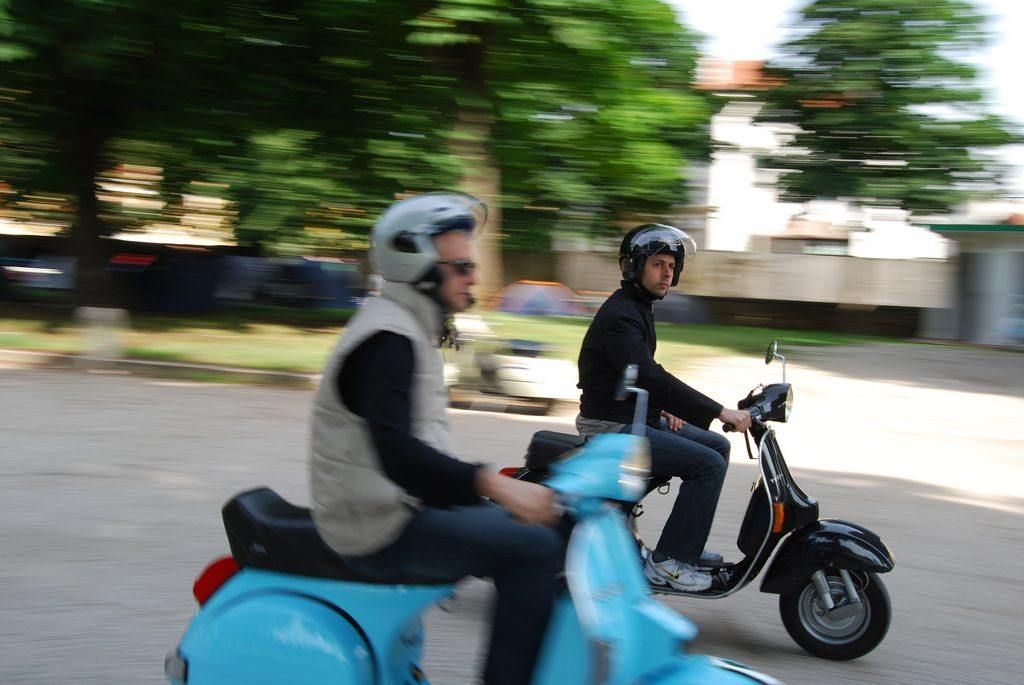
Photo by Mauro Sartori
This example shows the importance of making sure you’re using your focus points correctly. We can’t be sure what the original intent of this image was, but if the subject in the foreground was the desired target, it’s possible that focus was missed due to having too many focus points selected.
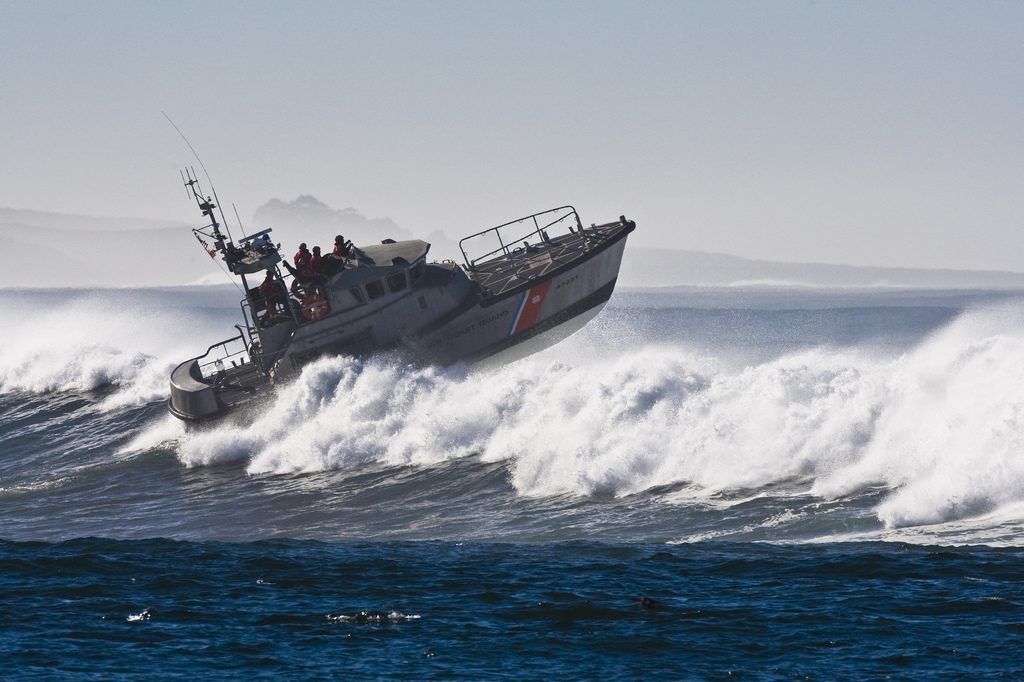
Photo by Mike Baird
Exposure and composition are elements that retain their importance even when shooting impressive scenery.
This image above expertly presents all the elements of a good photograph.

Photo by Mo Riza
Something of an alternative to panning is to use a static figure and shoot the motion around it, as shown here.


