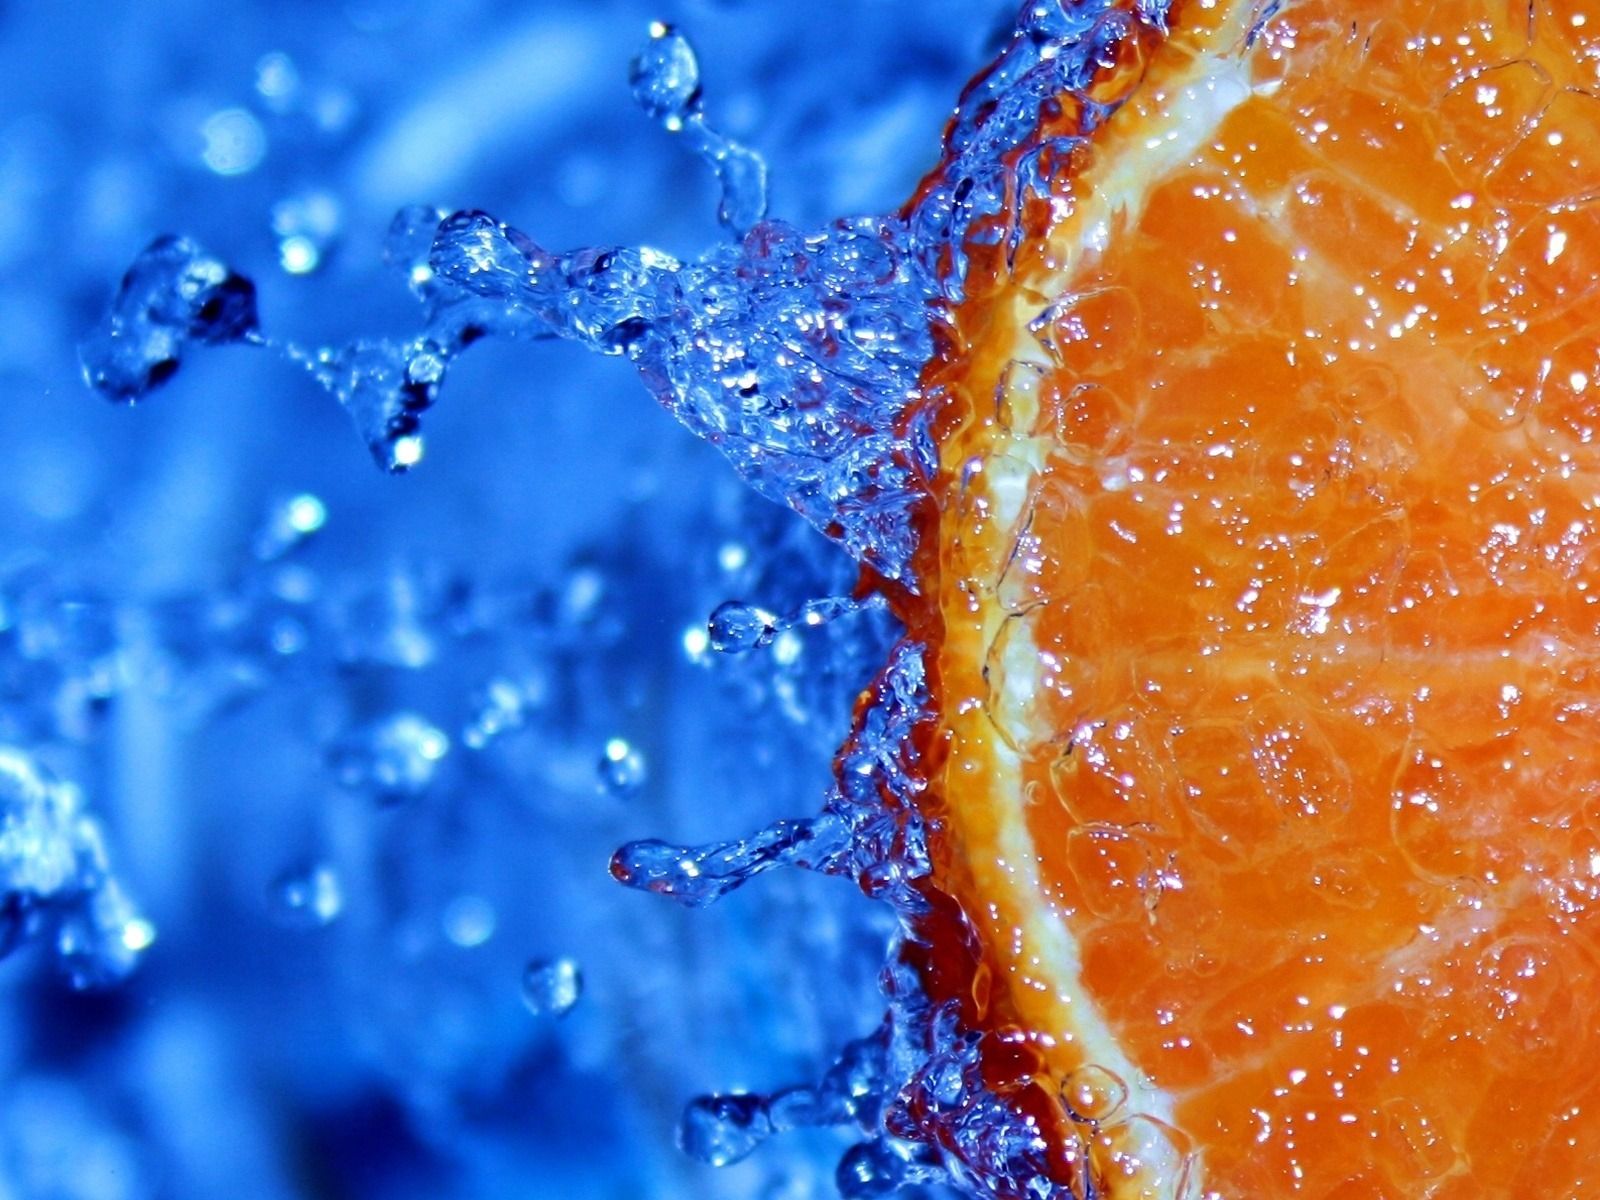
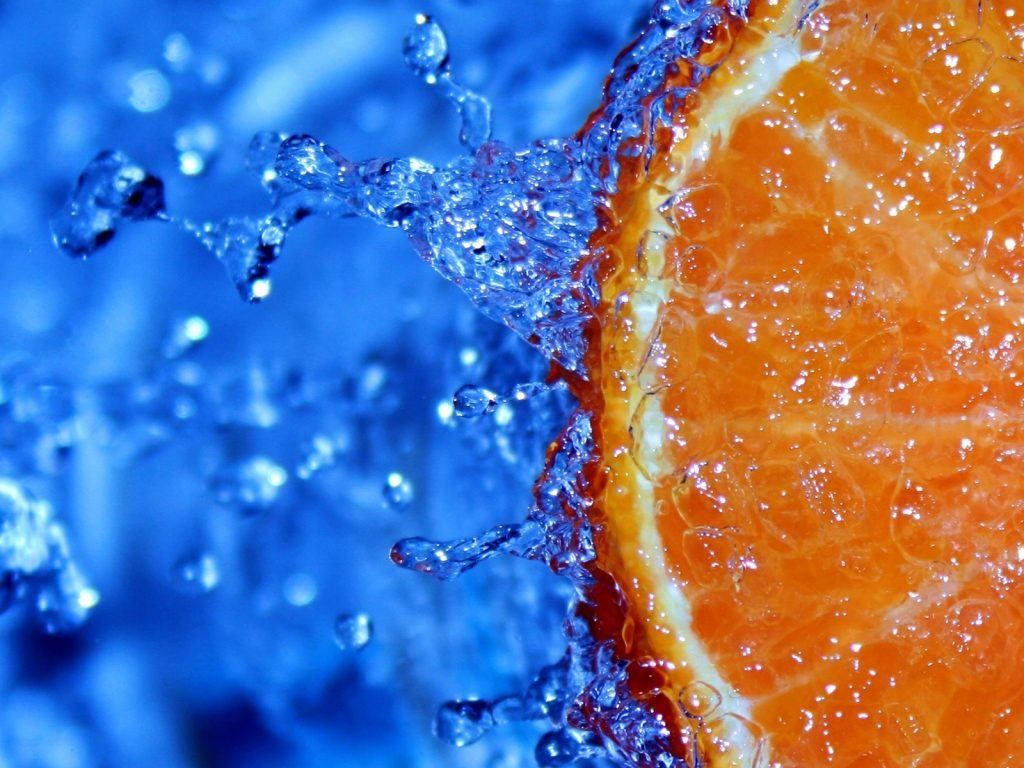
Refreshing Orange Slice. Photo by Pink Sherbet Photography
Tips for Successful Macro Photography
Macro photography is often casually referred to as “close-up” photography. While it’s probably a safe bet that no one is going to be shunned by their fellow photographers for tossing around such a loose definition, the classical definition of macro photography is a photograph in which the subject is magnified to life-size or greater (denoted by the ratio 1:1).
Typically, subjects of macro photography are very small, such as insects or flowers; larger objects may also prove useful as macro photography subjects if, for instance, you want to focus on some very specific, smaller detail of the large object in question.
Macro photography can be incredibly fun and rewarding, but it can also be a challenge. While I don’t profess to be any sort of macro wizard, I have acquired a comfortable level of proficiency and I am inspired to share my knowledge with those who may be looking to take the plunge into the sometimes strange, always awe inspiring world of macro photography.
"Typically, subjects of macro photography are very small, such as insects or flowers."
Equipment Matters - Sort of
Whether you’re using a decent point-and-shoot or the latest full-frame flagship camera of your preferred manufacturer, just about anyone can get a cool close-up shot of a blade of grass drenched in beads of morning dew. In order to realize the full potential in such a shot (and make it a “true” macro), however, some specialized equipment is certain to be of great benefit.
Assuming you are using a DSLR, your best bet is to obtain a dedicated macro lens. Let’s take a look at each of the three categories that macro lenses are generally identified by:
Short Macro (30mm-50mm)
Short macro lenses are typically lightweight and small in size, obvious advantages in terms of convenience and portability. On the downside, you are faced with a shorter working distance (6 inches/15.24 cm or less), meaning you will find it especially difficult — if not impossible — to shoot jittery creatures who are going to be scared off by the intrusion of you and your camera. Additionally, since a short lens requires you to get physically closer to your subject, you run the risk of blocking out your light source.
Standard Macro (60mm-105mm)
Perhaps the most common focal length, standard macro lenses give you more breathing room when it comes to working distance (anywhere from 9 to 12 inches/22.86 to 30.48 cm). A lens in this range may also prove to be economically and functionally more valuable, as many photographers use their standard macro lenses for portrait work as well.
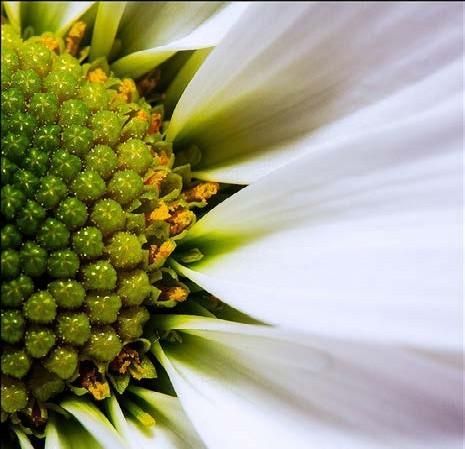
Day’s Eye. Photo by Jason Little
Tele-Macro (150mm-200mm)
These macro lenses are bigger, heavier, and considerably more expensive than their shorter counterparts, but provide you with a very comfortable and versatile working distance of up to 2 feet (60.96 cm).
If your budget won’t allow for a new lens, you can try one of the following 3 alternatives:
Close-up lens
A close-up lens screws onto the front of any regular lens (like a filter), working essentially like a magnifying glass, bringing the subject closer to the camera, thus making the image of the subject larger. While a close-up lens can be obtained for much cheaper than a macro lens, one of the major disadvantages is that it places additional glass between the camera and the subject. This has the tendency to decrease image quality.
Extension tubes
An extension tube is a hollow cylinder, made of metal or plastic, that is placed between the camera and a lens. Inserting this extra distance allows the lens to focus more closely and increases magnification of the subject. With an extension tube you are not introducing any additional glass elements to the setup, but because an extension tube causes a lens to focus closer than it was designed for, you will likely see some image quality degradation as a result.
Reverse-lens macro
This technique involves using a reversing ring to mount a prime or standard kit lens to your camera…backwards. Under normal use, the lens would focus distant light in such a manner that the accompanying image is small enough to be recorded by the camera’s sensor. By attaching the lens backwards, the process is reversed and images is magnified. The main drawback associated with this technique is that you are forced to work at the maximum aperture of the lens, as most modern/ electronic focusing lenses do not feature a manual aperture ring.
Getting familiar with your Subject
This is true no matter what kind of photography you are doing. If you were doing a photo shoot with a human subject, you’d want to have a good rapport with him or her, right? It makes for a better photo.
The same principle applies to macro photography, especially when shooting insects. It helps to know their behavior; how do they respond to being approached by humans? Obviously if you are shooting flowers or sea shells, then you aren’t concerned with them scurrying away if you get too close. But it is still important to know as much as possible about the traits of whatever you’re shooting.
Patience, Patience, Patience
As in patience with your subject and patience with yourself. If you intend to photograph an insect, stalking said insect will more than likely prove unsuccessful.
Instead of hunting down that elusive dragonfly, simply position yourself in an area that dragonflies frequent…and wait. If you remain vigilant, an opportunity will present itself eventually.
But what if that perfect opportunity finally occurs and you blow it?
Well, it happens. And this is where patience with yourself comes into play. Trust me when I say you’re going to take a lot of bad shots; a lot of poorly lit, out of focus, out of frame shots. Just keep trying. When you do nail that perfect shot you will be giddy with delight.
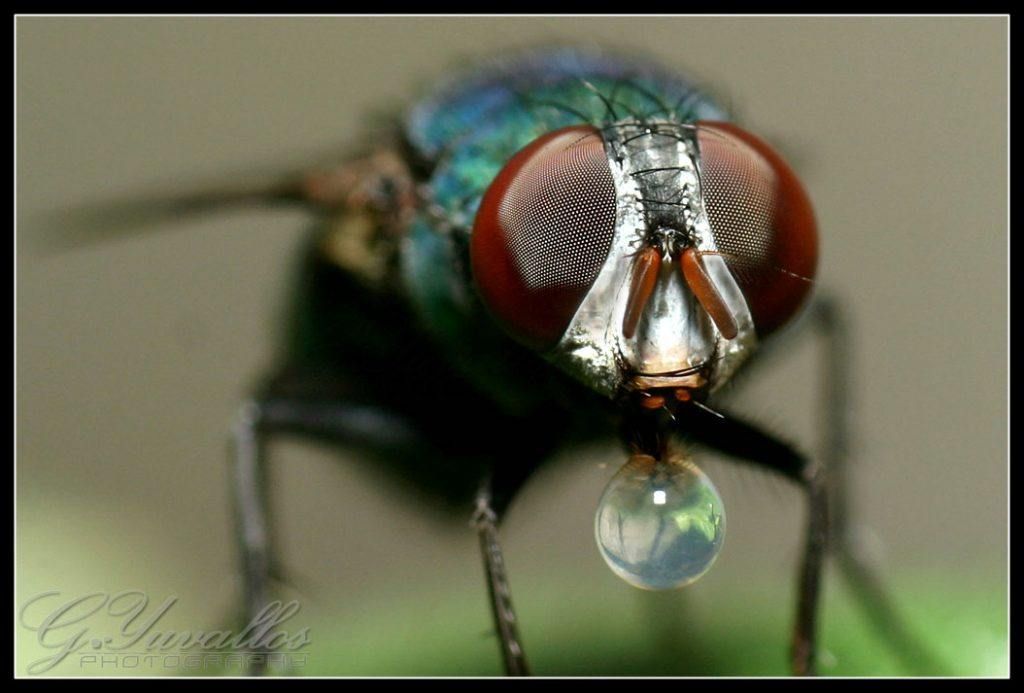
Bubble Blowing Fly. Photo by Gerald Yuvallos
Light It Up
Excellent lighting is key for successful macro photography. We would all love to use natural light, but sometimes even the sun won’t get the job done. There are a few variables to account for when determining whether natural light will be enough: your subject, the time of day/intensity of the sunlight, the lens you are using.
If you are outdoors shooting leaves in low morning light, for example, you might be okay, as the translucence of the leaves will allow you to backlight them.
"Excellent lighting is key for successful macro photography."
Backlighting could also work for flowers and butterflies. As mentioned previously, the lens itself could possibly make getting good light more difficult; simply, the closer you are to your subject, the more difficult it is to light it.
If it is a case of your body and/or your lens blocking out the sun, this can be solved by using flash. Your camera’s built-in flash is not likely to be up to the task of providing adequate light for macro photography, so an external flash is in order. Getting that flash off the camera will provide even better results.
If you think macro photography will become something you invest a lot of time in, you may even want to consider a ring flash. This special type of flash unit fits around the front end of your lens and is powered by connecting to the hot shoe mount atop the camera.
A ring flash will not only allow you to get your camera closer to the subject, it also provides a more even illumination than a standard flash since the origin of the light is considerably closer to the optical axis of the lens.
Effective Aperture
Assuming you have mastered the concept of aperture in “normal” photography, you may notice some comparatively unusual behavior of aperture settings in macro photography. Typically, the aperture setting your camera displays is, in part, a function of the lens being set to infinity focus. As you focus closer and closer on a subject, not only does magnification increase, but the aperture becomes darker.
Thus, in macro photography, you are dealing with what is referred to as effective aperture. At 1:1 you lose approximately 2-stops of light, meaning the effective aperture is 2-stops smaller than what your lens is set to; therefore, an aperture reading of f/2.8 means the effective aperture is actually closer to f/5.6.
If you are shooting at a magnification of anything other than 1:1, you may calculate the effective aperture by using the following formula: effective aperture = (lens aperture) x (1 + magnification)
While useful, the above formula yields an approximation of effective aperture. If you are for any reason interested in a more precise calculation, you will need to know the pupil magnification value of your lens and then apply it to this formula: effective aperture = (lens aperture) x (1 + magnification / pupil magnification)
Is successful macro photography dependent on doing these calculations on your own? Absolutely not.
Since you will most likely be shooting at life-size magnification most of the time, just take note of the camera reading and remember that there’s a 2-stop difference between actual aperture and effective aperture.
Note: Nikon cameras calculate effective aperture for you.
Depth of field
There is virtually no depth of field in macro photography; some photographers will say there is none, others will say it’s less than a millimeter. It doesn’t really matter who is right or wrong, because the fact is that you are going to have to take great care to place your subject in such a manner so that all of it lies within the plane of focus.
In order to photograph your subject in sharp focus, you will need to use small apertures such as f/16 to f/32. However, many lenses begin to show the effects of diffraction (soft images) once you reach apertures smaller than f/14.
If you find this to be a problem, limit your aperture to f/16 and focus on the most crucial part of the subject. If you insist on having the entire subject in focus and you can’t achieve the desired result with the simple combination of your camera and lens, you may choose to turn to software and employ a technique known as focus stacking.
Focus stacking involves taking multiple shots of a subject at different focal lengths using the same exposure. You will then combine or “stack” the series of images in photo editing software.
There are a number of specialized applications that designed specifically for photo stacking, including Picolay, Helicon Focus, and Tufuse. Or you can use Photoshop and immerse yourself in some pretty heavy masking and layering work.
No matter which method you choose, the point of focusing stacking is to combine the in-focus areas of a series of image, thereby producing a composite image with depth of field that would not otherwise be attainable. Just know that this technique requires a stabilized camera and a subject that is not moving.
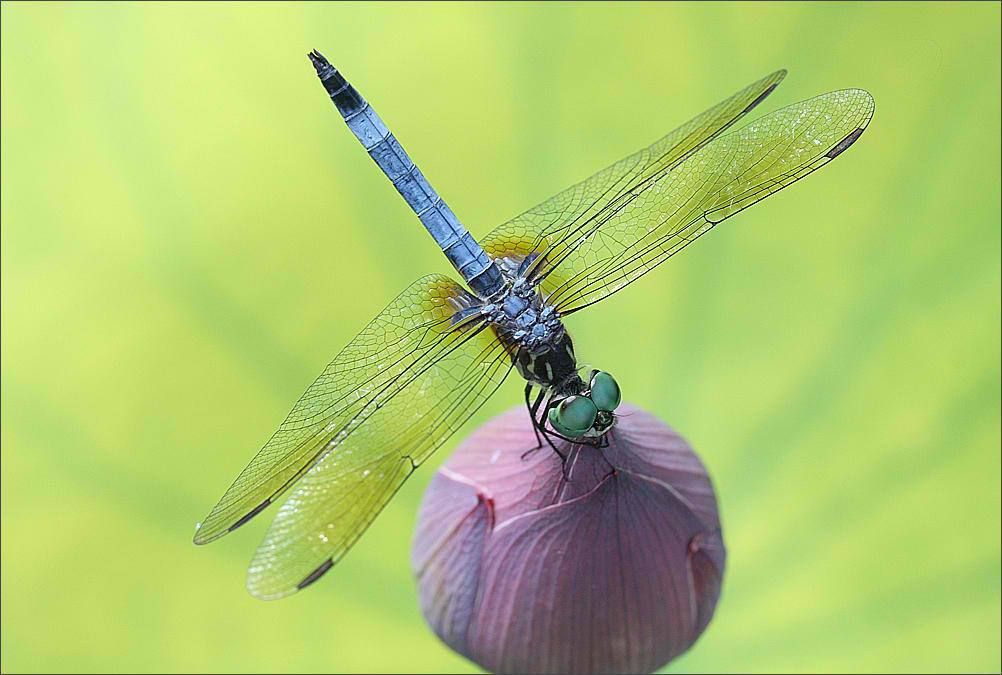
Close up of a dragonfly on a Lotus Flower Bud. Photo by Bahman Farzad
Exposure
Manually set your camera for whatever impact you want depth of field to have (f/32, for example, if you want the whole subject in sharp focus) and set your shutter speed to the flash’s sync speed (depending on your camera, this will be anywhere from 1/125 to 1/500). The camera is going to do a fine job with metering, so this isn’t something you will have to put a whole lot of thought into.
Attempting to use manual flash exposure will simply make your job more complicated, as you will have to adjust your exposure every time your shooting distance changes…which is quite often in macro photography.
"Attempting to use manual flash exposure will simply make your job more complicated..."
Perfect Focus
Nailing focus is perhaps the trickiest aspect of macro work. The best advice I can give here is to get comfortable with manual focus.
Attempting to autofocus will do nothing but frustrate you. Before you try your hand at moving subjects, get in some good manual focusing practice on anything that won’t run or fly away from you.
Once you’ve mustered the courage to test out your newly acquired skill on more animated lifeforms, you can further aid yourself by pre-focusing. This involves placing an object of similar size as your subject in an area within the camera’s field of view where you expect your subject to make an appearance. When the real thing finally shows up, you’ll be ready to shoot.
Yes, there is some guess work involved with this method and, depending on what your subject is, may never find yourself needing to use it. But if you practice it, it’ll be there for you to fall back on if necessary.
The aforementioned recommendation to use manual focus notwithstanding, I feel I should mention something known as Macro Servo AF. This is a special “macro focusing mode” found in the Canon EOS 7D camera. When a Canon USM (Ultra Sonic Motor) macro lens is attached to the 7D with the camera in AI Servo mode, and the lens is set to shoot at 1/3 life-size or greater, the AI servo doubles its sample rate and shifts from predictive focus tracking to continuous autofocus in order to compensate for subject movement, movement introduced by wind, or movement caused by hand-holding the camera.
A Steady Hand or a Tripod?
Many photographers prefer hand-holding their camera while doing macro work.
The freedom that hand-holding provides is the obvious highlight here. You can follow that creepy crawler around wherever it goes, and even when you’re shooting an inanimate object you can easily maneuver yourself into the best position to get the shot just the way you want it. The flash will freeze any motion you may encounter.
Now, if you are relying on natural light for your macro photography — especially if you are shooting insects — you should opt to use a tripod.
Choose a sturdy tripod that has a high load capacity (10+ lb/5+ kg), versatile legs, and an adjustable center column. You can even customize your tripod for macro work by using a focusing rail, which allows you to move the entire camera forward, backward, left, and right in very precise increments, something you cannot achieve using a standard tripod-ballhead combination.
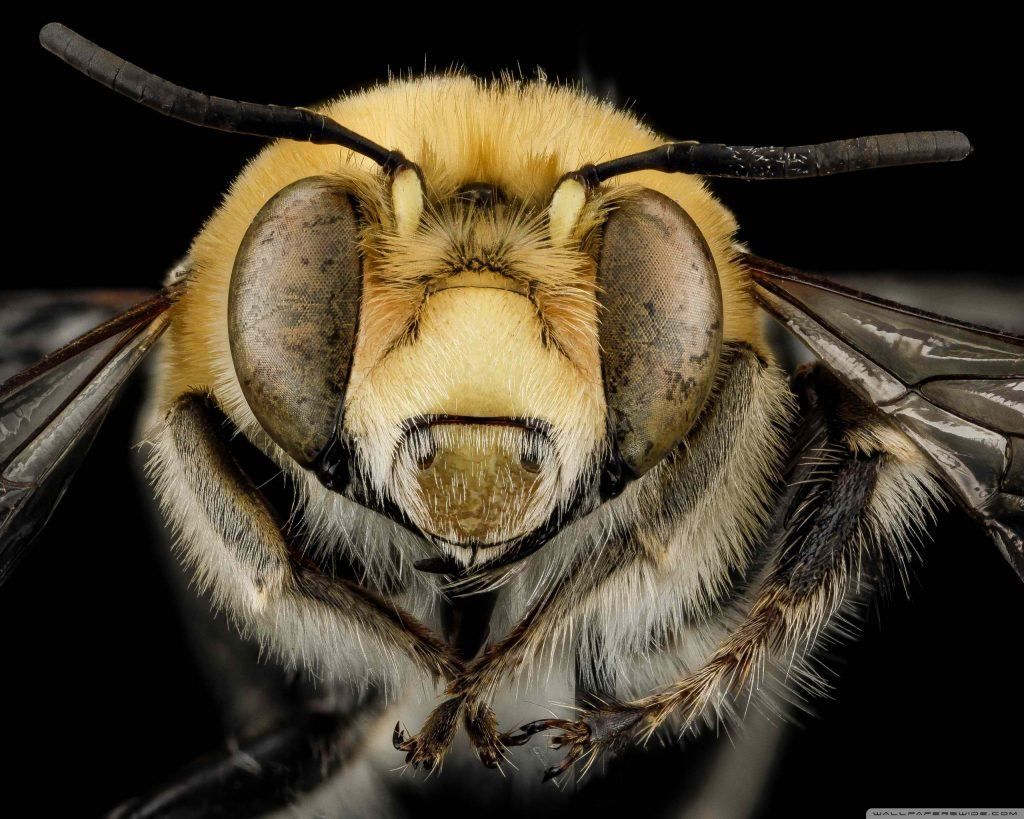
Anthophora affabilis. Photo by USGS Bee Inventory and Monitoring Laboratory
Extreme Macro
Once you get the hang of all the ins and outs of macro photography and establish a skill level that you’re happy with, you may want to expand your horizons a bit by going beyond life-size reproductions. The simplest and least expensive way of doing this is by placing an extension tube between your macro lens and camera body. There are, however, at least two other options available.
Teleconverters
A teleconverter is basically a magnifying glass that is placed between the lens and camera. It works by increasing the apparent focal length of the lens. Thus, a 2x teleconverter will double the apparent focal length; you will also lose 2-stops of light and will notice a marked decrease in image sharpness. If you are going to use a teleconverter, you will get the best results from using it with a fast lens (one that is at least f/2.8).
Specialized macro lens
Canon’s MP-E 65mm f/2.8 is a macro lens that is capable of magnifying a subject up to 5 times (5:1). As you might imagine, the learning curve for this lens is incredibly steep; among the challenges to contend with are a short working distance, decreased depth of field, loss of light, and no option to autofocus. In short, this lens is difficult to master and is, therefor, not for everyone. If you are up to the challenge, however, the thoroughly impressive results just may blow your mind.
Note: There is currently no Nikon equivalent of this lens.
Learning to See
Macro photography subjects are by no means limited to insects and flowers; perhaps one of the reasons they are such popular macro subjects is due to the fact that flowers and bugs can sometimes seem so foreign to us.
With the naked eye, we can be aware of their beauty and even their strangeness only to a certain degree; they remain a mystery on some level. As is our tendency as humans, we become intrigued and curious and seek out a closer view. Scientists have their microscopes and photographers, well, we have our cameras and macro lenses.
It is how we transform curiosity into art. But the tiny universe of flowers and crawling things represents just a fraction of the sources from which we may draw inspiration. In everyday life, we’re accustomed to seeing the “whole” of things. Upon closer inspection, though, we begin to realize there are many more details to the story of our “big” lives.
Do you have hobby such as building models or collecting stamps or coins? Do you enjoy cooking or sewing? Start paying attention to the parts that make the whole; take the time to thoroughly examine textures and corners and nooks and crannies. This thoughtful and deliberate exercise in “seeing” will help you expand your vision for macro photography exponentially.
There is virtually no limit to what makes a suitable macro photography subject.
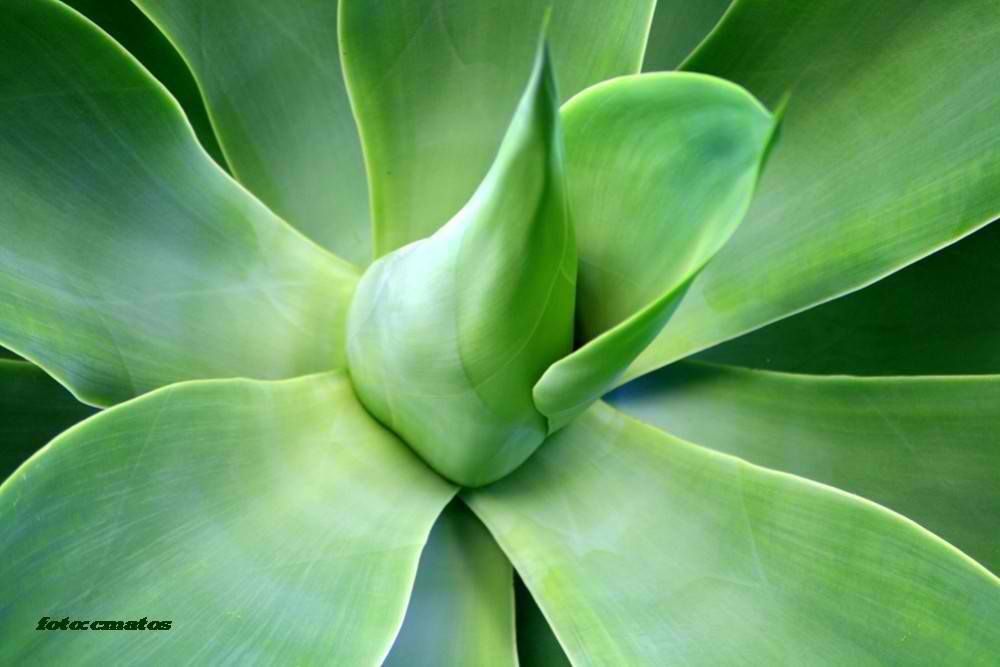
Say What You Feel. Photo by Chrismatos ♥
As with anything worth doing, there are challenges to overcome in macro photography.
Practice and patience will help you stay the course when you are struggling, while creativity and imagination will assist in expanding your horizons and keeping your passion for photography going strong. Despite the learning curve, the essence of macro photography represents a simplicity that is often overlooked.
“Practice and patience will help you stay the course when you are struggling...”
Macro work allows you to shoot anywhere you are; you don’t even have to leave your house to find a subject. And if you just so happen to wander as far as your backyard, you will find not only an abundance of subjects, but subjects that change with the seasons.
If you can’t afford a trip around the world, grab your camera and macro lens and explore the miniature exotic locations that exist all around you.


