

Have you ever looked at professional landscape photographs and scratched your head as to how they were shot? Chances are that the photographer used a filter to achieve their image. In this guide, I’m going to look at the graduated filters that can really make a difference to your landscape images. In truth, most of my focus will be on graduated neutral density (ND) filters, as these make the biggest difference, but we will also touch on a couple of other useful graduated filters.
Here’s what we’ll cover:
- Why would you use a graduated filter for landscape photography?
- Graduated ND filters and the different types
- How to position your graduated ND filter
- How do you shoot with a graduated ND filter?
- Graduated blue and graduated tobacco filters
Recommended Reading: If you’d like to learn more and improve your landscape photography, grab a copy of Photzy’s bestselling premium guide: Complete Landscape Photography.
Why Would You Use a Graduated Filter for Landscape Photography?
There are several reasons why you might use graduated filters. Colored filters allow you to enhance certain areas of your image. Graduated ND filters have several uses. Their main use is to hold light back so that the part of the scene that is brightest (which will be the sky in a landscape) does not overexpose. Essentially, using a graduated ND filter allows you to balance out the foreground with the sky to create one perfectly exposed image from top to bottom. For any scene where there’s a 2-stop or more difference between your sky and foreground, a graduated ND filter is essential to make life easy and get perfect shots. You can also use a graduated ND filter to blur the water and make it look silky smooth.

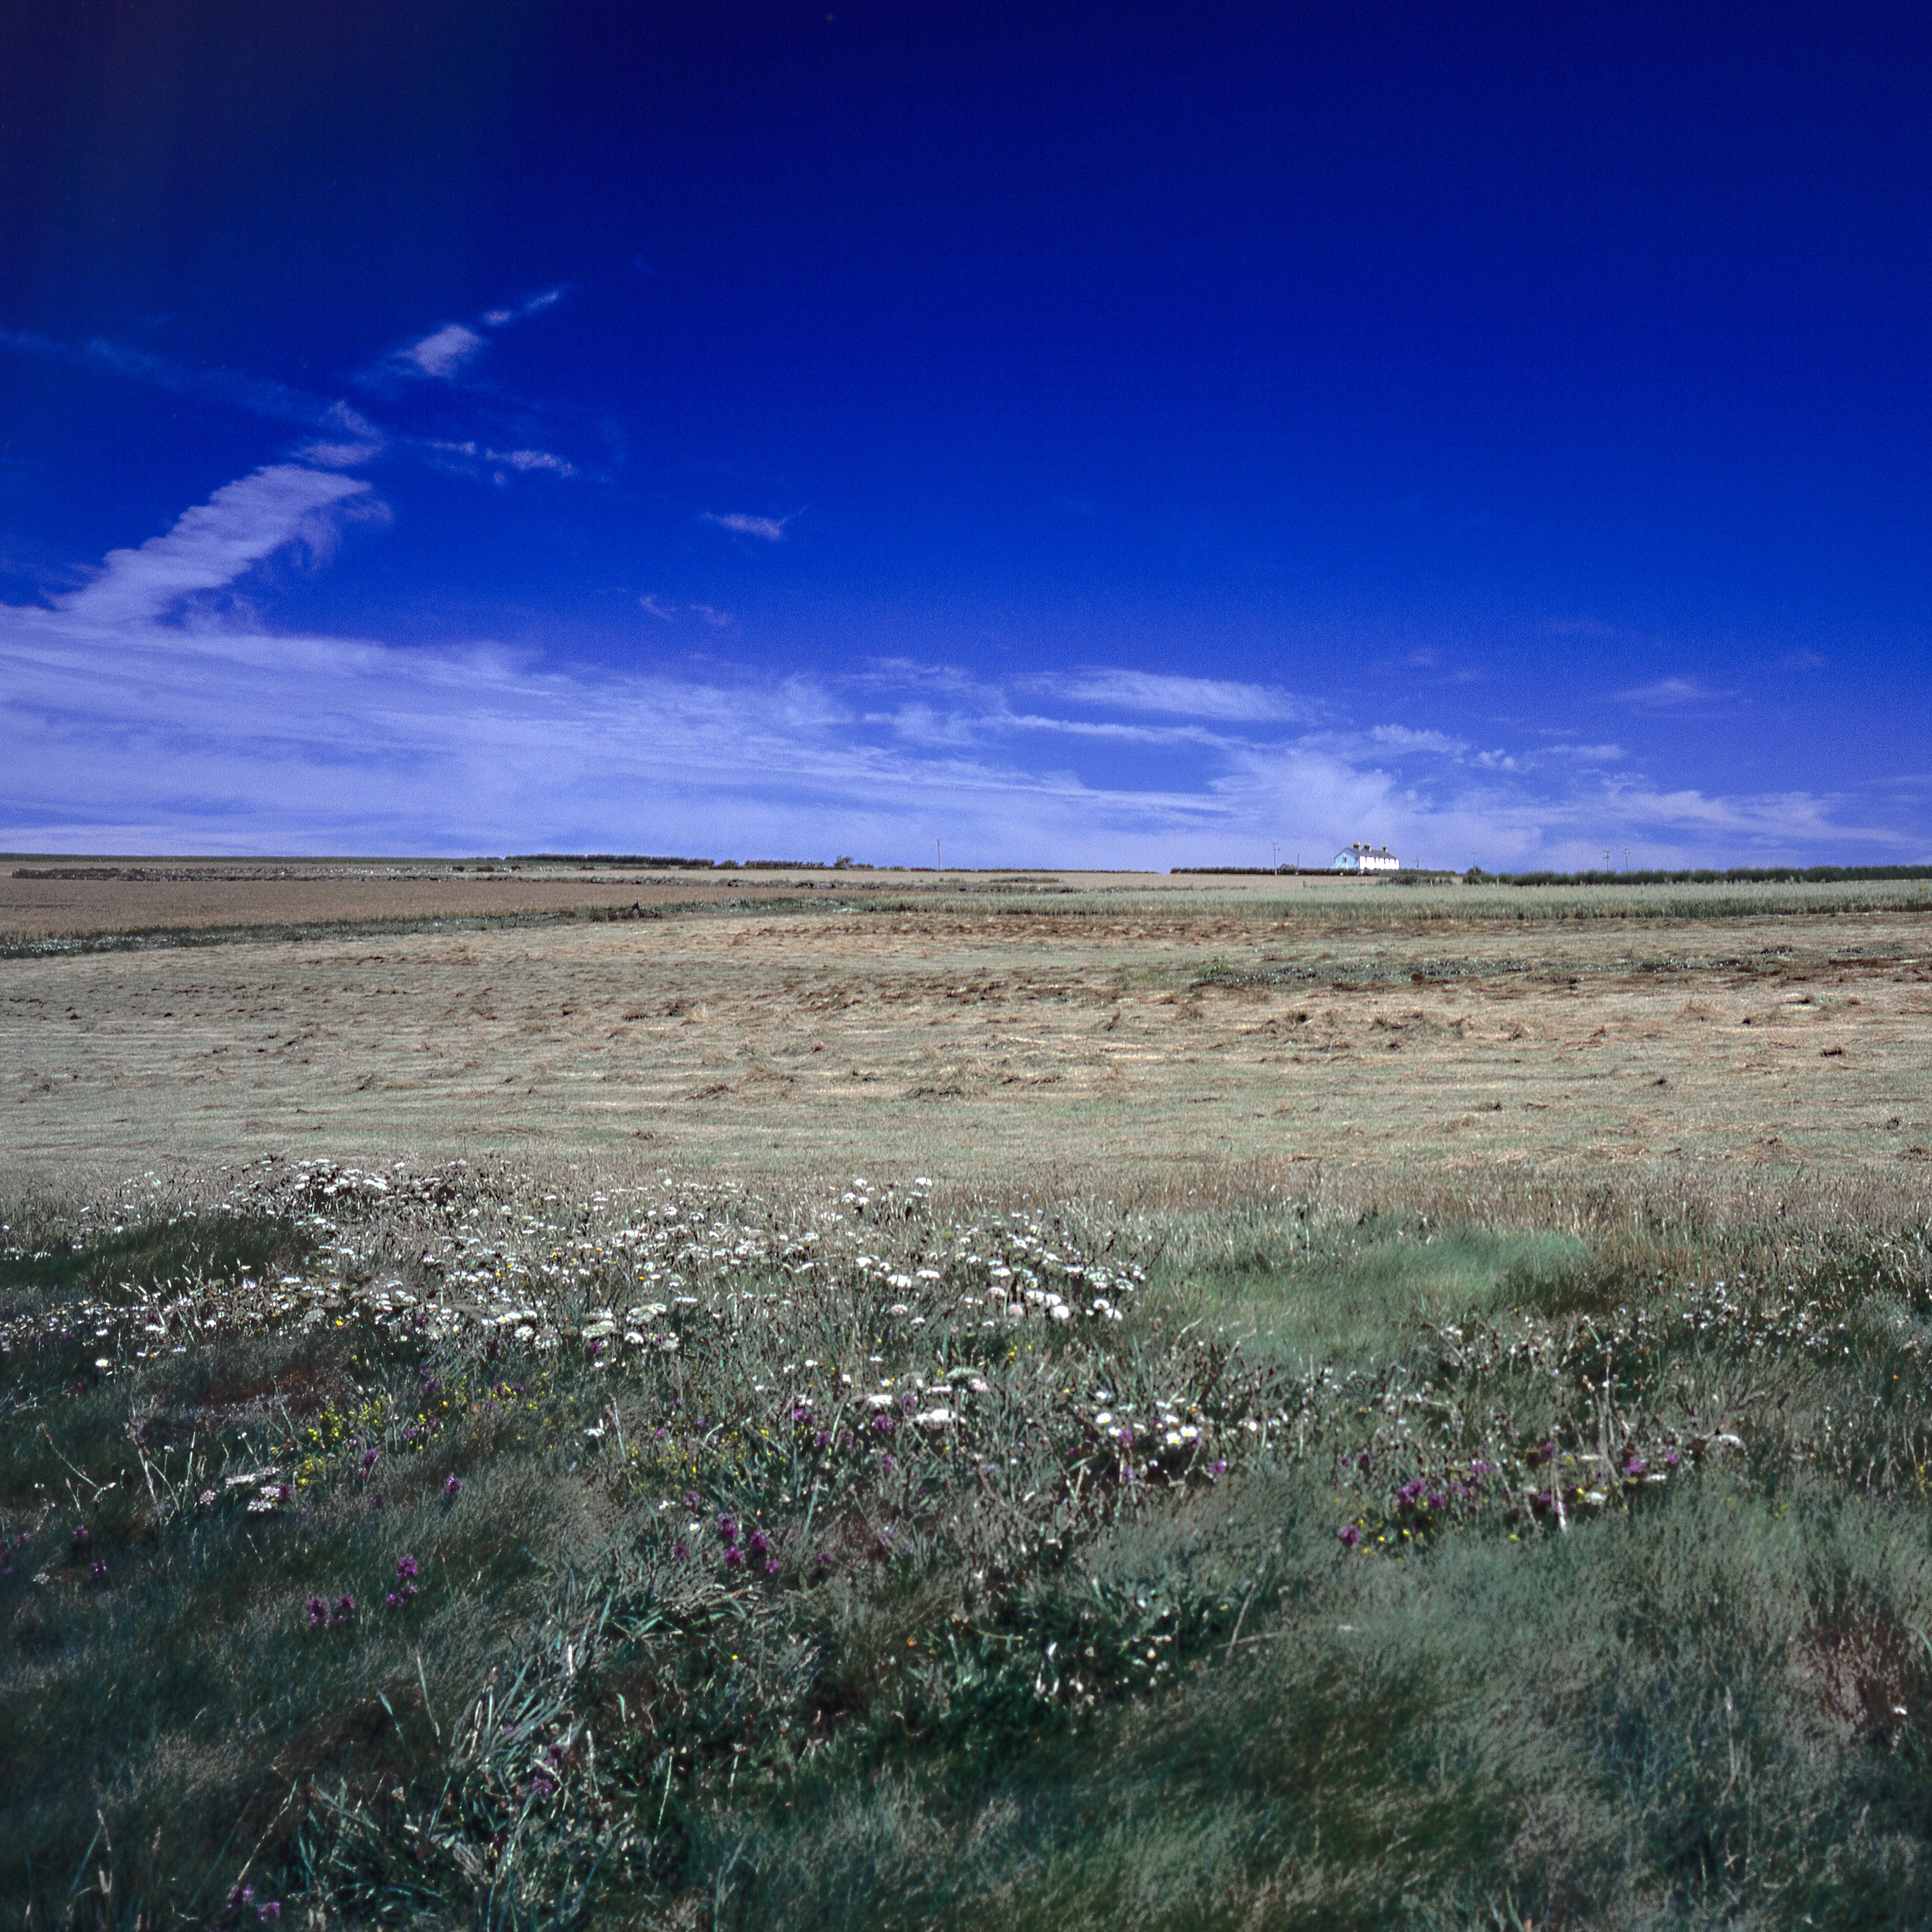
This photograph is a good example of how useful a graduated ND filter would be, as I wasn’t carrying one at the time! You can see that the sky is a little washed out to get the foreground exposure correct. A graduated ND filter would have allowed me to keep more color in the sky and prevent it from being slightly overexposed. Photograph by Jo Plumridge
The Different Types of Graduated ND Filters

Soft graduated ND filter kit. Cokin Filters offer a range of affordable kits to help you get started with graduated filters and are ideal to start experimenting with. Product Image Courtesy of the Cokin KT s.a.s.u. company
Graduated ND filters come in a square/rectangular format. This makes it easier to position the graduation correctly in your image and gives you far more flexibility when zooming in or out. These filters attach to your lens with a special mounting bracket and lens ring. The two most common brands are Cokin and Lee. Quality-wise, the Lee range of ND filters are the best on the market, but Cokin filters are far more competitively priced and are a great option if you’re looking to experiment. (Bonus tip: Cokin also makes graduated blue and graduated tobacco filters!) I would really recommend buying a set of graduated ND filters in different strengths as it will give more options and more to play with.
The main use (of graduated filters) is to hold light back so that the part of the scene that is brightest (which will be the sky in a landscape) does not overexpose.
Also, you will find graduated ND filters in two variables with either a hard or soft edge. The hard edge filter has a very definite transition between the dark gradient part of the filter and the clear part and is useful if you have a definite horizon line (e.g. a seascape or landscape scene where the horizon is flat and straight). The soft edge filter gently blends the gradient across the filter, so the line is less obvious and is useful for scenes where there isn’t a clear horizon (e.g. a forest or street scene).
Key Lesson: Graduated ND filters are usually measured by the reduction in f-stops. So, the more f-stops an ND filter reduces, the less light it will allow passing through it (for example, a 2-stop ND filter blocks double the amount of light of a 1-stop filter). So, a graduated ND2 will allow 50% of light to pass through it, an ND4 25%, an ND8 12.5%, and so on. The higher the number on your ND filter, the more light it will block.
How to Position Your Graduated ND Filter
Before you even start shooting, you need to position your graduated ND filter correctly. This means that your camera needs to be securely mounted on a tripod. You need to do a bit of tweaking and slide the filter up and down in its holder until the transition from clear to dark falls accurately on the horizon. If you’re shooting with an uneven horizon (for example, a landscape with mountains against the sky), you still need to make sure that the light sky on either side of the mountain is covered by the darker part of the ND filter. The advantage of using filters in a holder is that you can simply rotate them if you move from shooting in the landscape to portrait orientation.

Positioning a graduated ND filter with a soft edge carefully over an uneven horizon can give stunning results. Photograph by Thuan Vo
Key Lesson: Before you start shooting, make sure your camera is attached to your tripod and that the tripod is stable and level. Use your camera’s internal spirit level or attach one to your hot shoe to ensure your horizons are straight. And make sure you use Live View for composing your images so that you can see the image in more detail. I advise shooting in RAW for more control over your image and so that you can illuminate any slight color casts or imperfections easily in postproduction.
Recommended Reading: If you’d like to learn more and improve your landscape photography, grab a copy of Photzy’s bestselling premium guide: Complete Landscape Photography.
How Do You Shoot With a Graduated ND Filter

Graduated ND filters can also be used to soften and blur water for an ethereal and dreamy image. Photograph by Rocky Evans Llona.
Without your graduated ND filter in place, set your metering mode to spot or partial metering and take a reading with the foreground filling the whole of the frame. Spot and partial metering will only meter for the center 5% or 15% of the image, which means you can get an accurate reading for the darkest part of the image. Because you’re shooting a landscape, you’ll need a large depth of field to make sure that your entire image is in focus.– I recommend f16 or f22. Keep your ISO at 100 as digital noise can be very distracting in landscapes. Now, tweak your shutter speed until you get the correct exposure. Then repeat the process with the light sky filling the whole of your frame.
The advantage of using filters in a holder is that you can simply rotate them if you move from shooting in the landscape to portrait orientation.
The difference between these readings will give you the strength of the filter that you need. By the way, most filter holders have two slots in them so you can use more than one ND filter together if necessary. At this point, I personally like to compose and focus my shot, as once the ND filter is on, your camera’s autofocus is likely to get confused. You can lock the focus by switching to Back Button focus, which will hold your focus indefinitely.
Attach the correct ND and take your shot using the meter reading for the foreground. This is because the foreground will have the clear part of the filter over it, so your metered settings will give you the perfect exposure for your foreground and underexpose your sky to stop it from blowing out.
If you find that you’re struggling to get the right exposures with your graduated ND filters you could also look into using one of the many apps designed to help you with exposure calculations.
Graduated Blue and Graduated Tobacco Filters
Although graduated ND filters are by far the most popular and useful graduated filters for landscape photography, you might also want to have a little fun with other filters. A graduated blue filter has progressive graduation from the middle to the top of the filter. Its blue hue helps to enhance the blue of the sky or the ocean. And a graduated tobacco filter has a soft gradient with a color that can intensify the sand of a beach or help to make a landscape look more dramatic. With the advent of editing programs such as Photoshop and Lightroom, these filters have somewhat fallen out of fashion, but they can be fun to experiment and play around with.

Photograph by Jo Plumridge
Conclusion
I think a graduated ND filter kit should be part of every photographer’s bag. Nearly every landscape shot will benefit from using an ND grad because there will always be an exposure difference between your sky and your foreground. It doesn’t matter what time of day you’re shooting at; as long as the sun is visible there will be some shadow on the ground altering exposures. And, of course, it’s essential for creating those beautiful ethereal shots with blurred water. You really can’t recreate that look in post-production – you need to get it right in-camera. I’m primarily a portrait photographer, but I still carry ND filters because I think all photographers enjoy shooting the occasional landscape! A graduated ND filter is one of the easiest ways to make your landscape photographs look truly professional. And, if you want to experiment further, you can add some other graduated filters into your kit. Graduated filters will give you lots of opportunities to play around with your landscape shots.
Self-Check Quiz:
- What is the main reason you would use a graduated ND filter?
- What is the difference between a hard edge and a soft edge graduated ND filter?
- What percentage of light will an ND4 filter allow through it?
- Which metering mode should you use to meter your exposures with a graduated ND filter?
- When could you use a graduated tobacco filter?


