
When I first began in photography, technology was somewhat simpler. For a start, everything seemed to be a lot ‘clunkier’ than it is now, and it seemed so much more expensive. But then, as a photography student on a minimal grant, everything seemed over-priced, especially my tools of the trade: cameras.
In those days, if you bought an SLR it usually came with one of a range of different aperture 50mm prime lenses. This was a time when zoom lenses were definitely ‘new technology’ and so were very much still a luxury purchase. Your choices were not whether to have an 18-55mm zoom or an 18-200mm zoom; it was simply which aperture version you could afford in the 50mm focal length.
Key Lesson: A ‘prime’ lens has a fixed focal length, unlike a zoom lens, which has varying focal lengths.
At the time, I bought an Olympus OM1n, which was a superb piece of technology. My options were one of three different lenses: a 50mm f1.8, a 50mm f1.4, and a 50mm f1.2 lens. For budgetary reasons I settled on the cheaper f1.8 version.
Not long after finishing college, the zoom lens became the thing to own, so the humble ‘standard’ 50mm prime lens all but disappeared from the nation’s camera bags. After all, why have one lens when a zoom could pack two or three lens focal lengths into a single piece of kit?
The funny thing is that this prime lens has recently been through something of a rebirth. This is partly caused, I believe, by the boom in independent film making where directors want a field of view that’s close to the human eye, plus a cool shallow depth of field ‘look.’ But it’s also partly because it’s affordable, lightweight, fast, high quality, and – yes – it produces a sublime depth of field effect.
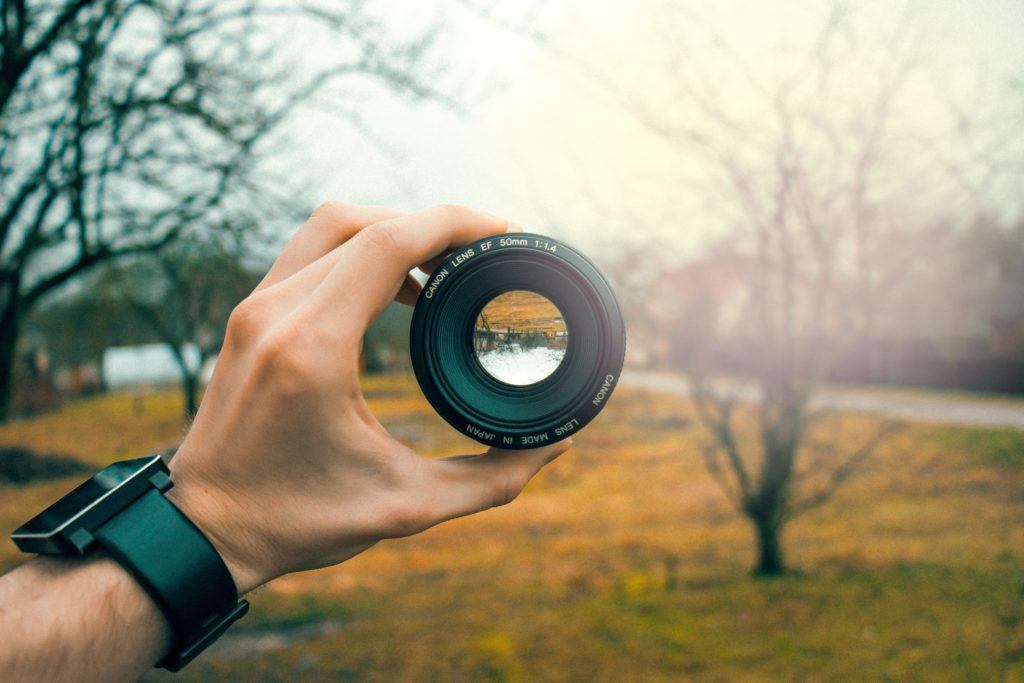
Currently I use the Canon EF50mm f1.4 lens. On my Canon EOS 5D MkIII, its focal length is as stated: a 50mm 1.4 lens. But because of the crop factor, on my Canon EOS 60D it’s a 75mm f1.4 lens and even more perfect for portraiture.
What you’ll learn in this article:
- Differences between 50mm lenses
- 50mm prime lens brands to consider
- How to get creative with this lens
- How to control depth of field
- How to maximize bokeh
Recommended Reading: If you’d like to master camera settings to create gorgeous, creamy, blurry backgrounds, grab a copy of Photzy’s premium guide: Beautiful Background Blur.

One overriding reason to buy a 50mm lens is that it has a very wide aperture for a very reasonable price – usually far better than most zoom lenses. A zoom lens with a fast maximum aperture will cost a lot of money. And as you see here, the bokeh produced by the Canon 50mm f1.8 STM lens is impressive.
Which One to Buy?
This is a hard question to answer. As with most things photographic, this comes down to how much you might want to spend. The f1.8 version is very good and clearly the least expensive, while the super-fast f1.2 version produces sublime out-of-focus effects (called bokeh), but it weighs 3.5x more than the f1.8 version and is nearly ten times the price! This is probably why I opted for the f1.4 version, which sits in at a little less than twice the cost of the f1.8 lens and a little more than twice its weight.
That’s the aperture difference.
Key Lesson: A ‘fast lens’ is one that has a wide maximum aperture. The lower the f/stop number on the lens, the wider the maximum aperture. For example, one would say that a lens with a maximum aperture of f1.2 is ‘faster’ than a lens with a maximum aperture of f2.8.

Three portraits, three different lenses, same focal length and exposures (1/40s @ f4), three different examples of bokeh. From left, EFS18-55mm, EF50mm f1.4 and EF50mm f1.8 lens. Clearly the 50mm f1.4 optic (middle) produces a superior-looking bokeh – softer and gentler – while the 18-55mm lens, though surprisingly good (for the money), produces a harder, less diffused ‘look.’ The f1.8 lens, not surprisingly, sits somewhere in the middle. Photograph by Robin Nichols
It’s also important to note that, as you pay more for such a lens, so the quality of the glass improves, which in turn produces better contrast, sharpness, and a smoother bokeh effect.
..As you pay more for such a lens, so the quality of the glass improves..
Luckily for consumers, we are now experiencing something of an explosion in the 50mm prime lens market with a range of new players producing equally good, if not better, products than the traditional lens makers Nikon and Canon.
These include:
- Sigma
- Tamron
- Yongnuo
- Rokinon
- 7Artisans
- SLR Magic
- Samyang
- Zeiss
(Note that not all these manufacturers make 50mm lenses to fit all brands of camera bodies, plus some are better suited for video. Always check before you
buy.)
What Can I Use a Nifty For?
- Portraits
- Landscapes
- Low light and night photography
- Architecture
- Street photography
- Close-ups (with an extension tube)

The Warrior. This portrait was shot in a dark basement using a 50mm prime lens and a wide open, f1.4 aperture. The fast aperture is perfect for low-light work, but it produces very little depth of focus so great care must be exercised so as not to get the ‘wrong’ parts of the portrait (i.e. the eyes) out of focus. Photograph by Robin Nichols
What's Bokeh and How Is It Used?
Bokeh is a Japanese term for the out-of-focus characteristics of a lens and is described by Wikipedia as: “…the aesthetic quality of the blur produced in the out-of focus parts of an image…”.
We all understand that, apart from regulating the flow of light into the camera to make the shot, aperture also has an effect on how much of the scene around the point of focus comes out sharp. In general, the smaller the aperture (measured in f-stops), the more that’ll appear clear and sharp. Though this is a physical process governed by the diaphragm, it’s also significantly influenced by a number of other factors that we, the photographer, can control.
These features include the following:
- The subject-to-camera distance
- The subject-to-background distance
- The lens focal length
- The aperture
- The quality of the glass elements

Another 50mm shot from the same session with a medieval re-enactor posing in chain mail. The shallow depth of field given by the f1.4 aperture was a perfect way to give the shot a little more mystery. Photograph by Robin Nichols
Pay attention to the first four factors if you want to get the best out of your 50mm lens. The last one is also important but once bought, of course, is a fixed entity. I used to travel to Japan frequently for photorelated business and out of curiosity I found myself reading English language camera magazines there. What was fascinating was that Japanese journalists spent almost as much time discussing the out-of-focus qualities of a new lens as they did on how sharp it might be.
Pay attention to the first four factors if you want to get the best out of your 50mm lens.
There’s a really good reason for this. It’s because the bokeh for different lenses can be quite varied, even if it’s the same focal length. Some bokeh is supremely smooth, as I see with my Canon EF50mm f1.4 lens. But it’s even better with a lens like Sigma’s excellent f1.4 DG SM Art lens, whereas the bokeh quality of the budget-oriented Yongnuo 50mm f1.8 is not quite so sublime (although its 50mm version II is reputedly better). And if you think that the 50mm position on an 18-55mm kit lens would be just as good, then prepare yourself for a bumpy ride because its bokeh could only ever be described as ‘lumpy.’ Not nice at all.
Using the adage of “the closer you are to the subject, the shallower the depth of field” to get the best from this prime, always position your model reasonably close to the camera (between one and two meters away), but ensure that the background is at least the same distance away, preferably more so, and you’ll experience a significant softening of the background at full aperture.
Lens Handling and Creativity
I love these lenses because of their light weight, compact design, speed, and unique field of view (FOV), which is very similar to the human eye. Because of that, it makes 50mm shots look ‘just right’ as its FOV incorporates not too much information (as a 35mm lens might) while avoiding the narrower FOV limitations of a longer focal length.
Another powerful feature of this lens which should not be overlooked is its creative potential. Most of us are somewhat programmed into using a zoom lens for all our work, so when you pick up a prime lens, like the 50mm, it forces you to be more observant. No longer can you just stand in the street and zoom into your subject from the safe distance provided by a 200mm lens. If you spot something interesting, it’s up to you to react, get yourself in the best position, and shoot. It’s probably harder work but ultimately far more rewarding. Another bonus of working with a small prime is that it’s less noticeable. I have always been a bit self-conscious wandering about with a big, heavy 70-200mm zoom lens. People see this and immediately react, often not in a way that’s helpful to the photographer, so the stubby profile of the nifty fifty certainly brings a generous degree of anonymity to the party which should help your shooting proficiency.
Recommended Reading: If you’d like to master camera settings to create gorgeous, creamy, blurry backgrounds, grab a copy of Photzy’s premium guide: Beautiful Background Blur.
Parting Shot
Recently I’d been out shooting subjects close-up with a 100mm macro lens when I remembered that, in a cupboard somewhere, I had a set of Canon extension tubes. I eventually found them and tried them on my 50mm f1.4 lens, with great results. Unlike an extender, which doubles the focal length but contains glass so it will always reduce the light (and quality) of the image, an extension tube is just that – a tube – so it has no impact on the exposure or apertures available; it just seriously shortens your minimum focusing distance.
Give it a go sometime as it introduces yet another creative use for that incredible ‘nifty fifty.’

Ultra-close shot of tiny florets using both a 25mm and 12mm extension tube stacked up on the 50mm lens. This close, even at a small aperture like f22, you get almost nothing in focus, so great care must be used to get the right parts sharp. Photograph by Robin Nichols
Self-Check Quiz:
- What is the discussed overriding reason to have a 50mm lens in your camera bag?
- What’s the difference between a prime lens and a zoom lens?
- Name three independent brands of 50mm prime lenses.
- What does the term ‘fast lens’ mean?
- Name three of the five photography genres discussed that are perfect for the 50mm prime lens.
- Describe bokeh and how it’s achieved.
- True or false: A 50mm prime lens mounted onto a full-frame digital camera provides a field of view similar to the human eye.
- Can you shoot macro subjects with a 50mm prime lens?