

Photographing moving subjects is one of the most challenging types of photography, especially if you’re just starting. Action photography requires patience and practice to get right, but it can seem a little daunting when you start.
In this article, I’ll be looking at some camera settings to help you start, as well as exploring other tips and tricks to help you get the best moving images possible.
Here’s what we’ll cover:
- Camera gear and setup
- Steps to take for great action shots
- Camera settings for different moving objects
- Where to go next
Recommended Reading: Want a step-by-step guide on photography skills with your DSLR? Grab a copy of our best-selling guide, the DSLR Crash Course.
Camera Gear and Setup
You don’t need any specific equipment to capture moving objects, but some things will certainly make life easier! Freezing fast-moving objects needs a fast shutter speed, and most modern cameras have the fastest shutter speed of 1/4000th of a second which will be more than fast enough for most situations. Some cameras even go up as far as 1/8000th!
As with all genres of photography, the quality of the optics and glass in your lenses will make a difference in the ease with which you capture action shots. A lens with a large maximum aperture will make life easier. If you’re using a zoom lens, having a fixed aperture throughout the focal length range is also a good idea. Although you’ll mainly be working with fast shutter speeds, you may also find that a tripod is essential, particularly if you want to ‘pan’ with your subject.
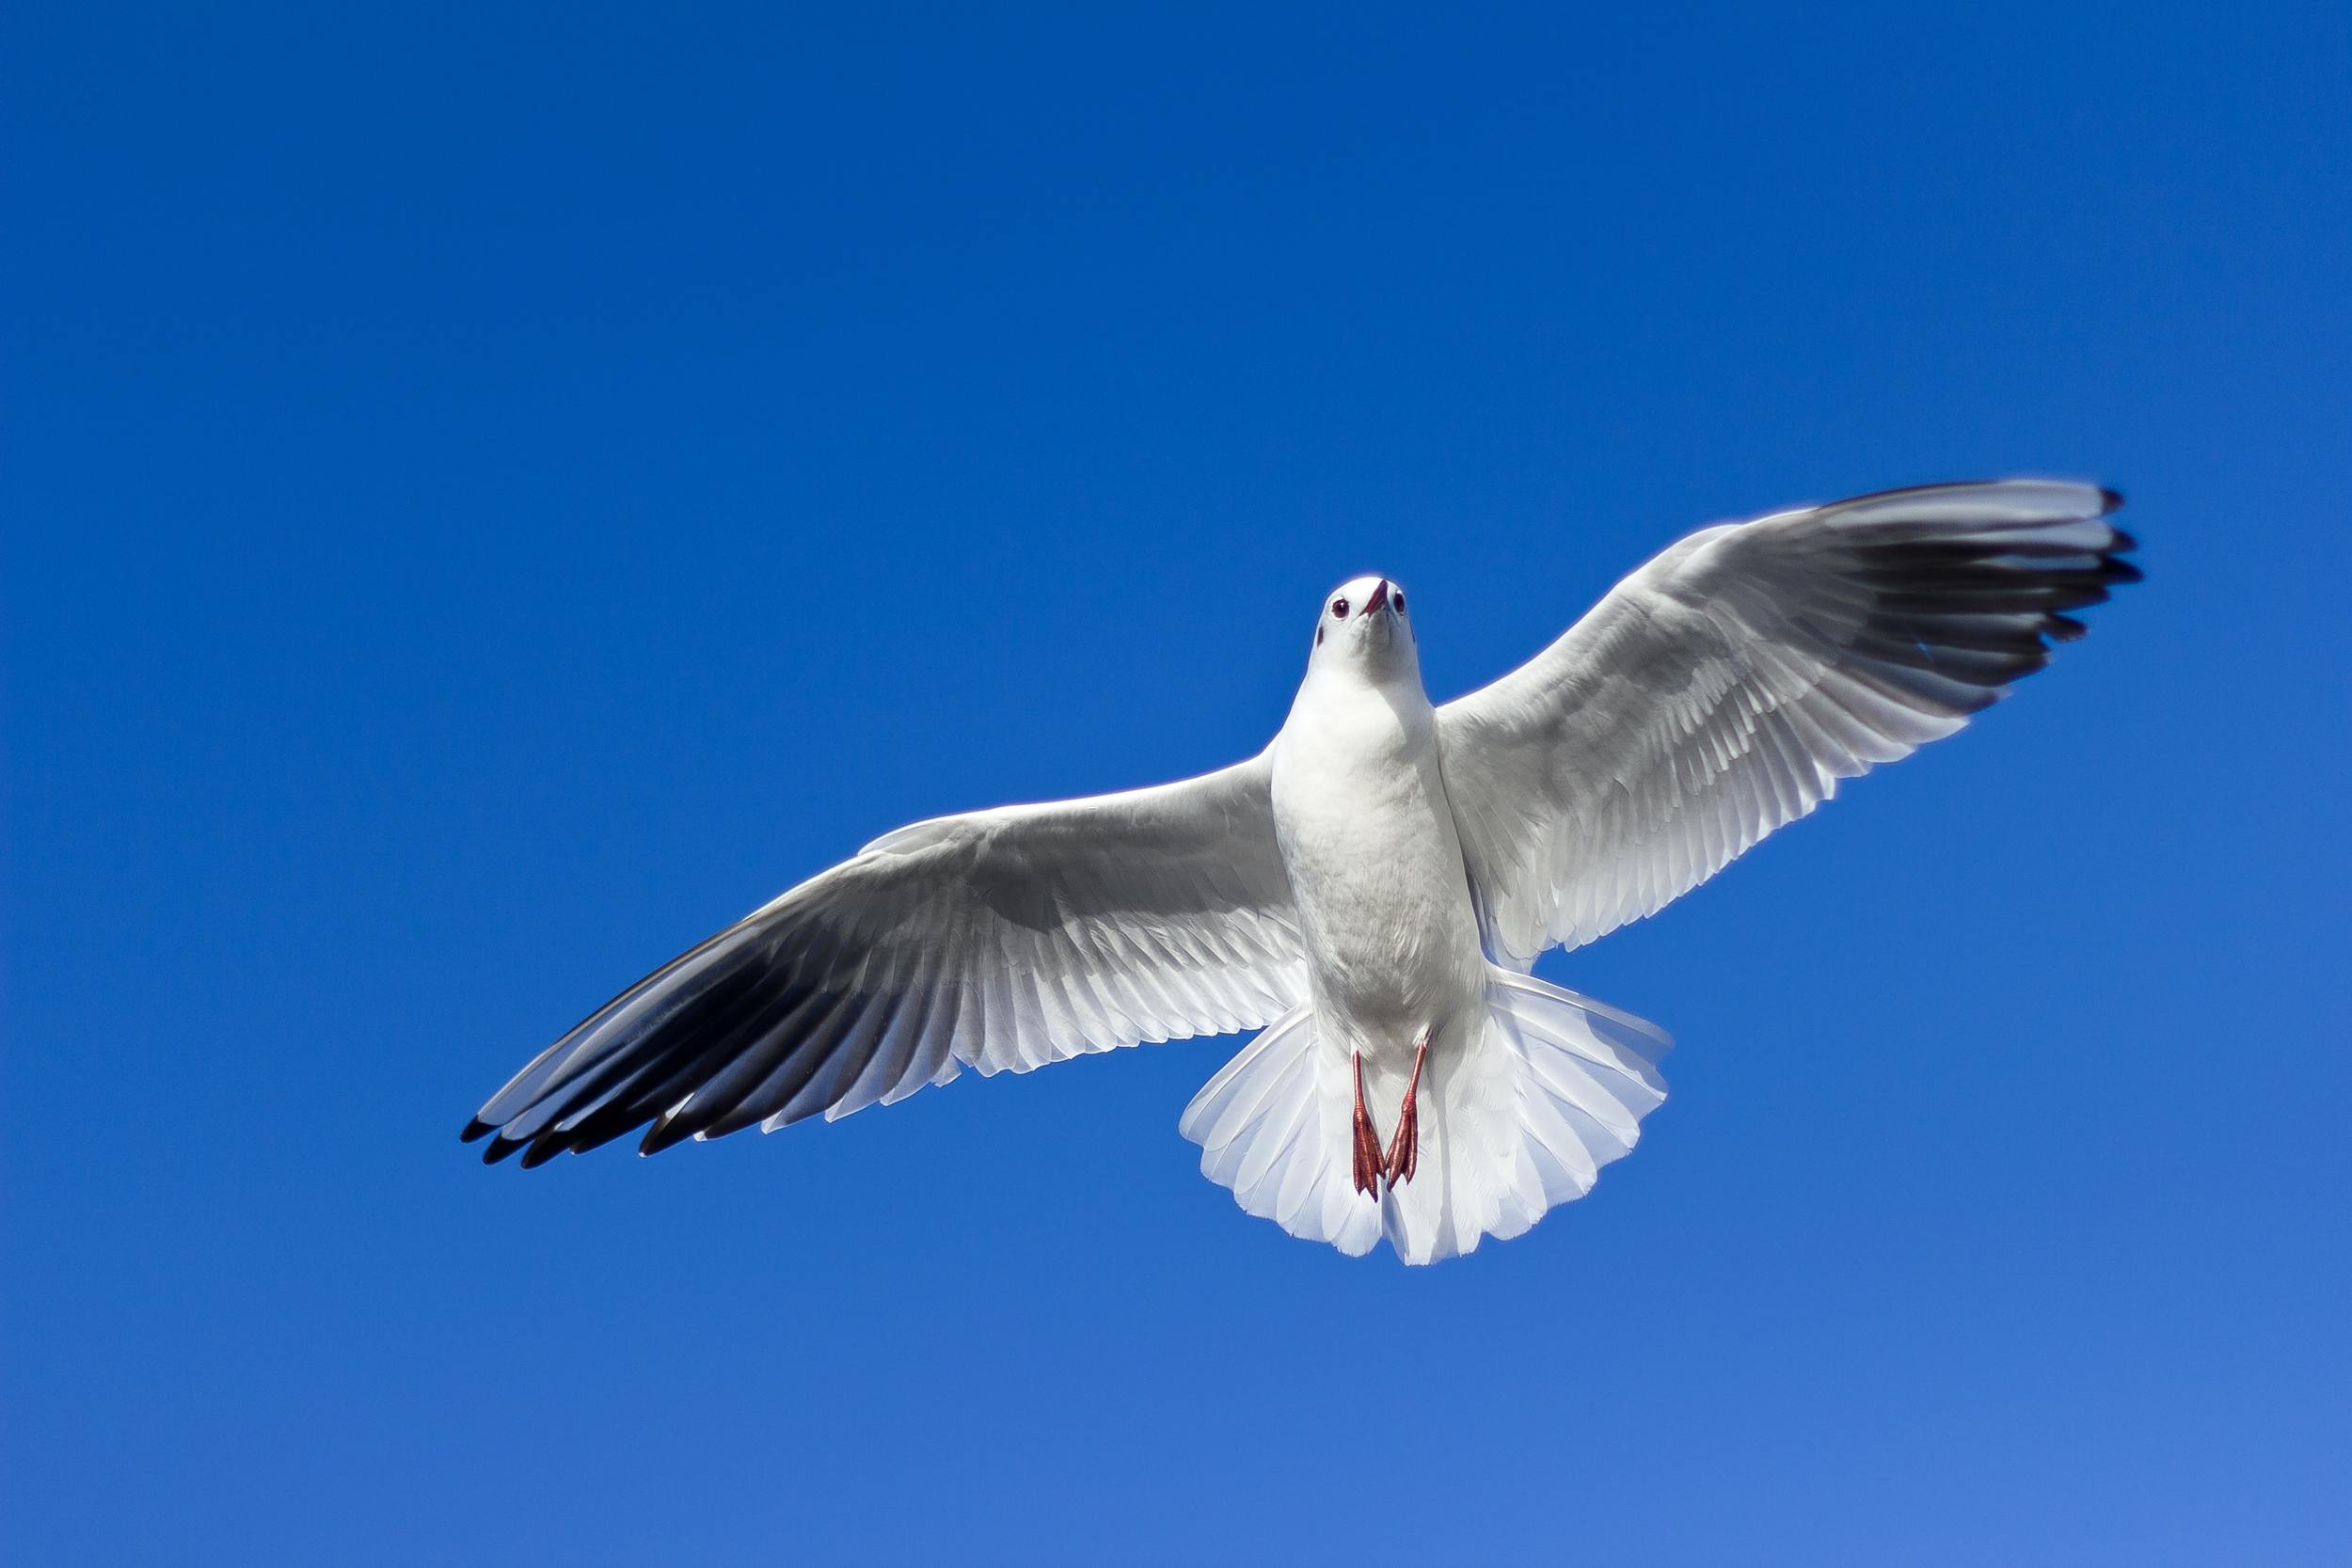
Action photography is often at its most vibrant and interesting when you zoom in to fill the frame with your moving subject. Photograph by Christine Benton
Key Lesson: A lot of action photography requires you to get close up to subjects, which means using a telephoto lens. Longer focal lengths are expensive, but if you have a crop frame sensor camera then the field of view you get due to sensor size will give you the equivalent of a much longer lens. So, for example, if you’re using a Canon 7D Mk II which has an APS-C sensor, a 200mm lens will give the equivalent field of view of a 320mm lens.
Steps to Take For Great Action Shots
Before you start photographing moving objects, take some time to set your camera up to make life as easy as possible. The key settings to get right are those concerned with your focus. Moving objects are hard to get sharp, so you need your autofocus mode to be working in your favor.
Firstly, make sure you’ve selected the central AF point for focusing. If you leave your camera to decide where the point of focus should be, you may miss getting a sharp shot. Choosing a fixed focal point makes it easier to either pre-focus (where you pre-focus on an area in your image and wait for the moving object to hit that spot), or panning (where you move your camera in time with the subject before choosing where to take your shot).
Before you start photographing moving objects, take some time to set your camera up to make life as easy as possible.
You’ll also need to change your autofocus mode to Continuous Autofocus. Continuous mode allows the camera to constantly track your moving subject and keep adjusting its focus. It’s also a predictive model in DSLRs as it sets the focus on where it believes the subject will be after the split-second delay caused by the mirror raising and the shutter opening to take the shot.
Particularly when you’re first starting with photographing moving objects, it’s a good idea to put your camera onto continuous shooting mode/burst mode which means that your camera will take a succession of shots as long as you keep the shutter pressed down. This gives a much higher chance of getting a sharp shot!
Key Lesson: I recommend shooting in manual mode as it gives you the most control over your settings and exposure triangle. But you can start by using Shutter Priority mode, which allows you to set the shutter speed of your choosing whilst leaving the camera to sort out everything else.
Camera Settings for Different Moving Objects
Sports Photography
Sports photography is fast-paced and requires a decent telephoto lens to pick players out of an often crowded field and background crowd. And, obviously, some sports are faster than others! Here are some settings to start with:

Note how the use of a small depth of field blurs out distracting elements in the background, helping the viewer to focus on the football player. Photograph by John Torcasio
Outdoor Sports – If you want your subject sharp, start with 1/500th shutter speed and an aperture of f5.6 to blur out your background and make the player ‘pop’ out of the image. Adjust your ISO up as needed. Start at ISO 100 on a sunny day and ISO 400 on a cloudy day.

Artificial lighting can confuse your camera’s white balance, so make sure you choose an appropriate setting for the harsh indoor lighting conditions. Photograph by Markus Spiske
Indoor Sports – Use the same shutter speed and aperture as for outdoors but start with an ISO of 400 and work up, as there will be less light at an indoor venue. Make sure to also choose an appropriate white balance setting for the artificial lighting. Auto white balance is normally pretty accurate, but large panels of tungsten or fluorescent lighting can confuse it, so it’s best to set the appropriate white balance manually.
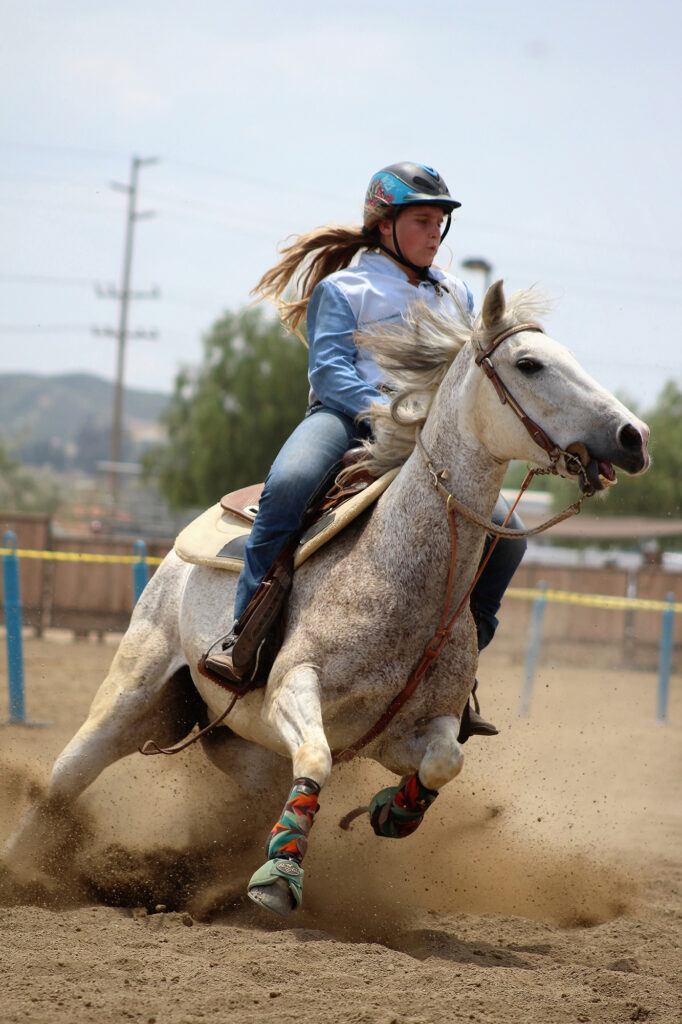
Faster Moving Sports – Some sports move extremely quickly! Good examples of this are motor racing or horse racing. You will need slightly different settings here. To freeze the action completely, use a shutter speed of 1/1000th with an aperture of f8 and a base ISO of 100 (adjust this upwards as needed). If you want to convey a sense of motion, you can introduce a little blur into the image (for example, on a car’s wheels) by lowering your shutter speed to around 1/800th.
Wildlife Photography
Wildlife photography covers a large number of animals, birds, and insects. For any work with wild animals, you need to make sure that you’re concealed adequately and don’t do anything to spook your subject. Whilst some of your images may contain static subjects, animals do (in my experience) tend to move around a lot! Again, you will need a telephoto lens so that you can shoot from a reasonable distance.

There’s no action photography quite like photographing the migrations in Africa! Photograph by Shripal Daphtary
Tropical Climates – If you’re lucky enough to be on safari in Africa, you’ll most probably be dealing with very bright skies and sun. Shoot moving subjects at 1/4000th shutter speed and ISO 100. If it won’t overexpose your image, use an aperture of around f4–f5.6. Obviously, you’ll have to use a smaller aperture if necessary.
Overcast Skies/Winter Weather – Start with a shutter speed of 1/500th, aperture of f4, and an ISO of 800.
Landscapes and Moving Subjects – If you’re in a particularly picturesque part of the world, you might want to get your entire frame sharp. A classic example of this is photographs that capture the migration of animals across Africa. Start with a shutter speed of 1/500th, ISO 100, and an aperture of f16 to f22.
Children and Pets

I always classify children as moving subjects. Getting them to stand still can be a challenge and you’ll get far more naturalistic shots if you just let kids be kids! Photograph by Mi Pham
Action photography isn’t always about the obvious! Speaking from many, many years of photographing both, children and animals don’t always sit still! Of course, that’s part of the charm and what helps to capture personalities. So, it’s advisable to treat kids and pets as moving subjects.
Head and Shoulders – Start with a shutter speed of 1/125th and an aperture of f5.6. If you’re outdoors in good weather, use an ISO of 100 and ISO 400 in cloudy/overcast weather. Switch the ISO to 800 in artificial indoor lighting.
Action photography isn’t always about the obvious! Speaking from many, many years of photographing both, children and animals don’t always sit still!
Where to Go Next

Here’s a real challenge to try out: photographing a white dog against the white snow! Photograph by Sveta Golovina
The thing about photography (and I can’t stress this enough) is that there are no absolutes when it comes to settings. The settings that you use in your exposure triangle (shutter speed, aperture, and ISO) are completely reliant on how much light is available. All photography is entirely reliant on light being available. This is why photos shot at night need such long exposures.
So, whilst I can give you these base settings to start shooting with, you should never be afraid to get out and experiment further! Don’t be afraid to change things according to lighting conditions or just to try and get a different look. The only key thing to remember with action photography is that you need to use a fast shutter speed to ‘freeze’ your subject. As this means that you won’t be getting a lot of light into your camera via the shutter, you need to make sure that your aperture and ISO are letting enough light in to get a correctly exposed image.

Recommended Reading: Want a step-by-step guide on photography skills with your DSLR? Grab a copy of our best-selling guide, the DSLR Crash Course.
Conclusion
Moving objects are, as I said right at the start of this guide, one of the more challenging genres of photography. It can seem quite daunting to try and photograph something or someone that’s moving at speed, but all you need to do is set your camera up correctly and take the time to learn about the ideal settings to start experimenting with.
Self-Check Quiz:
- Why can a crop frame sensor be useful for action photography?
- What autofocus mode do you need for moving objects?
- What shutter speed should you start with for motor racing?
- What is panning?
- What aperture should you use if you want to get both your subject and background sharp?


