


The strength of any portrait photograph depends very much on lighting.
Natural light or flash. Soft or hard light. Bright or dull. Front, side, or backlight. Whatever type of lighting you choose for your portrait photos will have a significant effect on the outcome.
In this guide, you will learn the following:
- How the quality of light affects a portrait
- The importance of intentional lighting
- When to use natural light
- Lighting accessories for natural light
- Using an electronic flash for portrait lighting
- Why you should want to use your flash in manual mode
- Mixing natural light and electronic flash
- The advantages of diffused light
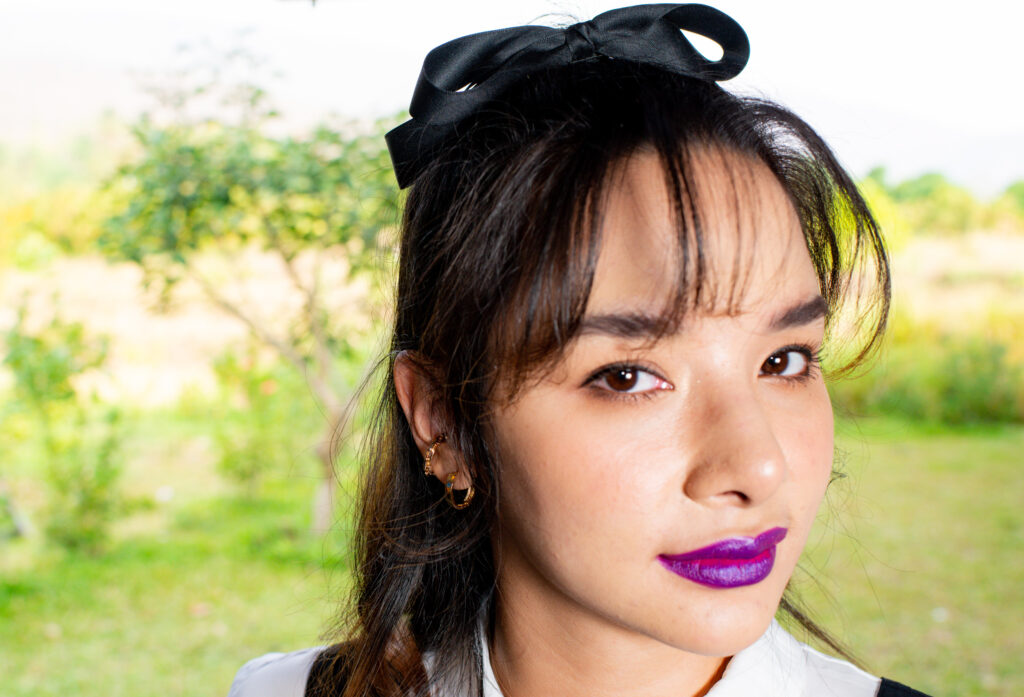
Portrait lighting can help shape the mood of your portraits. By flooding your subject with hard light, you can bleach out shadows and create a joyful portrait with a punch. Or, with softer light, your subject can appear relaxed and at peace. With one well-placed light, you can control the shadows and conceal parts of your subject. This produces a more mysterious, melancholic style of portrait.
Key Lesson: The key to portrait lighting, whether you’re using natural light or flash, is to be intentional with it. Use it to create the style and mood that best suits your subject and the story you’re telling.
Recommended Reading: If you’d like to learn how to use your flash unit for better photography, grab a copy of Photzy’s Electronic Flash – Parts and Practices premium guide.
When to Use Natural Light for Portrait Photography
Making use of natural lighting for portraits has its strengths and weaknesses.
We know natural light is often best for portraits in the mornings and evenings. When the sun is low in the sky, its light passes through more of the earth’s atmosphere. This produces a soft, warm light when there are no clouds to obscure it. During the middle of the day, the harsh light of the sun on a cloudless day produces dark shadows. Many photographers prefer not to photograph in this type of light.
Portrait using only natural light to create the atmosphere I wanted. Photograph by Kevin Landwer-Johan.
The sun is an awesome light source, but we cannot control it. When heading out to take some portraits using natural light, you can’t be 100% sure you’ll have bright, unfiltered light or soft, diffused light. This is one of the main drawbacks.
But we always have options. We may not be able to manage the sun or the clouds that obscure it, but we can choose where we take our photos and our camera angle. Lighting must always be considered when positioning a portrait subject. In one location, they might be backlit; in another, side or front lit. These choices influence the outcome and how the light looks, not only what is seen in the background.
Natural Light Accessories
One aspect of making portraits using natural light that I love is that I don’t have to mess about with lighting accessories. There are no flash settings to think about. I don’t have to carry a light stand, and I have the freedom to move about easily as I’m making my portraits. This allows me to connect more with my subject and keep my attention on them rather than on my equipment.
This photo was taken with backlighting and a reflector in front of and below my subjects in my outdoor studio. Photograph by Kevin Landwer-Johan
When I have more time and an assistant, I often use a reflector for natural light portraiture. Having someone hold a reflector to reflect some fill light into a subject’s face often helps. It can add depth and shape if the sun is behind clouds. Or it can help to balance hard shadows when taking photos in bright sunshine.
My favorite way to make outdoor portraits using natural light is with my outdoor studio. This is simply a backdrop with a diffuser above it. Positioned, so the sun is behind, I use reflectors to bring more dimension to the portraits than I’d get if they are only backlit.
Using Flash for Portrait Photography
The main advantage of using flash for portraits is that you have more control over the amount and style of light. You can use unfiltered flash, or you can diffuse it. You can position your flash, or flashes, to get the look you want. This flexibility provides you with more options. The key is knowing how to manage your flash.
I’ve taught many photographers who are not confident in using Flash. It’s too complicated, they tell me. Including Flash does introduce more choices and another level of tech to manage, but the benefits to your creativity make it worthwhile to learn.
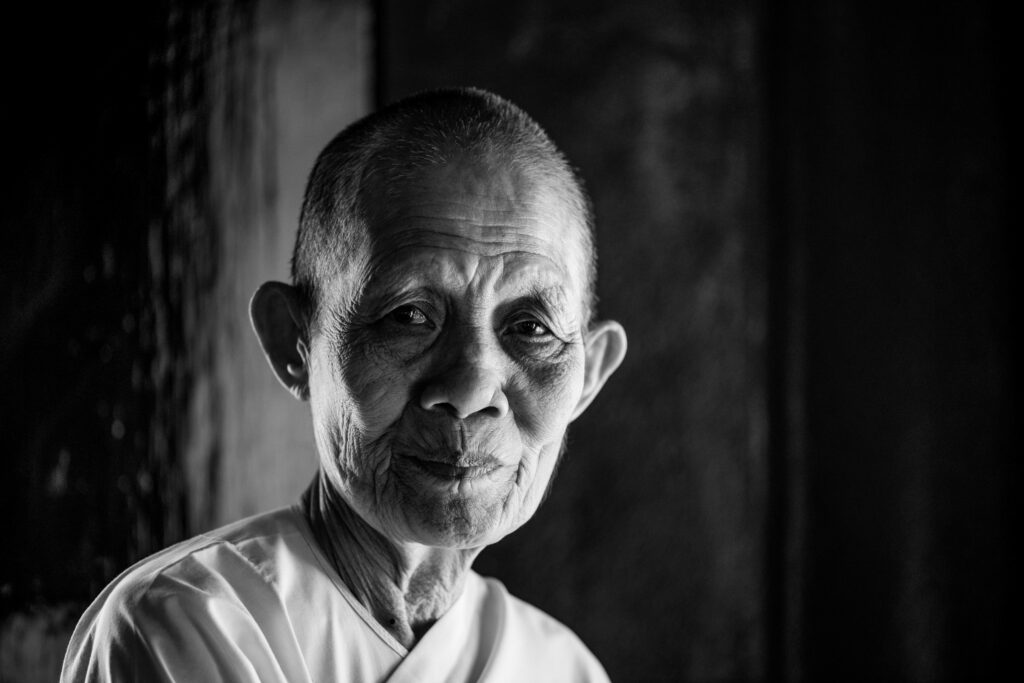
This portrait was taken indoors using only natural light from a large window. Photograph by Kevin Landwer-Johan
I think much discouragement comes when a photographer uses their camera’s pop-up flash or attaches an external flash to the camera’s hot shoe and does not diffuse it. This type of flash use produces ugly, harsh light and often nasty, dark shadows. With a little education, it’s relatively easy to improve the quality of light from a flash, so it truly enhances a portrait.
I rarely mount my flash on the camera. I prefer to place it on a stand or even hold it in my left hand. This allows me to illuminate my subject from one side to the other.
This portrait was made in the same location and has an off-camera, diffused flash added. Photograph by Kevin Landwer-Johan
I also like to filter my flash so it produces a soft light and no harsh shadows. To do this, I use a small umbrella or softbox.
To control the amount of light, I manage my flash manually. Once I have a setting I like, it remains consistent, so I can then better concentrate on the person I am photographing rather than on my gear.
Key Lesson: You’ll enjoy using Flash once you get used to it. Adding flash to a portrait gives you more control of your pictures’ look and feel. But you need to practice and become familiar with it to get the type of light you like. Spend time experimenting with your flash in various settings and different diffusion types. You’ll soon see how it can help you make better portraits.
Using Flash and Natural Light Together
Combining flash with natural light when you take a portrait can produce dynamic results. To do this most effectively, you must balance the light from your flash with the available light.
Combining flash with natural light when you take a portrait can produce dynamic results.
Measure the natural light and adjust your exposure. Then position your flash and set it to provide either a fill light or to be the main illumination for your subject. Control the balance by using your aperture setting or by adjusting the flash settings.
Set to provide the same amount of light as the natural light, a flash will help eliminate shadows cast by the natural light. You can experiment with the flash exposure to make it brighter or darker, depending on the look you want.
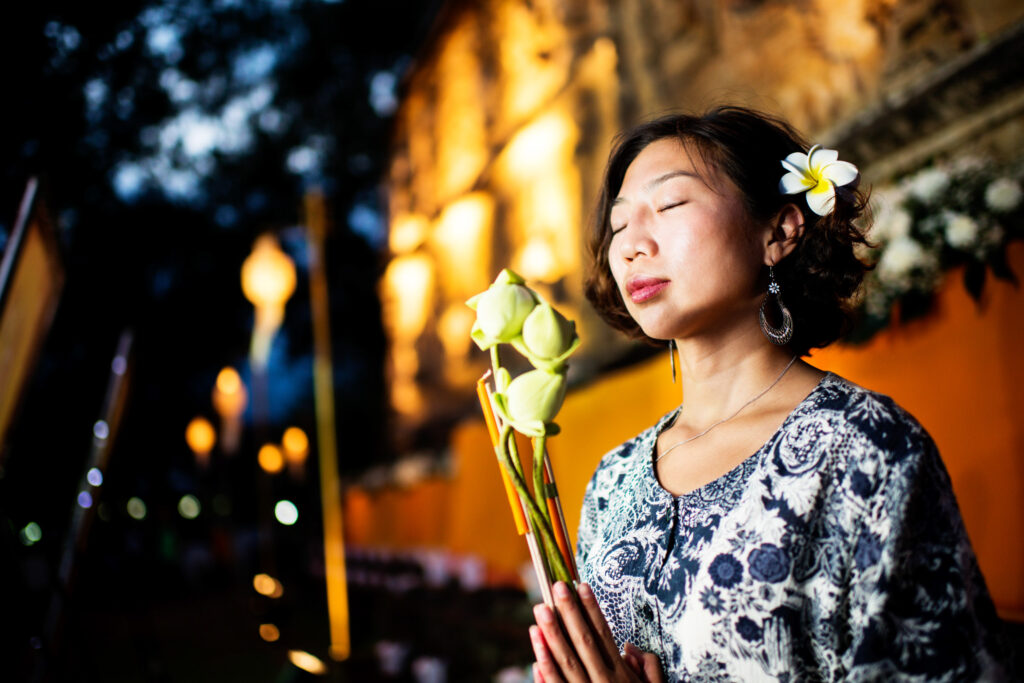
Night portrait with the flash and ambient light balanced. Photograph by Kevin Landwer-Johan
When I’m making street portraits, I will keep my flash exposure balanced with the natural light. I find this makes for a more natural-looking portrait. At other times I’ll either underexpose or overexpose my flash output to create a different mood.
Flash can be most helpful for portrait photography on bright, sunny days. This may seem counterintuitive. Who thinks of using flash in bright sunshine? When you do, the light from the flash is used to dilute the strength of hard shadows cast by the sun. With the right amount of filtered flash, a portrait taken in bright sun can appear to have virtually no shadows.
Using a high ISO setting at night can help you make more interesting use of your flash with any ambient light. The same technique applies. Aim to balance your flash with the ambient light. This will help avoid inky black areas in the background. A slow shutter speed also helps, but when you use one, you must be aware of any movement in your composition and manage it well.
Key Lesson: Set your camera’s exposure and your flash output manually. When you control both manually, you have a lot more flexibility. You will also have the confidence that your flash is going to produce the same amount of light each time it fires.
Tips for Making Portraits With Flash
Take your flash off of the camera.
Off-camera flash often provides much more natural-looking light. By positioning your flash to one side of your subject, you can control the look of the shadows on their face. When you balance flash and ambient light, the results are often much more dynamic.
Diffuse Your Flash
The off-camera flash is diffused and set to balance the exposure with the ambient light in the background. Photograph by Kevin Landwer-Johan
It’s a good idea to add some kind of diffusion to your flash when making portraits. You can simply bounce your flash off the ceiling or use a bounce card. Making use of a small umbrella or softbox produces an even more attractive effect. The soft, diffused light is more flattering for your subject.
Without any diffusion, the light from a flash is always harsh. It produces hot spots on foreheads, cheeks, and chins and can make dark shadows on the background.
Control the Output of Your Flash

The off-camera flash is diffused and set, so the background is a little overexposed. Photograph by Kevin Landwer-Johan
TTL and auto flash settings are a huge help, but they are not always consistent. Practice using manual settings each time you use your Flash. The more you use manual settings, the more confident you’ll become and learn to have complete control over how you illuminate your subjects.
Use a Reflector
With or without flash, using a reflector when taking portraits will take your photos of people to another level. By placing the reflector opposite the main light, you can reduce contrast and make a gentler atmosphere for a portrait.
Balance the flash output with the intensity of the ambient light.
With or without flash, using a reflector when taking portraits will take your photos of people to another level.
When combining flash and natural light, aim for balance. Your flash can be overexposed or underexposed to the natural light, but you need to control it. Too much or too little flash will harm the portrait.
Conclusion

Flash and ambient light balance to obtain natural-looking lighting. Photograph by Kevin Landwer-Johan
Adding flash to a portrait can help make it more dynamic. When used well, the extra light from a flash will add depth and interest.
Experimentation and practice will help you overcome uncertainties about flash. It’s easy to check your camera’s monitor to determine if the flash output is how you want it. Look to see if the flash is too bright or too dark. Is the flash coming from the best angle? Do you need to add another level of diffusion? Look at these things after taking one or two test photos. You’ll soon learn to make adjustments and capture the look and style you want for your portrait photos.
Portrait using natural light balanced with bounced flash. Photograph by Kevin Landwer-Johan
Recommended Reading: If you’d like to learn how to use your flash unit for better photography, grab a copy of Photzy’s Electronic Flash – Parts and Practices premium guide.
Self-Check Quiz:
- What is one thing any portrait depends on?
- What is one positive and one negative aspect of using only natural light for portraits?
- Which accessory can help produce more interesting results when making natural light portraits?
- Why is it important to diffuse light from a flash when making portraits?
What advantages are there in using off-camera flash? - When using flash and natural light, does the flash output have to match the natural light exactly?
- What advantages are there to controlling your flash and camera manually?


