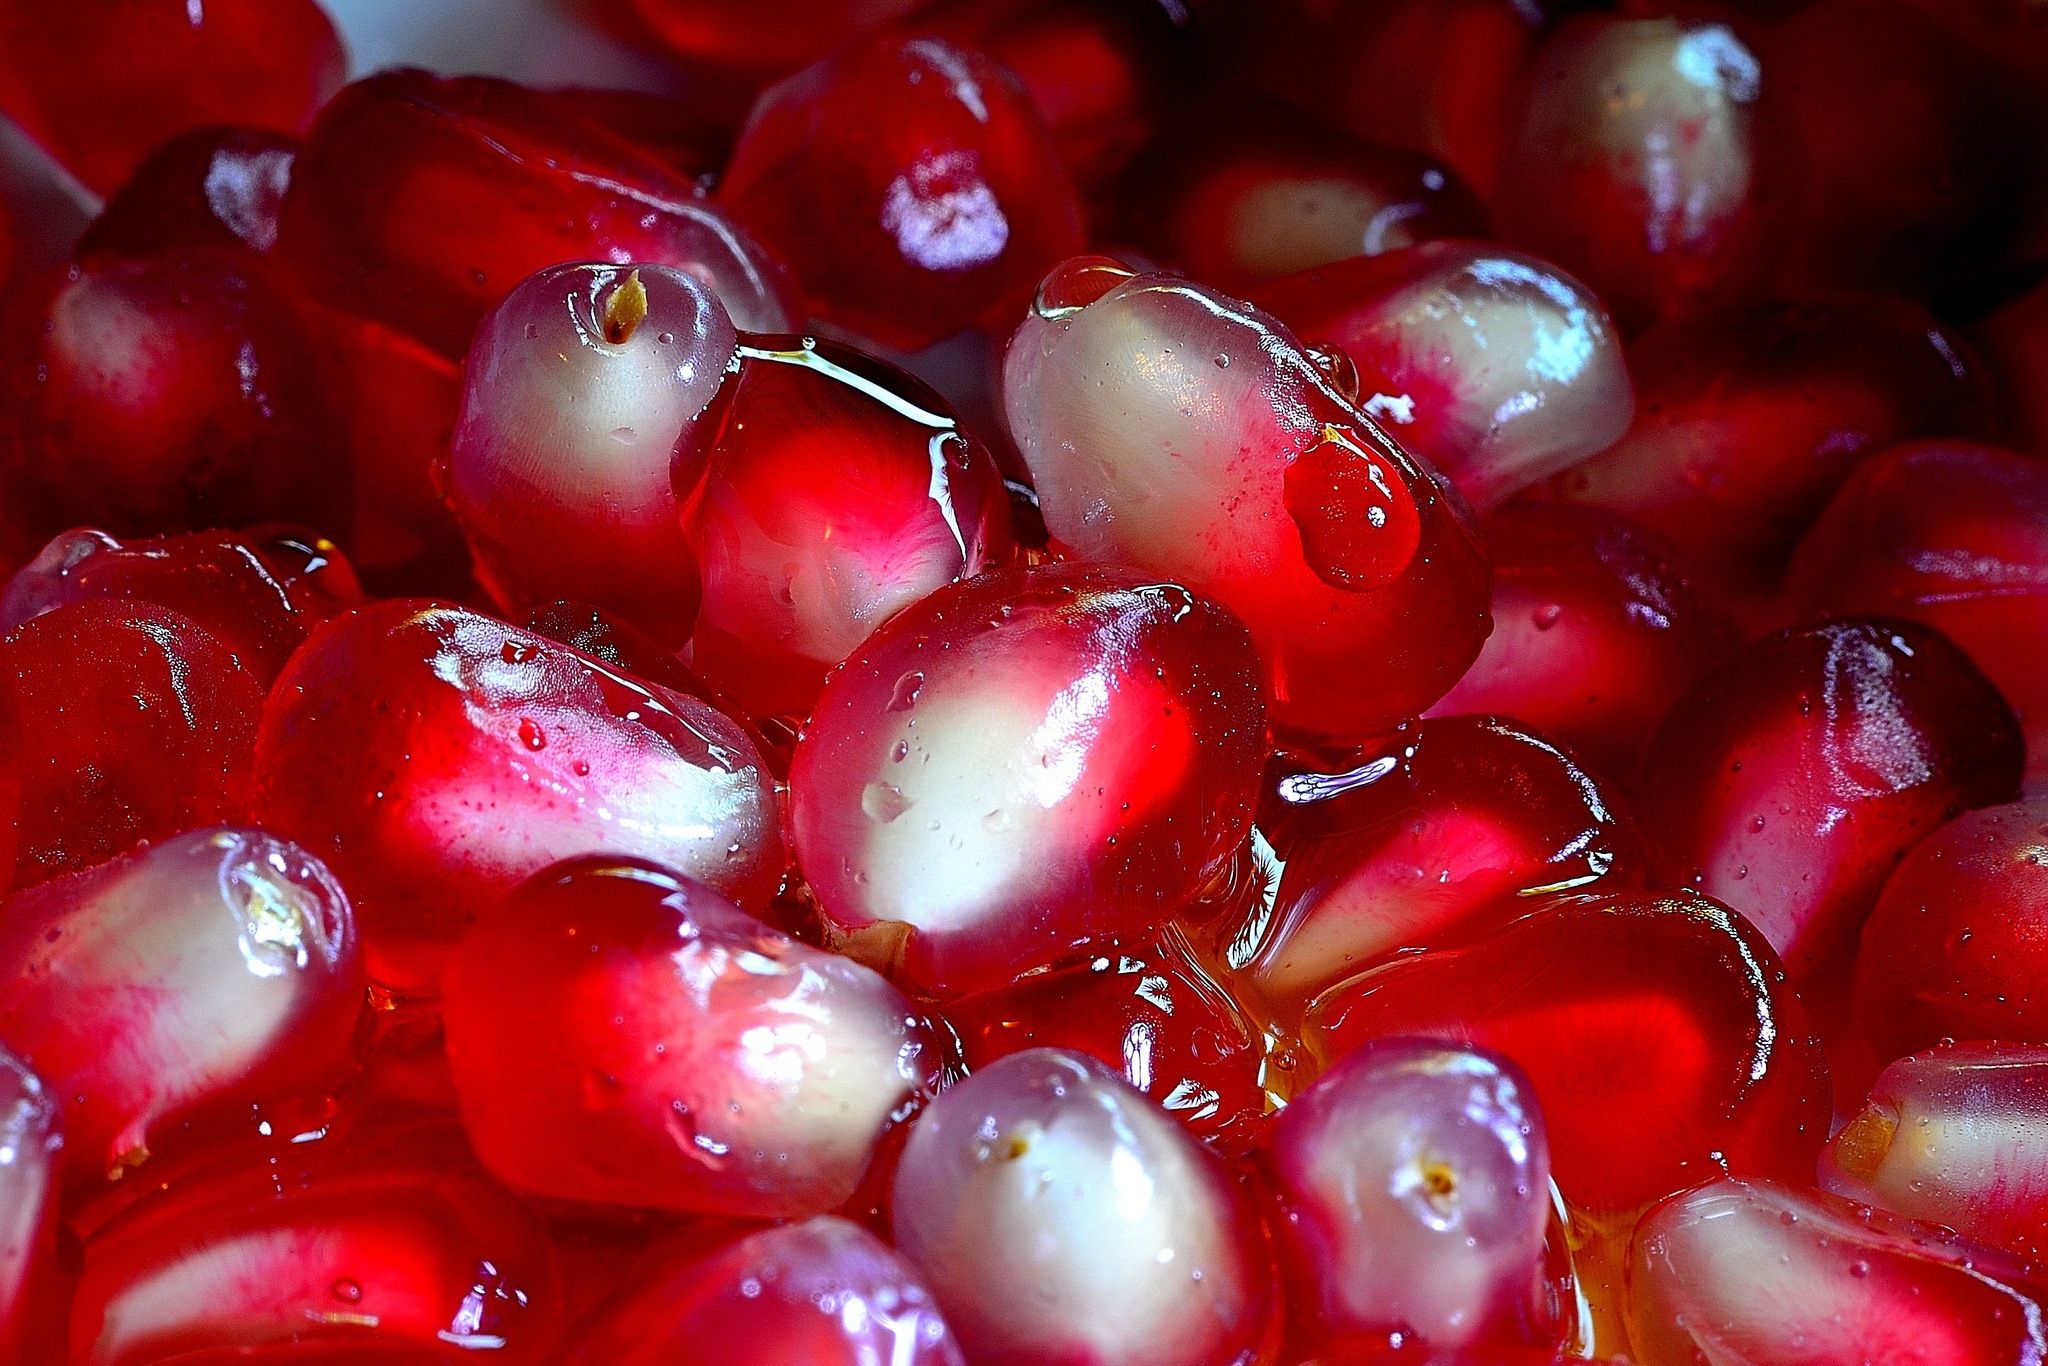
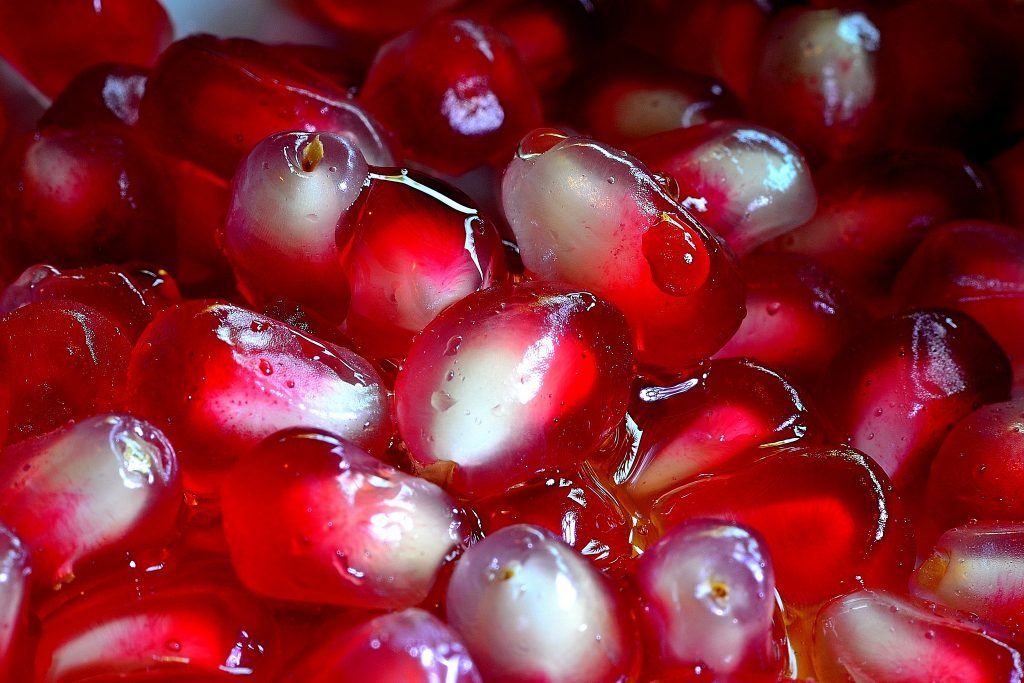
50mm f/1.8 + extension tube. Photo by amir appel
Macro photography is often casually referred to as “close-up” photography. While it’s a safe bet that no one is going to be shunned by the larger photography community for imprecise use of terminology, the classical definition of macro photography is actually a photograph in which the subject is magnified to lifesize or greater (denoted by the ratio 1:1); this carries a bit more impact than a “close-up” photo.
Typically, subjects of macro photography are very small, such as insects or flowers; larger objects may also prove useful as macro photography subjects if, for instance, you want to focus on some very specific, smaller detail of the large object in question. Macro photography can be incredibly fun and rewarding, but it can also be a challenge — and an expensive challenge to boot.
Dedicated macro lenses are often classified across three broad categories:
- Short Macro (30mm-50mm). Short macro lenses are typically lightweight and small in size, obvious advantages in terms of convenience and portability. On the downside, you are faced with a shorter working distance (6 inches/15.24cm or less), meaning you will find it especially difficult — if not impossible — to shoot jittery creatures who might be scared off by the intrusion of you and your camera. Additionally, since a short lens requires you to get physically closer to your subject, you run the risk of blocking out your light source.
- Standard Macro (60mm-105mm). Perhaps the most common focal length, standard macro lenses give you more breathing room when it comes to working distance (anywhere from 9 to 12 inches/22.86 to 30.48cm). A lens in this range may also prove to be economically and functionally more valuable, as many photographers use their standard macro lenses for portrait work as well.
- Tele-Macro (150mm-200mm). These macro lenses are bigger, heavier, and considerably more expensive than their shorter counterparts, but provide you with a very comfortable and versatile working distance of up to 2 feet (60.96cm).
What else can be said about dedicated macro lenses? There is an increase in cost that corresponds with the increase in focal length, and even the shorter macro lenses are a bit more expensive than standard lenses of similar focal length.
"Macro photography can be incredibly fun and rewarding, but it can also be a challenge.."
Don’t let this discourage your entry into the exciting world of macro photography, however. Life tends to present us with options at every turn and such is the case with photography.
If you are not prepared to or able to attain dedicated macro gear, you should give some thoughtful consideration to something known as extension tubes.
What are Extension Tubes?
An extension tube is a deceptively simple looking apparatus; it is nothing more than a hollow cylinder that is placed between the camera body and a lens in order to create more distance between the camera sensor and the lens. This increased distance allows the lens to focus more closely on a subject and enhances the magnification level.
Over time, I have encountered people who mistook extension tubes for teleconverters; these two photographic accessories serve very different purposes. A teleconverter is used to increase the apparent focal length of a lens (a 100mm lens can become a 140mm lens or 200mm lens, for example) via the use of additional optical elements. An extension tube is used to increase the size of an image on the sensor; an extension tube does not contain any glass and, as a result, is an affordable way into macro/close up
photography.
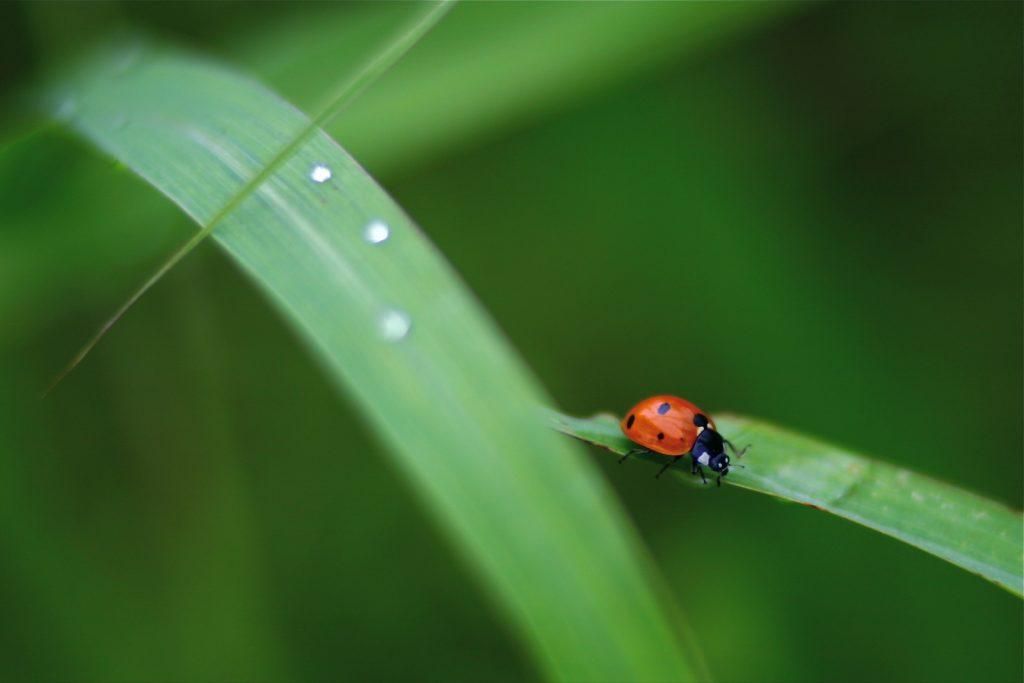
85mm f/1.8 +12mm extension tube. Photo by Robert S. Donovan
How Do Extension Tubes Work?
One shouldn’t get the idea that extension tubes are randomly constructed things; there is indeed a science to the simplicity. Keep in mind that magnification is the key point in macro/close up photography. A true macro image has a magnification of 1x (or 1:1).
With an extension tube, the amount of magnification increases as a function of a lens’ intrinsic (or original) magnification, focal length, and extension distance. So if you were to take a 50mm lens with an intrinsic magnification of 0.15x and add to that a 25mm extension tube, you would end up with a magnification of 0.65x, which will produce an image significantly larger than would be made with the 0.15x magnification of the 50mm alone. And while 0.65x isn’t quite true, macro magnification is much closer than you could get without using an extension tube.
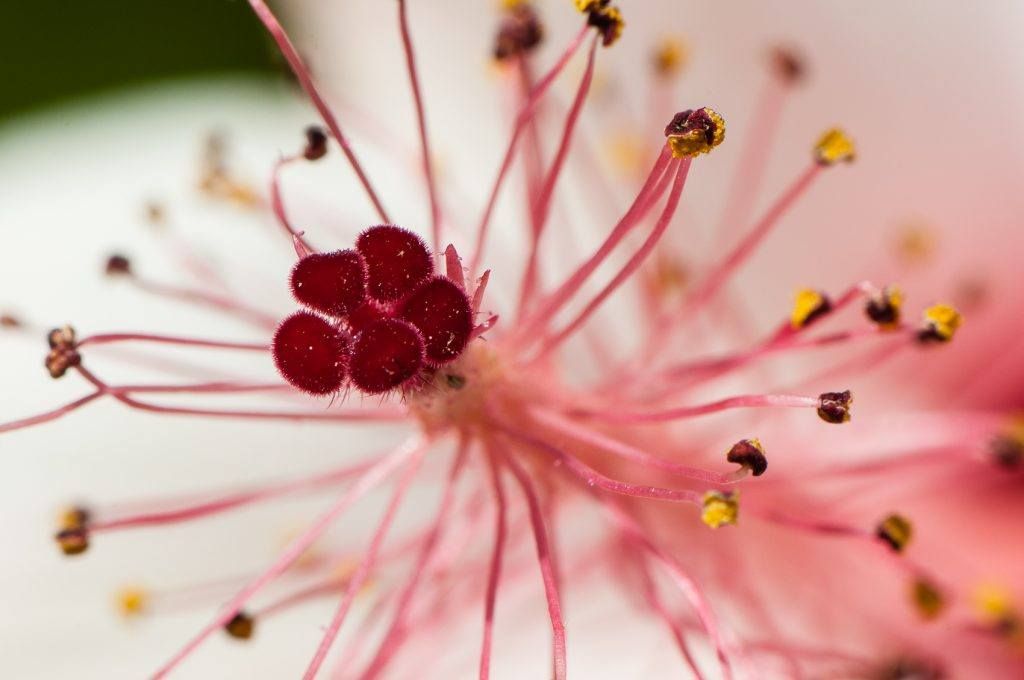
105mm f/2.8 + 3 extension tubes (12mm, 20mm, 36mm). Photo by Anita Ritenour
One more important item of note is minimum focus distance. Using an extension tube can drastically reduce minimum focus distance, requiring you to be quite close to your subject.
The reduction is more significant with shorter/wider focal lengths, and less so with longer lenses.
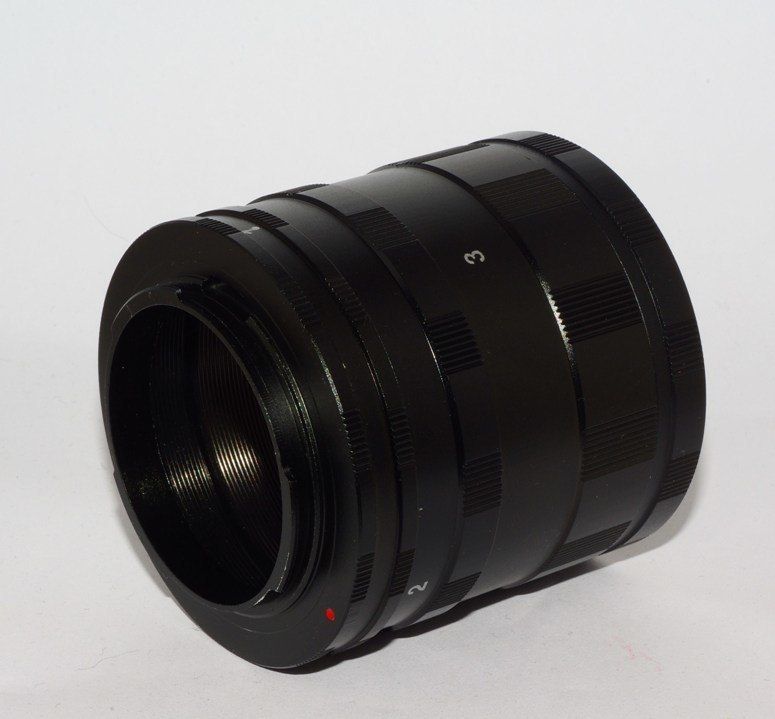
Set of three extension tubes. Photo by Ben Newton
What are Your Options for Purchasing Extension Tubes?
Like most other photography accessories, you have the option of acquiring extension tubes made by one of the major camera manufacturers or one of the many second party manufacturers.
The major brand tubes are typically more sturdily built and allow you to use autofocus; second party tubes don’t usually sport the same build quality and operate only manually.
The other important distinguishing factor is price; while extension tubes from Nikon and Canon will cost approximately $140USD, a generic set of three tubes of various lengths can be had for a cool $30USD.
How to Use Extension Tubes
In all honesty, there really isn’t much of a step-by-step approach for using an extension tube. Attach the tube(s) to your camera, attach your lens to the tube(s), focus, and shoot. The same advice that applies to macro photography will also be relevant here.
Depth of Field
This is always an issue in macro work; you have likely heard how important it is to maximize depth of field, yet your shots always seem to exhibit a shallow depth of field. That’s just kind of how it is with macro photography, so don’t blame yourself. It’s not you, it’s physics. To get the most out of depth of field (to bring as much of your subject as possible into sharp focus), try one of the following:
- Set an aperture of f/16; depending on your lens you may be able to go as high as f/22, but beware of nasty image-degrading diffraction. Experiment with your lens to determine at what f-stop diffraction sets in and you’ll know how small of an aperture you can safely set.
- Align the elements of your subject that you want in focus so that they are parallel with the camera’s image sensor.
- Try focus stacking. This technique can increase depth of field by combining (stacking) multiple exposures with different focal points. You’ll have to spend some time with Photoshop, but you may find the results are worth the effort.
- Embrace shallow depth of field. Use it to your advantage — it can give an image a 3D-like quality.
"Depth of field is always an issue in macro work"
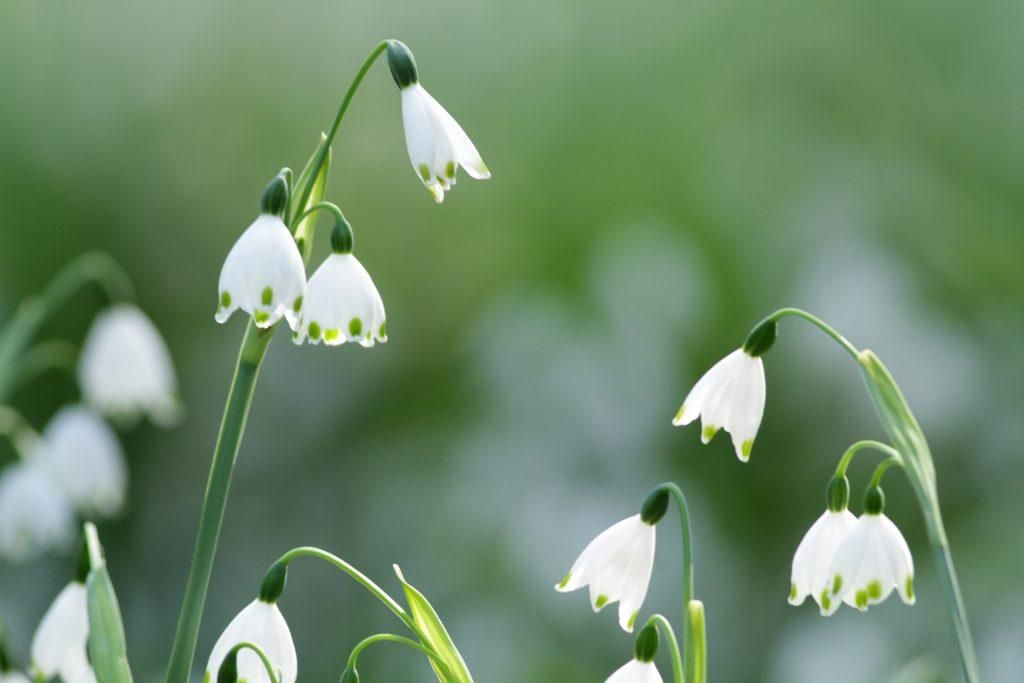
400mm f/5.6 + 12mm extension tube. Photo by Takashi Hososhima
Focus
When doing macro photography, you can’t simply focus on some random part of your subject. The issues related to depth of field and sharpness discussed above make it essential that you not only nail focus (using manual focus), but also focus on the part of your subject that you want to be the primary point of interest.
When you take a portrait of a person you focus on the eyes, right? Many of your macro subjects may not have eyes, but you can still think of them as portrait subjects and call to attention their most inviting features.
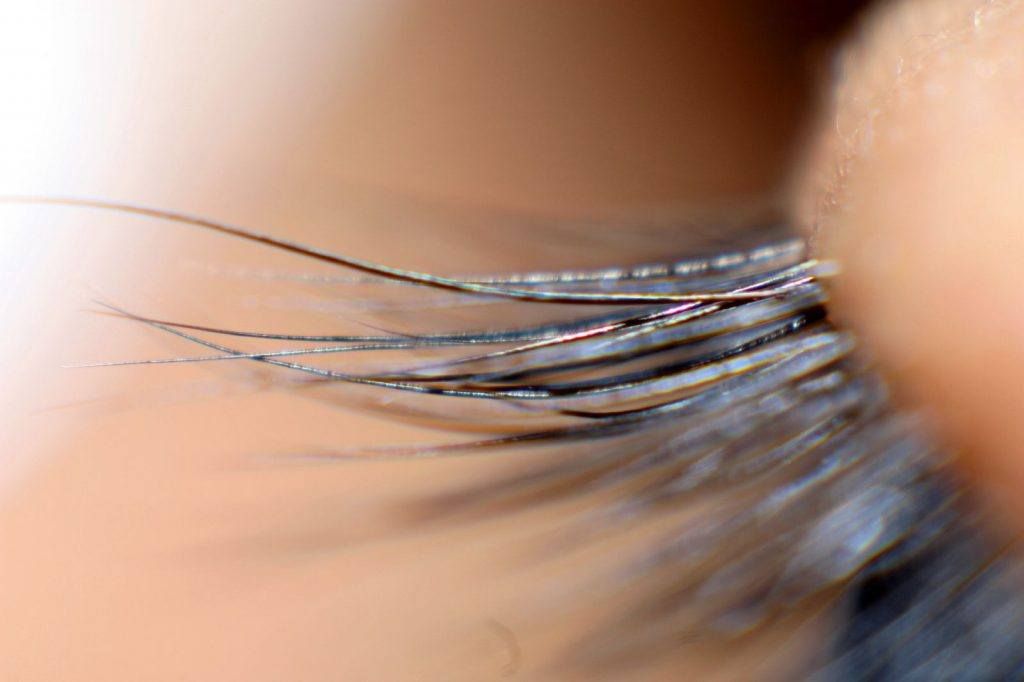
55mm f/2 + 68mm extension tube. Photo by Joey (Lens Wide-Open Photography)
Lighting
If there’s not adequate ambient light you will have to resort to using flash. There are photographers who view using flash in the field to be as much of a drag as using a tripod, but sometimes it’s the only answer. Macro photography demands good lighting; after all, you’re typically working with small apertures, fast shutter speeds (this is especially true if you’re photographing insects; using flash will also aid in freezing motion), and tiny subjects. So do whatever it takes to properly illuminate your subject, even if that means using a flash.
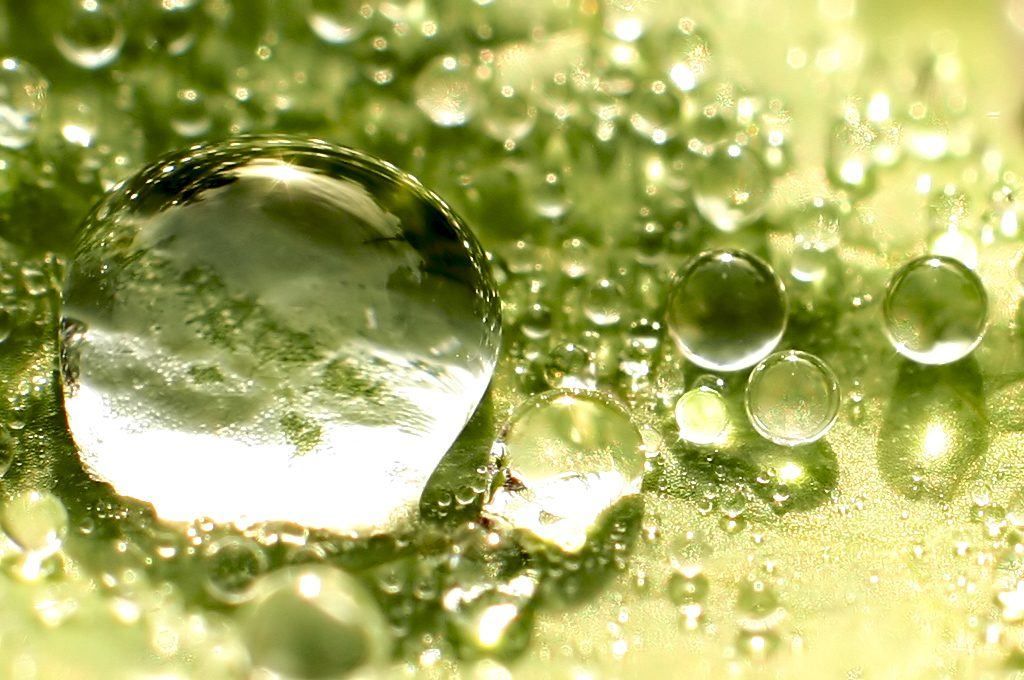
18-55mm f/3.5-5.6 + 25mm extension tube. Photo by Brent 2.0
As you can see, close up photography — something that satisfactorily approximates true macro photography — is not out of anyone’s reach, no matter your budget. Extension tubes represent an opportunity not only to engage in a new genre of photography on the cheap, but you can also use it as a gauge to determine if you want to invest more time and money into this particular type of photography.


