Presets, presets, presets! You’ve heard about them, you’ve read about them, but what are they? What can development presets do for you and your post processing? How do you make them and how do you make the best use of presets that you’ve purchased?
These are all questions that are about to be answered and after we’re through, you’re going to know everything that you need to get a headstart on using develop presets in Adobe Lightroom. We’re going to show you the in’s and out’s of creating and saving develop presets and give you a better understanding of what presets can and can’t do for your workflow.
That’s enough of an introduction from me. Let’s dive right into the wonderfully creative world of Lightroom develop presets!
What Exactly Are Develop Presets?
Brace yourself, because an awesome analogy is about to be made. Develop presets are like little boxes of instant photo processing mix. They pack in all sorts of edits and adjustments into one easy to click package that can accomplish a lot of work without a lot of effort. See, I told you that analogy was awesome….
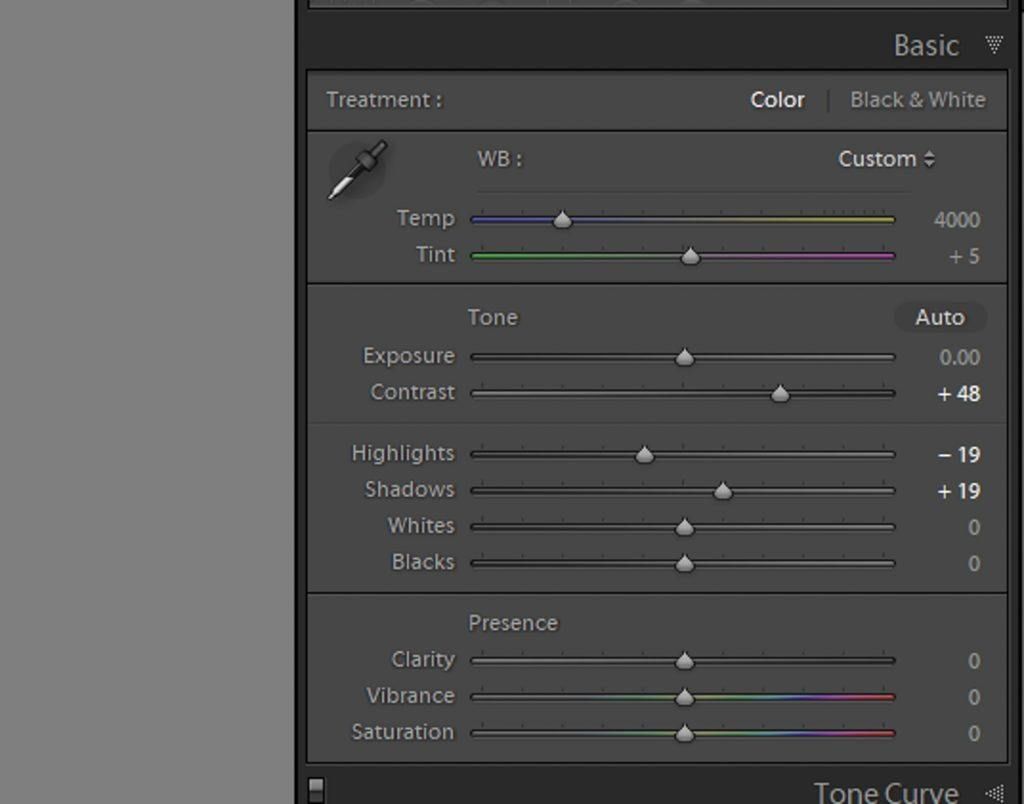
Presets essentially take multiple adjustments and bundle them together. These adjustments can then be instantly applied to an image or images without the need to manually adjust each slider every time you want to process a photo. Presets can save you loads of time during your post processing sessions.
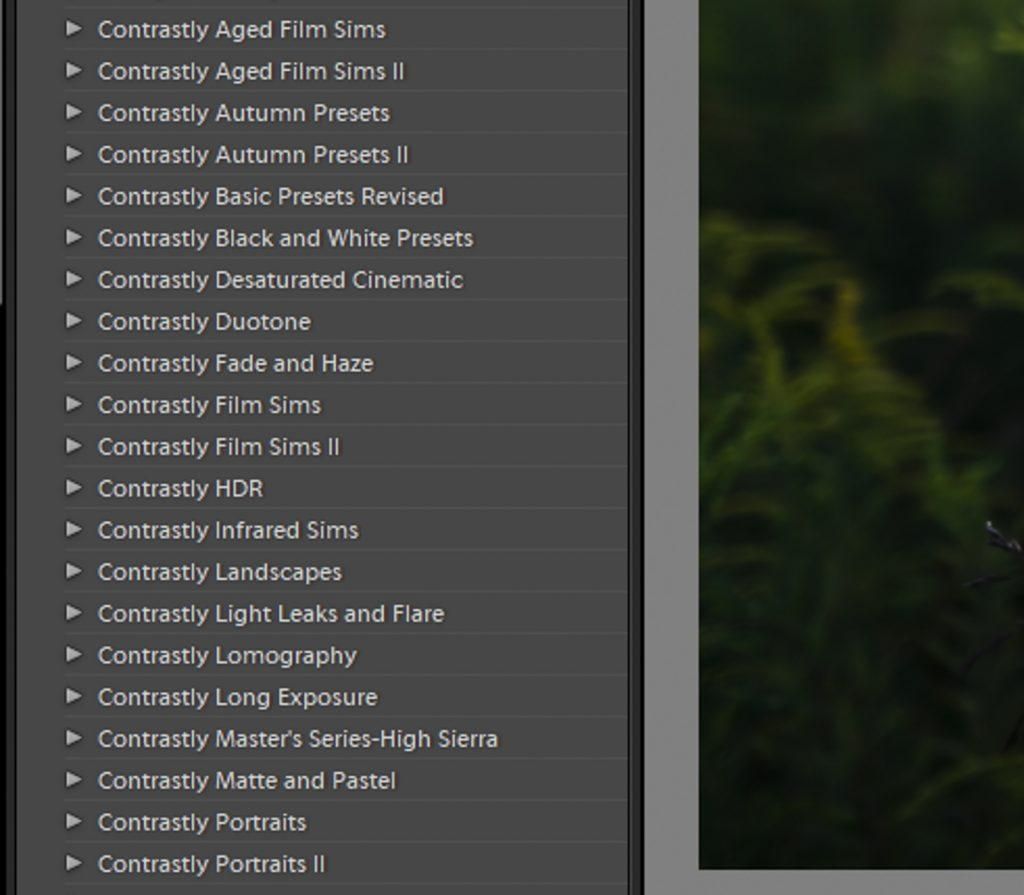
Do you find yourself editing the same type of photo over and over again? Wedding photographers, portrait shooters, landscape and wilderness photogs, they all have a commonly occurring images that make up their main body of work. If you fall into one those categories it might be a great idea to begin incorporating develop presets into your editing if you haven’t already.
Not only will they save you time, but presets can also help to achieve a higher level of reproducibility with your images. Since presets allow you to save combinations of edits your already know work well you will then be able to produce higher grade photos which are consistently in line with your own creative styling.
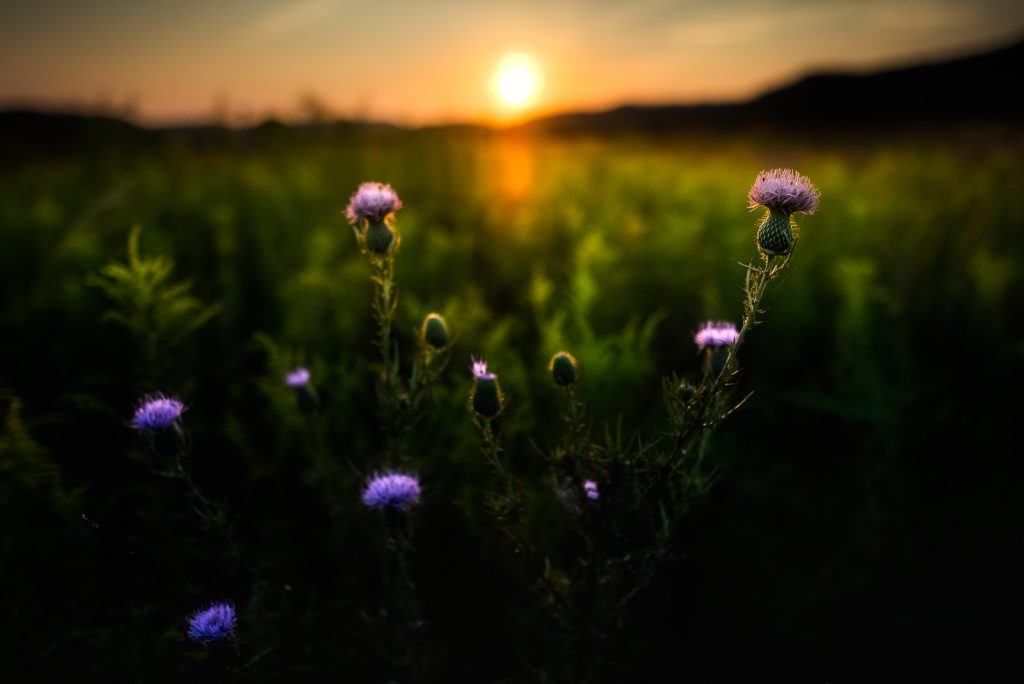
Speaking of creative style, let me show you just how easy it is to make and archive your own develop presets right in Lightroom!
How to Make Your Own Develop Presets
Making your very own custom develop presets in Lightroom is wonderfully easy and once saved can grant you ultimate power in your editing… well, maybe not something that dramatic. Still, once you start using presets a whole new world of easy development will open up to you.
To start, first we’ll need to make some edits to an image. Like this.
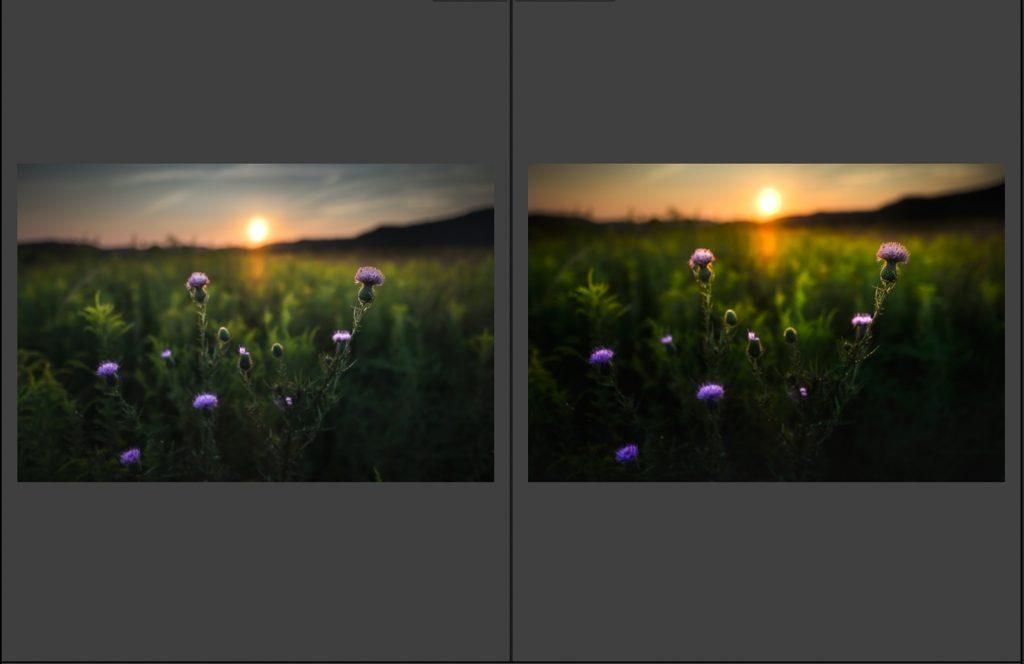
Let’s say that we really like what we’ve achieved here. We like it so much that it’s fairly certain the look of the photo is something that you we will want to do it again and again. To save ourselves a lot of time and effort later, we can save these edits into a develop preset so we can precisely apply the same edits over and over again to other similar images.
The easiest way to do this is by using the keyboard shortcut “Ctrl > Shift > N” (Cmd > Shift > N for Mac). Or, if you simply must shun the use of keyboard shortcuts, select “New Preset” from the Develop tab at the top left corner of Lightroom.
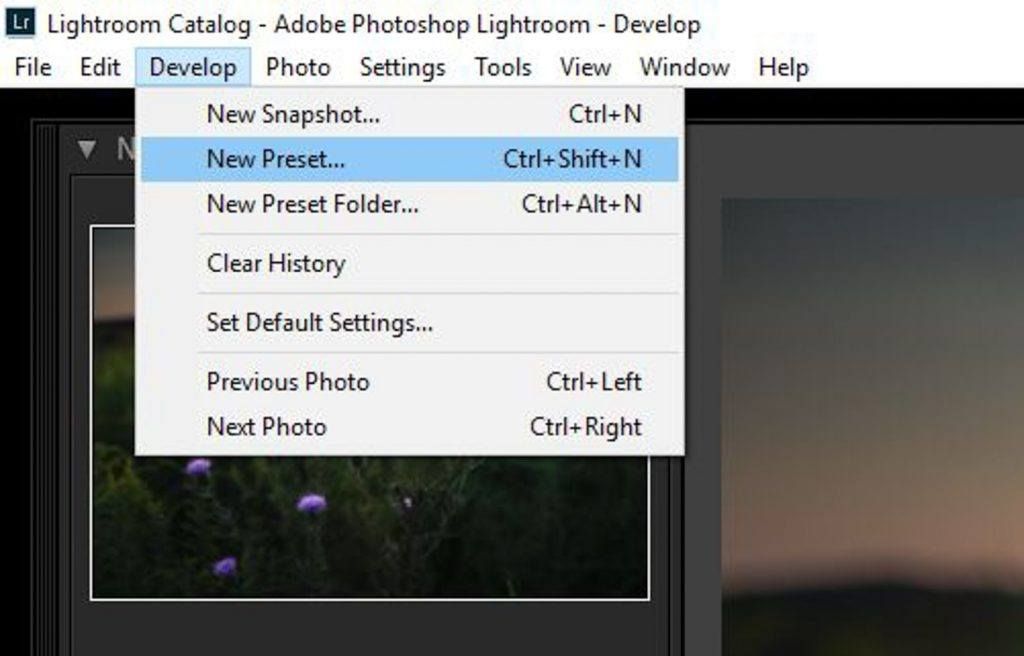
This will bring up the develop preset dialog box. It’s here where you will make all your selection on how to name, save, and store your brand new develop preset.
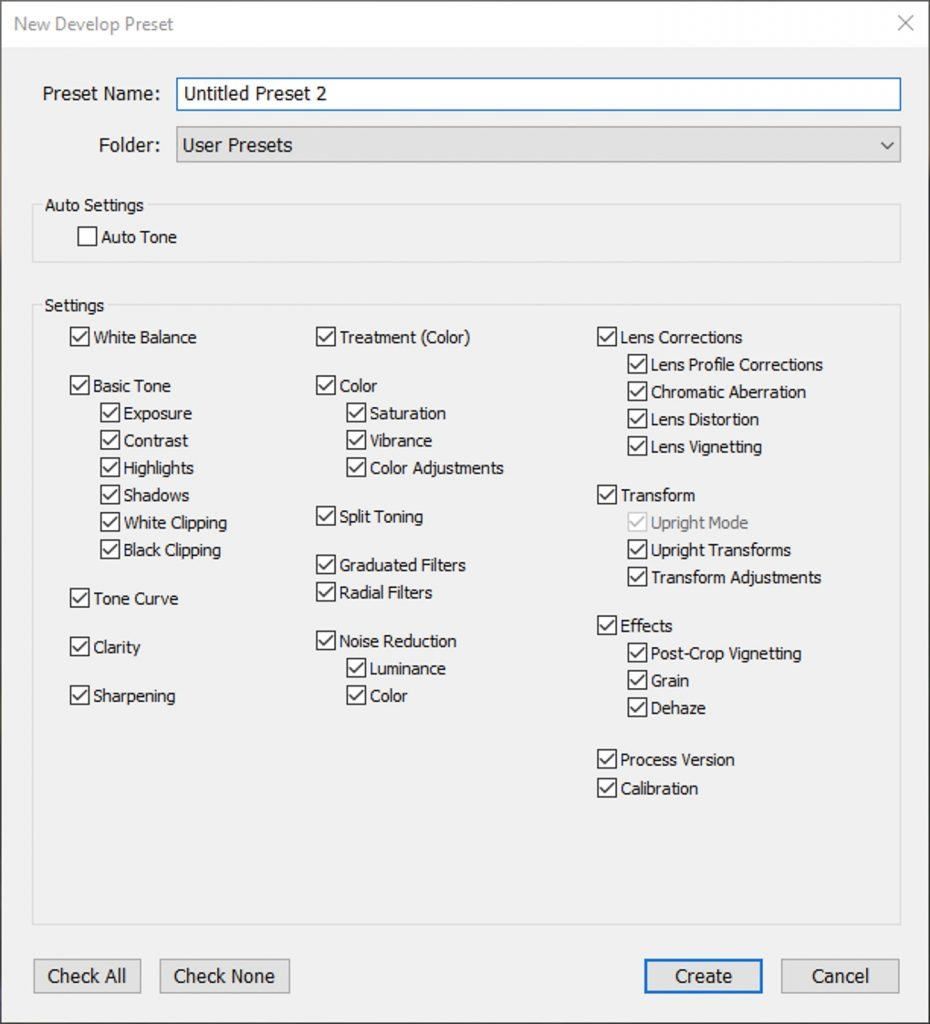
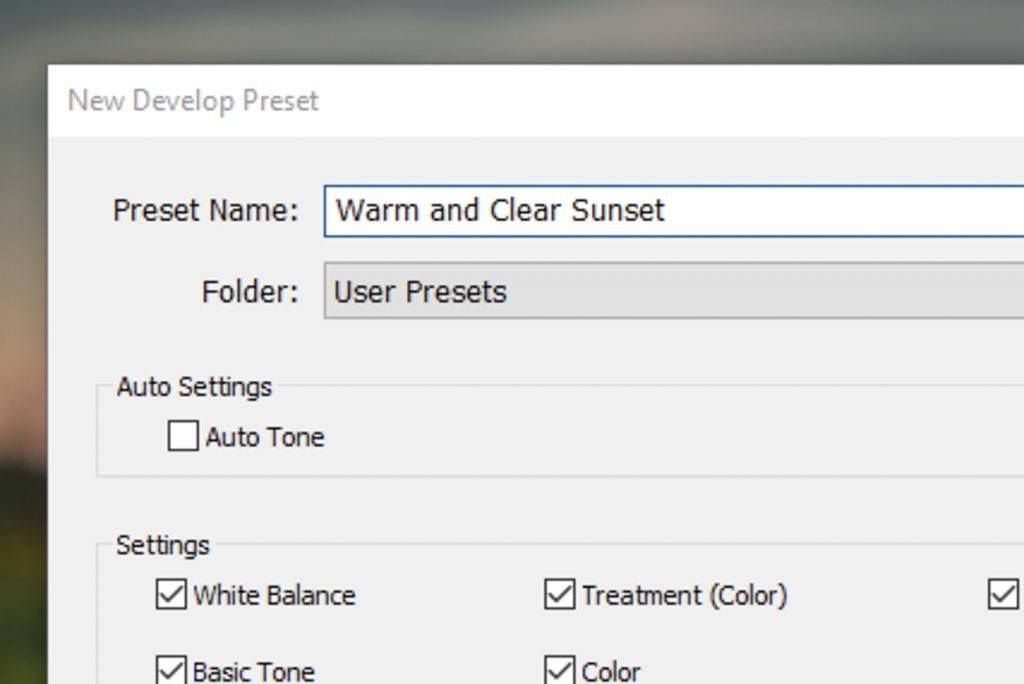
From here, it’s time to name your preset. It’s always a good idea to make sure that you name your new develop presets in a way that makes them easy to identify later. Going even further, it can also be useful to include within the title what edits the preset will apply.
In our case, we’re going to name this preset “Warm and Clear Sunset’ since the preset warms the colors in the photo while adding clarity and sharpness. Simply type the name into the title box at the top.
Now that we’ve got a name for our newly birthed preset it’s time to decide where to store it in Lightroom. To do this, we either need to select a pre existing preset folder or make a new one. To add a little more knowledge to your preset arsenal, we’ll quickly create a new folder for this preset and any similar presets we mint in the future. To create a new preset folder, click the folder dropdown just and click ‘New preset folder’.
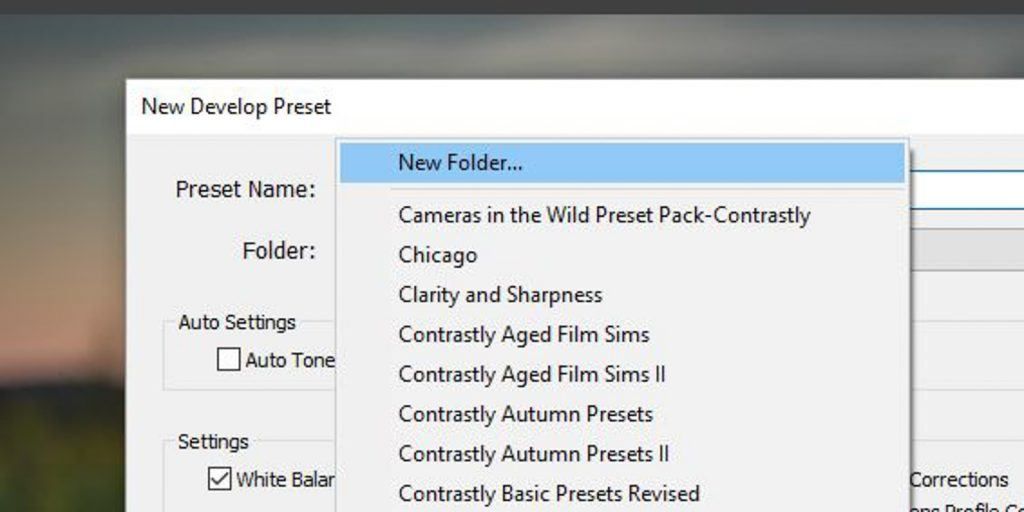
Enter the name of the new folder. Again, it’s a good practice to name the folder in a way that instantly tells you what type of presets are contained therein. Let’s name this folder something incredibly fancy and extremely cool… like “Warm Sunsets”.*
*Friendly sarcasm supplied free of charge.
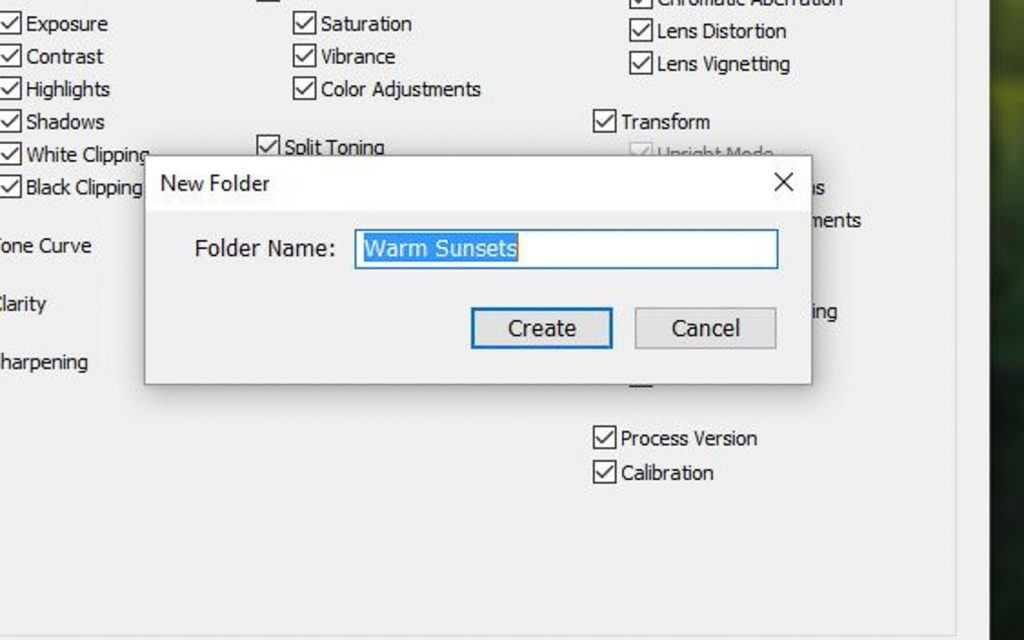
After entering the new folder name, click “Create”.
All that’s left to do now is choose which edits we’ve made will be included in this preset. I highly recommend clicking ‘uncheck all’ and then adding in ONLY the boxes that pertain to the edits you used in this particular preset.
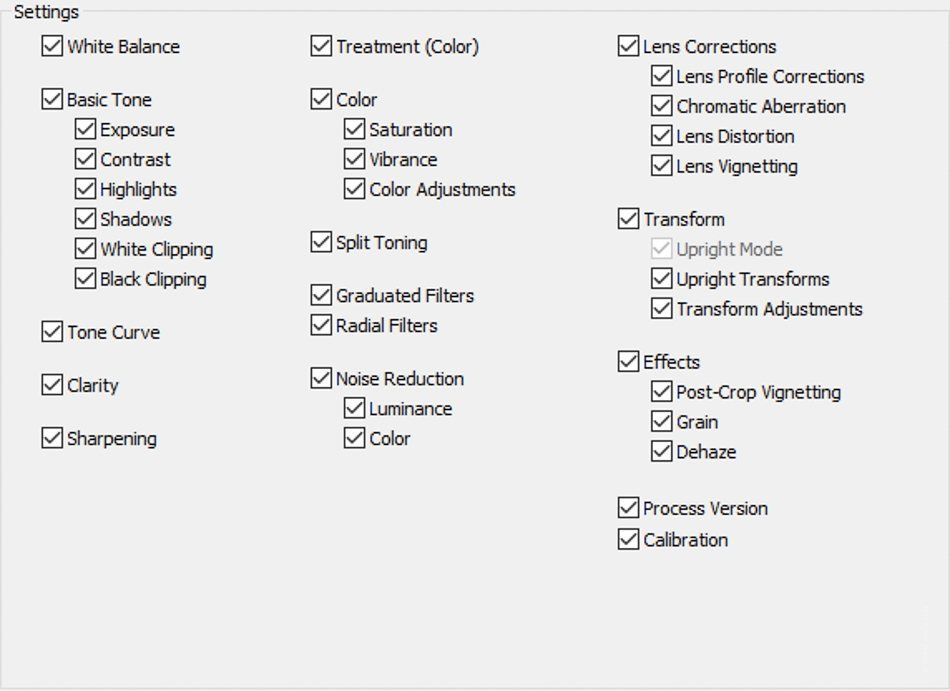
You might be thinking, “Why not just check all the boxes?” Well, you can. But, a smarter way to make presets is to only check the boxes that relate to the edits made and here’s why. You see, when you save a preset Lightroom will save every value of every adjustment slider based on what boxes you select.
This means that even sliders with a ‘0’ value will be saved resulting in those sliders being set to ‘0’ when you apply the preset. This can cause a major editing headache because if you’ve already made any adjustments to an image prior to using a preset, like maybe a +1 exposure increase, the exposure slider will be set to whatever value that was saved in the preset… even if it was ‘0’.
The values saved in the preset will override any edits already present in the image if you leave that particular box selected.
How to Download Develop Presets
The chances are that if you’re reading this you’ve acquired or are about to acquire some develop presets. Allow me to be the first to congratulate you because you’re post processing is likely about to take a monumental upswing! But how do you put those brand new presets to good use?
Well, it’s incredibly easy to install into Lightroom presets you’ve downloaded from an external source. This external source could be pro-grade presets you’ve purchased or just some cool develop settings a buddy has been kind enough to share. Whatever the case may be, I’ll walk you through exactly how to take those downloaded presets and get them running in Lightroom. It’s all super simple and hassle-free!
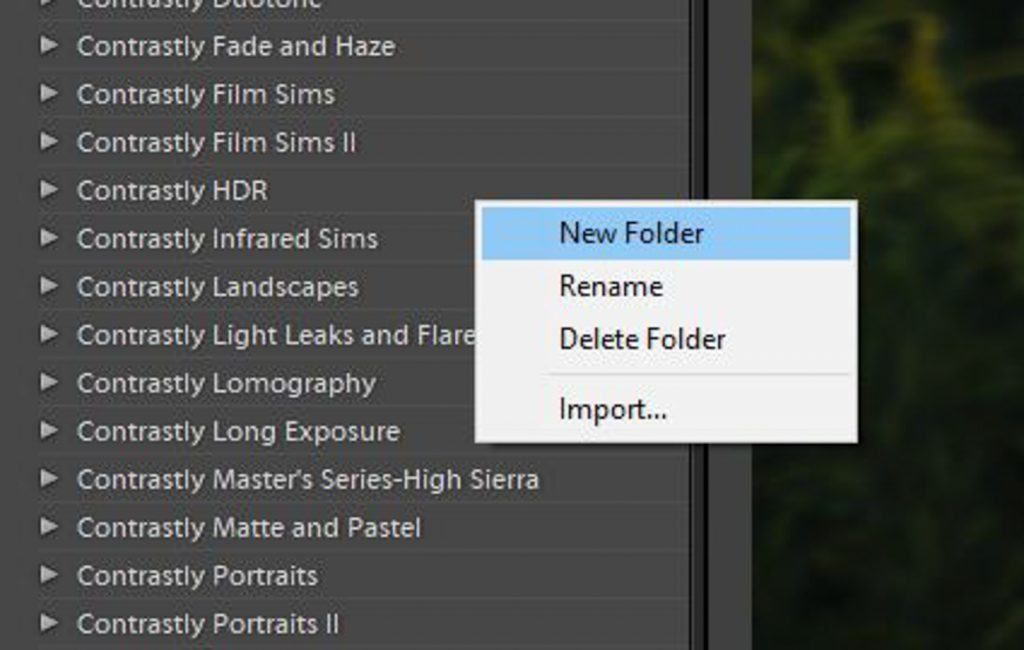
To get started, we’ll assume you’ve already downloaded your presets to some place on your computer. It doesn’t really matter where you’ve downloaded them just as long as you can locate them. The first step is to create a nice and cozy new folder where we can install the downloaded presets. Right click anywhere in the presets panel and select “New Folder”.
Next, just as we did when we made a folder for our homemade presets, name the new folder something appropriate. I’ve named them after our imaginary friend, Ted. Click “Create”.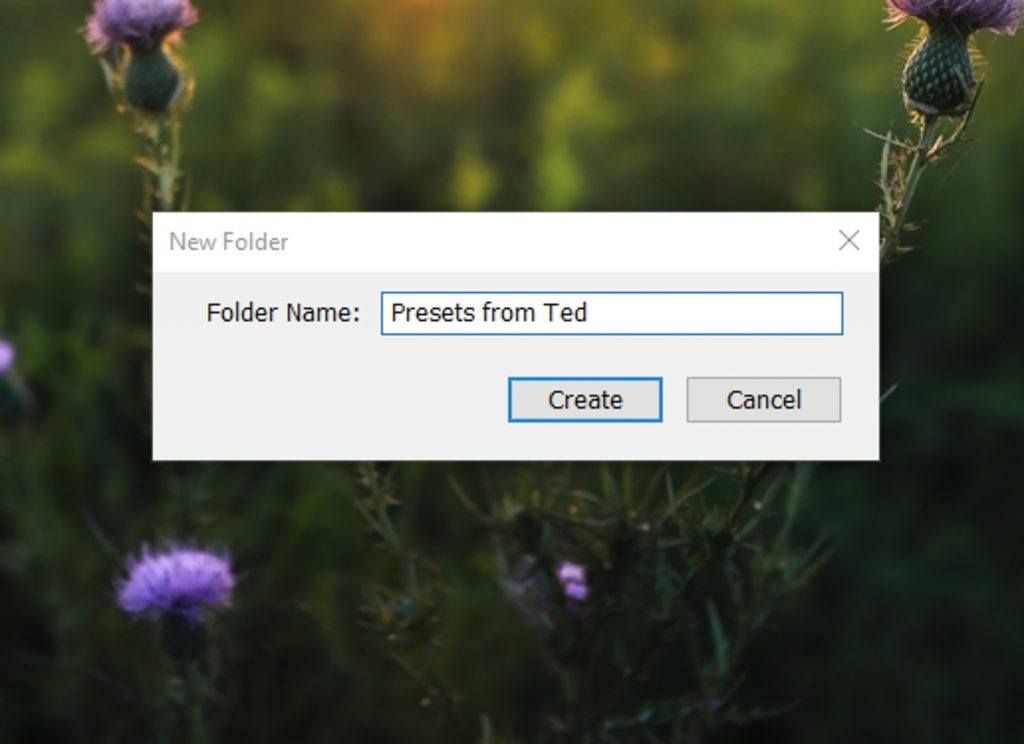
You’re almost finished! The last step is the most important. Right click on the new folder you’ve just created and select “Import”.
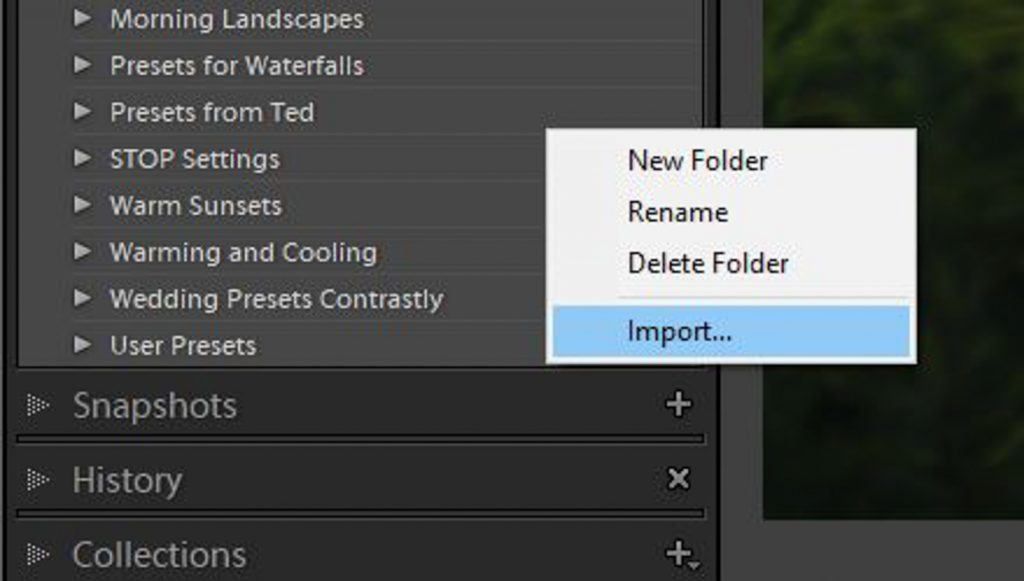
Locate the downloaded presets on your computer, select them, and click “Import”.
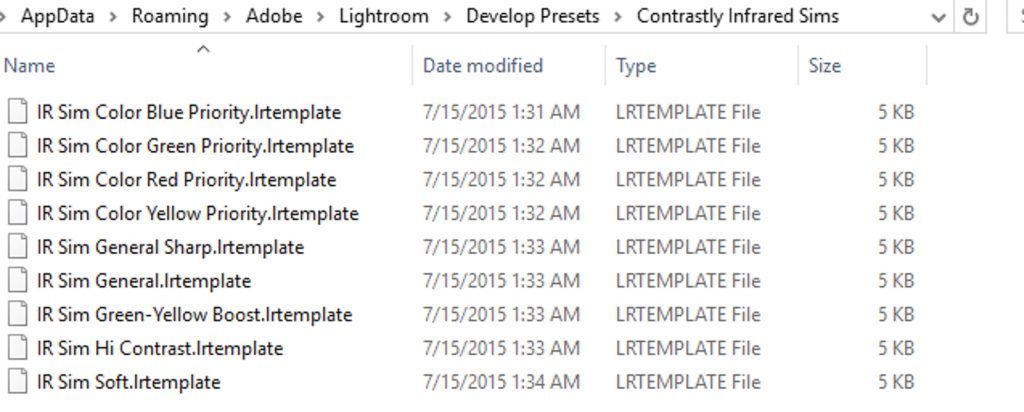
Remember that Adobe Lightroom uses the file extension “.lrtemplate”.

This will install those presets into the folder you created for them in Lightroom ready to go!
What Presets Are Not…
It seems like with all the awesome information there is out there about develop presets in Lightroom that sometimes we forget that presets, as great as they are, will not (usually) be a “one and done” method of post processing your photos.
What I mean is that you will almost always needs to adjust your image in some way after you apply your preset. This is not to say that presets won’t give you an amazing advantage when editing. Think of presets as a strong starting point for your processing that will allow you to perform the bulk adjustments quickly.
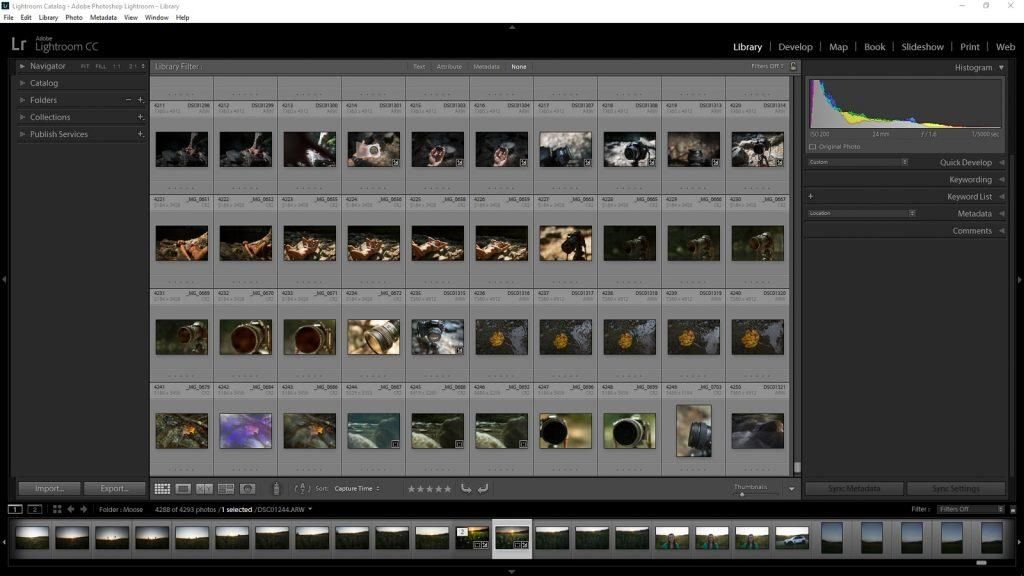
There will be glorious times when your selected preset will make your image look exactly the way you want without needed any further tweaks. The rest of the time, you should go further and make each and every photo you process your own, with your own personal creative vision reflected.
Final Thoughts on Presets
Getting started with develop presets in Lightroom is extremely easy and can yield results for your work that you never thought possible. Presets save you time by bottling all your favorite edits to again and again. You can also use professional grade presets that you’ve purchased just as easily as you can make your own. Not only can you use these external presets to give your images a predisposed look, but these presets can also jumpstart your own creativity.
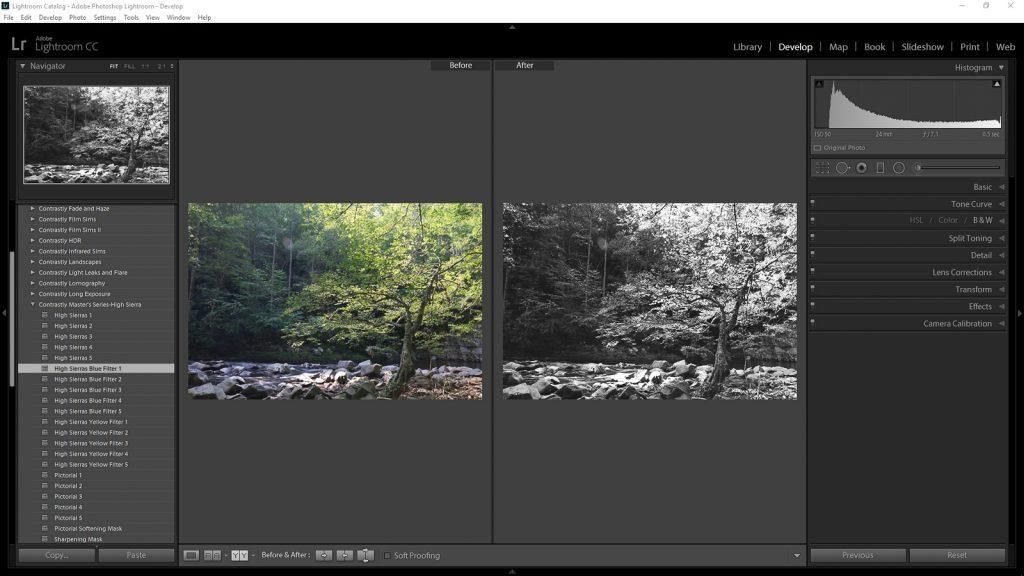
And remember, presets are seldom an endpoint but rather they are a starting point. Develop presets give you a great editing platform but they are not and should not be considered as a complete alternative to taking control of your own photos.
As a developer of Lightroom presets, allow me to personally encourage you to take the edits found in presets and tailor them to your own specific needs. After all, they are your photos and no one else’s.
________________________________________
This article was written by award-winning photographer and Lightroom expert, Adam Welch from Contrastly. Contrastly is a producer of premium Lightroom presets & Photoshop actions, eBooks, resources for enthusiast photographers, as well as thought-provoking articles about the techniques that make great photographers.

