


When setting up to take a portrait, it can be easy to get carried away by plugging in too many lights. You can make fabulous portrait photographs with one light and one reflector. You can take a portrait with ambient light, but you have greater flexibility when you have control over your primary light source.
I prefer using very simple, stripped-down lighting setups for portraits. The less gear I have to mess about with to set up, the more time and energy I can give my subject. Being able to connect well with the people you photograph is just as important as lighting them well. With too many lights, you run the risk of only connecting your power cables and flash sync, but not connecting with your subjects.
In this guide, I’ll focus on three simple light/reflector combinations that will provide you with a good foundation to experiment with. You can use each of the three methods for portrait lighting both indoors and outdoors.
Recommended Reading: After learning about camera settings, improve your photographs by understanding how light works! Grab a copy of Photzy’s premium guide: Understanding Light Book One.
Be Prepared
Most people are not used to having their portrait taken by a photographer using lights. It can spook some people and they might feel uneasy. This is why it pays to have all the equipment you need set up and ready before your portrait session begins.
Organizing your gear in the space where you’ll make the portraits makes the whole process more streamlined. You’ll also look more professional! The more confident you are with your lighting setup, the better portraits you’ll be able to capture.

Photograph by Kevin Landwer-Johan
Before you start, test your light or flash so that it syncs with your camera. Check that your light metering is good and your camera’s settings are providing good exposure.
Look at the background. What’s behind where you’ll position your subject? Is it distracting or does it add to the scene? What is the light balance between the ambient light affecting the background and the light illuminating your subject? If there’s a large difference, the background will be darker or brighter than your subject. Is this what you want?
Before you start, test your light or flash so that it syncs with your camera. Check that your light metering is good and your camera’s settings are providing good exposure.
You need an assistant when using a reflector. I’ve never found an easy way to manage light and a reflector on my own. Even with a stand, getting a reflector in the right position is challenging. With an assistant who understands a reflector’s role, it’s possible to make a significant difference in how the light looks on a portrait subject.
Key Lesson: Being prepared in advance means you can concentrate on communicating well with your subject. Lighting a portrait well is important, but it’s also very important to connect with the people you make portraits of.
Three Portrait Lighting Methods With One Light and One Reflector
Here are outlines for three lighting setups I like to use when making portraits. Use them as a guide to learning to use the most basic lighting gear for taking portraits.
Standard Portrait Lighting
For a fairly standard lighting setup, you’ll have your light set up at about a 45° angle to your subject and slightly in front. This illuminates most of a face and leaves some shadow on the side opposite the light. You can then place your reflector on the other side to bounce a little more light and soften the shadow.
Exactly how you position your light affects where the shadows form. The closer your light is to your subject, the softer the shadows are. Pulling your light back will create harder-edged shadows. By having your light at the same height as your subject’s face, the shadow from their nose falls across their cheek. Placing it higher or lower changes where the shadow appears.
Where you place your reflector affects the density of the shadows. If you use a hard light and place the reflector close to your subject, this will reduce the contrast, but the shadow will keep its hard edge. Moving the reflector further away from your subject causes less of a reduction in contrast.

Illustration by Kevin Landwer-Johan
Key Lesson: This setup is used to create portrait lighting styles such as Rembrandt lighting, Split lighting, and Loop lighting, among others. The nuances of each depend on the precise placement of your light and reflector. The balance between the ambient light and your added light determines how bright or dark the background is.
Butterfly Lighting
This method takes its name from the shape of the shadow appearing under the subject’s nose. The main light is positioned above your subject and slightly in front of them, facing down at about 45°.
The higher the light is, the lower the shadow falls. If you place the light too high, then the shadow will not make a nice butterfly shape. Likewise, if your light is too far in front of your subject, then the shadow effect will be different.
The higher the light is, the lower the shadow falls. If you place the light too high, then the shadow will not make a nice butterfly shape.
Adding a reflector below your subject also influences the look of the shadow. With a silver or gold reflector close to your subject’s face, the shadow can be eliminated. With a white reflector placed lower, the shadows are more intense, but not as dense as when there’s no reflector.
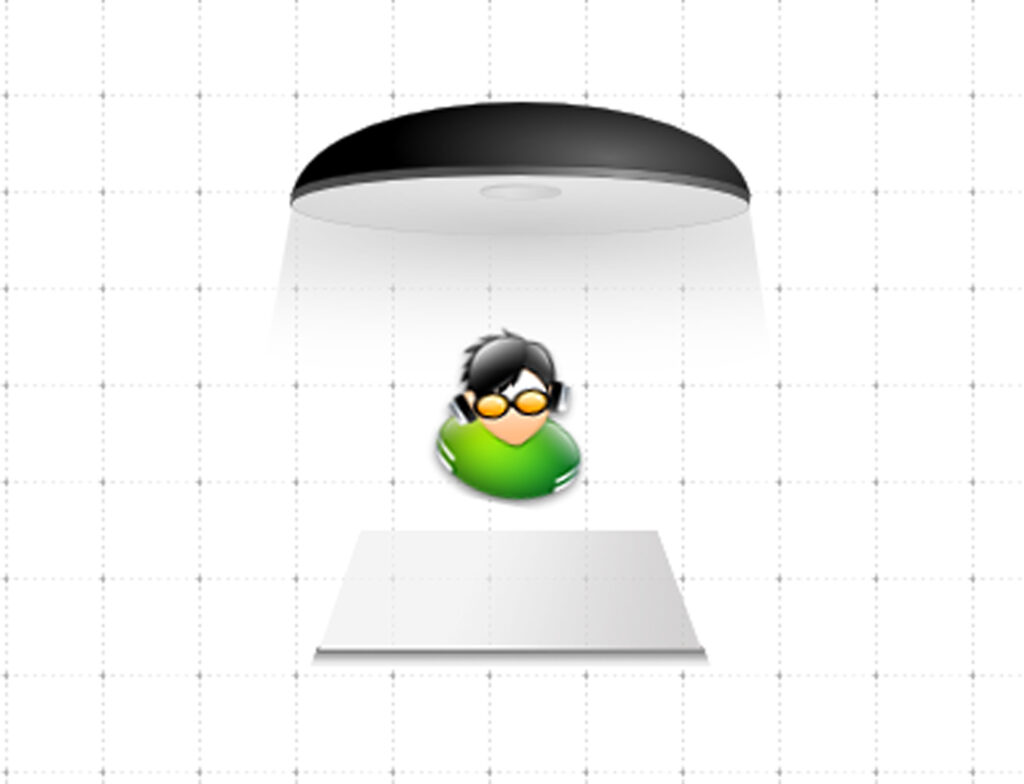
Illustration by Kevin Landwer-Johan
Key Lesson: With a large light that’s well diffused, or if your reflectors bounce a lot of light back into your subject, you may not even see many shadows. This is why it is important to arrange your lighting setup and test it before starting your portrait session.
Bounce Lighting
This is a technique that I often use when I only have my flash and a reflector. Instead of pointing my flash at my subject, I point it at the reflector and bounce the light into my subject’s face. This produces a much softer, more flattering light than a direct flash. It also provides me with more options than bouncing my flash off the ceiling or a wall.
This method produces a similar effect as using a softbox or umbrella with a flash. Because the light bounces off the reflector, its surface area is much larger and the light falling on your subject is softer. The shadows are much less harsh than if you use direct flash.
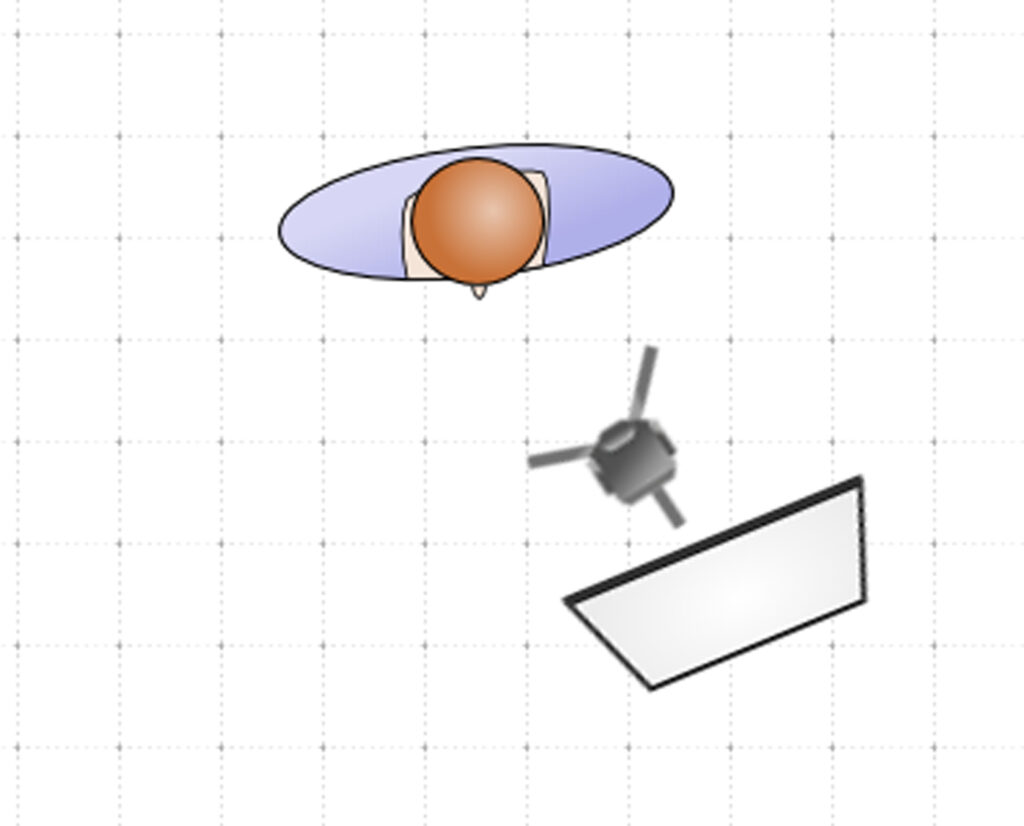
Illustration by Kevin Landwer-Johan
Key Lesson: How you position your flash and reflector determines the look and the locations of the shadows. The softer the light, the less intense the shadows appear. The distance between your light, reflector, and subject also affects the luminance value of the light on your subject. If you find you’re not getting enough light, bring the flash and reflector closer to your subject or turn up the power on your flash.
Experiment With Your Light and Reflector
Whether you’re taking portrait photos indoors or outdoors, you can use any of these methods to light your subject. Experiment with how you place your light and reflector on your subject to capture different looks.
Indoors you’ll often have less ambient light. So, if you want to make use of it, then you must balance your shutter speed with the output of your light. This can mean that the shutter speed needs to be set fairly slow. You need to ensure that both your camera and your subject won’t move and create blur unless that’s what you want.
Outdoors during the daytime, it’s easier to make use of ambient light. You won’t need such a slow shutter speed to balance the ambient light with your flash. This allows you to set your aperture and shutter speed so your subject is well exposed and the background also looks good. Depending on your shutter speed setting, the background will be exposed the same or can be brighter or darker than your subject.
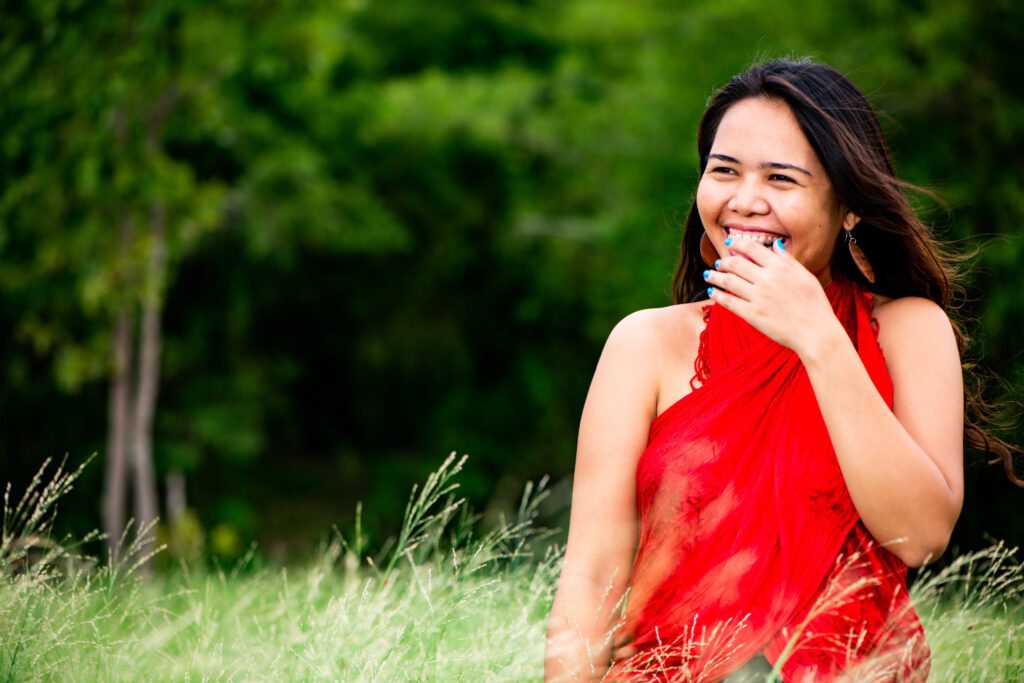
Photograph by Kevin Landwer-Johan
To set my exposure for the image above, I took a meter reading from my subject and set my flash output a little higher. Then I adjusted my aperture setting to match the flash output. My flash was on a stand with a softbox to my left. The result is that the background is a little darker and helps my subject stand out more.
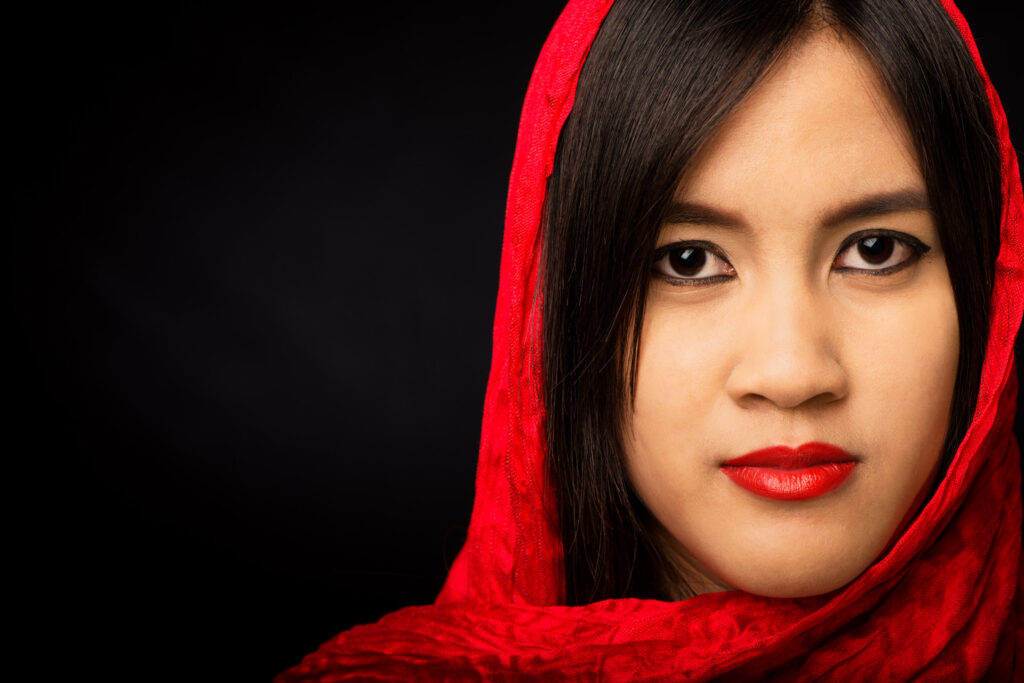
Photograph by Kevin Landwer-Johan
If you want to reduce or eliminate the effect of the ambient light, either indoors or outdoors, use a faster shutter speed. Depending on how much ambient light there is, it may not have any influence on your exposure.
For the image above, I used a shutter speed of 1/250th of a second. This meant the low level of ambient light in the room did not influence my exposure, so the background is very dark.
Recommended Reading: After learning about camera settings, improve your photographs by understanding how light works! Grab a copy of Photzy’s premium guide: Understanding Light Book One.
Conclusion
Photograph by Kevin Landwer-Johan
Portrait photography is art. There is no right or wrong way of doing it. If you practice these basic techniques, you’ll get a feel for how to light your subjects so they look the way you want.
Start by using the most basic, easiest lighting setup. Once you’re comfortable with it, then have some fun and experiment. Move your main light and your reflector around. Bring the light closer to your subject. See what happens when you place the reflector close to your subject and the light further away. When you’re photographing outdoors, instead of using your reflector to bounce light from the flash, use it to bounce sunlight onto your subject.

Photograph by Kevin Landwer-Johan
Make notes as you experiment. Jot down where you place your flash and reflector. Make a note of how far they are from your subject and at what height. This information is helpful. It’s also not included in the metadata, so you need to write it down if you want to remember it and make use of it.
Most of all, have fun as you experiment! The more familiar you are with your flash and reflector setup, the more your confidence will grow, and the better portrait photographs you will make.

Photograph by Kevin Landwer-Johan
Self-Check Quiz:
- How many lights and reflectors do you need to make fabulous portraits?
- Can using minimal lighting help you better connect with your subjects?
- For a standard lighting setup, where would you position your main light?
- For the same setup, where would you position a reflector?
- For butterfly lighting, where is the main light of your subject?
- What is the benefit of bouncing your flash off your reflector rather than pointing it at your subject?
- What influence does your shutter speed have when using a flash and reflector to light a portrait?


