


Digital cameras have a set of controls, called drive modes, that you can change to control how often an image is taken when you press the shutter button. Photographers use these drive modes to take more control of the camera and use the camera to its fullest potential.
Let’s discuss the most common drive modes, what they mean, and when to use them.
- Single-shot mode
- Continuous shooting mode
- Self-timer mode
- Quiet mode
- Remote release mode
- Mirror up mode
- Where the mode controls are located on the camera
Recommended Reading: Want a step-by-step guide on photography skills with your DSLR? Grab a copy of our best-selling guide, the DSLR Crash Course.
Single Shot Mode
The single-shot mode takes one shot each time you press the shutter release button.
More than likely, this is the default mode for your camera.
It’s best to use the single-shot mode when you know that your subject will be completely still or when moving at a slower pace.
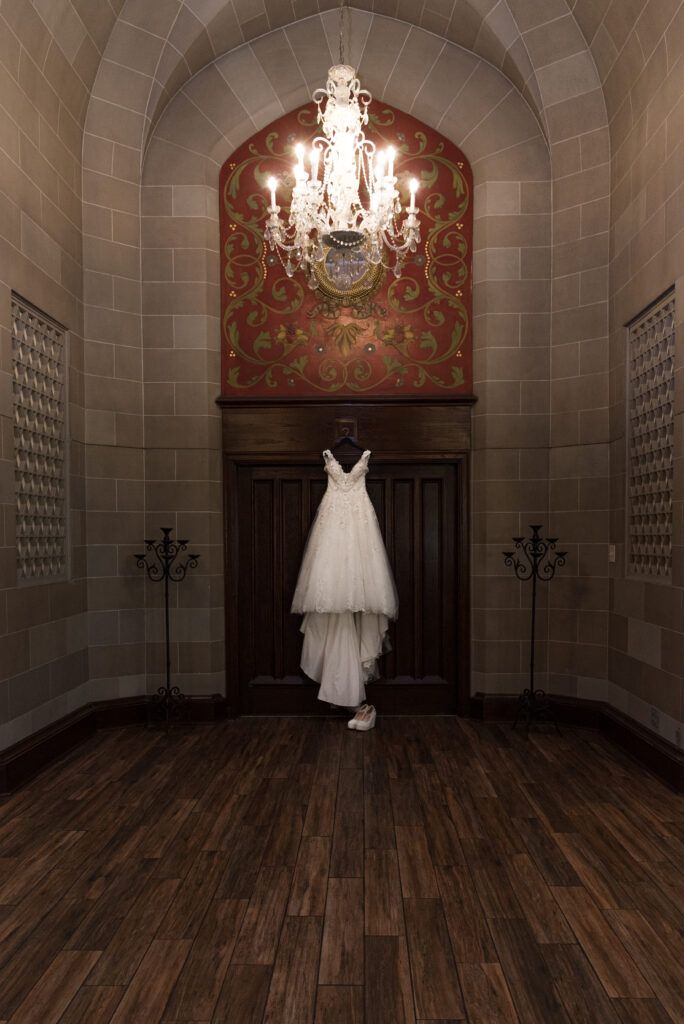
An image of a wedding dress was shot in single-shot mode. Photograph by Angela Fulks.
Landscape photographers, still-life photographers, real estate photographers, and portrait photographers benefit from using this drive mode.
It is also sometimes used by street photographers and wedding photographers.
Continuous Shooting Mode
Continuous mode, sometimes also called burst mode, allows the camera to keep shooting while holding down the shutter release button.
This action tells the camera to take photos one right after another capturing the images in rapid succession.
Some cameras have two options for continuous shooting – continuous high and continuous low.
The high setting takes the series of photos faster than the low setting.
The maximum speed of the continuous drive modes can range from 3 to 10 frames per second.
Be sure to check your camera manual to see how many images your camera can take per second in one or both continuous drive modes.
Continuous mode is very helpful when photographing fast action, like wildlife, sports, or pets and children playing.
Be sure to check your camera manual to see how many images your camera can take per second in one or both continuous drive modes.
It also works well for wedding photographers who need to capture spur-of-the-moment candid photos.
Using continuous drive mode gives the photographer a wider range of shots to choose from!
Having a series of shots taken one right after another helps to ensure you don’t miss the peak action.

As a wedding photographer, I know that memorable moments happen quickly. I use continuous shooting mode more than any other to capture these moments. Photograph by Angela Fulks.
This image was taken in a series of six shots while the groom was getting ready to spin his bride. The first two images did not make the final cut, but the third image did!
I was able to use the continuous drive mode to capture a beautiful and candid moment.
Self-Timer Mode
Self-timer mode allows a camera to take a photo without the photographer touching the camera at the moment of exposure.
Most of us are familiar with the self-timer function on our cell phones – a camera’s self-timer works the same way.
Most cameras have a self-timer delay that is anywhere from 2 to 10 seconds after pressing the shutter release button.
This gives the photographer time to jump into a family photo or to experiment with creative self-portraits.
The self-timer mode is also useful for taking long-exposure photos. During long exposures, the slightest shake of the camera can cause a blurry photo. Even the slight movement of pressing the shutter release button can ruin a shot.
To use the self-timer delay to your advantage, step away from your camera after pressing the shutter release button for a sharper photo.

This photo was taken with my camera on a tripod and using the self-timer mode. Photograph by Angela Fulks.
I wanted to capture the motion of the fireworks but also keep the scenery sharp to showcase the impressive fireworks display.
The self-timer drive mode, along with lots of patience, allowed me to get a shot that I was happy with.
Quiet Mode
The raising and lowering of the mirror inside of DSLR cameras can be noisy because it raises and lowers so quickly.
Some cameras have a quiet mode that will enable the mirror to raise and lower more slowly, thus minimizing the noise.
A photographer may choose to use this mode when photographing in a quiet environment or when it’s important to stay as inconspicuous as possible.
Note: Mirrorless cameras won’t have this option as they don’t have a mirror!
Remote Shutter Mode
The remote shutter mode can be used with a wireless remote control to remotely trigger the shutter.

The remote shutter release mode provides the photographer with more freedom in deciding when to take a photo, but without touching the camera. Just like the self-timer option, this drive mode works well with longer exposures and self-portraits.
In addition, many portraits and wedding photographers use this mode so that they can have eye contact with their subjects while shooting pictures.
Note: Depending upon the camera model, this mode may be a separate setting or it could be tied to the self-timer function. Check your camera manual for details.
Recommended Reading: Want a step-by-step guide on photography skills with your DSLR? Grab a copy of our best-selling guide, the DSLR Crash Course.
Mirror-Up Mode
This drive mode sets the mirror of a DSLR camera into the upper locked position before opening the camera’s internal shutter. It is another option to help reduce camera blur with longer exposures.
In this open position, the mirror will block the viewfinder, so it’s important to have the lens focused and focus locked before dialing in this mode.
Your specific camera may allow this mode to be used in conjunction with the self-timer mode or the remote shutter mode to reduce camera shake as much as possible.
Where Are the Drive Mode Settings Located?

The drive mode control on this Nikon D750 is located on the upper-left side of the camera, just below the dial used to set the shooting mode. Note that the icons used to identify the drive modes may vary with the camera manufacturer. Photograph by Kent DuFault.
The settings for your camera drive modes may be found by a dial at the top of your camera or buried in your camera’s settings menu.
Consulting the camera manual or a quick internet search should be able to tell you exactly where to find the drive modes.

Self-Check Quiz:
- True or False: In the single-shot drive mode, your camera will only take one photo when you press the shutter release button.
- Which drive mode will tell the camera to take photos in rapid succession when the shutter release button is held down?
- Name two reasons why you might use the self-timer mode on your camera.
- True or False: The quiet drive mode will cause the camera mirror on a DSLR camera to raise and lower faster while taking photos.
- Name the drive modes used to help reduce blur from camera movement.
- Where are the drive mode settings on your camera?


