

A photo captures only a small slice of the world we see. What we choose to photograph and how we place elements in the frame is called composition.
Photographers, unlike other visual artists, generally have to work within the confines of reality. But that does not mean you have no control over the composition. Good photographers make a lot of decisions about where various elements lie in the frame.
This guide will explore one way of organizing the elements in your photograph using the Rule of Thirds.
Before we go on, let me clarify the name of this compositional tool.
It is called the Rule of Thirds but uses the word “rule” loosely. It is more of a “Guide of Thirds.” A “rule” implies that you must compose this way. This is not the case. The Rule of Thirds is one of many ways of composing your image. This isn’t the right way of composing your image.
The Rule of Thirds isn’t the only way to compose your images, but there is a reason that the Rule of Thirds is often the first compositional tool photographers learn. Using the Rule of Thirds helps train your eye and brings your attention to the way elements are placed in your image. Using the Rule of Thirds will improve your photographs and help you learn to control photographic composition.
What we will cover:
- Defining the Rule of Thirds
- Reasons to Use the Rule of Thirds
- Using gridlines
- Cropping with the Rule of Thirds
Recommended Reading: If you’d like to improve your composition skills for better images, grab a copy of Photzy’s best-selling premium guide, Advanced Composition.
What Is the Rule of Thirds?
A bushel of peppers at a farmers’ market with Rule of Thirds grid lines overlay. My settings were 1/250th of a second @ f/6.3, ISO 800. Photograph by Jennifer Mishra
Composing using the Rule of Thirds means placing your main subject a third of the way into the image.
Imagine lines across your image dividing the frame into three parts. Your photograph can be divided into the top, middle, and bottom, or left, middle, and right.
When photographing using the Rule of Thirds, place your main subject on one of the lines. For instance, you can position your subject in the left-hand or right-hand third of the frame. In this image, the dominant pepper takes up the right two-thirds of the image. The stem of the pepper is on the left line.

A bushel of peppers at a farmers’ market with Rule of Thirds grid lines overlay. My settings were 1/160th of a second @ f/6.3, ISO 200. Photograph by Jennifer Mishra
Or you can place your subject in the top or bottom third of the image. In this photo, the bushel of peppers takes up the bottom two-thirds of the frame.
Key Lesson: Composing using the Rule of Thirds means seeing the scene in front of you in three parts.

Red pepper at a farmers’ market with Rule of Thirds grid lines overlay. My settings were 1/250th of a second @ f/6.3, ISO 400. Photograph by Jennifer Mishra
When you imagine your scene divided both horizontally and vertically at the same time, you will get something like a tic-tac-toe grid. The frame divides into nine rectangles.
The points at which the horizontal and vertical lines intersect are “crash points.” Using the Rule of Thirds, you have four crash points: upper left, upper right, lower left, and lower right.
When you imagine your scene divided both horizontally and vertically at the same time, you will get something like a tic-tac-toe grid.
Placing your main subject on one of these crash points means that your main subject is a third of the way into the frame both horizontally and vertically. The stem of this red pepper (above) is on the lower right crash point.
Reasons to Use the Rule of Thirds
Using the Rule of Thirds, or any other compositional tool helps train your eye to see where elements are positioned in the scene.
But there are a couple of reasons why the Rule of Thirds is a popular way to compose images.
Off-Center For Interest
Most beginner photographers see something interesting, point their camera at it, and snap a photo.
The most interesting thing (your subject) is often in the middle of the frame. This is human nature.
When we’re interested in something, we look at it. We turn our heads and place the subject directly in our line of vision.
Since we all place what we’re paying attention to in the middle of our field of vision, this is the most expected placement for a photographic subject.

Sunflower field with Rule of Thirds grid overlay. My settings were 1/80th of a second @ F/16, ISO 100. Photograph by Jennifer Mishra
Fulfilling your viewers’ expectations is the quickest way to bore them.
Placing your subject off-center is more unexpected and therefore more interesting than locating it in the center. It’s not that you can’t take a photo with your subject in the center, but the image tends to be more interesting if at least one element is off-center. It’s a different way of seeing the world.
The large sunflower on the next page is in the center of the frame horizontally, but vertically it falls on the upper third grid line. The lower third of the frame is filled with the background field of sunflowers.
Also, a subject in the middle of the frame reads as static or stable. There is no implied movement left or right, up or down.
Key Lesson: Using the Rule of Thirds emphasizes an asymmetrical space that is more interesting and dynamic.

The eye of the front horse and the nose of the horse behind fall almost perfectly on crash points (marked in red). My settings were 1/1250th of a second @ f/6.3, ISO 4000. Photograph by Jennifer Mishra
Let’s go back to the process of taking an image and let’s add an important step.
- See something interesting
- Point your camera at something interesting
- Take a breath and think about what your main subject is and move it to a crash point
- Snap the photo
Shifting the camera left or right, or up or down, lets you see alternate compositions. Your first, intuitive composition does not have to be your final composition.
Getting into the habit of using the Rule of Thirds does two things:
- You must quickly identify your main subject.
- You think more deeply about the placement of your subject rather than allowing the subject to fall into your frame by chance.
When using the Rule of Thirds becomes a habit, you can take composition a step further.
Look for a secondary subject and decide on the relationship between the elements in your frame.
Your main subject might be on one crash point and a secondary element on another. Creating this relationship might mean moving your camera or shifting your position.
Key Lesson: Your image isn’t necessarily better because you’ve used the Rule of Thirds; it is better because you’ve thought about your composition.
Recommended Reading: If you’d like to improve your composition skills for better images, grab a copy of Photzy’s best-selling premium guide, Advanced Composition.
Edge Drop-Off
The Rule of Thirds also helps photographers avoid a common compositional error: placing the subject too close to the edge.

Bee and purple flowers in a field. My settings were 1/500th of a second @ f/5.6, ISO 800. Photograph by Jennifer Mishra
Key Lesson: Placing your subject close to the edge of the frame is usually a compositional error but it may be the correct choice if you want to create a lot of tension.
Placing your subject too close to the edge creates distracting tension. There is a feeling that the subject might fall out of the frame.
In the image above, all but one of the purple flowers is close to an edge. This makes them look like a border rather than an integral part of the photo. Also, the subject of this image, the bee, is directly in the center of the frame.

Bee and purple flowers in a field reframed based on the Rule of Thirds. My settings were 1/500th of a second @ f/5.6, ISO 800. Photograph by Jennifer Mishra
Placing your subject too close to the edge creates the opposite reaction to placing your subject in the center. One creates tension. The other creates stability. The Rule of Thirds splits the difference. Your main subject is comfortably in the frame, but not uncomfortably close to the edge.
In most cases, it doesn’t take much to reframe the image. With a bit of cropping, the photo of the bee and purple flowers becomes more interesting. Now, the image above shows the bee in the right third and the supporting flowers in the bottom third.
Grid Line Assistance
Most cameras have a Rule of Thirds grid overlay that you can turn on. The grid lines are especially helpful when you are first learning to use the Rule of Thirds. The grid lines are faint and won’t interfere with seeing the scene, but they remind you to shift the camera around to try different compositions.
Placing your subject too close to the edge creates the opposite reaction to placing your subject in the center. One creates tension. The other creates stability.
On your iPhone, go into Settings and select Camera. Turn on the switch next to Grid. This will add a Rule of Thirds overlay to your screen.

iPhone 11 camera settings panel showing how to turn on Rule of Thirds grid overlay (left) and what the grid lines look like on a blank screen (right). Photograph by Jennifer Mishra
On DLSRs and mirrorless cameras, there is usually a setting in the menu system to turn on the grid lines. For instance, my Sony A7R3 includes a Grid Line menu with one of the options being “Rule of 3rds Grid.”

Grid Line menu screen on a Sony A7R3 camera. Photograph by Jennifer Mishra

Rule of 3rds Grid option in the Grid Line menu screen on a Sony A7R3 camera. Photograph by Jennifer Mishra
You may have to check the user manual for your specific camera brand to find the gridline feature.
Cropping Decisions Using the Rule of Thirds
Composing happens in the camera, but it also happens in post-processing when you’re deciding on how to crop your image. Cropping often removes extra elements in the frame or parts that aren’t contributing to the overall image. The Rule of Thirds helps you make cropping decisions.
Gridline overlays are available in most postprocessing programs. If you’re using Lightroom, select the Crop tool in the Develop Module. The tool is located just above the Basic Panel. It looks like a rectangle with dashed lines (or use the hotkey R).

Screenshot showing the location of the Crop tool in Lightroom’s Develop Module. Photograph by Jennifer Mishra
Then select the Tools dropdown menu > Crop Guide Overlay > Thirds. If the selections are grayed out, make sure you have the Crop tool selected. Notice that there are options other than Thirds.
These grid lines show you that there are other ways of organizing your composition. Return to the Tools dropdown menu and select Tool Overlay > Always Show. Now when you select the Crop tool, a Rule of Thirds grid overlay appears on your image.

If you use Photoshop, go to View > Show > Grid ( or Control).

Uncropped image of a blue heron landing on a pond with Rule of Thirds overlay in Lightroom. Photograph by Jennifer Mishra
In the image of a blue heron, I’m happy with the action that I’ve captured. But I was tracking this bird from a distance. It is in the center and small in the frame.
The Rule of Thirds grid helps me decide on a crop for this image.
When cropping, try positioning your subject on the upper right crash point, then the upper left. Try placing your subject in both the upper and lower third of the frame.
Look at each position and gauge your reaction. Which seems right to you? Do you have to cut out another interesting element if you make one of these choices?

A cropped image of a blue heron landing on a pond. My settings were 1/500th of a second @f8.0 ISO 6400 at 560mm. Photograph by Jennifer Mishra
For the image of a blue heron, I decided to place the body of the bird on the upper left crash point. This preserved the bird’s reflection in the lower third of the frame. The bird is moving left to right across my frame.
By placing the bird in the left third, there is space on the right side for the bird to move into. When I placed the bird on the right side, it looked like the bird was flying out of my photo. Also, its head was too close to the edge of the frame.
Recommended Reading: If you’d like to improve your composition skills for better images, grab a copy of Photzy’s best-selling premium guide, Advanced Composition.
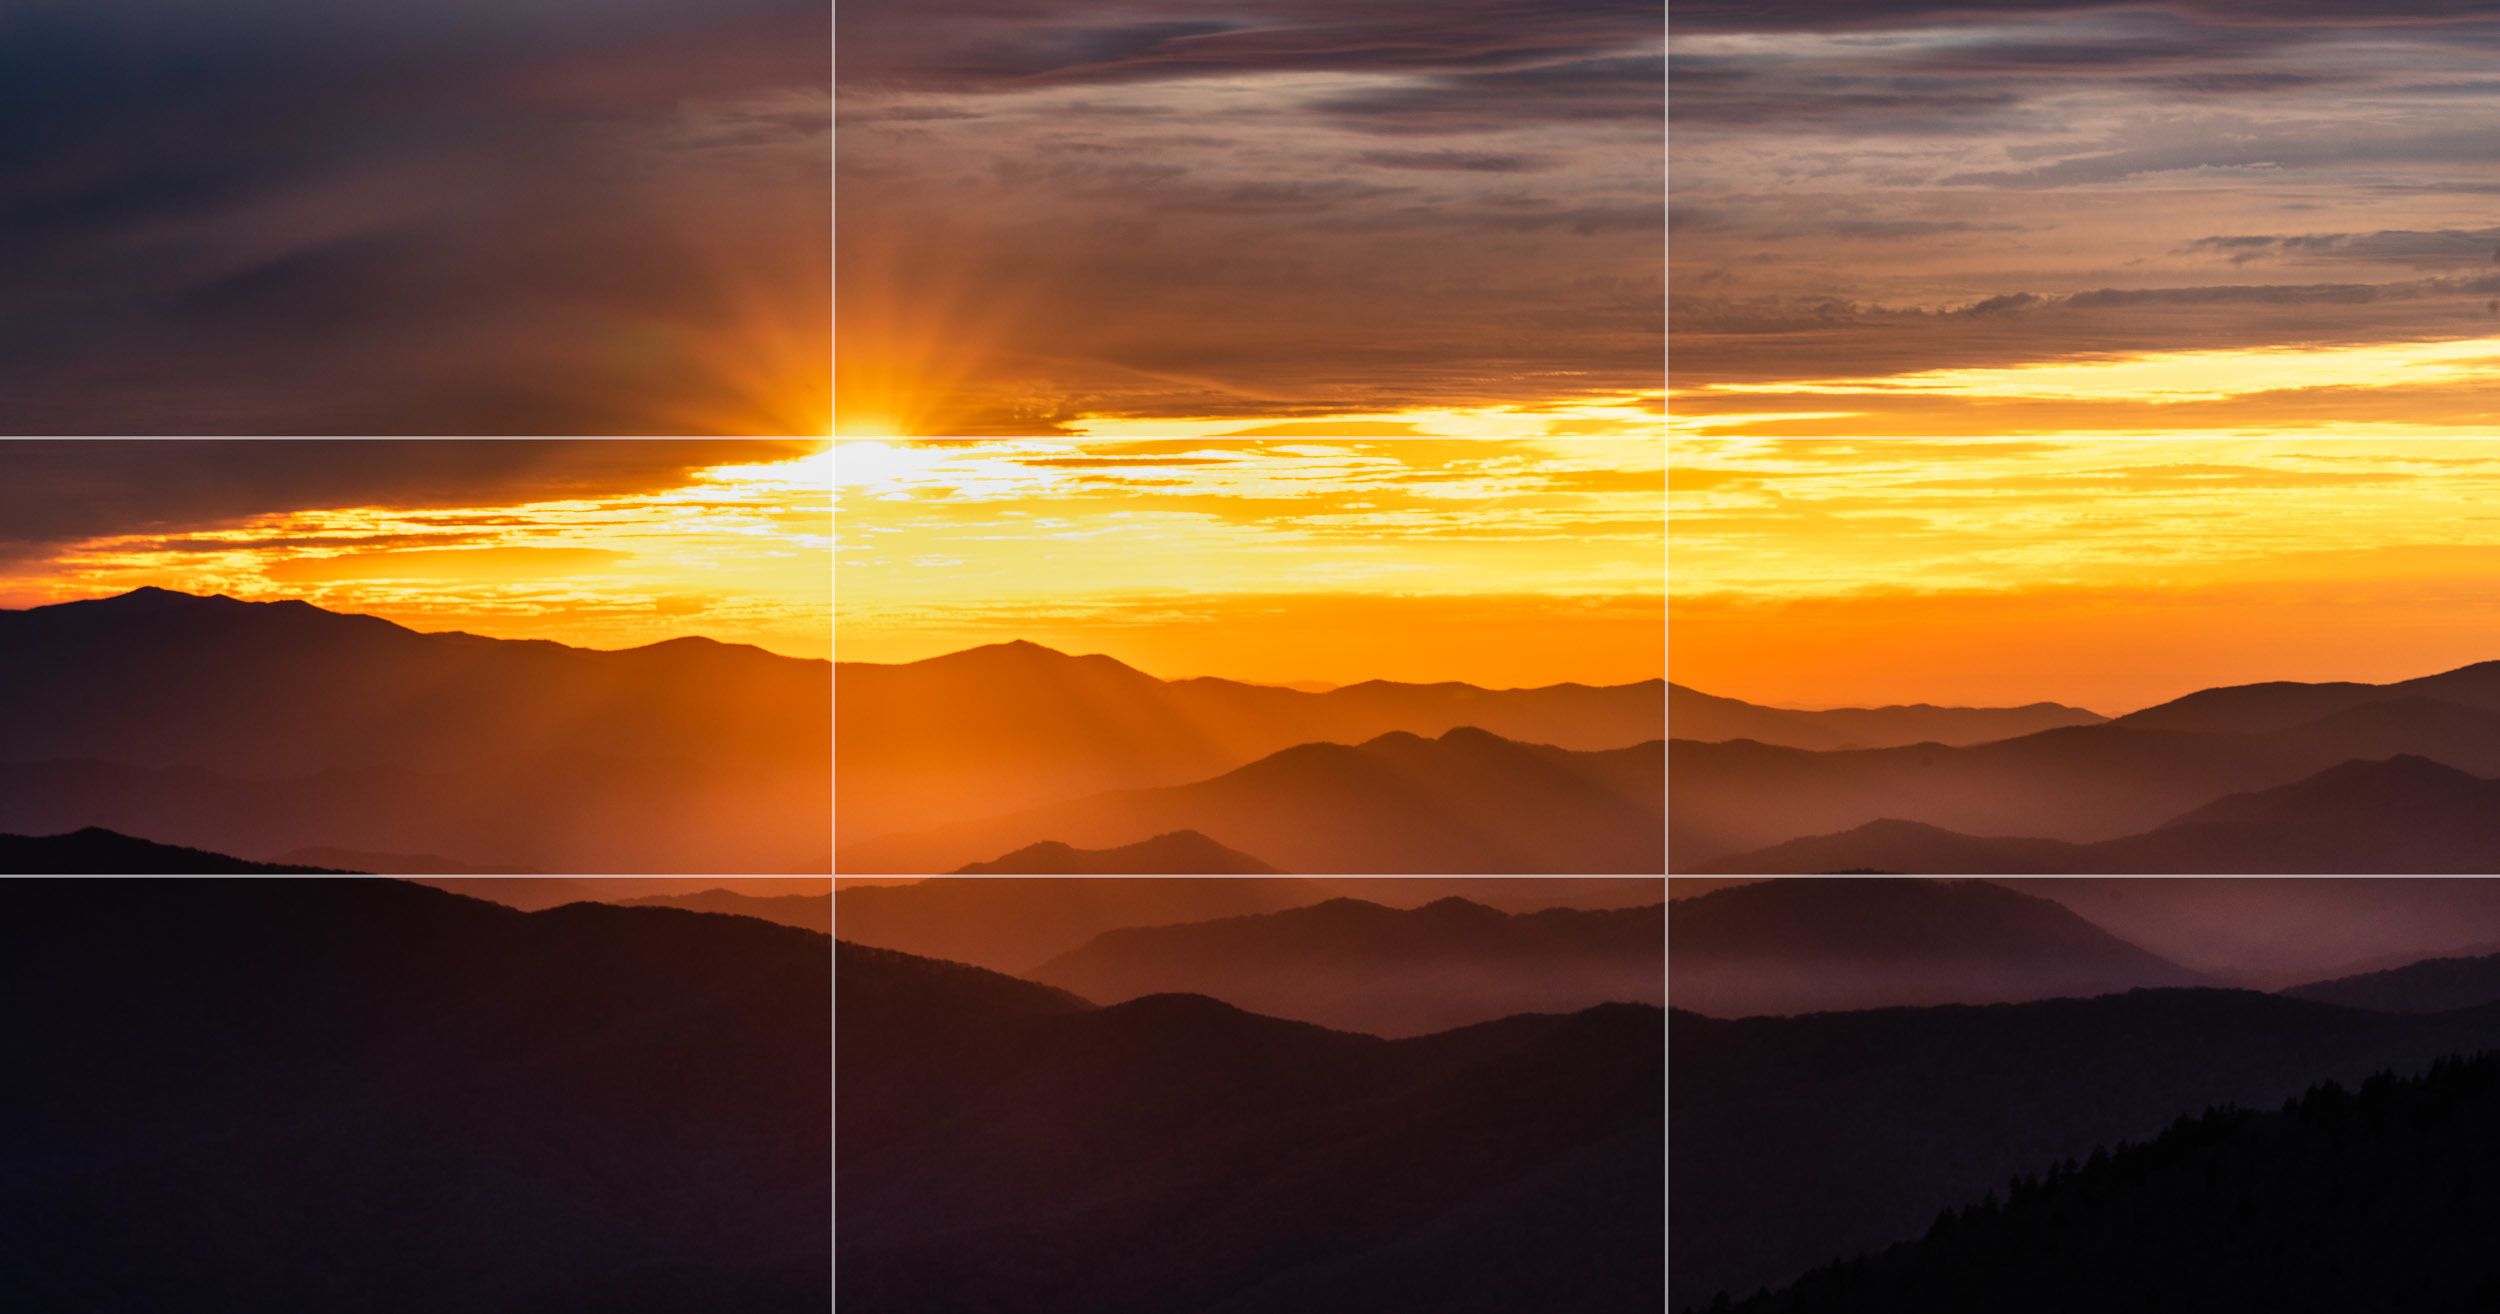
Conclusion

Photograph by Jennifer Mishra
There are many ways to see the world. Two photographers standing next to each other and looking at the same scene may make very different images. We have choices. One choice is what elements you choose to include in the frame. Another is how these elements are positioned.
The Rule of Thirds is a compositional tool that places your subject off-center within the frame. Dividing your frame into thirds both horizontally and vertically creates crash points. These are places of visual interest. Placing your subject on one of these crash points makes your image more interesting and dynamic.
We have choices. One choice is what elements you choose to include in the frame. Another is how these elements are positioned.
But more importantly, using the Rule of Thirds is about making compositional decisions part of your image-making process. You get to decide what you put in the frame and how you place the main subject. What you put in your photo, and more importantly, what you leave out, will make or break your image. There are few “right” choices. It’s up to you.
Self-Check Quiz:
- What is the definition of composition?
- Why might the word “rule” in the “Rule of Thirds” be misunderstood?
- Define the Rule of Thirds.
- What are crash points?
- How many crash points are there?
- Why is the center of the frame not the most interesting place for your subject?
- What compositional error does the Rule of Thirds help you avoid?
- What does the gridline feature in most cameras and post-processing programs do?
- The Rule of Thirds grid is often not the only option found in cameras and post-processing programs. What are other options for your camera?
- How does the Rule of Thirds helps make cropping decisions in post-processing?
Assignment:
- Choose a scene or a subject and explore different compositions using the Rule of Thirds.
- Start by identifying the main subject.
- Systematically place your subject in different positions within the frame using the Rule of Thirds. Place the subject on each of the crash points. Be thoughtful about your composition.
- Select a secondary subject in the scene.
- Position yourself to place both the main subject and secondary subjects on crash points. What decisions do you have to make for this to happen?


