I’ve specialized in portrait photography for over 20 years, and I think it’s probably one of the most fascinating genres. A good portrait creates an emotional connection with the viewer and makes us wonder about the person portrayed in the shot. And we all also use portraits to capture significant moments and people in our lives.
In this guide, I’ll be looking at some camera settings to help you start with, as well as exploring other tips and tricks to help you get the best portrait images possible.
Here’s what we’ll cover:
- Camera gear
- Composition tips to get you started
- Camera settings for different portrait photography opportunities
- Where to go next
Recommended Reading: If you’d like to learn how to create amazing portraits, grab a copy of Photzy’s premium guide: The Art of Portrait Photography.
Camera Gear
When it comes to taking portraits, the most important piece of gear to have is a decent lens.
Portraiture requires pin-sharp eyes, so you need good glass to get the best results.
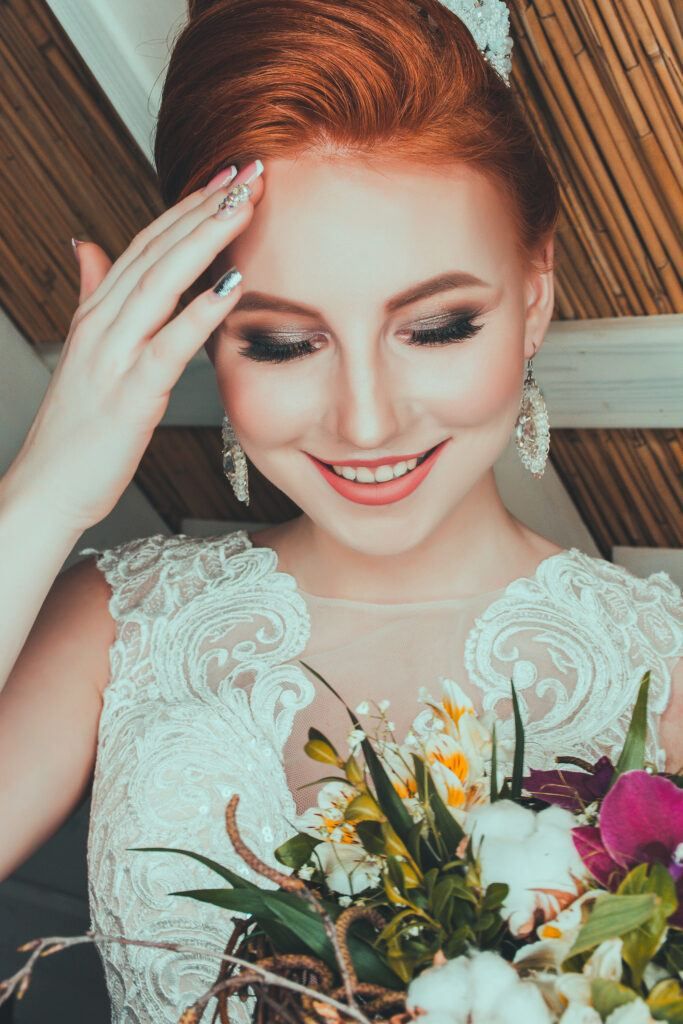
Good glass makes a big difference in portraiture, allowing you to get sharp and detailed images. Photograph by Valerie Elash
The best lenses for portraiture are, in my opinion, 50mm, 85mm, or 135mm. You will still get decent shots using a zoom lens that covers these focal lengths, but you can pick up a 50mm f1.8 lens fairly cheaply and they’re surprisingly good quality.
A 50mm lens will give you the equivalent field of view to a 75mm lens on an APS-C camera, meaning they’re a great portrait photography investment. Some portrait photographers argue that a 50mm isn’t great for single-person headshots due to perspective exaggeration, so if you’re wary, you can still use one (on a full-frame camera) for full-length and group shots.
When it comes to taking portraits, the most important piece of gear to have is a decent lens.
You will need a camera that allows you full manual control, and it’s also a good idea to use a tripod when you can (although tripods are not essential).
Unless you’re shooting portraits daily on a professional basis, you’re unlikely to want to invest in studio lighting, but a flashgun can be extremely useful.
Make sure you invest in some diffusers to soften the harsh light that it produces. Finally, I always carry a small Sunfire (strips of silver and gold) reflector to help direct light onto my subject’s face.
Composition Tips to Get You Started
Although you want your subjects to relax and be as natural as possible, it’s still worth helping them with their poses to ensure the most flattering results.
Most people do not photograph well if the portrait is taken straight on. This flattens the face and can make even the slimmest people look a little chunky. Think about your angles.
So much of photography is about finding the angles and using them to draw the viewer into the picture.
Most people have a ‘good side’ and will look better if turned slightly. Get your subject to turn slightly to this side, and then tilt their head back towards the camera. This creates a strong jawline.
Key Lesson: As I mentioned already, a good portrait always has pin-sharp eyes. You immediately lose the connection to the subject if the eyes are soft. Whenever you’re shooting portraits it’s important to select an AF point manually on your camera, which you place between or on the subject’s eyes. This will ensure sharpness. If you’re shooting a head and shoulders shot, make sure you place your subject’s eyes in the top third of the photograph. This is the most natural place for the eyes to be and is where a viewer will automatically look.
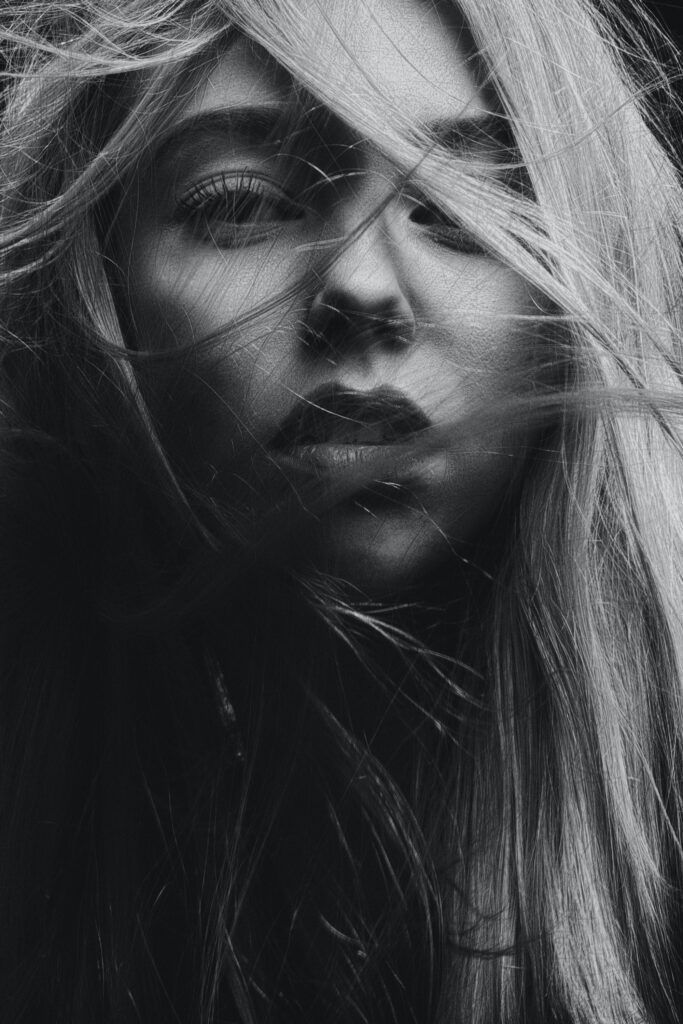
Don’t be afraid to go for a bold crop with your portraits. Black and white can also be very powerful! Photograph by Alexander Krivitskiy
In addition, remember to remind your subject to keep their shoulders back, so that they don’t look too slumped in the photos.
Think about your perspective and framing. It sounds flippant, but so many beginners forget that their camera can also be used vertically!
Think about shooting from above or below your subject. Try filling the frame with your subject or use negative space around them to draw the viewer’s eye into the image.
Obviously, there are multiple composition tips to explore, but these are just a few to start working with.
Camera Settings for Different Portrait Photography Opportunities
Before we look at specific portrait photography situations, there are some settings that you will want to use for all your shots.
Shoot in RAW so that you have more scope in post-production.
So much of photography is about finding the angles and using them to draw the viewer into the picture.
As I’ve already mentioned, you will want to use a single point AF so that you can direct the camera precisely where to focus (you can extend this to a group of AF points when shooting groups of people, if your camera has that function).
I’d also advise leaving your white balance on auto unless you’re shooting in a studio with lights whereby you are going to use a custom white balance with a gray card.
With every type of portrait shot, you will want to set your aperture first, as the depth of field is absolutely crucial for this type of work.
Individual Headshots
Key Lesson: A headshot is used to describe a head and shoulders shot and is the ‘classic’ portrait shot. This crop is one of the easiest to use to minimize distracting elements in the background of your shot. I also often shoot slightly longer shots, with a little bit more of the upper body in, as I find it gives a flattering and slimming angle.
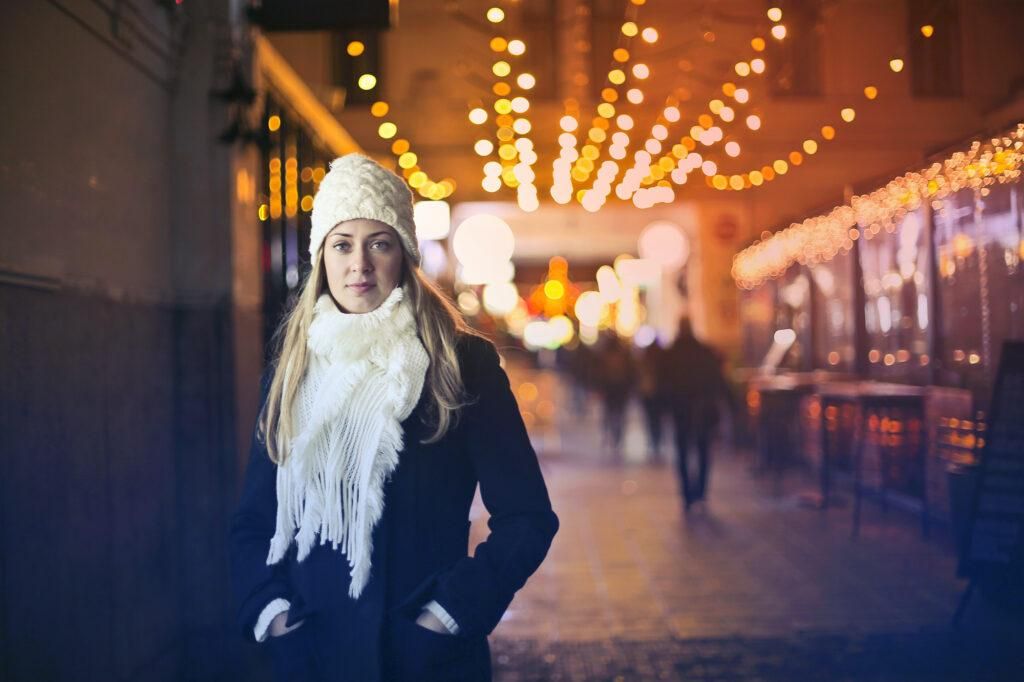
A shallow depth of field helps to blur out a distracting background and helps to highlight your subject. Photograph by Bruce Mars
Outside – I like to use an aperture of around f4 for headshots. This blurs out the background, which helps to make your subject ‘pop.’ Start with an ISO of 100 (or as low as your camera will go). If it’s cloudy, use a shutter speed of 1/60th and raise your ISO a little if you need to get more light into the image. Alternatively, you can use a flashgun and reduce the power so it acts as a fill-in. In bright sunshine, start with a shutter speed of 1/250th and make it faster if your shot is still overexposed. You can use your reflector to help direct light onto your subject’s face.
Inside – Stick with an aperture of f4 and use a shutter speed of 1/60th. If you have a flashgun, keep your ISO at 100 and use the flash with your reflector to bounce light. If you don’t have a flashgun, you will probably need to use an ISO of 800 and up, depending on how much ambient and natural light is coming into the room.
Full Length Individual Shots
Full-length shots can be tricky for your subjects. People find it hard to pose naturally! Consider asking them to sit on a chair or, if they have to be standing, to angle their body towards the camera. Experiment with different hand gestures and hands in or out of pockets.
Outside – Follow all the instructions for outside individual shots but close down your aperture to around f8 to get the whole body sharp.
Inside – Follow all the instructions for indoor individual shots but close down your aperture to around f8 to get the whole body sharp.
Children
Kids don’t tend to stay still for very long, so you need to adjust your settings accordingly! Whether you’re inside or out, I tend to use an aperture of f5.6 for children which keeps them sharp, whilst still blurring out the background. You really need a minimum of 1/125th of a second to freeze kids (and higher if they’re running about!). Use the lowest ISO you can for the light available and consider adding in some flash. This will help freeze any movement as well.
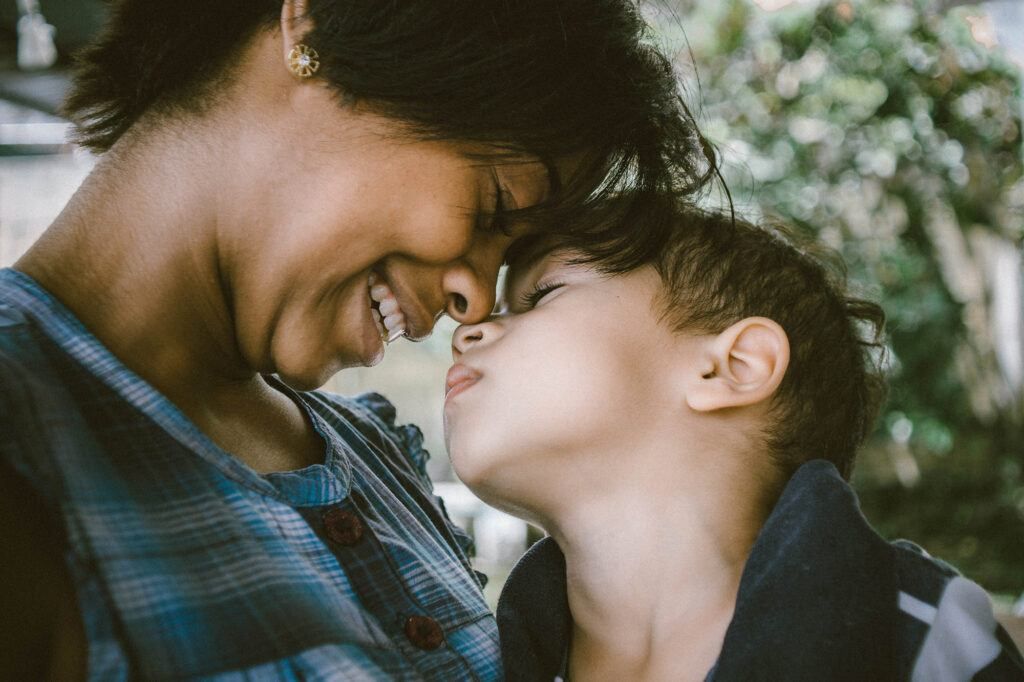
Children move quickly, so use a faster shutter speed so that you can capture sweet moments like this. Photograph by Bruno Nascimento
Groups
If you’re shooting large groups of people, you will probably be using a wider lens (e.g., 24mm) to get everyone in. This means less compression, so you can start with an aperture of f11 which should keep everyone sharp.
Use a shutter speed of 1/60th for cloudy days and inside. On bright days you can probably use an ISO of 100, but you’ll need to increase it substantially for shooting inside. Again, you could add in some flash, but the danger is that a single flashgun will not adequately light a large group.
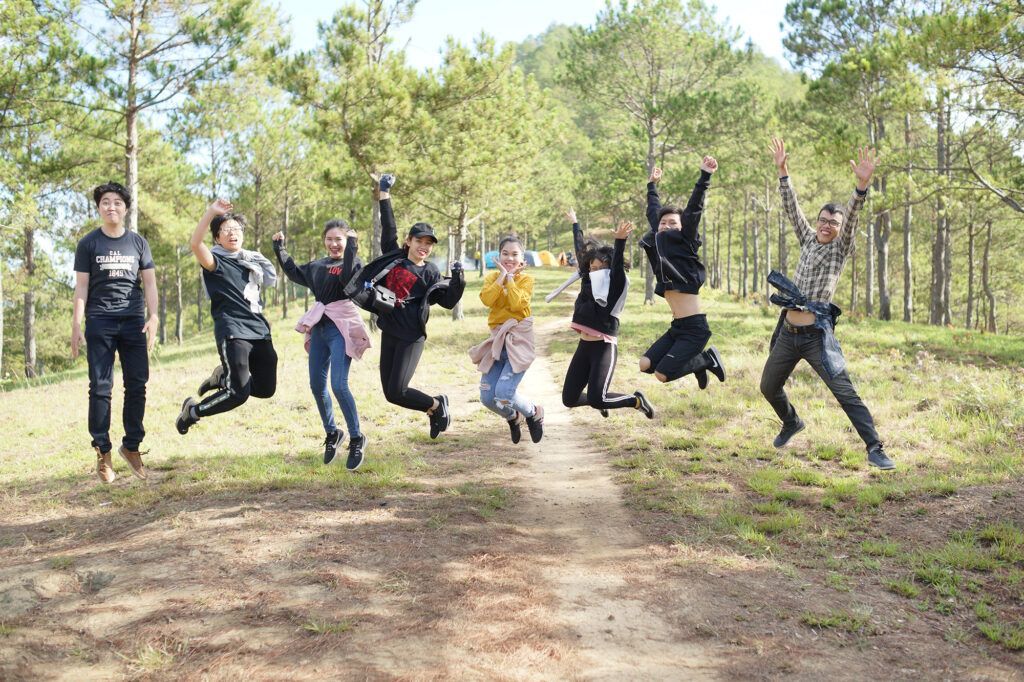
A group photograph requires a larger depth of field to ensure everyone is sharp. Group photos don’t have to be dull and staid – have fun with your subjects! Photograph by Chang Duong
Key Lesson: Check the guide number of your flashgun to find out how many meters it will illuminate.
Recommended Reading: If you’d like to learn how to create amazing portraits, grab a copy of Photzy’s premium guide: The Art of Portrait Photography.
Another thing to keep an eye on with group photography is any vignetting from using a wide-angle lens. Bring people slightly closer together and arrange them in rows to avoid this problem and add interest to the shot.
If you are photographing people in a line, ask the two on either end to turn in slightly to give the group a slight curve. This looks far more attractive than a straight line of people!
Where to Go Next
As I will stress in all of my ‘camera settings’ guides, there are no absolutes when it comes to camera settings. Your settings will alter with the available light as all photography is reliant on light being available. So, after you’ve tried out shots with my suggested settings, make sure you take the next step and try out different settings that suit the light you have available.
It’s also very important to remember that in portraiture, the aperture is king. This is because it controls your depth of field. Unless you’re shooting in a studio with a completely blank background, portraits run the risk of a distracting background ruining them. This is why using a shallower depth of field is so important! It allows you to blur the background and focuses the viewer’s attention on your subject.
Conclusion
Whether you’re an enthusiastic amateur or a professional, you will want to be able to take great portraits of those nearest and dearest to you. With this guide, you will be able to elevate your portraits from snapshots to professional photographs that you’ll be proud to share.
- What small accessory helps you to direct light?
- Which part of the face should always be pin sharp?
- What aperture should you use for headshots?
- What minimum shutter speed should you use for children?
- What shutter speed should you start with for groups?

