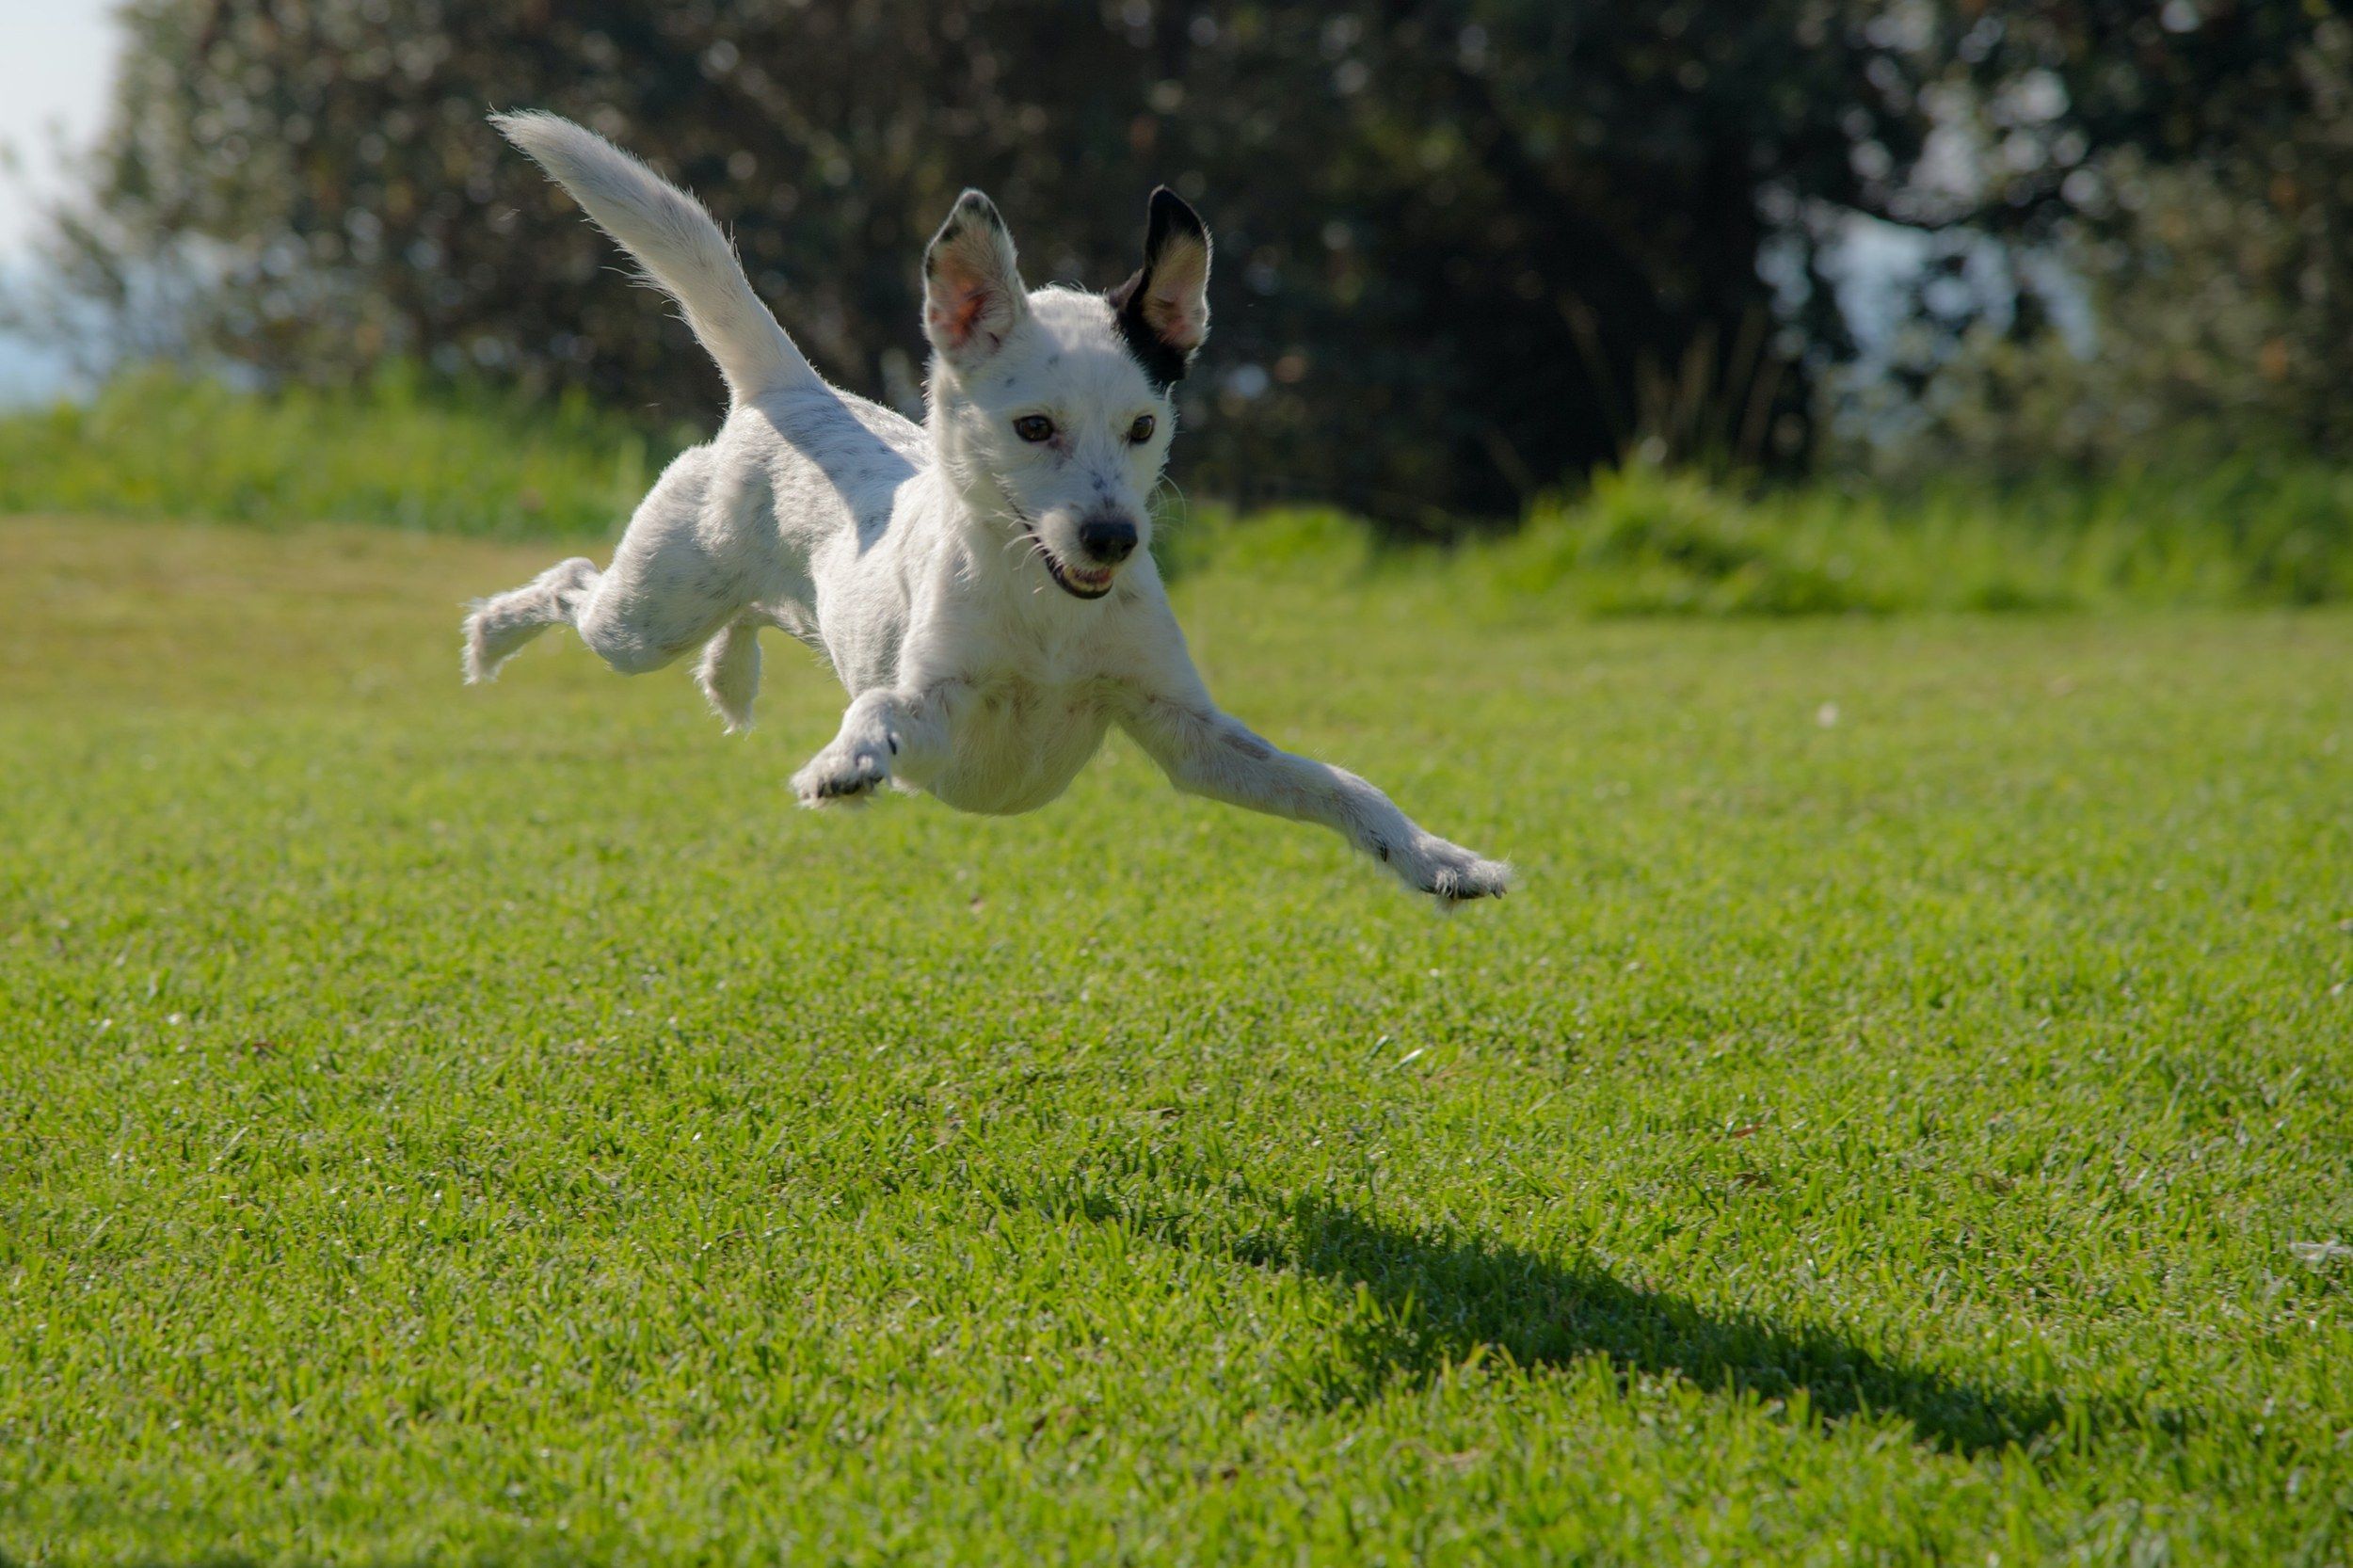
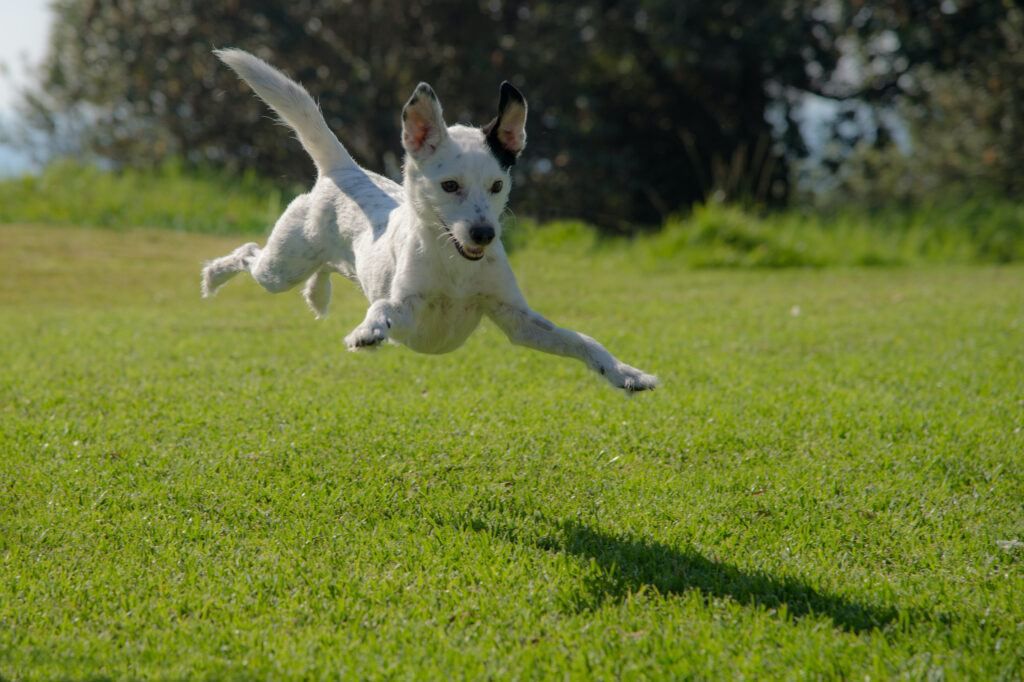
If you’ve got a pet in your life, the chances are that you will want to take photos of them! We all want to be able to take great photos of our characterful friends, but working with animals isn’t always easy! Pets aren’t necessarily predictable and certainly don’t understand keeping still for the camera. So, getting great images requires a little technical know-how.
In this guide, I’ll be looking at some camera settings to help you start with, as well as exploring other tips and tricks to help you get the best possible images of your pets.
Here’s what we’ll cover:
- Camera gear
- Composition tips to get you started
- Camera settings for different pet photography opportunities
- Where to go next
Recommended Reading: If you’d like to master camera settings to create gorgeous, creamy, blurry backgrounds, grab a copy of Photzy’s premium guide: Beautiful Background Blur.
Camera Gear
A camera with full manual control and the ability to change lenses is going to make your life a lot easier, but as with all photography, it’s your lenses that make the difference. The better the glass, the better the quality of your images, and the more choices you’ll have with aperture.
Having said this, the best option for pet photography is undoubtedly a zoom lens that allows you to change your focal length quickly. In an ideal world, you would have a zoom lens with a fixed aperture throughout its range, but these don’t come cheaply. If cost is a factor, then a zoom lens with a smaller maximum aperture will still allow you to capture shots quickly, but you will have a slight loss of quality and options. Alternatively, if you’re quick on your feet, you can pick up a prime lens with a large maximum aperture for less money than a zoom lens with a fixed aperture.
The better the glass, the better the quality of your images, and the more choices you’ll have with aperture.
Always keep extra batteries and memory cards on hand when you’re photographing pets. You will probably fire off quite a lot of shots! And keep some treats and toys around to help get your pet’s attention!
Many photographers work successfully with pets and flash; although, I am personally a fan of trying to shoot with natural light wherever possible. A lot of pets will find flash firing rather frightening and it may spook them. Of course, if your pet is particularly placid, you may want to use some flash. If so, make sure you keep the power low, the flash diffused, and bounce it rather than firing directly into the pet’s face.
Composition Tips to Get You Started
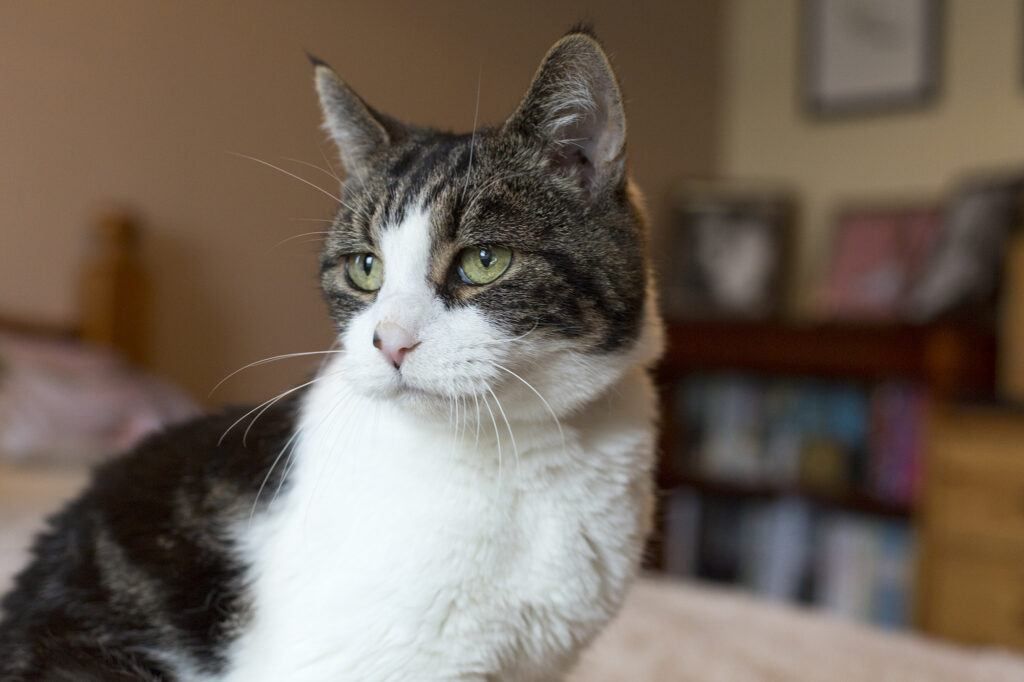
Sharp eyes are key to getting great photographs of your pets, allowing the viewer to more easily build a connection with the subject. Photograph by Jo Plumridge
Key Lesson: As with portraits, sharp eyes are essential. Eyes help a viewer form a connection with the subject of the image and soft eyes are the quickest way to ruin a shot. Make sure that you choose an AF point manually that you can position in between the eyes. Some modern digital cameras also have face and eye detect, where the camera will automatically detect the eyes to make sure they’re sharp.
Get down to your pet’s level to create a more intimate shot with a natural-looking perspective. Looming over a pet, particularly if you’re using a zoom lens, can create an almost cartoon-like perspective, so make sure to watch out for this. Be very careful not to accidentally chop off any ears or tails if you’re going for a full-length shot. This is particularly easy to do with pets as they tend to move rather quickly!
Remember that pets all have their own personality and you will undoubtedly get the best shots when an animal is relaxed and doing something that’s part of its normal routine. So, think about what your pet enjoys doing the most, be it sleeping, running about, or playing with toys. Use their personality to help you capture unique photographs.
Camera Settings for Different Pet Photography Opportunities
Before I talk about specific situations, there are some settings that you will want to use across the board. It pays to switch your camera to continuous focusing (AF) mode so that the camera will keep refocusing as your pet moves. I would also strongly recommend shooting in RAW so that you have more options in post-production if needed. Leave your white balance on auto and, as I already mentioned, pick a single AF point that you can position over the eyes.
Key Lesson: Before I talk about different shooting scenarios, a word about fur color. Once you’ve set your exposure triangle for various scenarios, you may need to adjust for fur color.
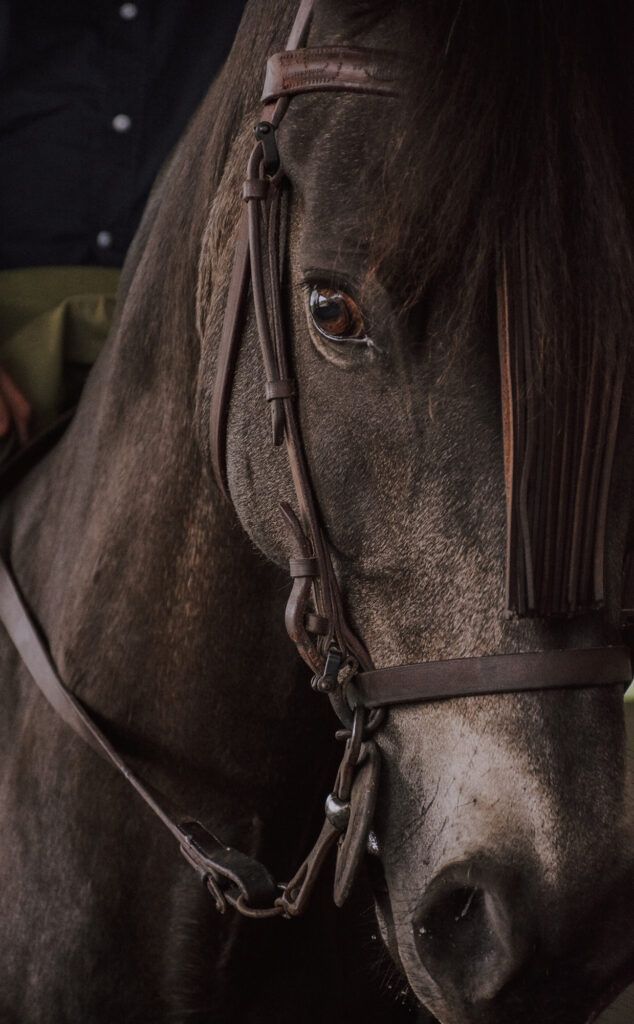
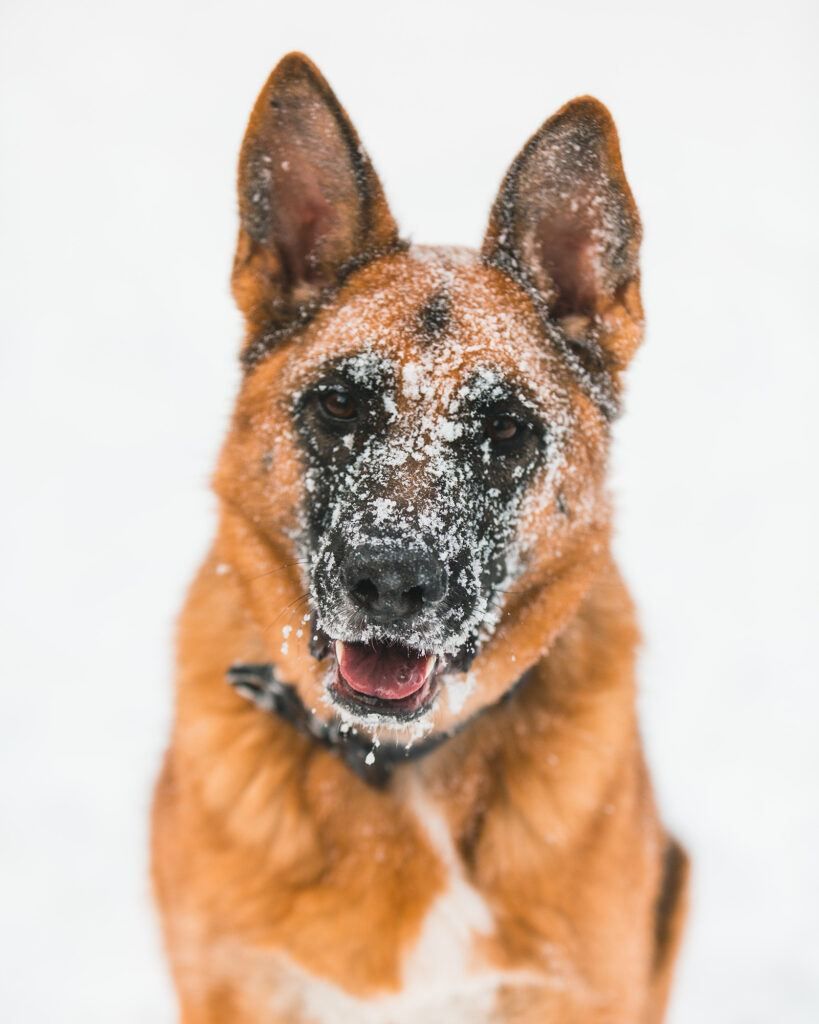
Black and white fur color sometimes needs a little adjustment in your settings to get the right exposure. Photograph by Daniel Bonilla
If your pet’s fur is very light, underexpose by one or two stops. For dark fur, you’ll need to overexpose by the same. Of course, the challenge comes if you’ve got a pet with black and white fur! In this case, make sure you shoot with as even light as possible and underexpose by a stop. It’s far easier to bring detail back into the black fur in post-production than to try and fine detail that isn’t there anymore in the whites. A lot of people say that black animals aren’t photogenic, which simply isn’t true. The problem often comes when they fade into the background. For this reason, I recommend shooting black pets against a pale or brightly colored background. For the following scenarios that I talk about, make sure to consider the pet’s fur color and tweak your settings if necessary.
Outside
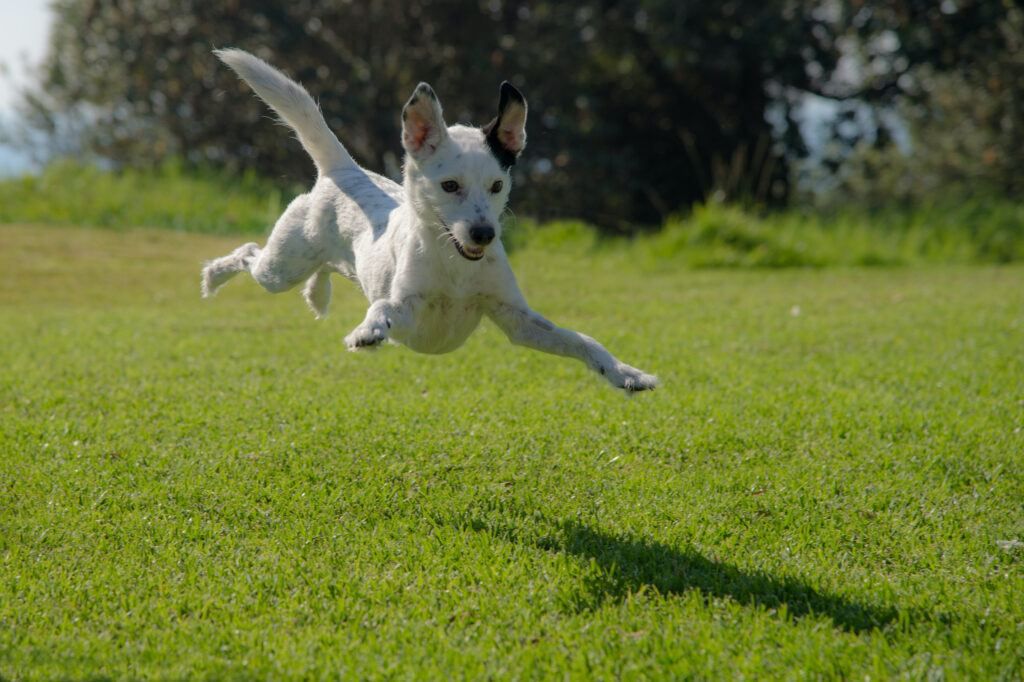
The outside world is an ideal environment to photograph many pets in. Dogs and horses, for example, are in their element in the natural world, so it’s a great place to capture engaging photographs of your pets.
Dogs are in their element in the outside world, leading to plenty of great opportunities for stunning images. Photograph by Dustin Bowdige
Sunny Days
If you’re not a photographer, you might think that bright sunny days are the ideal time to take photographs. Unfortunately, though, the harsh overhead light leads to deep, dark shadows and extremely bright highlights. The goal, therefore, is to dim this bright light to create a softer and more even look to your shots.
Keep your ISO as low as possible (usually 100 on most cameras). Use a larger aperture to get a smaller depth of field to blur out distractions in the background. Start with f5.6 but be aware that you might need a larger depth of field to cover larger animals (i.e., a smaller aperture of around f8). Start with a shutter speed of 1/2000th and increase this if necessary. This will have the added benefit of freezing movement from your pets. To give yourself even more options, consider investing in a Neutral Density (ND) filter. These essentially reduce the amount of light that enters your lens and come in different stop strengths so you can still shoot at your chosen aperture without worrying about overexposing your shot.
Cloudy Days
Cloudy days are perfect for photography! You’ll want to choose a day that still has some blue sky to keep tones and interest in your images, but when the sun is behind a cloud, that cloud will essentially act as a large softbox. This diffuses the light and removes harsh shadows, giving you a far more forgiving shooting environment.
Cloudy days are perfect for photography!
Keep your settings fairly even so you’ve got more possibilities in post-production to brighten up the shot a little if needed. Start with an ISO of 400, aperture of f4, and a shutter speed of 1/1000th of a second. You may need a slightly slower shutter speed depending on how cloudy the day actually is. Note that these are also ideal settings to start with if you’re shooting at the Golden Hour.
Inside
A lot of pets spend much of their time indoors (cats, for example, who are very fond of sleeping!). But indoor lighting isn’t always very flattering, and it certainly isn’t that bright! There are, of course, ways around this!
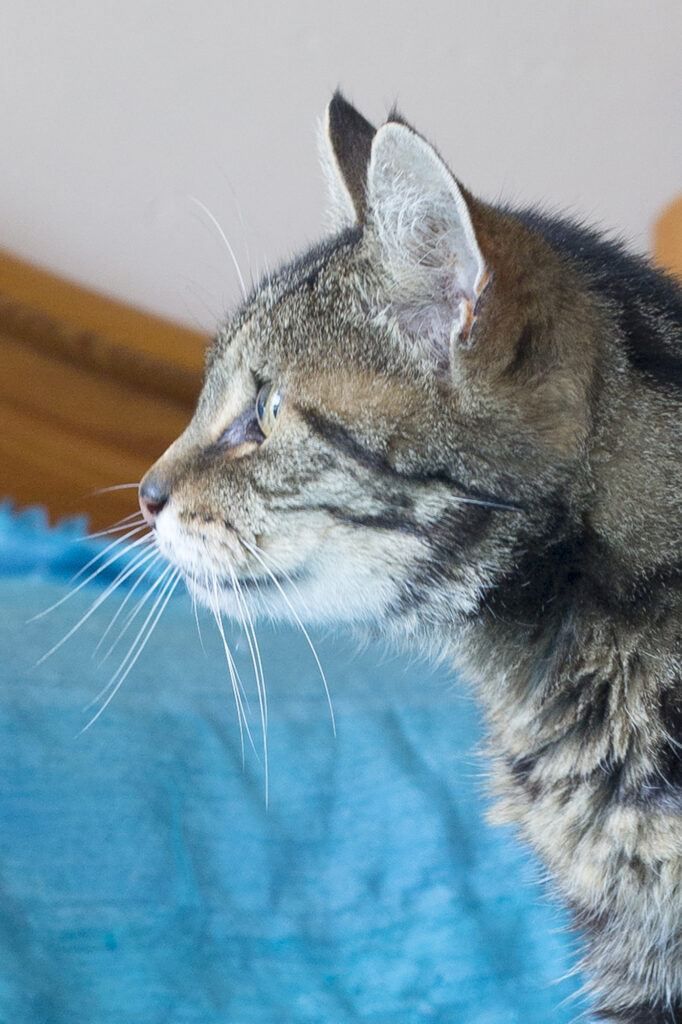
If you are photographing inside, try to use light coming in through a window to help balance out the tungsten lighting commonly found in homes. Photograph by Jo Plumridge
Natural/Household Light
Most indoor home lighting is tungsten-based, which puts a not particularly attractive orange glow on images. So, make sure to set your white balance to Tungsten to compensate for this and, if it’s a sunny day, try and use some of the ambient light coming through windows to balance out the frame. Start with a shutter speed of 1/125th and an aperture of f4. You will need to work with ISOs of 1000+ to get enough light into your shot but modern cameras can cope with this without adding too much noise.
Electronic Flash Lighting
As I mentioned before, a lot of animals find flash lighting somewhat scary and off-putting. If you are going to use it, make sure you never aim the flash directly at the animal. Instead, bounce it off the ceiling or a wall. Diffuse the light as much as possible. Using a flash gives you more options when it comes to your settings indoors. Start with an ISO of 100, a shutter speed of 1/125th (remember, a lot of flashguns won’t sync any faster than this speed of 1/250th unless they’ve got an HSS (High-Speed Sync) mode), an aperture of f5.6. It’s also worth investing in a small silver reflector to bounce light back onto your pet’s face and fur.
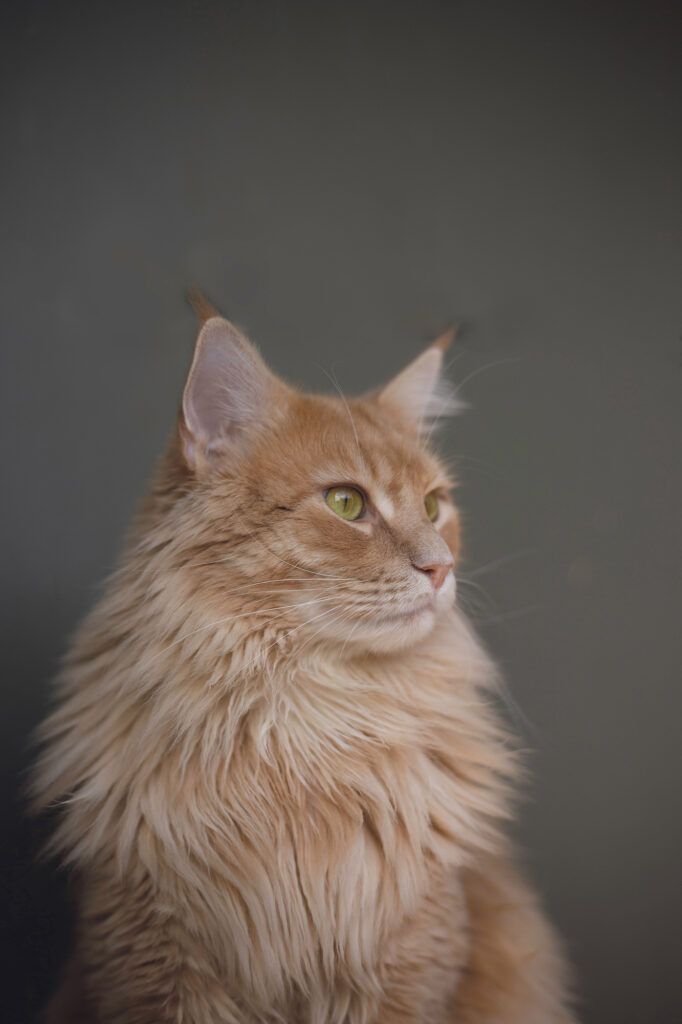
Using flash lighting opens up possibilities and gives a photographer more choice of settings. Care must be taken not to fire the flash directly at your pet. Photograph by Zoë Gayah Jonker
Where to Go Next
As I will stress in all of my ‘camera settings’ guides, there are no absolutes when it comes to camera settings. Your settings will alter with the available light as all photography is reliant on light being available. So, after you’ve tried out shots with my suggested settings, make sure you take the next step and try out different settings that suit the light you have available.
A key thing to remember when photographing pets is that animals are not predictable! This is why using a faster shutter speed is important so that you can freeze any movement.
Recommended Reading: If you’d like to master camera settings to create gorgeous, creamy, blurry backgrounds, grab a copy of Photzy’s premium guide: Beautiful Background Blur.
Conclusion
Who doesn’t want to take great photographs of their beloved pets? This guide should help you get started and give you the tips you’ll need to get great shots every time you pick up your camera.
Self-Check Quiz:
- What type of lens is ideal for pet photography?
- Which part of the pet should always be pin sharp?
- Should you under or overexpose a photo if your pet has white fur?
- Which filter is extremely useful for sunny days?
- What ISO should you start with on cloudy days?
- What should you do with your flashgun if you’re going to use it to photograph pets?


